
Are you staring down a last-minute party invite or suddenly realizing you need a show-stopping holiday tray *tonight*? I totally get it! Sometimes you need incredible flavor without spending hours in the kitchen. That’s where these classic, foolproof, three-ingredient Oreo Balls swoop in to save the day. Seriously, these fudgy little bites are pure magic!
Hi, I’m Kate Connolly, and here at Kings Cook, we make recipes that work every single time. I designed these creamy chocolate truffles to be your go-to no bake dessert recipe. They cut down the dessert decision-making stress instantly. Whether it’s for Christmas candy or just a Tuesday craving, trust me, these simple party food favorites disappear faster than you can make them. Time to transform those cookies!
- Why This Classic 3-Ingredient Oreo Balls Recipe Works
- Gathering Your Ingredients for Perfect Oreo Balls
- Step-by-Step Instructions to Make Oreo Balls
- Tips for Making the Best Oreo Balls
- Seasonal Variations for Your Oreo Balls
- Serving Suggestions for These Decadent No Bake Truffles
- Storage and Reheating Instructions for Oreo Balls
- Frequently Asked Questions About Oreo Balls
- Estimated Nutritional Data for Oreo Balls
- Share Your Homemade Oreo Balls
Why This Classic 3-Ingredient Oreo Balls Recipe Works
When I hear people say they’re scared to bake, I always point them right here. This isn’t just any no bake dessert recipe; it’s the secret weapon for when you need something amazing fast. We are keeping things super simple here. It’s the ultimate minimal ingredient dessert that delivers max flavor.
- It relies on cream cheese and crushed cookies for texture—no eggs, no flour, and absolutely zero oven time needed!
- The chilling process is quick, meaning you go from ingredients to snackable bites in under an hour total (mostly hands-off time, thankfully!).
- It provides that rich, fudgy texture everyone craves in a chocolate truffle without any complicated tempering.
No Oven Required: The Ultimate No Oven Desserts
Let’s be honest, sometimes the oven is just not invited to the party. That’s what makes these the perfect sweet snacks recipe solution. We skip all the fuss of preheating and worrying about whether the center baked through. Instead, our oven time is zero, replaced by a quick chill in the fridge. This makes them fantastic for hot summer days or when your oven is already full of something else!
Speed and Simplicity for Quick Treats
The active prep time is only about 20 minutes, which is incredible for how decadent these taste. If you need a last minute dessert for guests arriving unexpectedly, these are your champions. You mix the dough, roll them out, and pop them into the fridge while you clean up the crumbs. Easy peasy! You’ll have perfect, creamy dessert bites ready before you know it.
Gathering Your Ingredients for Perfect Oreo Balls
To create the best, most reliably rich chocolate truffles, you don’t need a grocery list that spans three aisles. We are sticking to the absolute core here, folks. These three main players—the cookies, the binder, and the coating—are all you need for these incredible fudgy chocolate bites. But, like anything simple, the *quality* and *preparation* of these few ingredients matter a ton! So, pay close attention to the instructions I give below for successful rolling and dipping.
Essential Components for Creamy Dessert Bites
Here is exactly what you need. Don’t feel tempted to pull out half a package of cookies; we need the full amount to balance out that cream cheese binder perfectly.
- One full package (that’s 14.3 oz!) of Oreo cookies—yes, everything goes in, the whole cookie and all the creamy filling! We aren’t scooping out the middle here.
- Eight ounces of cream cheese. This is non-negotiable. And I mean 8 ounces *fully softened* to room temperature. If it’s stiff, your dough won’t mix right, trust me.
- Sixteen ounces of semi-sweet chocolate. Make sure it’s good quality melting chocolate, chopped up a bit if you need it to melt faster, for that satisfying, glossy coating.
Step-by-Step Instructions to Make Oreo Balls
Okay, now that you have your beautiful ingredients ready—the soft cream cheese, the whole package of Oreos, and your good chocolate—it’s time to get messy! This isn’t complicated; it’s just a few steps that lead to the best fudgy chocolate bites. We are sticking strictly to the process that guarantees a creamy, non-crumbly center that holds up perfectly when dipped.
Preparing the Oreo Crumb Base
First thing: we need those cookies pulverized! If you have a food processor, just toss in the entire package of Oreos—yes, the filling stays right where it is—and pulse until they are nothing but fine, dark crumbs. If you’re doing this the manual way, put them in a super sturdy zip-top bag. Seriously, double-bag them, or you’ll be cleaning up crumbs all day! Then, grab a rolling pin and crush, crush, crush until they are powdery enough to look like dirt.
Mixing and Shaping Your Oreo Balls
Once your crumbs are fine, dump them into a bowl. Now, add that 8 oz of fully softened cream cheese right on top. You can use a spoon at first, but I prefer my trusty hand mixer. Beat them together until it’s just combined and it looks like one thick, gorgeous, black dough clump. You want it uniform! Then, roll this mixture into small, one-inch balls—aim for about 30 little treats. Pop these onto a baking sheet that you’ve lined completely with parchment paper. This paper is your best friend!
Chilling for Perfect Dipping
This step is where patience pays off, so don’t skip it! Those balls need to firm up if you want a clean chocolate coat. Place the whole sheet into the refrigerator for a solid 30 minutes, minimum. They should feel firm to the touch, not soft or sticky. If they are soft, the chocolate coating will just slide right off or you’ll end up squeezing the center when you try to lift them for dipping.
Mastering the Easy Chocolate Coating
While the balls are chilling, melt your chocolate. I always melt mine in short bursts in the microwave. Put the chocolate in a microwave-safe bowl and heat it for 30 seconds, stir well. Heat for another 30 seconds, stir again. Keep doing this until it just looks smooth. Don’t overheat it, or it can seize up! Once smooth, take a chilled ball with a fork, dip it completely, and then gently tap that fork on the edge of the bowl to let the extra chocolate drip off—this is how you get that wonderful, thin easy chocolate coating without globs. Place them back on the parchment paper immediately.
Final Set and Storage of Oreo Balls
We’re almost done! As soon as the last one lands on the tray, back they go into the fridge. Give them another 15 or 20 minutes until that beautiful chocolate shell has hardened completely. Nobody likes melty, sticky fingers when they grab a truffle! Once set, they are ready to serve immediately or store away for later.
Tips for Making the Best Oreo Balls
You’ve got the basic recipe down, but knowing a few tricks is what separates good easy cookie balls from absolutely show-stopping ones! I’ve made these countless times, especially when I need last-minute favors for events, so I know exactly where things can go sideways. Don’t worry, though; with a little foresight, these treats will be perfect every time.
Ingredient Notes and Substitutions for Oreo Balls
While the classic recipe calls for Oreos and semi-sweet chocolate, you can absolutely play around! If you use Golden Oreos, you get a totally different, lighter flavor profile. For the coating, milk or white chocolate is lovely, but remember: white chocolate tends to seize up faster than milk or dark, so be extra patient when melting it. Also, I really want to repeat this: your cream cheese has to be room temperature! If it’s cold, it won’t incorporate well, and you’ll end up with little chunks of cream cheese in your dough instead of a smooth base.
Troubleshooting Common Oreo Balls Issues
I’ve definitely had batches that didn’t quite cooperate. If your dough seems too dry and crumbles apart when you try to roll it into a ball, don’t panic and don’t throw it out! Just grab an extra tablespoon of cream cheese and mix it in until it holds together. On the flip side, one time my melted chocolate seemed way too thick to dip properly. My secret fix? I whisked in about half a teaspoon of coconut oil—it sounds weird, but that little bit of extra fat thins the chocolate right out and gives you a beautiful gloss. You can see more great baking hacks on Sally’s site, which is always a great resource when you’re experimenting!
Seasonal Variations for Your Oreo Balls
One of the best things about these simple treats is how easily they dress up for any celebration. They are fantastic year-round, but they really shine when you tweak the coating for the season. If you are looking for amazing holiday baking ideas, this recipe is your canvas! I always keep a box of holiday sprinkles handy because these little bites catch the light so beautifully.
For Christmas, I ditch the semi-sweet chocolate and use pure white chocolate instead. After dipping, I roll the still-wet balls in crushed candy canes or festive green and red sprinkles. For Valentine’s Day, a quick dip in pink candy melts looks gorgeous! And for fall gatherings, try dipping them in milk chocolate and dusting them with a tiny bit of cinnamon sugar right after they come out of the coating. It’s so much fun to see how different coatings completely transform them. While these take less time than decorating elaborate sugar cookies, they look just as impressive on any dessert platter. You can even try adding a drop of peppermint extract to the melted chocolate for a winter kick—it’s just that easy!
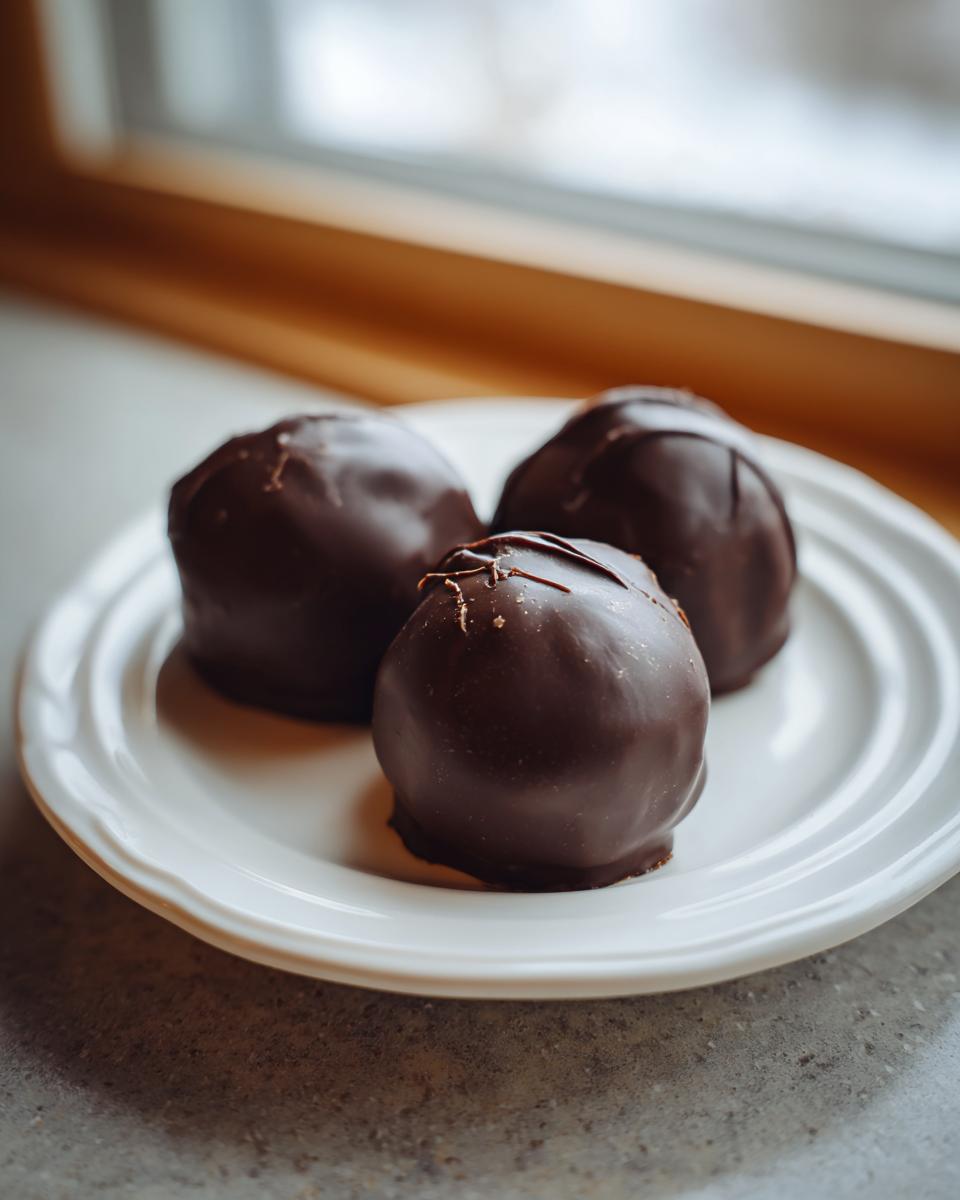
Serving Suggestions for These Decadent No Bake Truffles
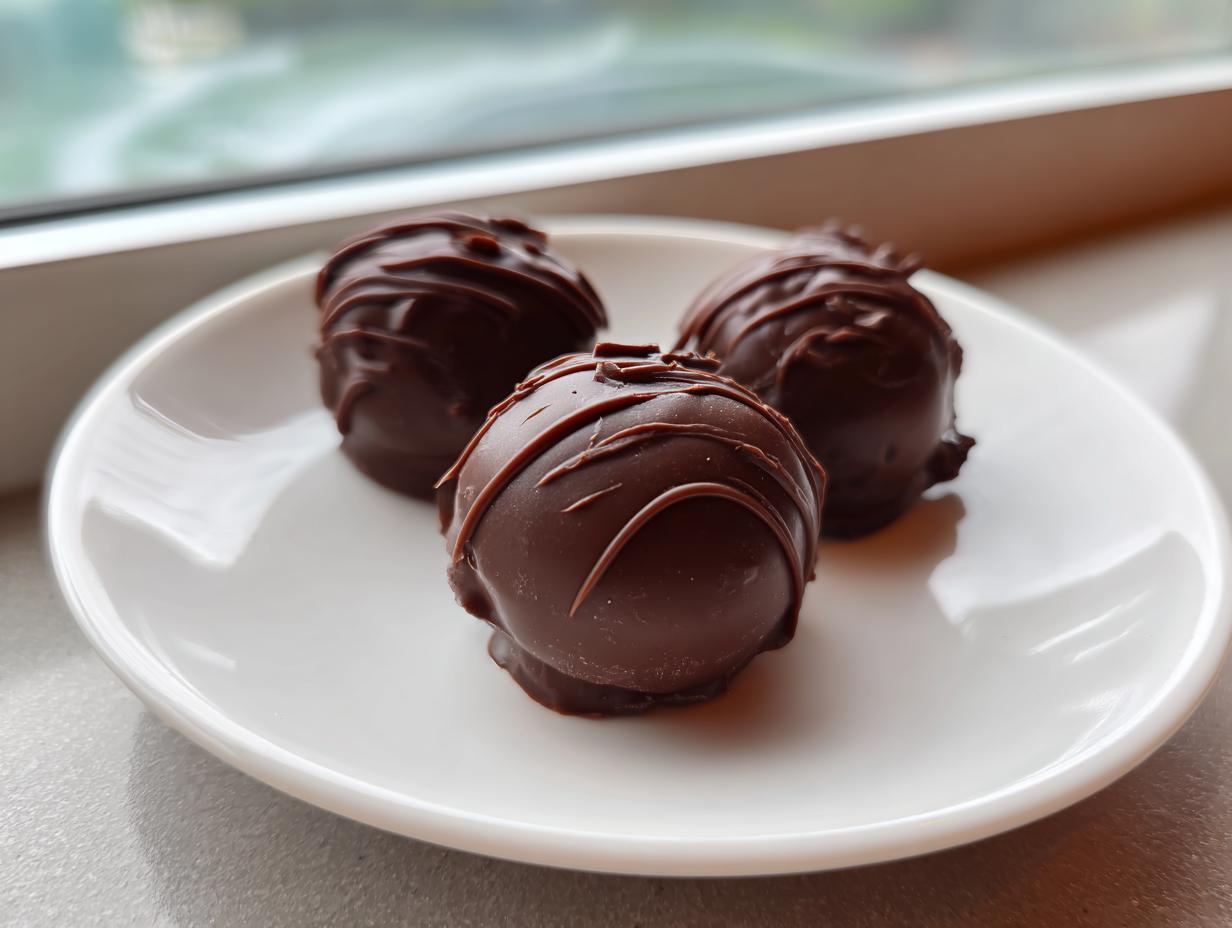
Because these little treats are so rich and fudgy, presentation is everything! Since they are basically an ultra-creamy, bite-sized dessert, nobody can eat just one, so plan accordingly. They look incredible arranged on a simple white platter—you know, high contrast makes them pop! These are fantastic simple party food because guests can pick them up without needing plates or forks.
If you’re serving them after dinner, they pair perfectly with a strong cup of coffee or a tiny espresso shot, which cuts through that sweetness beautifully. I often place them next to something bright like fresh raspberries or sliced strawberries on the platter to give my guests a little palate cleanser between bites of pure chocolate bliss!
Storage and Reheating Instructions for Oreo Balls
The greatest thing about these sweet snacks recipe champions is that you can absolutely make them ahead of time! Since our recipe relies on cream cheese, we can’t just leave them sitting on the counter like some cookies. They need to stay cool to maintain that perfect, scoopable texture inside that firm chocolate shell.
For the best results, always store your finished Oreo balls in an airtight container. I use glass containers with tight-fitting lids, but heavy-duty plastic works just as well. Keep them in the refrigerator. Honestly, they are perfectly fine there for a solid week, maybe even ten days if you made them super pristine! The cold actually helps the center stay nice and dense, which I love.
Now, can you freeze them? Yes, you totally can! If you want to make a giant batch for a big holiday event, just arrange them in a single layer on a baking sheet and freeze them until they are hard. Once they are solid little rocks, transfer them into a freezer-safe zip-top bag. They last beautifully in the freezer for up to two months. When you want to serve them, just pull out what you need and let them thaw on the counter for about 30 minutes before serving. They come back to life perfectly—ready for grabbing whenever a craving hits!
Frequently Asked Questions About Oreo Balls
I totally get it—when you find a recipe this easy, you start wondering about all the tiny details and what happens if you have to switch things up. These little bites really are foolproof, but I’ve gathered answers to the most common things people ask me about making their own perfect batch of oreo balls!
Can I make Oreo Balls without cream cheese?
That’s a fair question if you don’t have cream cheese on hand! The cream cheese is what gives us that incredibly creamy, dense center that makes these so decadent. If you absolutely must substitute it, you can try an equal amount of softened butter or even a few tablespoons of creamy peanut butter for a twist. But, and I have to warn you, the texture will definitely change. It won’t be quite the same rich result you get with the cream cheese binder for this specific minimal ingredient dessert.
What is the best chocolate for coating Oreo Truffles?
For the most balanced flavor, I stick with semi-sweet chocolate chips—it cuts the sweetness of the cookie center perfectly. But honestly, milk chocolate or dark chocolate are fantastic too, depending on your sweet tooth! If you find your melted chocolate is too thick and gloppy right out of the microwave, try whisking in just half a teaspoon of shortening or coconut oil. That little addition helps it flow beautifully, giving you a smooth, professional-looking coat on your chocolate truffles.
How long do Oreo Balls last in the refrigerator?
Because these tasty quick treats rely on cream cheese, they need to stay cool. Store them in an airtight container in the fridge. They stay wonderfully fresh and maintain that firm center for about one to two weeks. If you need them longer than that, I always recommend the freezer method I mentioned earlier!
Estimated Nutritional Data for Oreo Balls
I know some of you are just as interested in the ‘what’s in it’ as the ‘how-to,’ so I wanted to give you a breakdown of what you can expect from one of these delicious little bites. Remember, since we are only using three core ingredients—Oreos, cream cheese, and chocolate—these estimates are pretty reliable, but they are still just that: estimates!
This calculation is based on the recipe yielding 30 uniform balls. So, if you make them smaller or larger, your numbers will obviously shift. Keep in mind this doesn’t account for any decorative sprinkles or swirls you might add on top, as that varies wildly!
Here’s a look at the approximate breakdown for *one* single, glorious Oreo Ball:
- Calories: Around 150 kcal
- Fat: About 10g (This is where the richness comes from!)
- Carbohydrates: Approximately 15g
- Protein: A small boost at 2g
- Sugar: Roughly 15g (Since everything is sweet!)
These are indulgent, sweet snacks, and they are meant to be enjoyed as a treat. Use this information if you’re tracking macros, but honestly, when they are this good, I try not to look too closely! They are perfect for those times you need a guaranteed hit of decadence without any fuss.
Share Your Homemade Oreo Balls
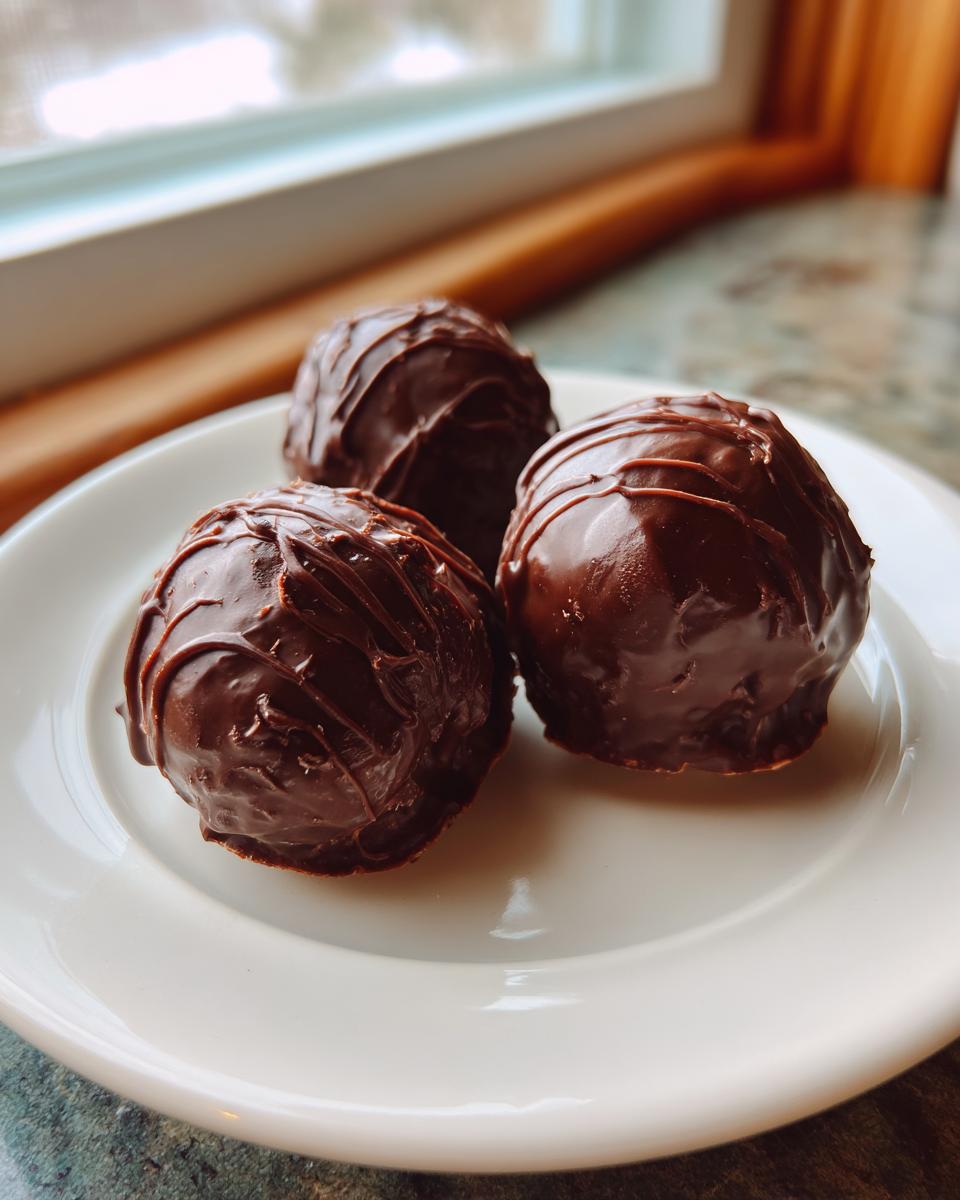
We’ve reached the sweet end of the process! Now that you have a tray full of those perfect, shiny chocolate clusters, I truly hope you feel that little burst of pride I always get when I complete a batch of these wonderful Oreo balls. They just look so impressive for how little effort we put in, don’t they? I want to hear all about how yours turned out!
Please take a moment to come back here and leave a rating for this recipe. Hearing how many stars you give it really helps other home cooks know they can trust this method—it’s my little check-in system! Did you use milk chocolate instead? Did you add sprinkles? Let me know!
And if you’re feeling brave, snap a picture! You can tag me on social media—I absolutely adore seeing your kitchen creations pop up on my feed. Seeing your success stories is exactly why I created Kings Cook. Share your fudgy bites, tell me which occasion they were for, and let’s celebrate making something delicious together!
PrintEasy No-Bake Oreo Balls (Classic 3-Ingredient Truffles)

Make these classic Oreo Balls using just three simple ingredients. This no-bake dessert recipe creates rich, creamy chocolate truffles perfect for holidays or any time you need a quick treat.
- Prep Time: 20 min
- Cook Time: 5 min
- Total Time: 50 min
- Yield: 30 servings 1x
- Category: Dessert
- Method: No-Bake
- Cuisine: American
- Diet: Vegetarian
Ingredients
- 1 package (14.3 oz) Oreo cookies
- 8 oz cream cheese, softened
- 16 oz semi-sweet chocolate, melted (for coating)
Instructions
- Place all Oreo cookies, filling included, into a food processor. Pulse until you have fine crumbs.
- Transfer the cookie crumbs to a medium bowl. Add the softened cream cheese.
- Mix the crumbs and cream cheese together using a hand mixer or sturdy spoon until fully combined and a thick dough forms.
- Roll the mixture into small, uniform balls, about 1 inch in diameter. You should get about 30 balls.
- Place the rolled balls onto a baking sheet lined with parchment paper.
- Chill the Oreo balls in the refrigerator for at least 30 minutes until firm. This step is important for easy dipping.
- Melt the semi-sweet chocolate according to package directions, usually in a microwave-safe bowl in 30-second intervals, stirring between each interval until smooth.
- Dip each chilled Oreo ball into the melted chocolate, ensuring it is fully coated. Use a fork to lift the ball out, tapping the fork gently on the side of the bowl to let excess chocolate drip off.
- Return the coated balls to the parchment-lined baking sheet.
- Refrigerate the finished Oreo balls for another 15 to 20 minutes, or until the chocolate coating is set.
Notes
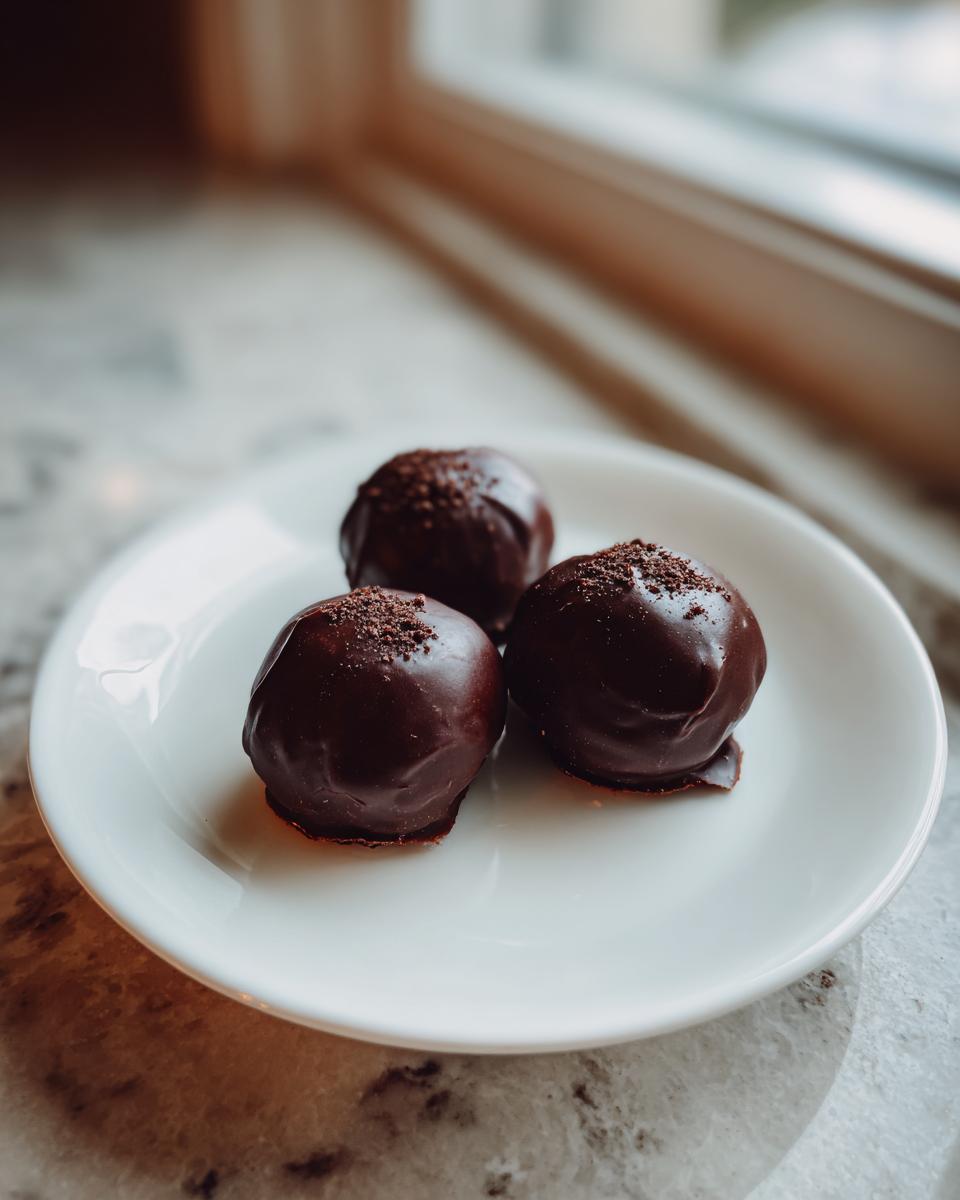
- For a festive look, you can sprinkle crushed Oreos or holiday sprinkles over the chocolate coating before it sets.
- If you do not have a food processor, place the cookies in a large zip-top bag and crush them thoroughly with a rolling pin.
- If the dough feels too soft to roll, chill it for an additional 15 minutes before shaping.
Nutrition
- Serving Size: 1 ball
- Calories: 150
- Sugar: 15
- Sodium: 80
- Fat: 10
- Saturated Fat: 6
- Unsaturated Fat: 4
- Trans Fat: 0
- Carbohydrates: 15
- Fiber: 0
- Protein: 2
- Cholesterol: 15