
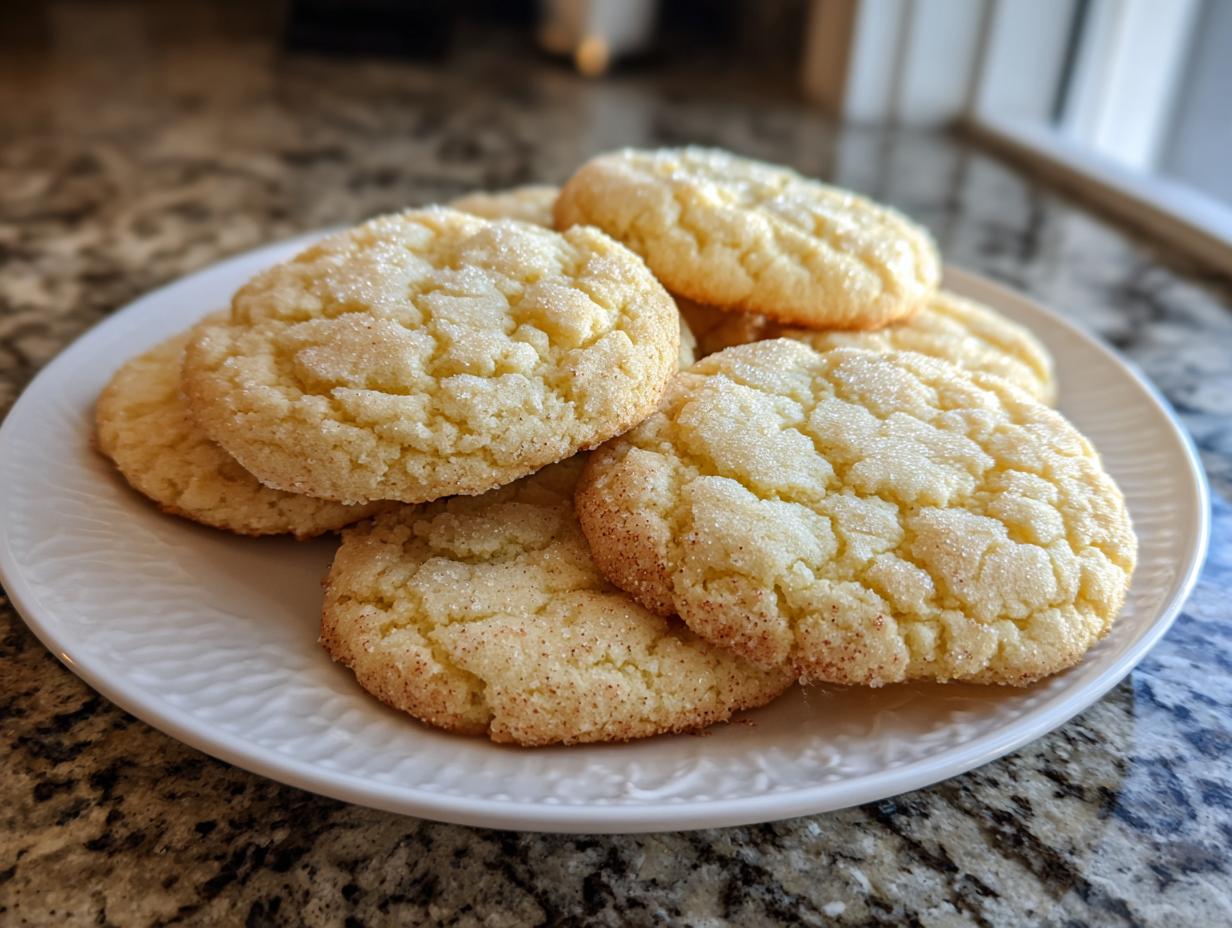
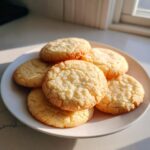
Oh, sugar cookies! There’s just something so wonderfully nostalgic and fun about them, isn’t there? Whether you’re gearing up for a big holiday bake-a-thon, a festive birthday party, or just a cozy afternoon of decorating with the kids, you absolutely need a go-to recipe. That’s where these classic sugar cookies come in! They’re the perfect buttery canvas, just waiting for your creative touch. I really believe that baking should be joyful and accessible for everyone, and this recipe is designed to make you feel like a baking star, no matter your experience level. Trust me, these are going to become your new favorite!
- Why You'll Love These Sugar Cookies
- Ingredients for Perfect Sugar Cookies
- How to Make the Best Sugar Cookies for Decorating
- Tips for the Best Sugar Cookies
- Ingredient Notes and Substitutions for Sugar Cookies
- Frequently Asked Questions About Sugar Cookies
- Nutritional Information for Classic Sugar Cookies
- Share Your Sugar Cookie Creations!
Why You’ll Love These Sugar Cookies
Just a few reasons why these sugar cookies are going to be your new best friend in the kitchen!
- Seriously Easy to Make: Even if you’re new to baking, you’ll find these cookies a breeze to whip up!
- Perfectly Buttery & Tender: They have that classic sweet flavor and a delightful texture that just melts in your mouth.
- Hold Their Shape Like a Dream: Cut them into any shape you fancy – stars, hearts, gingerbread people – they bake up beautifully with crisp edges, ready for your artistic touch.
- So Versatile! They’re fantastic plain, rolled in sugar, or dressed up with your favorite frosting and sprinkles for any occasion.
Ingredients for Perfect Sugar Cookies
Alright, let’s get our ingredients all lined up! These are pretty standard pantry staples, which is exactly what I love about them. Having everything ready to go makes the baking process so much smoother. Trust me on this!
- 1 cup (two sticks!) unsalted butter, softened just right – not melted, but soft enough to make an indent when you poke it.
- 1 1/2 cups granulated sugar – this is what gives them that classic sweetness and helps them brown up nicely.
- 2 large eggs – make sure they’re at room temperature; it helps them incorporate better!
- 1 teaspoon pure vanilla extract – don’t skimp here; good vanilla makes a big difference!
- 2 3/4 cups all-purpose flour – sifted is even better for a lighter cookie, but not totally necessary if you’re in a hurry.
- 1 teaspoon baking powder – just a little lift to keep them from being too dense.
- 1/2 teaspoon salt – balances all that sweetness, you know?
How to Make the Best Sugar Cookies for Decorating
Alright, let’s get our hands a little floured and make some magic happen! Making these sugar cookies is honestly half the fun, and I’m going to walk you through every step. It’s not complicated at all, and the aroma that fills your kitchen? Pure bliss. We’re aiming for cookies that hold their shape beautifully, so you can get all those fancy cut-outs just right. Let’s get these amazing sugar cookies ready for their close-up! You might even want to whip up some easy apple fritters while you’re at it!
Creaming the Butter and Sugar
This first step is super important for getting that perfect texture. You want to cream your softened butter and sugar together until it’s really light and fluffy. Think of it like giving them a good, long hug. This process incorporates air, which helps make your cookies tender and not too dense. It usually takes a few minutes with a mixer!
Incorporating Wet and Dry Ingredients
Once your butter and sugar look like fluffy clouds, it’s time to add the eggs, one at a time, making sure each one is blended in before you add the next. Then, stir in that lovely vanilla extract. Next, we’ll gradually add our dry ingredients – the flour, baking powder, and salt that we whisked together earlier. Mix until it *just* comes together; seriously, don’t overmix, or your cookies might get tough. We want tender! Think of how we do it for caramel apple cheesecake squares; gentle mixing is key!
Chilling the Sugar Cookie Dough
This is a crucial step for getting those crisp edges and preventing your beautiful cut-out shapes from spreading too much while they bake. Divide the dough in half, shape each half into a flat disc, wrap it up tight in plastic wrap, and pop it into the fridge for at least an hour. Trust me, this chilling time is worth its weight in delicious sugar cookies!
Rolling and Cutting Out Shapes
Once the dough is nicely chilled, it’s time for the really fun part! On a lightly floured surface, roll out one disc of dough to about a quarter-inch thickness. If it feels a bit sticky, don’t be afraid to lightly dust your rolling pin and the dough with a touch more flour. Now, grab your favorite cookie cutters and get creative! Gently press them into the dough and lift out your shapes. Carefully place them onto your prepared baking sheets, leaving a little space between each one.

Baking Your Sugar Cookies to Perfection
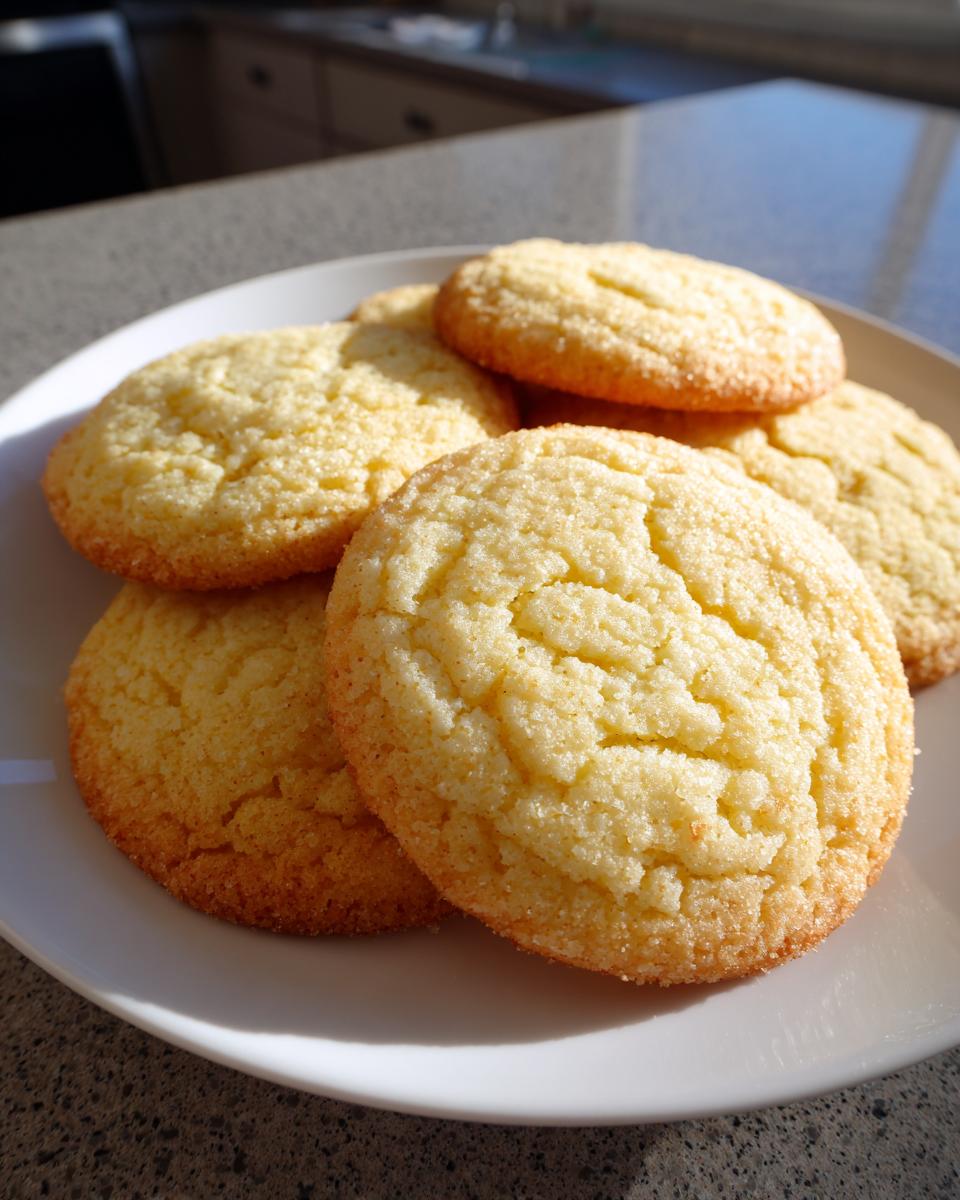
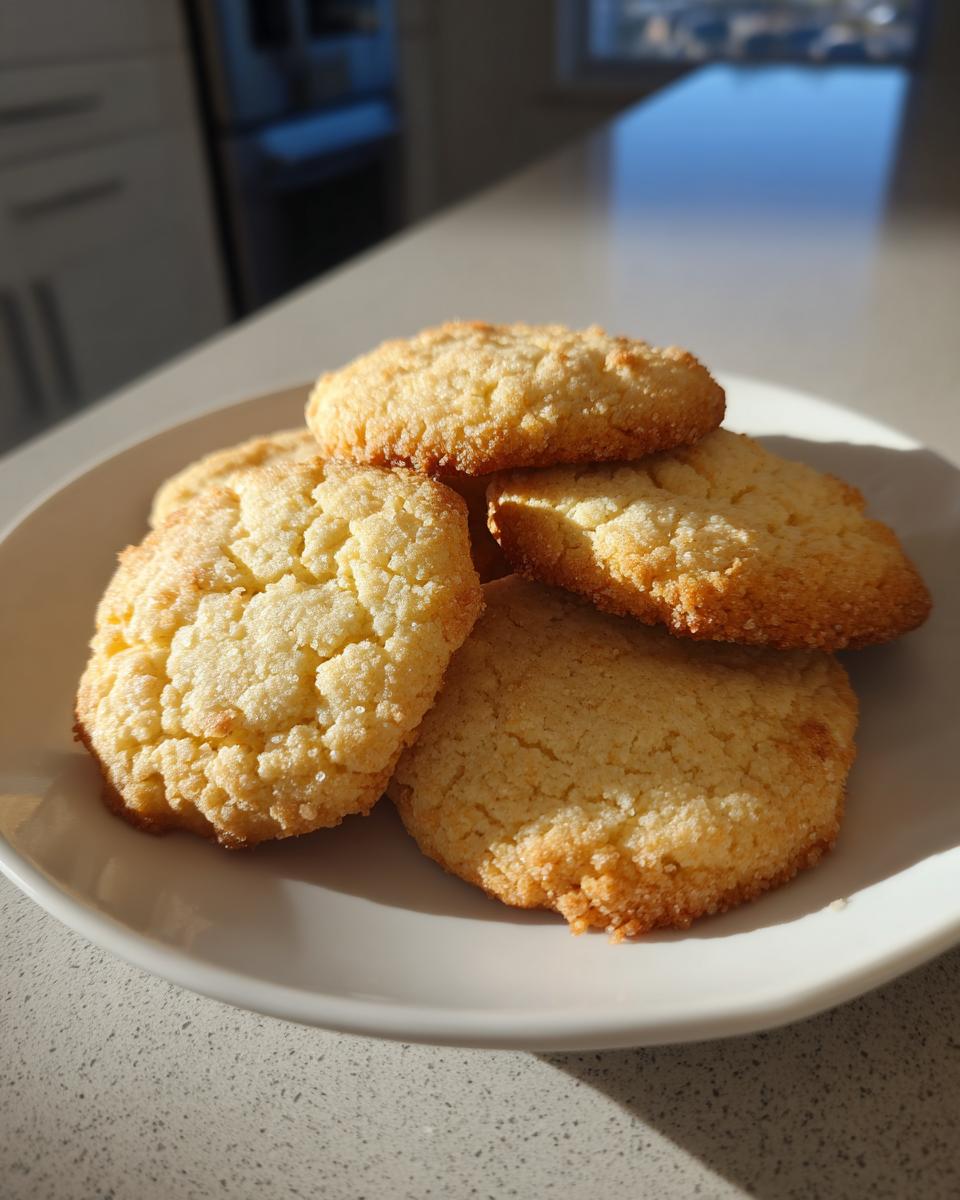
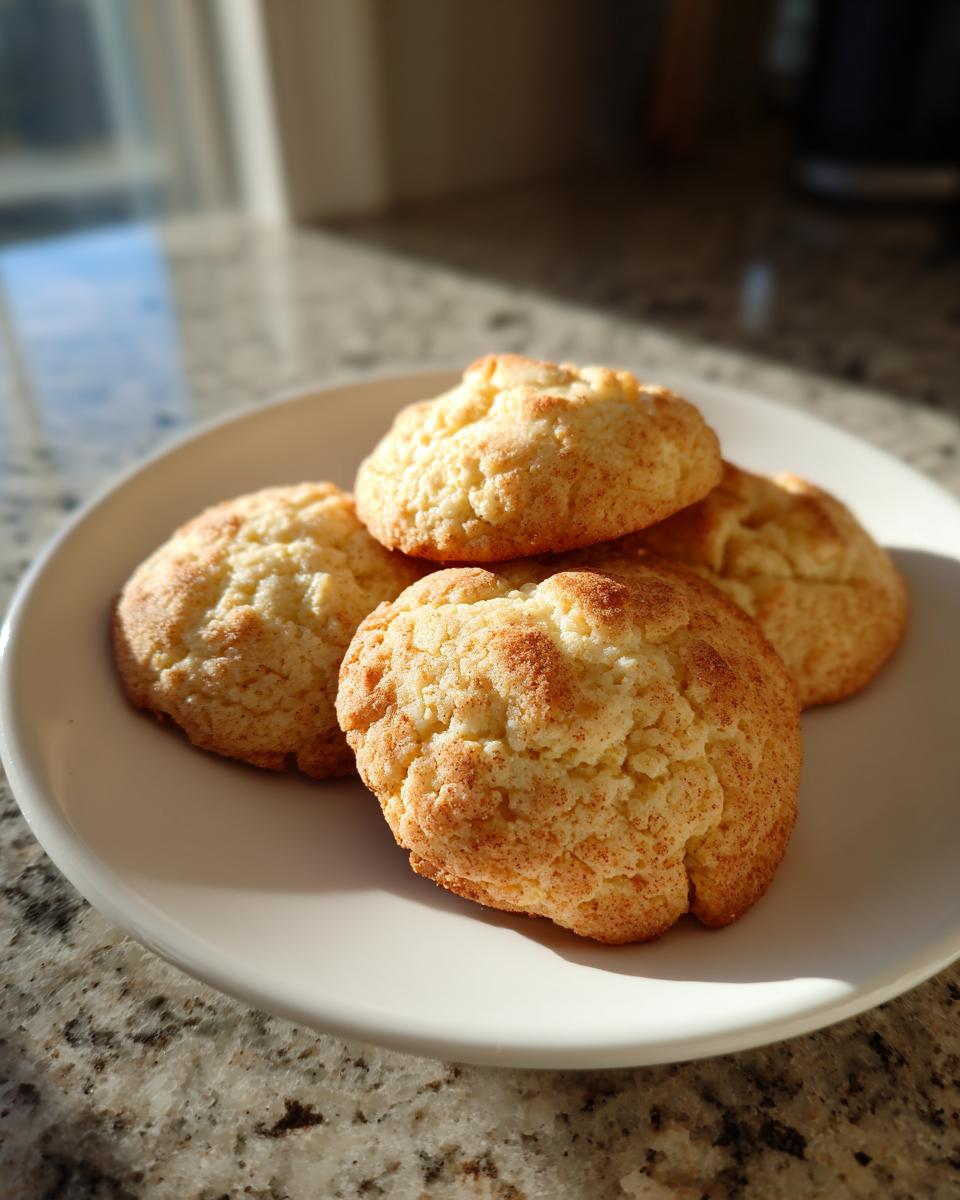
Preheat your oven to 350°F (175°C) before you even start rolling. Line your baking sheets with parchment paper – this makes cleanup a breeze and helps prevent sticking. Bake your gorgeous sugar cookies for about 8 to 10 minutes. You’re looking for the edges to be just lightly golden. They might look a little soft in the center, but they’ll firm up as they cool. Don’t overbake them, or they’ll lose that lovely tender texture!
Cooling and Decorating
Once they’re out of the oven, let the cookies hang out on the baking sheets for a few minutes. This lets them set up a bit. Then, carefully transfer them to a wire rack to cool completely. This is super important! Trying to decorate warm cookies will just result in a melty, sticky mess. Once they’re totally cool, the real decorating fun can begin with your favorite frosting, icing, and sprinkles!
Tips for the Best Sugar Cookies
Alright, let’s dive into a few little secrets I’ve picked up over the years to make sure your sugar cookies are absolutely perfect every single time. You know, the ones that have that amazing buttery flavor and hold their shape like a dream for decorating? It’s all about a few key things that really make a difference. Believe me, these little tricks are gems!
First off, don’t rush the chilling process! I know it’s tempting to dive right into cutting out shapes, but letting that dough chill properly is like giving it a spa day. It firms everything up, making it so much easier to handle and preventing your beautiful cut-out sugar cookies from spreading into puddles in the oven. It’s the same principle we use to get our apple coffee cake topping perfectly crumbly!
Also, pay attention to your butter’s temperature. It needs to be soft, but not warm or melted. If it’s too soft, your cookies might spread out too much. If it’s too cold, they might be tough to cream properly, which affects the final texture. A good rule of thumb is that it should give a little when you gently press it with your finger.
When you’re rolling out the dough, try to keep the thickness consistent, around 1/4 inch is usually just right. I like to use a ruler sometimes, especially if I’m going for super-precise shapes like you might see for intricate decorations. This ensures they all bake evenly, just like our chewy oatmeal raisin cookies. And for those especially detailed cut-outs, remember that the chill makes everything easier! It’s crucial for shapes that have fine details, much like how we ensure our pumpkin snickerdoodle cookies get that signature crackle. And for those especially detailed cut-outs, consider rolling the cut dough shapes out onto your parchment paper – it makes transferring them so much easier!
Finally, keep an eye on your oven! Baking times can vary a bit depending on your oven and how thick you roll your dough. You’re looking for those edges to just start turning a pale golden color. They should feel just slightly soft in the middle when you take them out; they’ll continue to bake a little on the hot pan. This little bit of give ensures your sugar cookies stay tender and don’t end up dry and crumbly.
Ingredient Notes and Substitutions for Sugar Cookies
Let’s chat a bit about some of the ingredients in these classic sugar cookies. Sometimes you might be missing something or need to tweak things a little, and that’s totally okay! My goal is always to make baking accessible, so here are some thoughts.
The butter is really key here for that lovely buttery flavor and good texture, so I always recommend using unsalted butter. If you only have salted, just leave out the extra salt in the recipe, but unsalted gives you more control. For the flour, all-purpose is perfect! If you wanted to try a gluten-free blend, look for one that’s designed for baking – just know that the texture might be a little different. And vanilla extract? It really makes these sugar cookies sing! If you’re out of vanilla, a tiny bit of almond extract can be nice, but use it sparingly as it’s quite strong!
Frequently Asked Questions About Sugar Cookies
Got questions about whipping up the best batch of sugar cookies? I get it! Baking sometimes brings up little head-scratchers, and I’m here to help clear them up so you can get back to the fun part – decorating! I know from making things like my classic egg salad that sometimes a little clarification goes a long way!
Why do my sugar cookies spread too much?
Usually, this happens if your butter is too soft or melted, or if you didn’t chill the dough long enough. Make sure your butter is just softened and that those discs of dough get a good hour in the fridge!
How can I get sharp edges on my cut-out cookies?
Chilling is your best friend here! Make sure the dough is well-chilled both before rolling and after cutting. Also, use a sharp cookie cutter and give a firm, straight press. Little tricks like rolling the dough out on your parchment paper can help keep things stable too.
Can I make sugar cookies ahead of time?
Absolutely! The dough can be wrapped tightly and kept in the fridge for up to 3 days, or frozen for a couple of months. Just let it thaw in the fridge before you roll and cut. The baked cookies are also great stored in an airtight container for about a week.
Nutritional Information for Classic Sugar Cookies
Just a little heads-up: the nutritional info below is an estimate, since it can vary a bit based on the exact ingredients you use and how much frosting you decide to slather on! But for a standard cookie bite, here’s a ballpark:
- Serving Size: 1 cookie
- Calories: Around 150
- Fat: About 7g
- Carbohydrates: Around 20g
- Protein: About 2g
Share Your Sugar Cookie Creations!
I just *love* seeing what you all create in your kitchens! If you make these delicious sugar cookies, please consider leaving a comment below to let me know how they turned out. Better yet, feel free to rate the recipe or even better, share a photo of your decorated masterpieces with me over on social media! You can always reach out if you have questions via my contact page too. Happy baking!
PrintClassic Sugar Cookies for Decorating
A simple, buttery sugar cookie recipe perfect for cutting out and decorating for any occasion.
- Prep Time: 20 min
- Cook Time: 10 min
- Total Time: 1 hour 30 min
- Yield: 24 cookies 1x
- Category: Dessert
- Method: Baking
- Cuisine: American
- Diet: Vegetarian
Ingredients
- 1 cup (2 sticks) unsalted butter, softened
- 1 1/2 cups granulated sugar
- 2 large eggs
- 1 teaspoon vanilla extract
- 2 3/4 cups all-purpose flour
- 1 teaspoon baking powder
- 1/2 teaspoon salt
Instructions
- Cream together the softened butter and granulated sugar in a large bowl until light and fluffy.
- Beat in the eggs one at a time, then stir in the vanilla extract.
- In a separate bowl, whisk together the all-purpose flour, baking powder, and salt.
- Gradually add the dry ingredients to the wet ingredients, mixing until just combined. Do not overmix.
- Divide the dough in half, flatten each half into a disc, wrap in plastic wrap, and refrigerate for at least 1 hour.
- Preheat your oven to 350°F (175°C). Line baking sheets with parchment paper.
- On a lightly floured surface, roll out one disc of dough to about 1/4-inch thickness.
- Cut out shapes using cookie cutters and carefully place them on the prepared baking sheets, leaving about 1 inch between cookies.
- Bake for 8-10 minutes, or until the edges are lightly golden.
- Let the cookies cool on the baking sheets for a few minutes before transferring them to a wire rack to cool completely.
Notes
- For best results when cutting out shapes, chill the rolled-out dough for an additional 15 minutes before cutting.
- Decorate with your favorite frosting and sprinkles once the cookies are completely cool.
- These cookies are designed to hold their shape well, making them ideal for intricate designs.
Nutrition
- Serving Size: 1 cookie
- Calories: 150
- Sugar: 12g
- Sodium: 50mg
- Fat: 7g
- Saturated Fat: 4g
- Unsaturated Fat: 3g
- Trans Fat: 0g
- Carbohydrates: 20g
- Fiber: 1g
- Protein: 2g
- Cholesterol: 30mg