
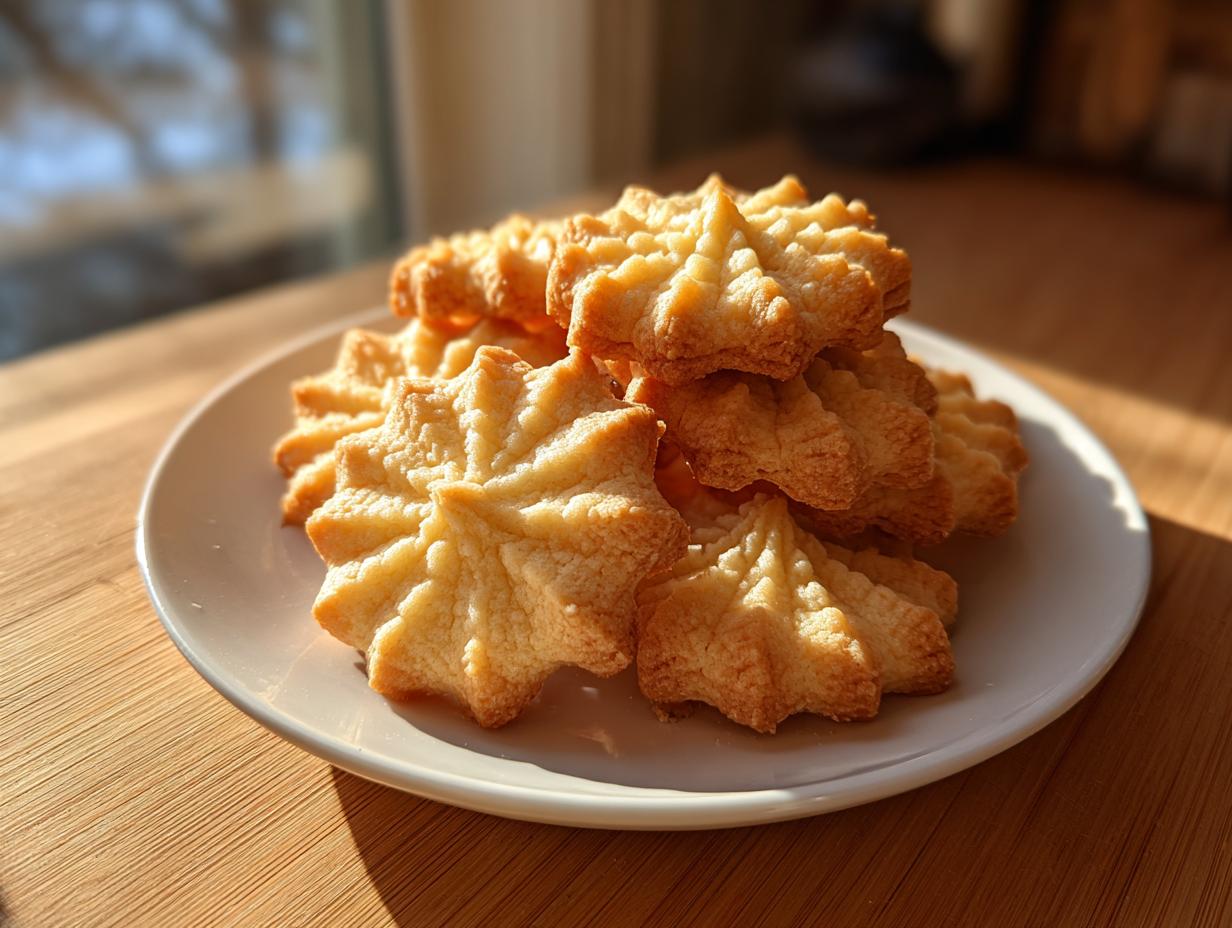
Welcome, friend! If you’ve ever opened one of those beautiful blue tins of cookies and wished you could create that melt-in-your-mouth magic right in your own kitchen, then you are home. I know the search for the perfect, simple biscuit can be frustrating, but I promise you, these butter cookies are the answer. This recipe isn’t just easy; it’s the Classic Ultimate Butter Cookie Recipe, and baking them will absolutely make you feel like royalty at your own table. We keep things simple here on Kings Cook—you can always read a little more about my philosophy over on my About page!
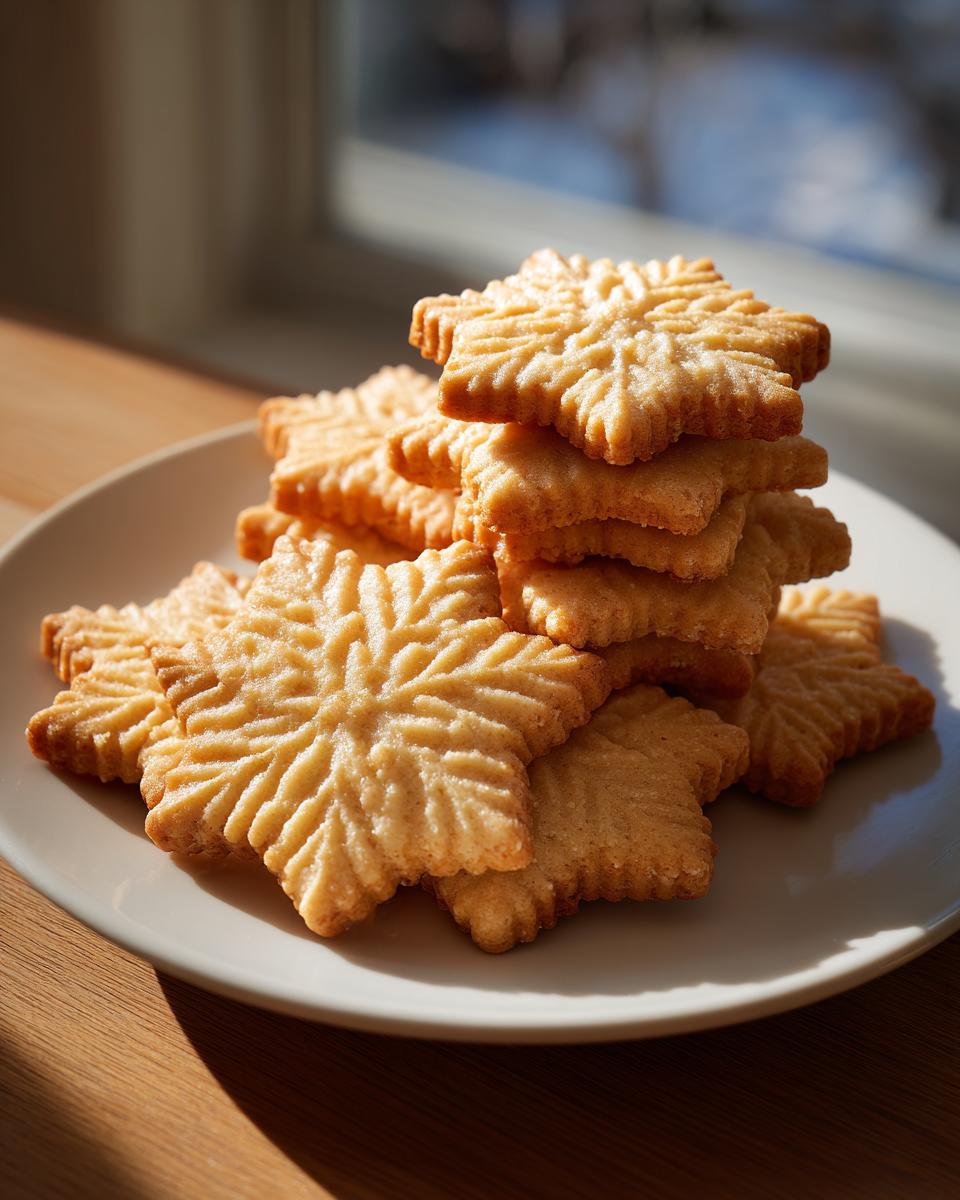
We are keeping this straightforward—no weird ingredients hiding anywhere! Just pure, rich butter flavor that melts the second it hits your tongue. I’ve tested this batch dozens of times to ensure reliability, so you can trust these results. Get ready, because these are going to be your favorite simple cookie recipes for holidays and afternoon snacking alike!
- Why This Easy Butter Cookie Recipe Works Every Time
- Ingredients for Classic Butter Cookies
- How to Prepare Your Melt In Your Mouth Cookies
- Baking and Cooling Your Homemade Butter Cookies
- Tips for Perfect Holiday Butter Cookies Baking
- Storage and Keeping Your Butter Cookies Fresh
- Frequently Asked Questions About Classic Butter Cookies
- Nutritional Estimates for Simple Cookie Recipes
- Share Your Perfect Butter Cookies Creations
Why This Easy Butter Cookie Recipe Works Every Time
I created this Easy Butter Cookie Recipe because relying on those store-bought tins just wasn’t cutting it anymore concerning flavor! Honestly, I tested these cookies until my kitchen looked like a flour bomb went off, all to guarantee they are foolproof for you. That’s my promise—every recipe here is rigorously tested so you get consistent, comforting results.
The main appeal is that these are true, honest-to-goodness Melt In Your Mouth Cookies made from pantry staples. You don’t need fancy equipment or strange techniques. If you follow the steps, you are guaranteed a buttery treat perfect for dipping in coffee or sharing on a busy weeknight. For more of my foolproof favorites, check out my guide to Chocolate Chip Cookies Recipe!
The Secret to Perfect Butter Cookies Texture
The absolute number one rule for that signature texture is the butter preparation in Step 1. You must use unsalted butter that is truly softened—not melty, just perfectly pliable. When you beat it with the sugar until it’s light and fluffy, you are physically whipping air into the dough. It should look paler and almost cloud-like before the dry ingredients even come near it! This process is what prevents dense, hard cookies and guarantees that beautiful, delicate, melt-in-your-mouth sensation.
Ingredients for Classic Butter Cookies
When it comes to the best butter cookies, keeping the ingredient list small is my favorite part! You probably have everything needed for this recipe right now. I always measure meticulously for cookies because small changes really matter here. Everything listed below is essential for achieving that perfect balance of crisp edge and soft center.
Here is exactly what you need to gather before we start mixing:
- 1 cup (2 sticks) unsalted butter, softened
- 1 cup granulated sugar
- 1 large egg yolk
- 1 teaspoon vanilla extract
- 3 cups all-purpose flour
- 1/2 teaspoon salt
Ingredient Notes and Substitutions for Your Butter Cookies
Because these are so simple, the quality of the ingredients really sings through! If you are aiming for that specific Danish-style cookie flavor you often see in tins, try swapping out half of the vanilla extract for almond extract—it adds a wonderful unexpected depth. Also, remember that note from earlier about texture: if you want them softer, slightly reduce your baking time. That’s one of the simplest ways to adjust the final result!
How to Prepare Your Melt In Your Mouth Cookies
Okay, now that we have our beautiful ingredients ready, it’s time to turn them into the dough for these amazing butter cookies! The process is straightforward, but paying attention to the little cues—like what the dough looks like or how long you mix—is what separates a good cookie from a showstopper. We need to get that structure perfect before we decide if we want piped or scooped shapes. If you are looking to decorate later, make sure you check out my tips on Sugar Cookies for Decorating, though these babies are perfect plain!
Creaming Butter and Sugar for Best Butter Cookies
This is the moment of truth for flavor development! Remember I said we needed perfectly softened butter? Now we beat it. Get your electric mixer out (or use serious elbow grease with a wooden spoon, though a mixer is easier here!). Beat the butter and the granulated sugar together until you genuinely see a transformation. It needs to go from dense yellow to pale, airy, and fluffy—almost like buttercream frosting. This usually takes about three full minutes. Don’t rush it! Once it looks visibly lighter, add that single egg yolk and the vanilla. Mix just until you don’t see streaks anymore. Scrape down those sides often, trust me!
Piped Butter Cookies vs. Scooped Butter Cookies Dough Prep
Next, we gently bring in the dry ingredients—the flour and salt whisked together. Mix this on low speed until it *just* comes together. Stop the moment you can no longer see powder! Overmixing this dough is how you lose that melt-in-your-mouth quality, so give the mixer a rest.
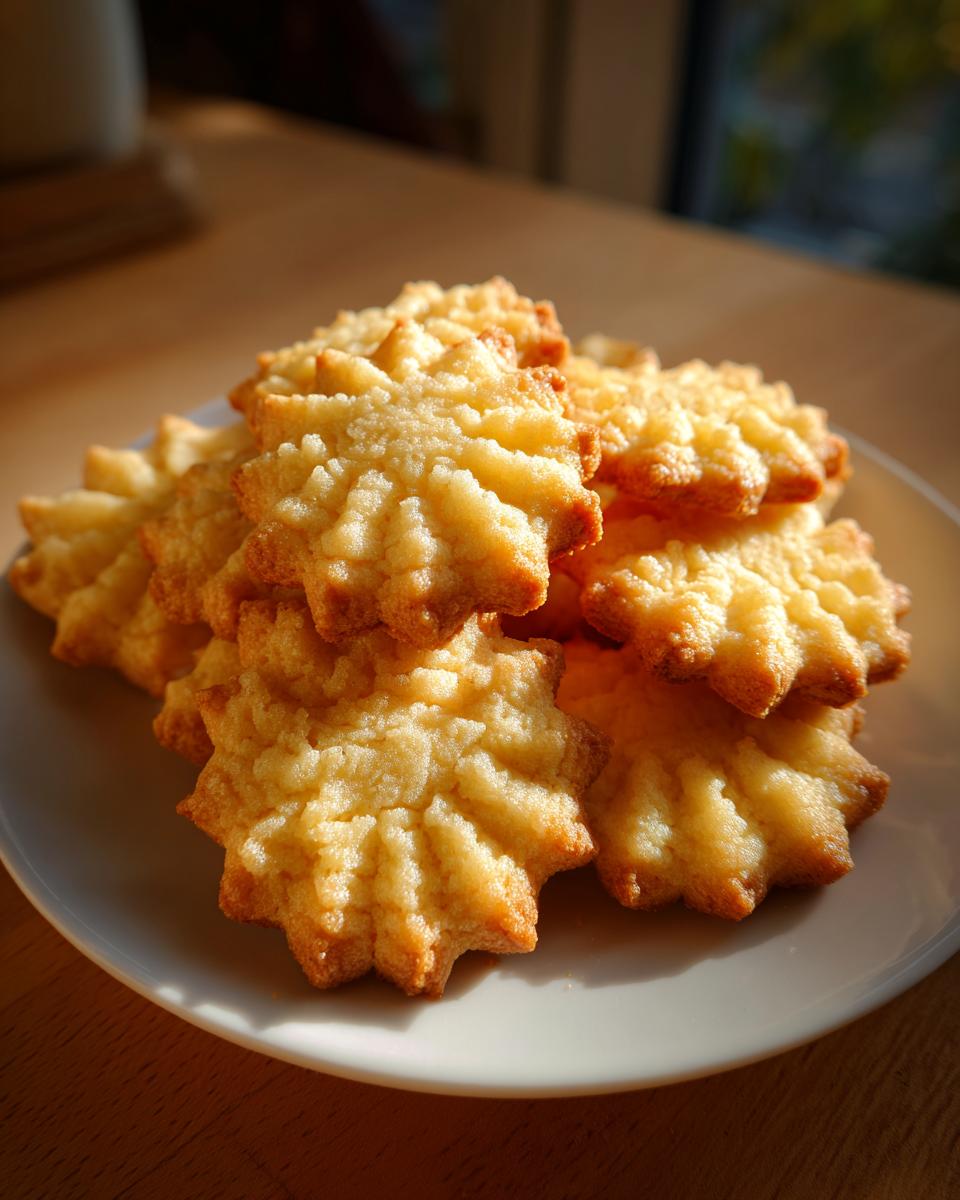
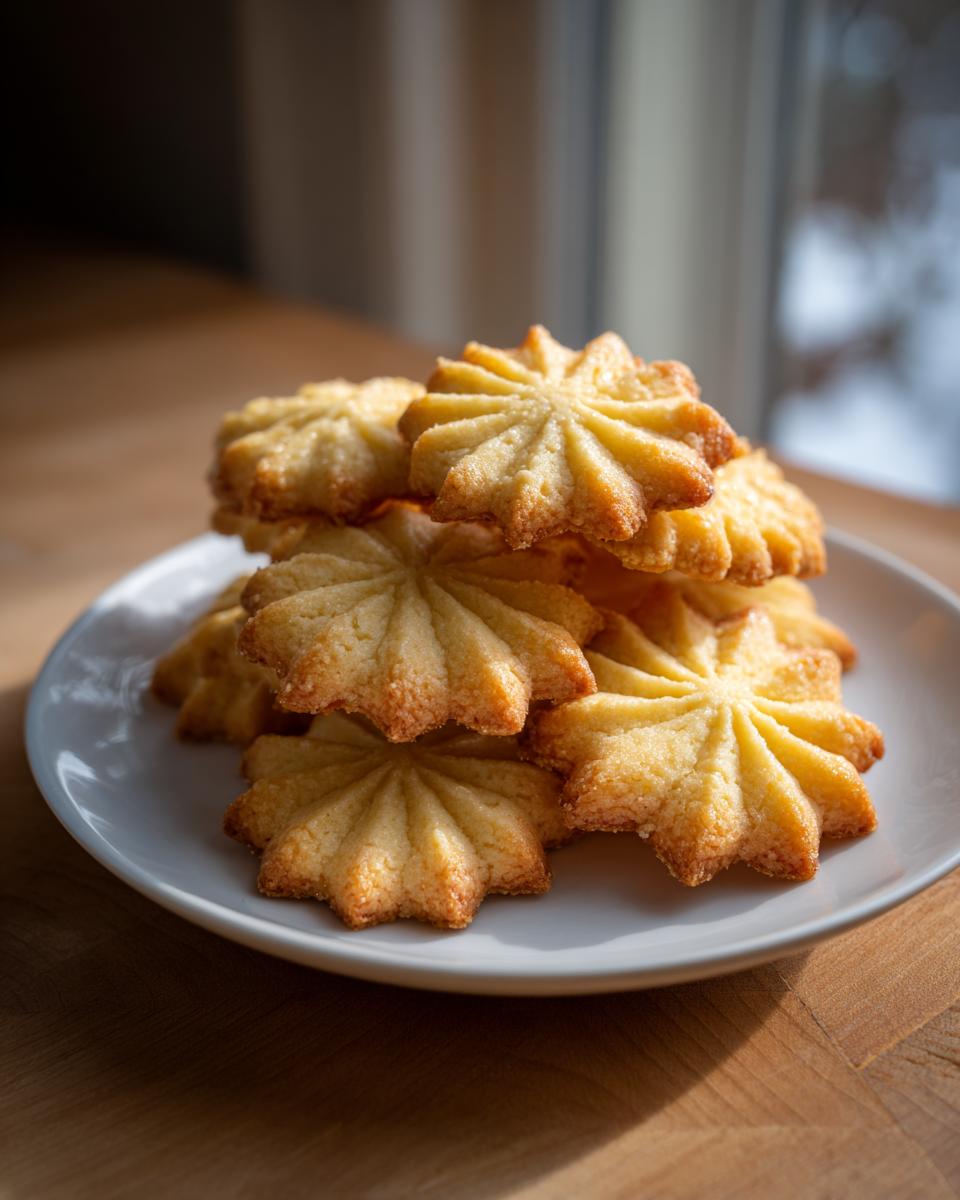
This is where you choose your adventure! If you want classic, rosette-shaped Piped Butter Cookies, you absolutely must chill this dough for a solid 30 minutes. Cold dough holds the beautiful shape when it hits the hot oven. If you prefer instant gratification and want rustic Scooped Butter Cookies, you can skip the chill and move straight to shaping them on your parchment paper. Either way, just try not to overwork it as you scoop or pipe them out!
Baking and Cooling Your Homemade Butter Cookies
Now for the fun part—making these beautiful butter cookies appear in your oven! Get your oven preheated to 350°F (175°C). Whether you piped beautiful stars or simply dropped spoonfuls, you’ll arrange them on sheets lined with parchment paper. Give them about 2 inches of space between each one because they relax just a little bit as they bake.
You are looking for visual cues here: bake them for 10 to 14 minutes. I know, that’s a range, but you want those edges to just barely turn light golden brown. Don’t let them go fully brown, or you’ll lose that soft center we worked so hard for! The second they come out, leave them right there on that hot baking sheet for about five minutes. This resting time lets the tender structures set up slightly so they don’t fall apart when you try to move them.
After that five minutes, gently slide the cookies onto a wire rack to finish cooling completely. Seriously, don’t rush this cooling stage. If you stack warm cookies, the steam gets trapped, and your beautiful creations become soggy. Patience here means totally crisp, perfect Homemade Butter Cookies!
Tips for Perfect Holiday Butter Cookies Baking
When you’re stacking these butter cookies onto trays for holiday gifts, presentation really matters! Since these are Buttery Cookies From Scratch, we want them to look as good as they taste. If you’re aiming for that super popular look, wait until they are completely cool—and I mean totally stone cold—before you even think about decorating or packaging them.
If you want a festive upgrade for your holiday trays, definitely try dipping them! Just melt some good quality white or dark chocolate and dip about a third of each cookie. If you set them on parchment paper, you can sprinkle on some crushed peppermint or nonpareils immediately before the chocolate sets. It looks amazing and really elevates them from simple treats to showstoppers! For more ideas centered around the most wonderful time of the year, you must check out my collection of Christmas Cookie Recipes.
Making Buttery Cookies From Scratch for Gifting
These cookies actually hold up really well for gifting, which is a huge bonus when you’re baking ahead of time. The key is keeping them dry. Once they are fully cooled, stack them gently in tins layered with wax paper. Don’t pack them down! They are sturdy enough to handle travel, especially if you opt for the slightly crisper version achieved by baking closer to 14 minutes.
You can find other fantastic ideas for presenting seasonal classics, like the chocolate-dipped style mentioned in one of the references I saw about classic butter cookies. They look so impressive and use the same base dough we just mastered. They are truly lovely little gifts!
Storage and Keeping Your Butter Cookies Fresh
I know you won’t want to stop eating these butter cookies immediately, but saving some for later is smart planning! Since this recipe includes that wonderful egg yolk, they are a bit richer than traditional shortbread, which benefits from airtight storage. For the best texture—that perfect balance between soft and crumbly—you absolutely need an airtight container.
Keep them stored at room temperature, never in the fridge, as the cold air can dry them out quickly. If you’ve made the softer version by baking them for less time, try layering them with a small piece of wax paper between the stacks so they don’t stick together. These are so good, though, that I doubt you’ll need my advice on how to keep them fresh for long. If you want tips on keeping other baked goods soft, take a look at my post on chewy Oatmeal Raisin Cookies!
Frequently Asked Questions About Classic Butter Cookies
I’ve gathered a few questions I regularly get about these light, delicate cookies based on what you all have been asking in the comments. Sometimes the smallest details can either make or break a batch of Simple Cookie Recipes like this one, so let’s clear everything up!
Can I substitute shortening for butter in these butter cookies?
Oh, I understand the temptation to swap ingredients, especially if you’re low on butter! You certainly *can* use shortening, but I strongly advise against it if you want the “melt-in-your-mouth” experience. Butter brings essential dairy flavor and a specific type of richness that shortening just doesn’t have. If you substitute, your Buttery Cookies From Scratch will likely feel slightly spongier and won’t have that deep, decadent flavor we are aiming for. Keep the butter in for the best results, I promise!
How do I get the classic round shape if I don’t have a piping bag?
That’s a great question for folks who want that classic look but maybe don’t want to pull out the piping bag and star tips! If you are making Scooped Cookies but still want a prettier shape, here’s my trick: use a standard tablespoon for scooping, then take the back of a fork and press down lightly on the top of the mound to flatten it just a touch. It gives you a lovely, slightly crinkled texture that still looks beautiful stacked on a plate. It’s a very easy way to get a great look without extra tools!
Are these butter cookies similar to shortbread?
They are certainly in the same family! Both are wonderfully buttery, but traditional shortbread is famous for having only three ingredients: flour, butter, and sugar. What sets our recipe apart is the inclusion of that single egg yolk and the vanilla. That egg yolk acts as a slight binder and adds richness, making these cookies tender and more likely to stay together when handled, unlike some very delicate shortbreads that can crumble if you look at them funny! They aren’t quite as crisp as true shortbread, leaning more toward soft, rich perfection.
If you want to know more about my kitchen philosophy moving forward, please pop over to my About Page!
Nutritional Estimates for Simple Cookie Recipes
I always get asked about the numbers behind the sweetness. While I focus primarily on flavor and making sure these recipes are reliable for home cooks, I know keeping track of macros is important for many of you! Here are the estimated values based on the ingredients list for these Simple Cookie Recipes. Remember, this data is just a guideline; if you dip them in chocolate or use a different type of sugar, the totals will shift around!
For one cookie (assuming 3 dozen yield):
- Serving Size: 1 cookie
- Calories: 120
- Sugar: 8g
- Sodium: 45mg
- Fat: 7g
- Saturated Fat: 4g
- Unsaturated Fat: 3g
- Trans Fat: 0g
- Carbohydrates: 13g
- Fiber: 0g
- Protein: 1g
- Cholesterol: 25mg
I work hard to source ingredients locally when I can, but without laboratory testing every single batch I make, these figures are always estimates. Think of this as a helpful benchmark while you enjoy every single bite!
Share Your Perfect Butter Cookies Creations
Now it’s your turn! Tell me everything about your batch of butter cookies. Did you try the piping versus the scooping method? I absolutely love seeing how they turn out, especially when you deck them out for the holidays. Please leave a star rating right down below and drop any questions about your experience in the comments. If you need to send me a picture of your beautiful work, you can always reach out through my Contact Page!
PrintClassic Melt-In-Your-Mouth Butter Cookies (Easy Recipe)

Make classic, buttery cookies that melt in your mouth using simple pantry ingredients. This easy recipe works perfectly for scooping or piping, making it ideal for holidays or everyday snacking.
- Prep Time: 15 min
- Cook Time: 14 min
- Total Time: 29 min
- Yield: 3 dozen 1x
- Category: Dessert
- Method: Baking
- Cuisine: American
- Diet: Vegetarian
Ingredients
- 1 cup (2 sticks) unsalted butter, softened
- 1 cup granulated sugar
- 1 large egg yolk
- 1 teaspoon vanilla extract
- 3 cups all-purpose flour
- 1/2 teaspoon salt
Instructions
- Beat the softened butter and sugar together in a large bowl until the mixture is light and fluffy. This takes about 3 minutes with an electric mixer.
- Beat in the egg yolk and vanilla extract until just combined. Scrape down the sides of the bowl as needed.
- In a separate bowl, whisk together the flour and salt.
- Gradually add the dry ingredients to the wet ingredients, mixing on low speed until the dough just comes together. Do not overmix.
- If you plan to pipe the cookies, chill the dough for at least 30 minutes. If you plan to scoop, you can proceed immediately.
- For scooped cookies: Drop rounded tablespoons of dough onto baking sheets lined with parchment paper, spacing them 2 inches apart.
- For piped cookies: Transfer the dough to a piping bag fitted with a large star tip. Pipe desired shapes onto parchment-lined baking sheets.
- Bake in a preheated oven at 350°F (175°C) for 10 to 14 minutes, or until the edges are lightly golden brown.
- Let the cookies cool on the baking sheet for 5 minutes before transferring them to a wire rack to cool completely.
Notes
- For a Danish butter cookie flavor similar to the blue tin, use 1/2 teaspoon almond extract along with the vanilla extract.
- If you want soft butter cookies, slightly reduce the baking time to 10 minutes.
- You can dip the cooled cookies halfway into melted chocolate and add sprinkles for a festive touch.
Nutrition
- Serving Size: 1 cookie
- Calories: 120
- Sugar: 8
- Sodium: 45
- Fat: 7
- Saturated Fat: 4
- Unsaturated Fat: 3
- Trans Fat: 0
- Carbohydrates: 13
- Fiber: 0
- Protein: 1
- Cholesterol: 25