
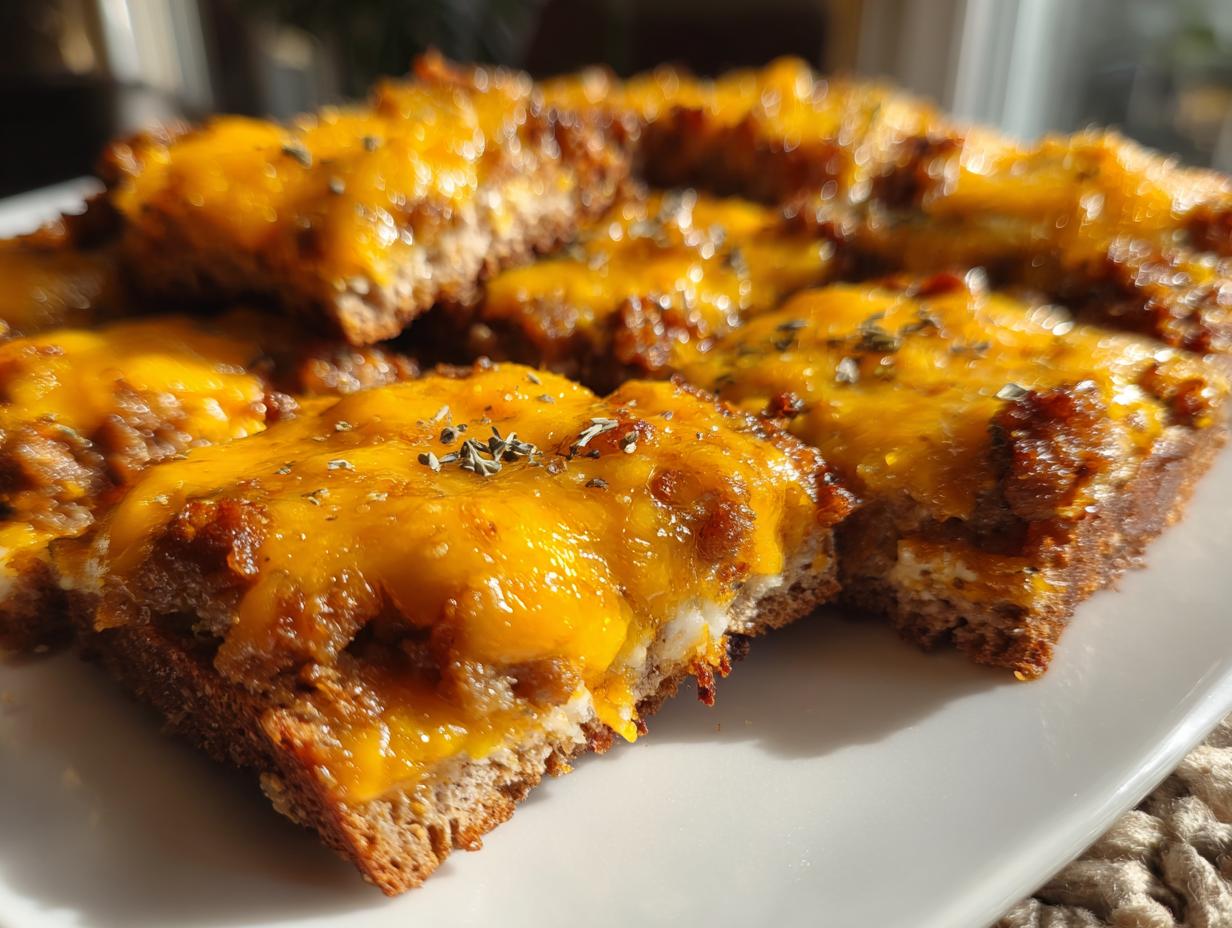
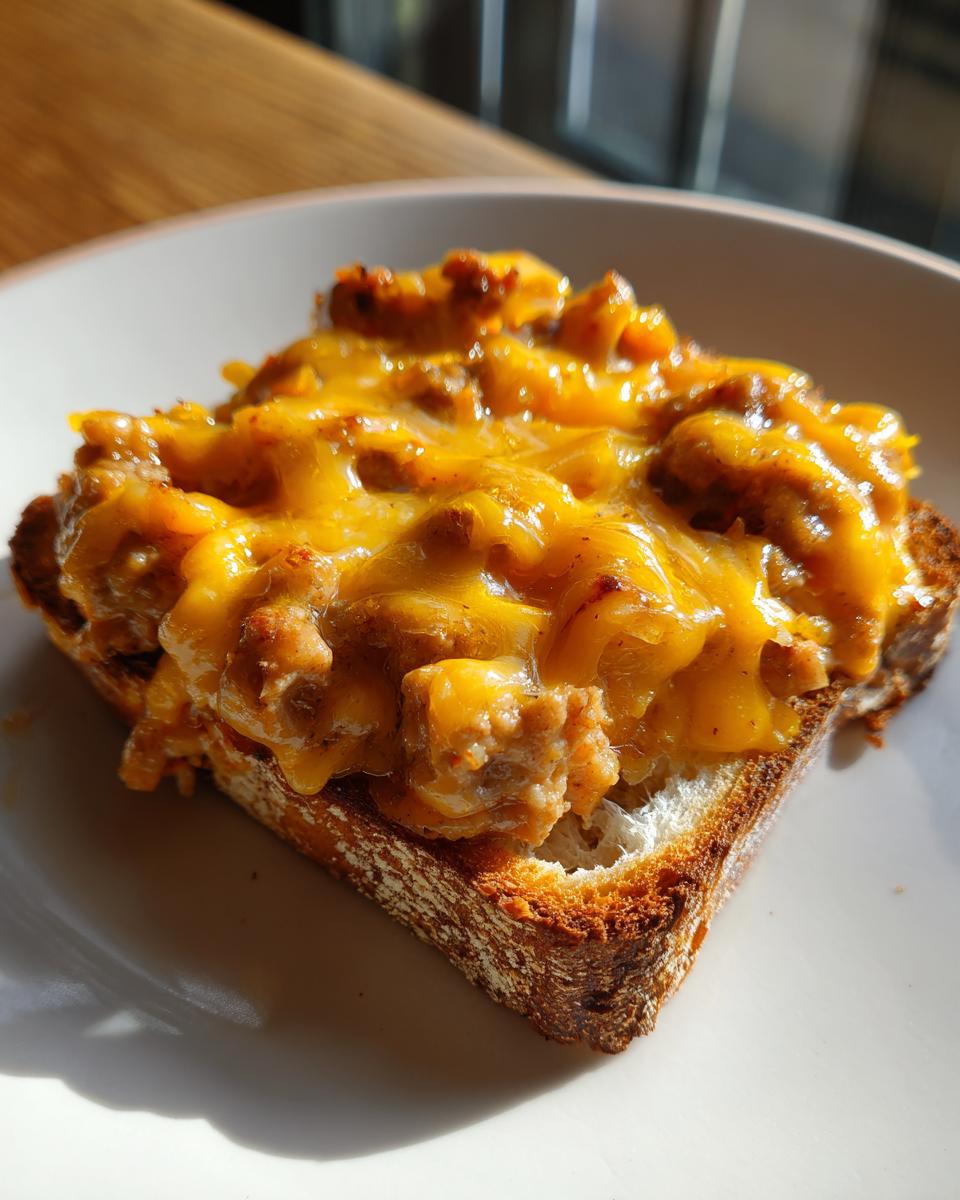
The holidays are wonderful, but let’s be honest: planning that perfect spread of appetizers can feel stressful! You want something that tastes amazing and satisfies everyone, but you absolutely do not have time for fussy recipes. That’s why I’m thrilled to share my tried-and-true **hanky panky recipe**. This isn’t just any snack; it’s that wonderfully cheesy, savory bite that brings back all the best memories of old-school parties. When I host, I always need one dish that disappears first, and this rich, creamy spread baked onto toasted rye bread always wins. Trust me, this incredibly easy recipe guarantees you’ll have a guaranteed crowd pleasing party food ready in under 30 minutes!
- Why This is the Best Hanky Panky Recipe for Your Next Gathering
- Gathering Ingredients for Your Hanky Panky Recipe
- How to Prepare the Perfect Hanky Panky Recipe
- Tips for Success with Your Retro Appetizer Ideas
- Make Ahead Appetizers: Preparing Your Hanky Panky Recipe Early
- Serving Suggestions for This Crowd Pleasing Party Food
- Storage and Reheating Instructions for Leftover Hanky Panky
- Frequently Asked Questions About the Hanky Panky Recipe
- Estimated Nutritional Data for This Easy Appetizer Recipe
Why This is the Best Hanky Panky Recipe for Your Next Gathering
If you’re tired of recipes that promise the world but deliver mushy messes, I get it! This formula is gold because it’s ridiculously reliable. It’s the ultimate Easy Appetizer Recipe because it just *works*, every single time, making it a true Crowd Pleasing Party Food. I’ve tested this combo dozens of times, and it never fails!
- Perfectly balanced savory and cheesy topping.
- Sturdy bread base that holds up beautifully.
- Minimal ingredients, maximum flavor impact.
If you love this kind of savory bite, you absolutely have to check out my cheesy jalapeño poppers recipe next!
Quick Prep Time for Simple Game Night Snacks
Speed is everything when you’re hosting. You only need about 15 minutes to get everything mixed together. Seriously, you can mix the filling while the oven preheats! Since the total time is under 30 minutes, this is a lifesaver when you realize guests are arriving soon. This is truly the definition of Simple Game Night Snacks.
Reliable Results: Our Tested Hanky Panky Recipe
I don’t put anything on this site that hasn’t been tested until I’m kicking myself for not making it sooner! This classic hanky panky recipe uses the perfect ratio of cream cheese to sharp cheddar. That balance keeps the topping creamy and luscious while it bakes, making it an essential among my holiday appetizer classics.
Gathering Ingredients for Your Hanky Panky Recipe
Okay, let’s get organized! The beauty of this recipe is that uses pantry staples, which makes it such a fantastic Hot Cheesy Dip Recipe without even being a dip! You’ll need the basics: the sausage, the cheeses, and those key seasonings for depth. Grab your list, and we’ll chat about those ingredients in a second.
If you’re thinking about other great cheesy spreads, make sure you check out my foolproof cheese ball recipe next!
Ingredient Notes and Substitutions for Cheesy Party Snacks
A few quick notes here—don’t cheat on the cream cheese! It absolutely must be softened to room temperature, otherwise, you’ll get little cold lumps in your filling. I usually call for pork sausage, but feel free to use ground beef if pork isn’t your favorite. Since this is a classic hanky panky recipe, some people absolutely swear by using Velveeta instead of the sharp cheddar for an extra gooey texture, so use what you love best!
How to Prepare the Perfect Hanky Panky Recipe
This is where the magic happens, and honestly, it moves fast! Before you even touch the skillet, get your oven cranking to 350 degrees F and lightly grease up that baking sheet. We want easy cleanup later, trust me! If you love baked appetizers, check out my amazing stuffed mushrooms recipe for serving ideas!
Cooking the Meat and Creating the Hot Cheesy Dip Recipes Base
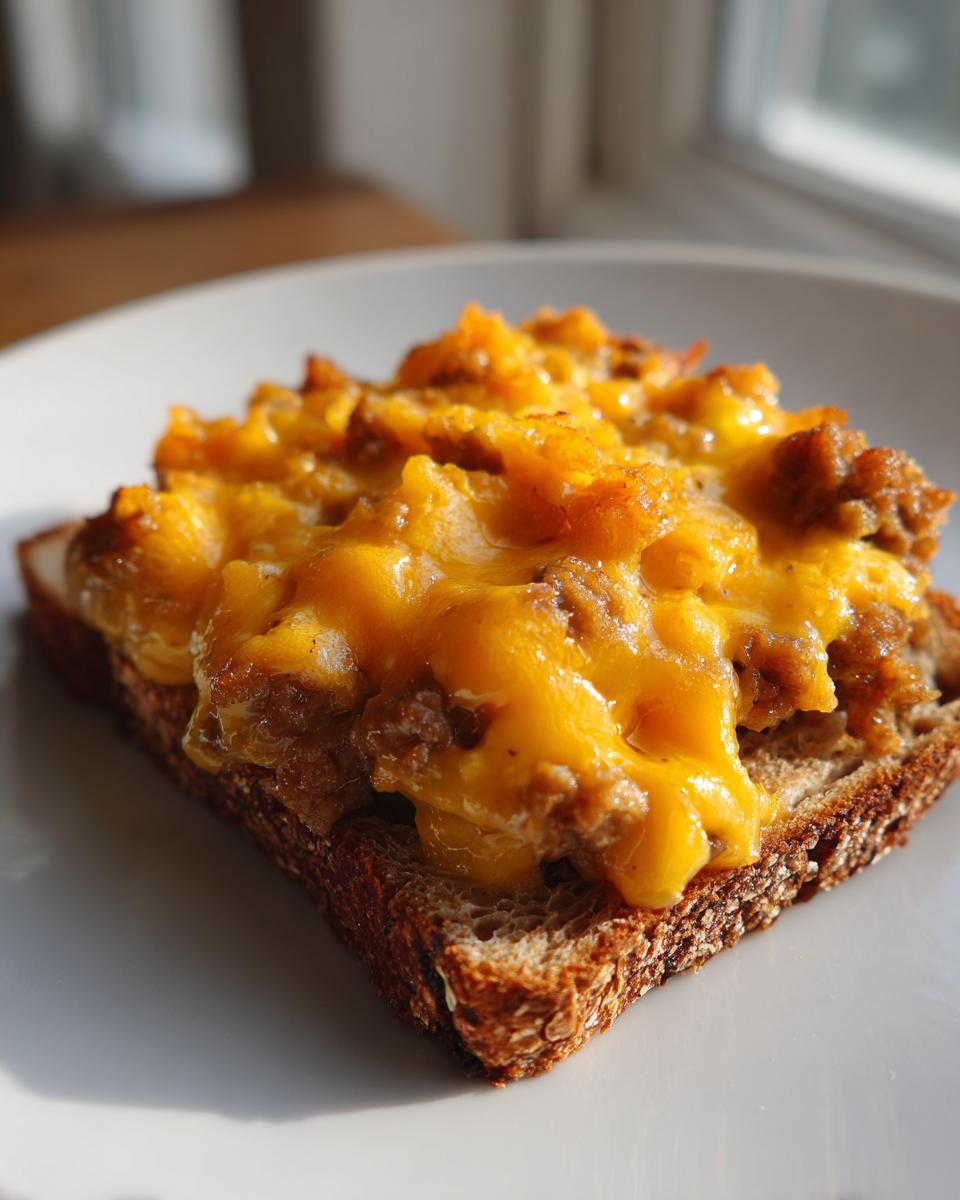
First things first: brown up that sausage—or ground beef, if you went that route—in a skillet over medium heat. This next part is non-negotiable for the best texture: you must completely drain off every drop of excess grease when it’s done cooking! Soggy bites are the enemy here. Once drained, turn the heat way down to low. Now, toss in your softened cream cheese, the sharp cheddar, Worcestershire sauce, and all those little spices—onion powder, garlic powder, salt, and pepper. Stir constantly until it melts into one smooth, luscious mixture. It should look like the most decadent, savory spread you’ve ever seen.
Assembly and Baking: Achieving Toasted Appetizers on Bread
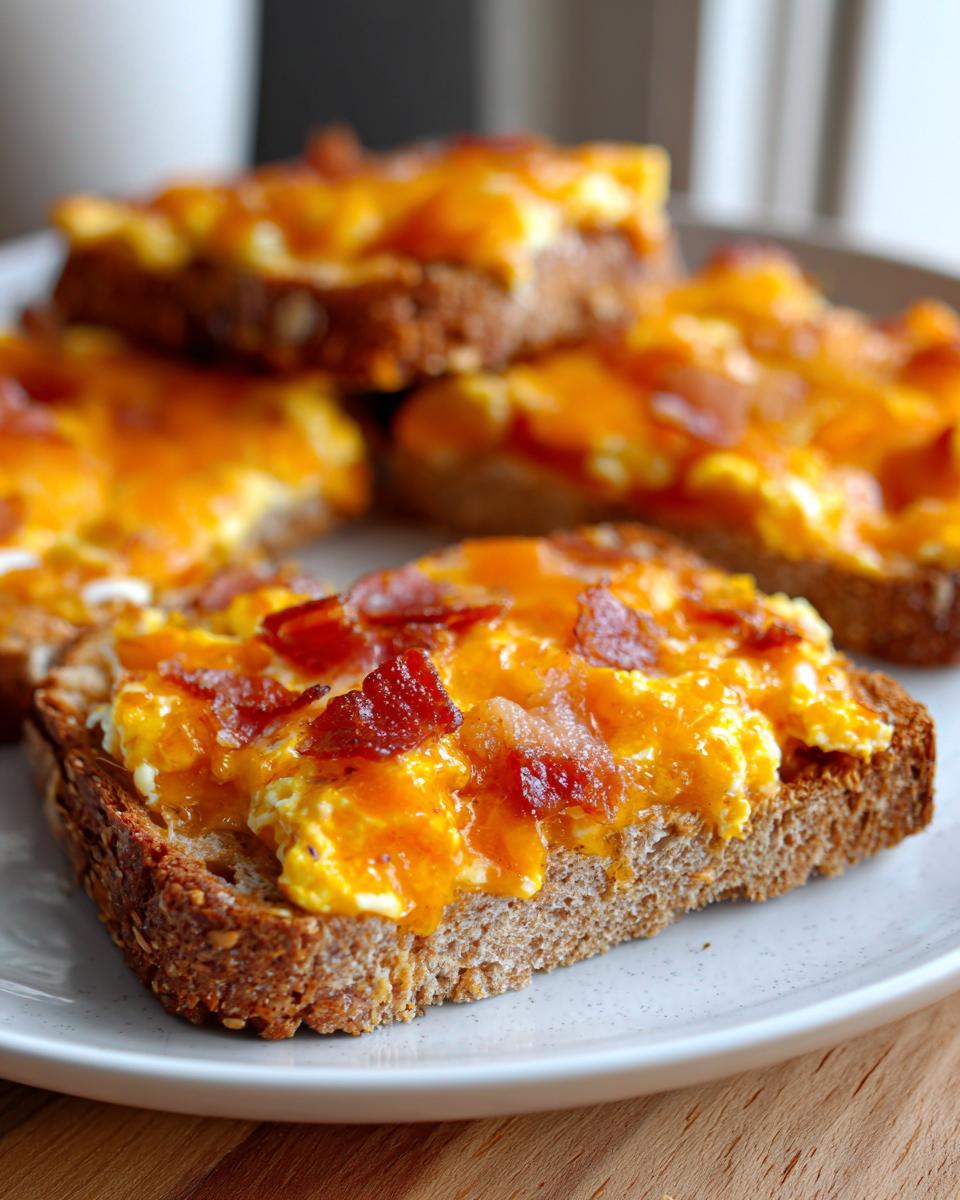
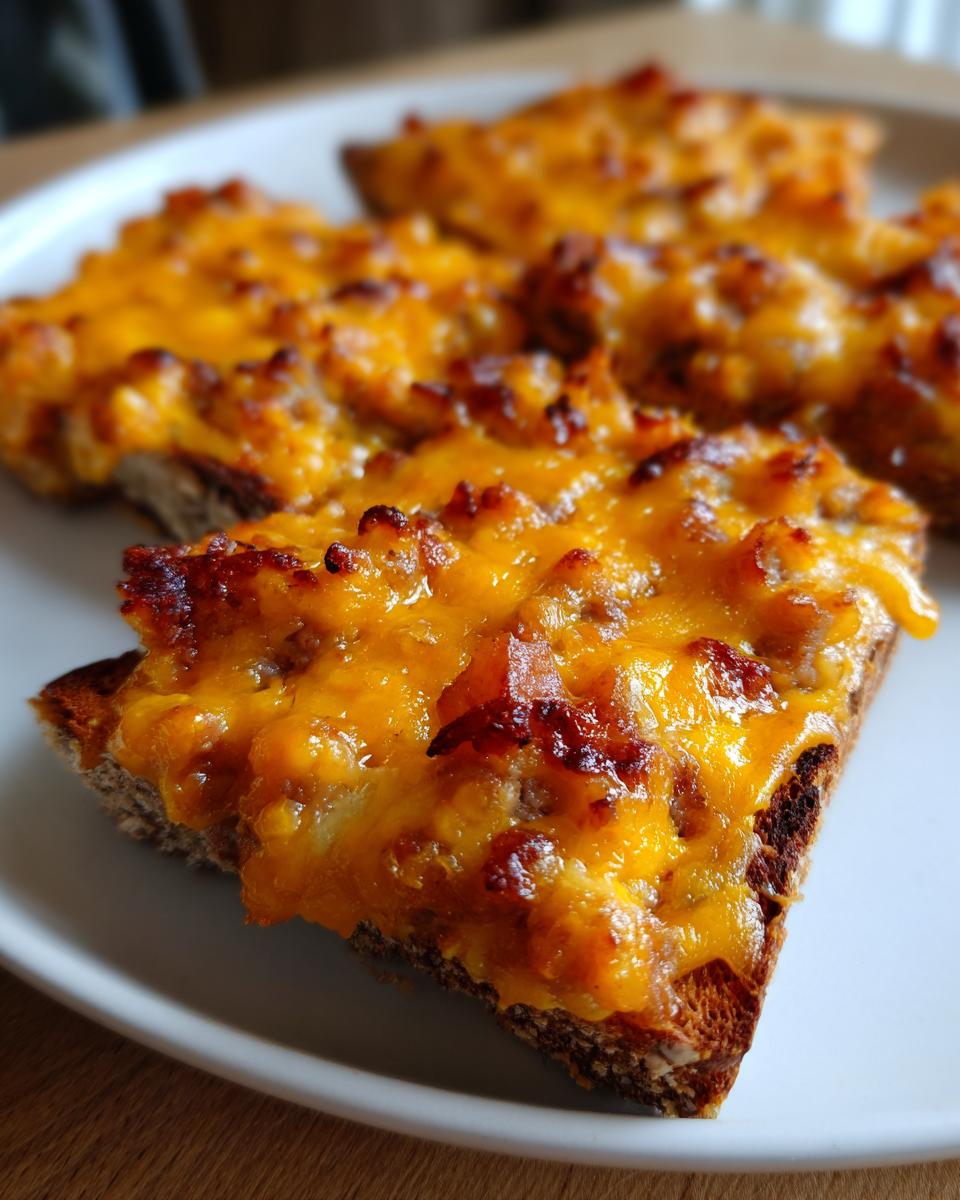
Time to build these beauties! Take your sliced pumpernickel or rye bread and spread a generous scoop of that hot, cheesy mixture right on top of each piece. Don’t be shy! Arrange them nicely on your prepped baking sheet. Pop them into the hot oven for just 10 to 12 minutes. You are looking for that bubbly top and just a hint of golden toastiness around the edges of the bread. Remember, these **cheesy party snacks** are best served piping hot right out of the oven!
Tips for Success with Your Retro Appetizer Ideas
Even though this is one of the easiest appetizer recipes out there, a couple of little tips can take your Hanky Panky from good to legendary. Since these are Old School Party Favorites, people have high expectations! My main goal here at Kings Cook is to ensure you master the technique so you feel like a total pro when they come out of the oven.
First, let’s talk bread choice, because it makes a difference! Pumpernickel or rye are the traditional route, and they offer a sturdy base that stands up well to the heavy topping. If you use thin white bread or crackers, you have to watch them like a hawk because they burn so quickly. The thicker bread absorbs a little bit of that wonderful cheesiness without collapsing, which is really what you want.
Another crucial step, which I mentioned before but it bears repeating for this hanky panky recipe, is draining the meat fat! If you skip that step, you end up with grease pooling on your baking sheet. That moisture has nowhere to go, and it’ll make your bread soggy instead of giving you that lovely toasted edge we’re aiming for.
If you’re looking for another incredibly reliable party recipe that always gets rave reviews, you absolutely need to try my famous deviled eggs recipe. It’s another one of those classics that just belongs at every gathering!
Make Ahead Appetizers: Preparing Your Hanky Panky Recipe Early
I know, I know—sometimes you just can’t prep everything the day of the party. Life happens! The fantastic news is that this hanky panky recipe is wonderful for planning ahead. You don’t have to stress about mixing that creamy spread right before guests arrive.
You can totally get that meat and cheese mixture done ahead of time. Just follow the recipe right up until the baking step. Once everything is mixed smoothly in the skillet (that gorgeous, thick spread!), you just need to transfer it into an airtight container. I usually use a glass container so I can see what needs using up later!
Here’s the key detail: you can safely store that pre-made mixture in your refrigerator for up to two whole days. That gives you plenty of cushion room before your big game night or holiday event. Then, when you’re ready to serve those amazing Make Ahead Appetizers, just take it out, spread it thickly onto your bread slices, and bake as directed!
It’s such a relief to know that one of your best party snacks is already done! If you’re planning appetizers for a crowd, you might also want to prep my pigs in a blanket recipe the day before, too. Two make-ahead wins!
Serving Suggestions for This Crowd Pleasing Party Food
These Hanky Pankies are rich, salty, and warm, making them the star of any food table, whether it’s for a huge tailgate or just a cozy holiday get-together. Because they hit that savory, cheesy sweet spot, they can stand up to almost anything you serve alongside them!
If you’re making these for a game day spread, you need things that are easy to grab, but something fresh helps cut through the richness of this hanky panky recipe. I always make sure to put out a big platter of crisp veggies—think cucumber slices, celery sticks, and bell pepper strips. It offers a lovely textural contrast to the soft, melted topping.
For holiday parties, since these are such a fantastic addition to your Crowd Pleasing Party Food lineup, consider balancing them with something bright and acidic. You could make a bowl of my bruschetta recipe; the fresh tomatoes and basil are the perfect foil to the creamy sausage and cheese. Even a simple side of cranberry sauce, which you usually leave out for Thanksgiving turkey, works surprisingly well here!
Remember, since these bites are fairly heavy, you don’t need a ton of other dipping sauces, but a small bowl of something sharply acidic, like a quick homemade pickle relish or even a little dollop of spicy mustard on the side, keeps things interesting for guests who come back for seconds!
Storage and Reheating Instructions for Leftover Hanky Panky
Nobody expects a batch of these amazing appetizers to last long, but let’s be real—sometimes we make too much, or sometimes you just hide a few pieces away for yourself the next day! If you happen to have any of these savory bites left over, storage is simple, but reheating takes a tiny bit of care to keep that delicious texture.
When storing leftovers, you want to cool them down completely first. Don’t put a hot tray of food straight into the fridge; that just steam-cooks everything and encourages sogginess. Once they’re cooled, place them in a microwave-safe container. They should be covered tightly, either with a lid or plastic wrap, to keep them fresh. I always say these are best eaten the day they are made, but they hold up well in the refrigerator for about three to four days, max.
The Best Way to Reheat Hanky Panky
Okay, here is where we talk about texture restoration. While you *could* zap these in the microwave, I strongly advise against it. Microwaving melted cheese just turns it back into rubber, and your bread will go totally floppy. That crispy edge we worked so hard for will vanish!
The absolute best method is using your oven or toaster oven. Preheat it to about 325 degrees F. You don’t need to grease anything. Just arrange the cold Hanky Pankies on a baking sheet in a single layer. Pop them in and let them roast for about 8 to 10 minutes. This gentle heat warms the cheese filling all the way through while drying out the bread just enough to bring back that perfect, satisfying toasted crumb. Take them out right when the cheese starts sizzling again. They’ll taste almost as good as fresh!
Frequently Asked Questions About the Hanky Panky Recipe
It’s so normal to have questions when you’re trying a new recipe, even a simple one like this famous **hanky panky recipe**! I get asked the same things over and over again about these fantastic, rich, Old School Party Favorites. I want to make sure you feel totally confident serving these Savory Bites for Game Day, so I pulled together the most common things folks ask me below!
Can I use crackers instead of bread for this hanky panky recipe?
Oh, great question! Yes, you absolutely can! I’ve seen people use sturdy water crackers or even pita chips with fantastic results. The main thing you need to remember when you swap out white bread or pumpernickel for crackers is that crackers are much thinner and dry out way faster in the oven. If you use crackers, drop your baking time down—I’d start checking them around the 7-minute mark. You don’t want them to burn before the topping is perfectly hot and bubbly!
What is the best way to keep these savory bites warm during a party?
This is the eternal party host dilemma, right? Since these are best served hot, you have a couple of options. If you are hosting a long event, like a big Sunday watch party, the best bet is grabbing a dedicated warming tray or serving platter that keeps things just warm enough without continuing to cook them. If you don’t have one of those fancy gadgets, try this: take the Hanky Pankies out of the oven in small batches, maybe 15 at a time, and keep the rest warm in a turned-off oven with the door cracked slightly. That way, every guest gets a super hot, freshly warmed bite!
If you’re looking for another solid option for heavy appetizers that travel well, you should definitely look at my classic chicken fried steak recipe if you are serving a main course!
How long does the meat and cheese mixture last in the fridge?
I actually covered this a bit earlier, but it bears repeating because it’s such a time saver! You can absolutely make the creamy, cheesy meat mixture up to two full days ahead of time. Keep it covered tightly in the fridge. Just remember, when you go to use it, let it sit on the counter for about 20 minutes to soften just slightly before spreading it onto the bread. That slight tempering helps it spread evenly and bake nicely.
Estimated Nutritional Data for This Easy Appetizer Recipe
Now, I know what you’re thinking: these are delicious, classic, cheesy bites—so they probably aren’t exactly “light.” And you’d be right! This is definitely comfort food at its finest. But for the hosts tracking things for guests or just for pure curiosity, here is the estimated nutritional breakdown for one single Hanky Panky bite based on the ingredients list above.
Please take these numbers with a grain of salt, okay? As I always say, these are just estimates because every brand of sausage and cheddar cheese has slightly different fat and sodium content. If you use low-fat cheese or turkey sausage instead of pork, those numbers will swing a bit. But this gives you a good baseline for this incredible Hanky Panky Appetizers dish!
- Serving Size: 1 bite
- Calories: 120
- Fat: 9g
- Saturated Fat: 4g
- Carbohydrates: 4g
- Protein: 7g
- Sugar: 1g
- Sodium: 280mg
See? Not too bad at all for something so incredibly flavorful and satisfying! It’s all about balance when you’re preparing for a crowd, and this savory bite brings plenty of flavor without weighing everyone down too much.
PrintClassic Hanky Panky Appetizers Recipe

You will make these easy, cheesy, savory bites for your next party. This retro appetizer uses sausage, cream cheese, and cheddar baked on rye bread.
- Prep Time: 15 min
- Cook Time: 12 min
- Total Time: 27 min
- Yield: About 30 bites 1x
- Category: Appetizer
- Method: Baking
- Cuisine: American
- Diet: Vegetarian
Ingredients
- 1 pound bulk pork sausage or ground beef
- 1 (8 ounce) package cream cheese, softened
- 1 cup shredded sharp cheddar cheese
- 1 teaspoon Worcestershire sauce
- 1/2 teaspoon onion powder
- 1/4 teaspoon garlic powder
- 1/4 teaspoon salt
- 1/8 teaspoon black pepper
- 1 loaf pumpernickel or rye bread, sliced into small squares or triangles
Instructions
- Preheat your oven to 350 degrees F. Lightly grease a baking sheet.
- In a large skillet over medium heat, cook the sausage or ground beef until it is fully browned. Drain off all the excess grease completely.
- Return the cooked meat to the skillet. Reduce the heat to low.
- Add the softened cream cheese, shredded cheddar cheese, Worcestershire sauce, onion powder, garlic powder, salt, and pepper to the meat.
- Stir the mixture constantly until all the ingredients are melted and fully combined into a smooth, creamy spread.
- Spread a generous layer of the meat and cheese mixture onto each piece of pumpernickel or rye bread.
- Arrange the bread pieces on the prepared baking sheet.
- Bake for 10 to 12 minutes, or until the cheese topping is hot and bubbly and the edges of the bread are lightly toasted.
- Serve these hot, cheesy party snacks immediately.
Notes
- For a make ahead option, prepare the meat and cheese mixture and store it covered in the refrigerator for up to two days. Spread onto bread and bake when ready to serve.
- If you prefer a slightly spicier flavor, add a dash of hot sauce to the cheese mixture.
- This recipe is a favorite for game day spreads and holiday appetizer classics.
Nutrition
- Serving Size: 1 bite
- Calories: 120
- Sugar: 1
- Sodium: 280
- Fat: 9
- Saturated Fat: 4
- Unsaturated Fat: 5
- Trans Fat: 0
- Carbohydrates: 4
- Fiber: 0
- Protein: 7
- Cholesterol: 30