
Oh, the heartbreak! You pull that beautiful pie out of the oven, anticipating that perfect slice, only to watch a watery, thin river of cherry goop run right off the plate. Trust me, I’ve been there more times than I care to admit when I first started Kings Cook. It used to drive me crazy! That’s why I’ve spent ages perfecting what I now call the best thick and juicy cherry pie filling you’ll ever make. Forget the can; this from-scratch recipe guarantees a filling so rich and flavorful, it’s going to redefine your entire dessert game. I want you to feel that confidence in your kitchen, just like I do now!
- Why This Homemade Cherry Pie Filling Recipe Works Every Time
- Gathering Ingredients for Your Easy Cherry Pie Filling Recipe
- How to Make Cherry Pie Filling: Step-by-Step Instructions
- Tips for Perfect Frozen Cherry Pie Filling Recipe Results
- Versatility: Using Your Cherry Pie Filling Beyond the Pie
- Ingredient Notes and Substitutions for Cherry Pie Filling
- Storage and Reheating Your Perfect Cherry Pie Filling
- Frequently Asked Questions About Making Cherry Pie Filling
- Share Your Sweet Tart Cherry Filling Creations
Why This Homemade Cherry Pie Filling Recipe Works Every Time
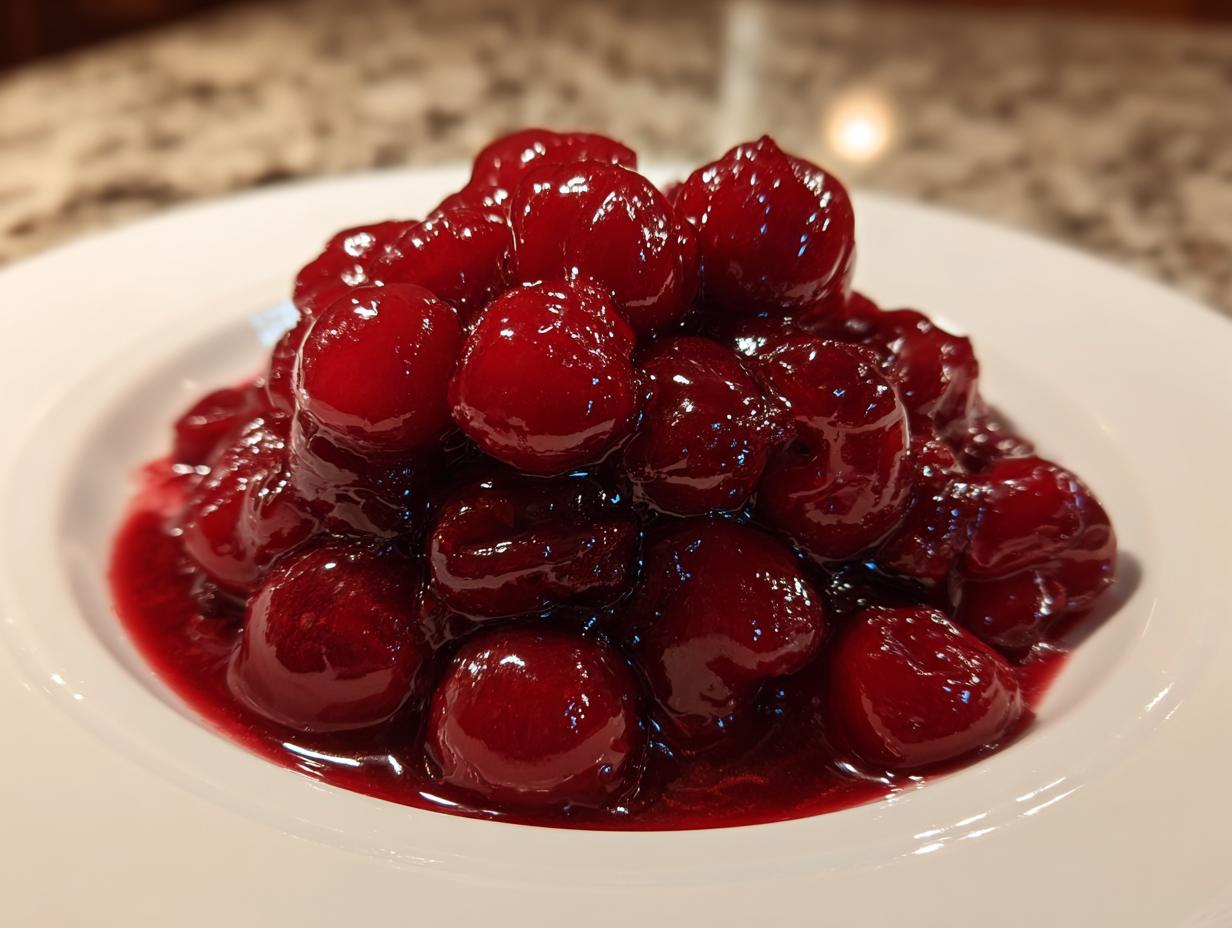
You see, the biggest complaint people have about homemade cherry pie filling is that runny texture, right? It sabotages the whole pie. But I want you to relax! My process here is rigorously tested—I mean, I made five batches one weekend just to get this ratio perfect. This recipe ensures you get that amazing, sliceable, thick cherry pie filling that holds its shape beautifully. You deserve a truly juicy cherry filling from scratch that doesn’t apologize for being delicious.
It’s not just about dumping things in a pot; it’s about understanding the chemistry, and I lay it all out for you so you can stop worrying about baking fails. This secret consistency is why people always ask for my pie recipe, which you can see right here!
Achieving Perfect Thickness: The Secret to No Run Cherry Pie Filling
The magic weapon here is simple: cornstarch. It’s what gives us that glorious, stable set. I am serious when I say—do not cut the cornstarch measurement down! If you think it looks a little pale or thin when you first mix it, don’t panic. That mixture *needs* that full cook time to activate. If you’re an absolute whiz in the kitchen and want a slightly less thick filling—maybe for topping ice cream—you can shave off maybe a single teaspoon, but for a true pie, stick to the formula. This is how we guarantee a no run cherry pie filling!
Sweet-Tart Balance in Your Cherry Pie Filling
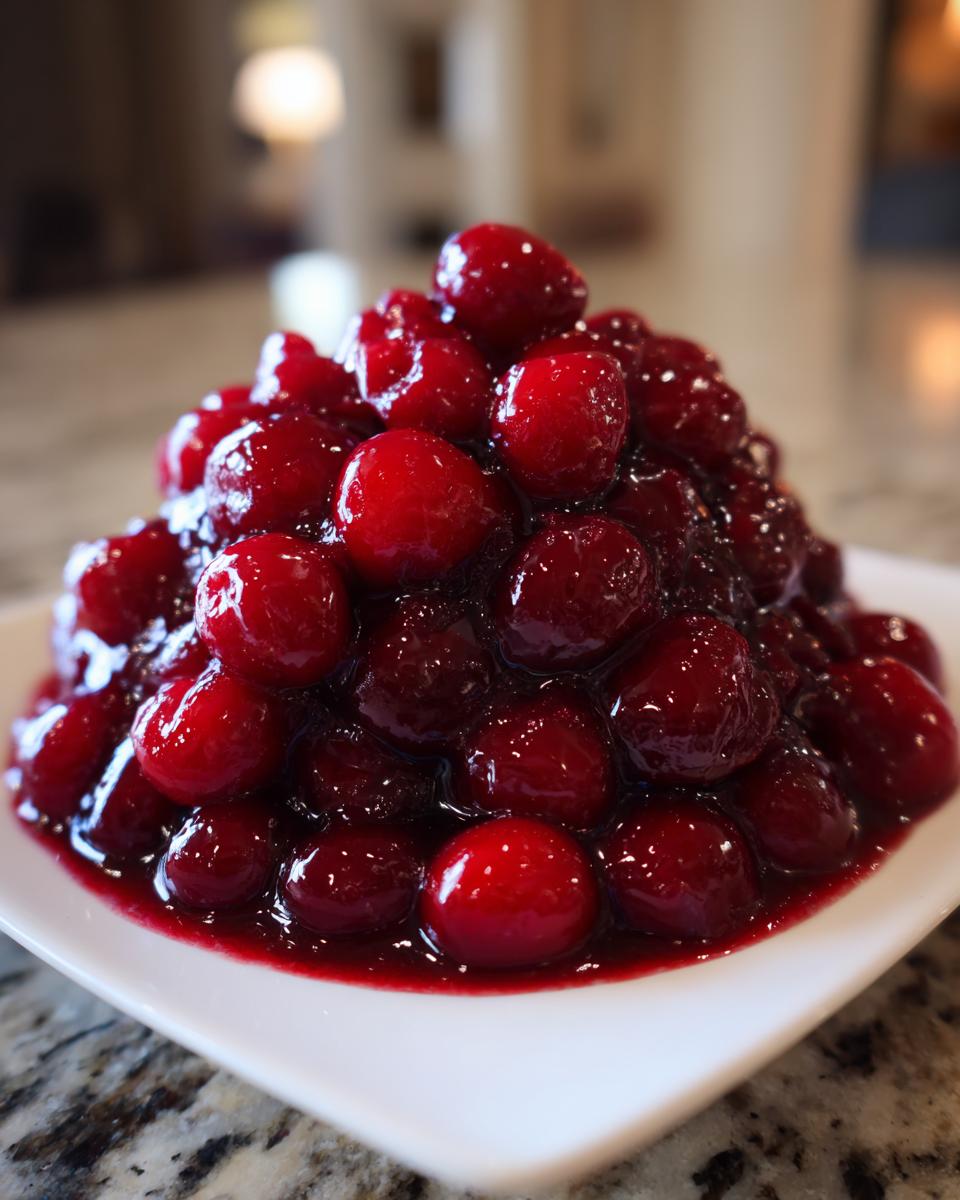
A great cherry pie isn’t just sweet; it needs that little *zing* to keep it interesting. That’s the balance we are aiming for in this cherry pie filling. While sweet cherries are great for snacking, I truly recommend using tart cherries if you can find them. Tart cherries offer a much more complex flavor profile once they cook down with the sugar. If you use sweet cherries, don’t be afraid to add that hit of lemon juice I list—it brightens everything up immediately.
Gathering Ingredients for Your Easy Cherry Pie Filling Recipe
Okay, now that we know this recipe is foolproof, let’s talk about what you need to grab! My promise here at Kings Cook is that you won’t need to go on a wild goose chase for ingredients, and this from scratch pie filling is no exception. This is honestly one of the simplest ways to elevate dessert, making it the definition of an easy cherry pie filling recipe.
You’ll need cherries, sugar, water, cornstarch (our thickness hero!), lemon juice, a little salt, and my secret flavor booster. If you want to see my favorite simple crunchy topping that pairs perfectly, check out my crisp recipe!
Ingredient Clarity: Specifics for Your Cherry Pie Filling
Because we are relying on precise ratios for texture, clarity here is everything. First off, make sure those cherries are pitted—no one wants an accidental tooth-breaker! Secondly, get your measuring cups out for the sugar; changing that measurement too much throws off the thickness we worked so hard for. When measuring the cornstarch, sweep off the top so it’s perfectly level.
The almond extract is totally optional, but wow, does it add a sophisticated depth that tastes wonderfully complex. Seriously, don’t skip it if you have it on hand! This level of detail is how we ensure your cherry pie filling turns out exactly right every single time.
How to Make Cherry Pie Filling: Step-by-Step Instructions
Alright, let’s get down to business! This is where the magic happens, and if you follow these steps closely, you’ll finally master how to make cherry pie filling that sings. Don’t let the stove intimidate you; we’re taking this slow and making sure every step sets us up for success, especially when it comes to that glorious thickness. Seeing your own beautiful filling simmer on the stove is half the fun!
Preparing the Starch Slurry for Thick Cherry Pie Filling
First things first, grab your medium saucepan—no need for anything fancy. You want to start by combining the dry team: the sugar and the cornstarch. Whisk these together really well before you do anything else. I mean it! If you see any little white clumps, you need to break them up now. This step is vital because we are creating our slurry base. Once those are fluffy, gently stir in the water until everything is completely smooth. This smooth base is your shield against lumpy, disappointing cherry pie filling later on. After that, toss in your cherries!
Cooking the Filling to Achieve Juiciness and Set
Now, place that pan over medium heat. This is where patience pays off—you have to stir constantly! Don’t walk away here, or you risk scorching that gorgeous sugar at the bottom. You’re looking for a visual cue that tells you, “Yep, it’s working!” Keep stirring until you see the mixture start to boil and thicken significantly. I mean *significantly*! That watery mixture will transform into something that clings to your spoon. This is the secret to that juicy cherry filling from scratch that bakes up perfectly in your double-crust pie. Once it hits that big, beautiful boil, keep it going for exactly one more minute, stirring fiercely the whole time. That extra minute fully activates the starch, giving you that gorgeous, sliceable, bakery style cherry filling!
Once that minute is up, pull the pan right off the heat. You want to quickly stir in your lemon juice, salt, and that wonderful hint of almond extract. This stops the cooking process immediately and locks in that bright flavor.
If you want to check out my whole guide on making incredible cherry pie from scratch, I walk through pairing this topping with my signature crust!
Cooling the Homemade Cherry Pie Filling
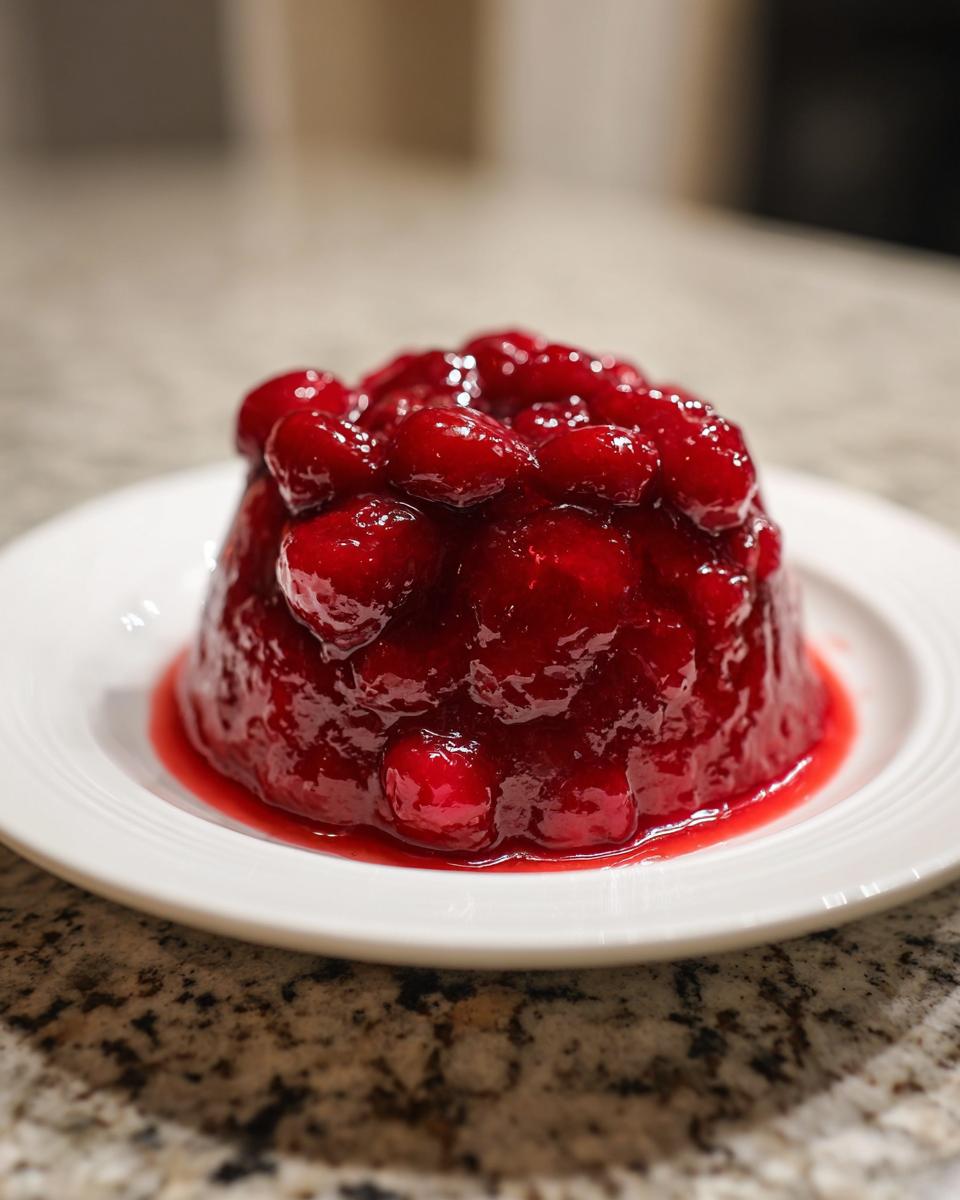
This might feel counterintuitive when you’re excited to bake, but you cannot skip the cooling wait! Seriously, patience is key for texture. If you try to pour this warm filling into your pie crust, it’s going to act like soup, and you’ll end up with that dreaded runny filling. The filling needs time at room temperature, and then preferably a chill in the fridge, for that starch structure to fully firm up. Once it’s completely cool, it will have the most wonderful, thick consistency, perfect for use in any of your favorite desserts. For more foolproof dessert recipes, feel free to browse my best desserts archive.
If you want to see how other bakers achieve perfection with their cooked fillings, take a peek at this great tutorial on homemade cherry pie filling—it’s always good to see a few ways to do things!
Tips for Perfect Frozen Cherry Pie Filling Recipe Results
One of the best things about this recipe is how accommodating it is! I know sometimes fresh cherries just aren’t available, or you need a super-fast dessert turnaround. That’s where the frozen cherry pie filling recipe twist comes in handy. My number one tip, based on watching so many people mess this up: Do NOT thaw those frozen cherries first! Seriously, resist the urge!
If you thaw them, they release all their juice prematurely, which messes up the starch balance you’ve carefully set up in the saucepan. Just dump them straight from the freezer into the sugar/cornstarch mixture. They act like little frozen ice cubes that slowly release their juices as the pan heats up, letting the cornstarch thicken things naturally. It ensures you still get that wonderfully juicy cherry filling from scratch texture, even using the frozen bags. You can see another great way to handle frozen cherries over at this tutorial!
Versatility: Using Your Cherry Pie Filling Beyond the Pie
Okay, you made this incredible, thick cherry pie filling, and you have extra because you love making big batches that freeze well. Fantastic! While this filling is absolutely destined for a flaky crust, honestly, it’s too good to keep locked up just for pie season. This is seriously the best cherry dessert topping you will ever have!
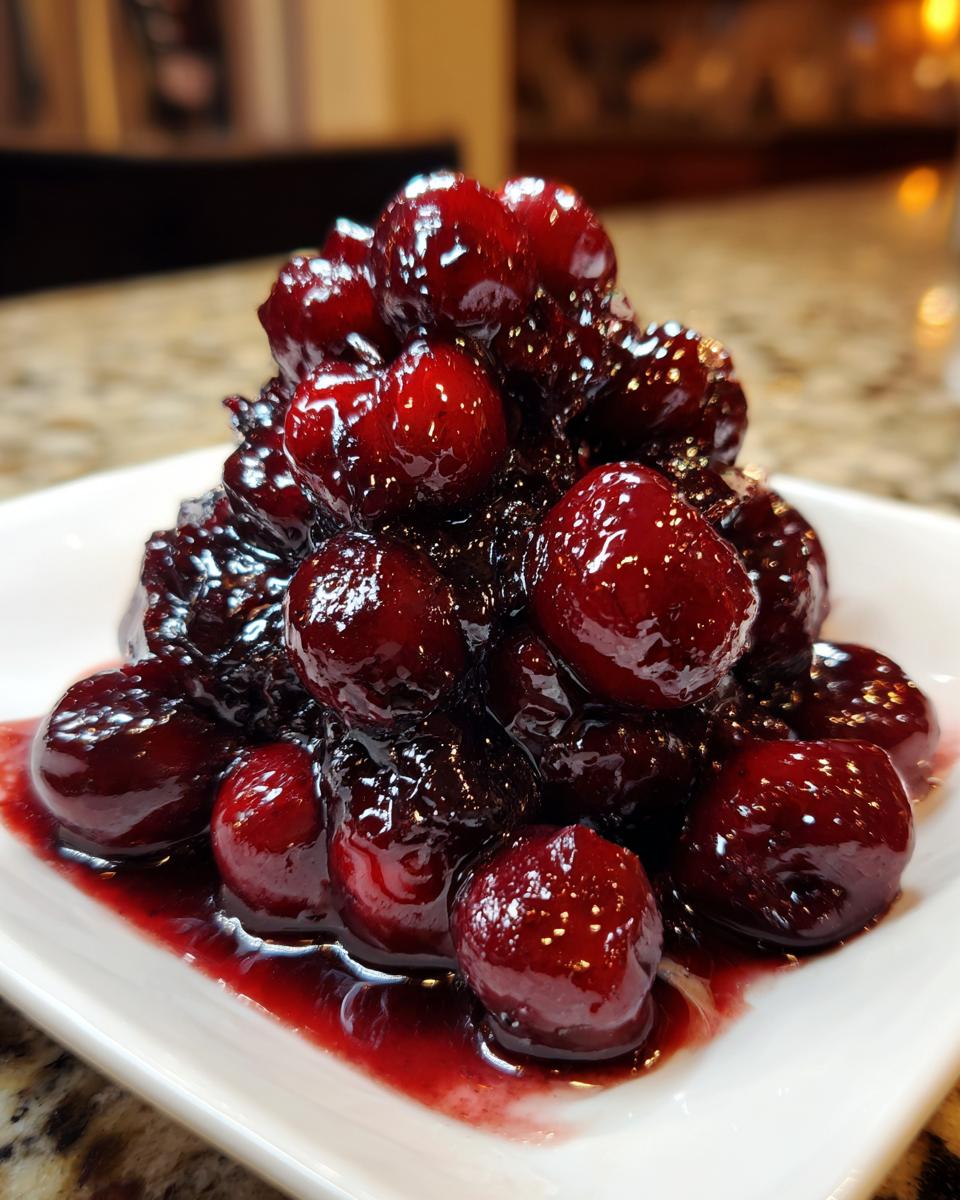
Think about it—that rich sweet-tart flavor elevates everything. I often pour warm spoonfuls over plain vanilla yogurt for a speedy breakfast that feels like dessert. It’s incredible spooned over pancakes or waffles on a slow weekend morning. And my absolute favorite use outside of a pie? Try mixing a bit with softened cream cheese to make an instant, beautiful pie filling for cheesecake topping. You can even use it to fill delicate crepes! Check out how I turn caramel apples into a showstopper if you need more dessert inspiration!
Ingredient Notes and Substitutions for Cherry Pie Filling
Part of feeling confident in the kitchen is knowing you can swap things out when you need to, right? Or knowing exactly what to do if you’re missing one tiny bottle of flavoring. I want you to feel totally in control of this cherry pie filling recipe, whether you’re staring down a bag of frozen fruit or you forgot to grab the almond extract. Remember, every recipe is a guideline, and knowing the *why* behind the ingredients helps you pivot.
I’ve put a lot of thought into which ingredients are absolutely non-negotiable—like the cornstarch ratio—and which ones give you a little wiggle room. If you love experimentation, you can adapt this recipe easily for different types of fruit too! If cinnamon rolls are more your speed, check out my apple cinnamon muffin recipe for a different kind of comfort baking.
Fresh Cherry Pie Filling vs. Frozen Cherry Pie Filling
I mentioned this briefly, but it bears repeating because it’s a huge component of making a good filling! If you are using fresh cherry pie filling, you might notice that your mixture starts out slightly less liquidy than if you used frozen. That’s because the fresh fruit holds its structure better before cooking starts. That’s totally normal!
With frozen cherry pie filling, those berries release a little more water as they warm up, which is why we insist on not thawing them—it helps us keep that liquid volume predictable for the cornstarch to handle. No matter which you use, as long as you cook it properly until it boils hard for that full minute, this recipe handles both equally well, giving you a gorgeous, set dessert component every time.
And hey, if you are worried about the almond extract? Just skip it! It adds a little background complexity that tastes a bit like marzipan, but honestly, if you don’t have it, your filling will still be amazing. The lemon juice is more important for balancing the sweet!
Storage and Reheating Your Perfect Cherry Pie Filling
Now that you have this incredible, thick batch of cherry pie filling, you need to treat it right! The biggest mistake people make is just shoving it into a plastic container and hoping for the best. If you’re smart about storage, you can have this ready to go for last-minute desserts all week long. I always make a double batch because you never want to run out!
Once the filling has cooled completely—and I mean *completely* to room temperature—you need to transfer it to an airtight container. Glass containers are my favorite because they don’t stain, but any good sealed container works fine. You can generally keep this homemade filling happy in the refrigerator for about a week. It’s perfect for pulling out when you decide last-minute you need a topping for waffles or ice cream.
What if you want that warm, gooey texture, though? That’s easy! If you’re planning to use it as a topping for something like cheesecake or ice cream, you can reheat it gently. Transfer the amount you need to a small saucepan over very low heat. Stir it constantly until it warms through. Please, please do not bring it back to a hard boil! Remember, that boil is what sets the starch, and re-boiling it aggressively might change the consistency you worked so hard to achieve. A gentle warm-up is all you need for a lovely, warm cherry dessert topping.
If you know you won’t use it within a week, this filling freezes like a dream! You can check out all my favorite make-ahead and freezer tips for great ways to save time later. Just use freezer-safe containers and leave about an inch of headroom for expansion. For more long-term storage ideas, some folks like to look into home canning, which you can read more about over here!
Frequently Asked Questions About Making Cherry Pie Filling
I know when you’re diving into a new recipe, especially one you want to be perfect—like mastering the ideal cherry pie filling—you end up with a million questions! That’s totally normal, and I’ve compiled the most common things folks ask me here at Kings Cook. Don’t stress if you’re worried about getting the texture just right; we’ve got answers!
Can I use a different thickener instead of cornstarch in this cherry pie filling?
This is a great question, and maybe one you ask when you realize you’re low on cornstarch! Look, cornstarch is what I’ve tested and perfected this recipe with, so it’s my strongest recommendation for getting that beautiful, firm set. If you absolutely must substitute, arrowroot powder is the closest swap. However, arrowroot thickens things a little faster and can sometimes give a slightly glossier, almost clear finish, instead of the creamy look cornstarch provides. If you use it, use just a touch less than the cornstarch amount listed, and watch it *very* closely, because it starts thickening almost instantly!
How much homemade cherry pie filling does this recipe make?
This batch is designed to be just enough for a standard 9-inch pie—it yields about 5 cups of glorious filling. If you’re making a bigger dessert, say, a deep-dish pie or if you’re planning on making a ton of extra topping for ice cream (smart move!), you should go ahead and double the recipe. Just remember, when you double it, you might need to cook it for an extra minute or two to ensure that center gets hot enough to activate all that cornstarch properly. If you’re looking for a complete project, don’t forget to check out my guide on the best cherry pie recipe with homemade filling!
Share Your Sweet Tart Cherry Filling Creations
Now that you’ve got the secret to the best cherry pie filling locked down, I truly want to see what beautiful creations you whip up! Baking should be a shared joy, and there’s nothing better than seeing my readers’ kitchens filled with delicious smells.
Whether you made a classic lattice-top pie, you topped a cheesecake with this beautiful, thick glaze, or maybe you just ate a bowl of it straight (no judgment here!), please tell me how it went! Drop a rating right below the recipe card—it helps other cooks feel confident trying it out, too.
And if you snapped a picture of that gorgeous, sliceable fruit filling, I would absolutely love to see it! Tag me on social media or just send me a message through my contact page. Knowing that I helped you take the stress out of making your own sweet tart cherry filling is exactly why I started Kings Cook. Happy baking, my friends—I can’t wait to hear about your success!
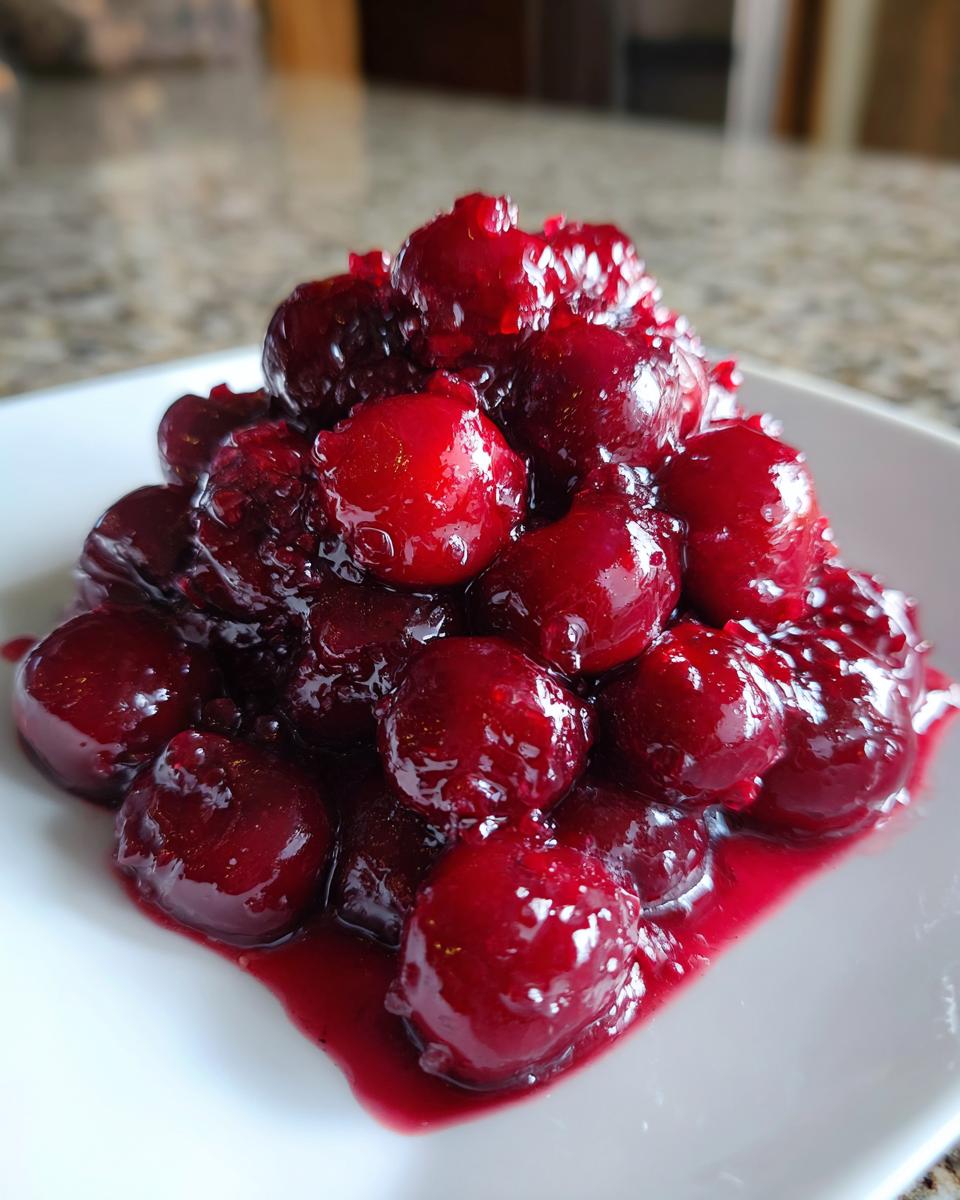
PrintFoolproof Thick & Juicy Homemade Cherry Pie Filling
Make the best thick and juicy cherry pie filling from scratch using fresh or frozen cherries. This easy recipe guarantees a no-run filling perfect for pies, cheesecakes, or dessert topping.
- Prep Time: 10 min
- Cook Time: 15 min
- Total Time: 25 min
- Yield: About 5 cups 1x
- Category: Dessert Component
- Method: Stovetop Cooking
- Cuisine: American
- Diet: Vegetarian
Ingredients
- 4 cups fresh or frozen sweet or tart cherries, pitted
- 1 cup granulated sugar
- 1/2 cup water
- 1/4 cup cornstarch
- 1 tablespoon lemon juice
- 1/2 teaspoon almond extract
- 1/4 teaspoon salt
Instructions
- If using frozen cherries, do not thaw them first. If using fresh cherries, pit them.
- In a medium saucepan, whisk together the sugar and cornstarch until fully combined.
- Stir in the water until the mixture is smooth.
- Add the cherries to the saucepan.
- Cook over medium heat, stirring constantly, until the mixture begins to boil and thickens significantly. This step is key for a no-run cherry pie filling.
- Once boiling, continue to cook for 1 minute, stirring constantly. The filling should coat the back of a spoon heavily.
- Remove the saucepan from the heat.
- Stir in the lemon juice, almond extract, and salt.
- Let the homemade cherry pie filling cool completely before using it in your pie crust or dessert. Cooling allows the filling to set to the desired thickness.
- Store cooled filling in an airtight container in the refrigerator for up to one week.
Notes
- For a sweeter filling, increase the sugar by 1/4 cup. For a more tart flavor, use tart cherries and reduce the sugar slightly.
- This recipe works well for a standard 9-inch pie. Double the recipe for deep-dish pies.
- If you prefer a bakery style cherry filling, use only 1/3 cup of cornstarch and ensure you cook the mixture until it is very thick before removing it from the heat.
- This versatile cherry dessert topping is excellent over waffles or ice cream.
Nutrition
- Serving Size: 1/2 cup
- Calories: 210
- Sugar: 35
- Sodium: 55
- Fat: 0
- Saturated Fat: 0
- Unsaturated Fat: 0
- Trans Fat: 0
- Carbohydrates: 54
- Fiber: 2
- Protein: 1
- Cholesterol: 0