
Ah, fall! That crisp air, the changing leaves, and the irresistible urge for a cozy, festive treat. Nothing screams autumn fun quite like a perfectly coated, gloriously chewy caramel apple. I remember my grandma always making these during apple season, and honestly, the smell alone was enough to make me giddy! Making homemade caramel apples is such a joy, and my recipe? It’s all about getting that dreamy, rich caramel just right, so you get that perfect bite every single time. It’s a total game-changer from store-bought ones, and trust me, when you pull off that chewy caramel coating at home, you’ll feel like royalty in your own kitchen.
- Why You'll Love These Homemade Caramel Apples
- Essential Ingredients for Perfect Caramel Apples
- Expert Tips for Making Chewy Caramel Apples
- Step-by-Step Guide to Making Caramel Apples
- Fun Topping Ideas for Your Caramel Apples
- Storing and Reheating Your Caramel Apples
- Frequently Asked Questions About Caramel Apples
- Nutritional Information
- Share Your Homemade Caramel Apples!
Why You’ll Love These Homemade Caramel Apples
Honestly, why settle for anything less than amazing when you can make these yourself? These homemade caramel apples:
- Are surprisingly easy to whip up, even for beginners!
- Deliver that perfectly rich, chewy caramel flavor that’s just divine.
- Are the ultimate treat for fall parties, Halloween, or just a fun family activity.
- Let you get creative with tons of yummy toppings!
You’ll be so proud of these gorgeous, homemade delights.
Essential Ingredients for Perfect Caramel Apples
Alright, let’s talk about what you’ll need to make these amazing caramel apples. It’s pretty straightforward, and you probably have most of it right in your pantry!
Here’s the lineup for about 6 apples:
- 6 medium apples: Think firm, tart-sweet varieties like Fuji, Gala, or Honeycrisp. They hold up best!
- 6 sturdy wooden sticks: Popsicle sticks or lollipop sticks work perfectly.
- 2 cups granulated sugar
- 1/2 cup light corn syrup: This is key for that chewy, non-crystallized caramel.
- 1/4 cup water
- 1/2 cup unsalted butter: Cut into nice little pieces, ready to melt in.
- 1 teaspoon pure vanilla extract
- 1/2 teaspoon salt
And for the fun stuff – optional toppings:
- Chopped nuts (peanuts, pecans, walnuts – your call!)
- Sprinkles galore!
- Mini chocolate chips
- Crushed pretzels for a sweet and salty kick!
Expert Tips for Making Chewy Caramel Apples
You know, making the *perfect* caramel apple isn’t just about following a recipe; it’s like a little dance between you, the apples, and that bubbling sugar! It’s those little tricks that make all the difference between a good caramel apple and a *wow*-worthy one. We want that rich, chewy goodness, and these tips will get you there! For more inspiration on apple treats, check out my easy apple crisp recipe!
Choosing the Best Apples for Caramel Apples
First things first, the apple! You want a firm apple that can stand up to the dipping and still give you a satisfying crisp bite. My absolute favorites are Honeycrisp, Gala, or even a crisp Fuji. They have that perfect balance of firmness and tart-sweet flavor that cuts through the rich caramel beautifully. Avoid softer apples like Red Delicious, as they can get a bit mushy. And remember, super dry apples are key for that caramel hug to stick!
Achieving the Perfect Caramel Consistency
This is where the magic really happens – and yes, a candy thermometer is your new best friend! Cooking the caramel to the right temperature, that firm ball stage around 250°F (121°C), is crucial. Too cool, and it’ll be runny and messy. Too hot, and it’ll be hard as a rock! You’re looking for that point where a little bit of caramel dropped in cold water forms a firm, pliable ball. If your caramel starts to get too thick while you’re dipping, just pop it back on the low heat for a minute. Trust me, getting this right means the difference between a beautifully coated apple and a sticky disaster!
Step-by-Step Guide to Making Caramel Apples
Okay, ready to turn your kitchen into the sweetest carnival stand ever? Making truly amazing caramel apples is totally doable, and I promise it’s more fun than stressful! Just follow these steps, and you’ll have a batch of beautiful, chewy caramel apples in no time. Safety first when you’re dealing with hot sugar, though!
Preparing Your Apples and Sticks
Grab those gorgeous apples and give them a really good wash and dry. Seriously, get them bone dry! Any little bit of moisture means the caramel won’t hug them properly. Then, take your sturdy sticks and push them firmly into the stem end of each apple, about halfway in. You want them to feel secure!
Cooking the Caramel Mixture
Now for the star of the show! In a medium saucepan, combine your sugar, corn syrup, and water. Give it a gentle stir *just* until the sugar looks moistened. Then, let it do its thing! Cook it over medium heat, and **do not stir**! Keep an eye on your candy thermometer. You’re waiting for it to hit that magical 250°F (121°C) mark – that’s the firm ball stage.
Finishing the Caramel and Dipping
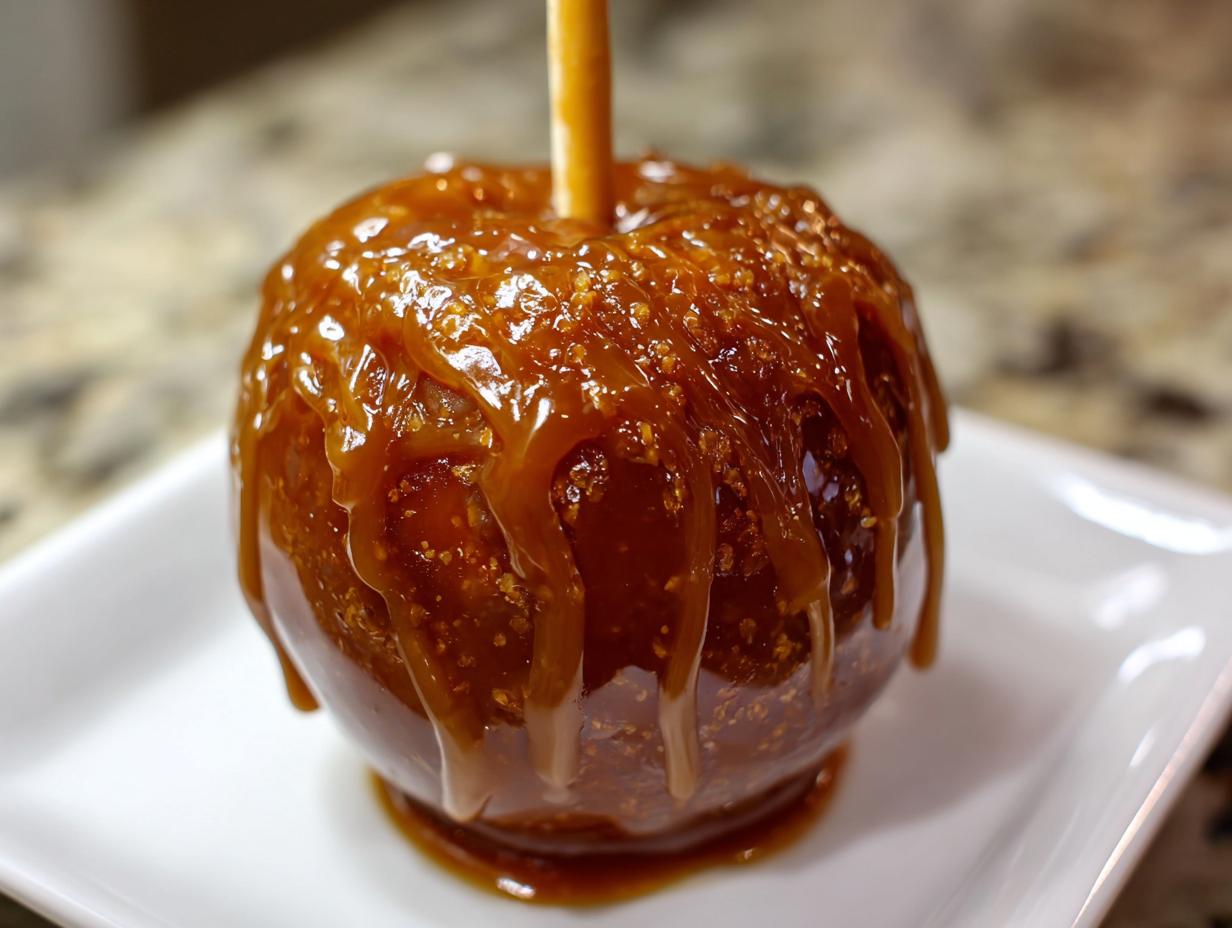
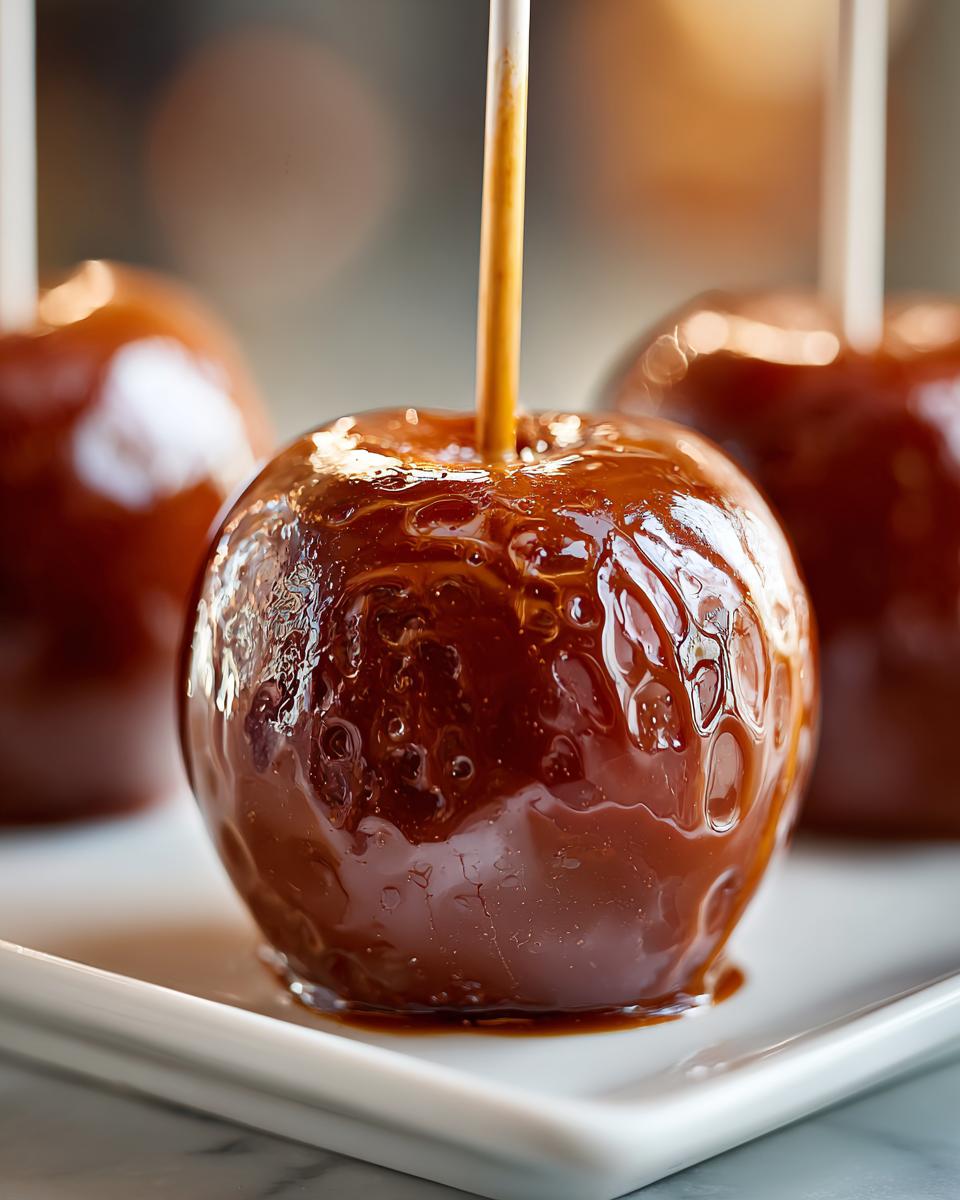
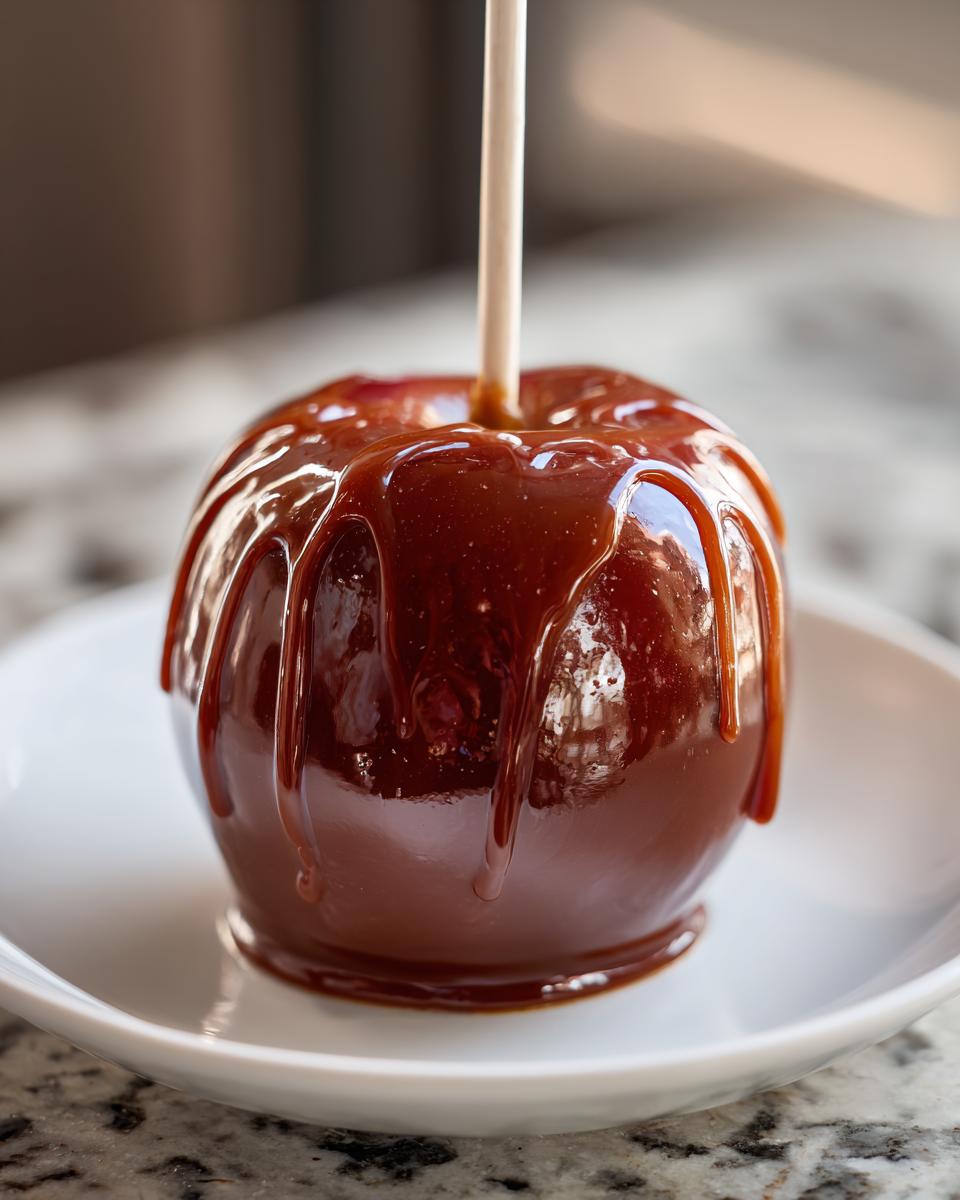
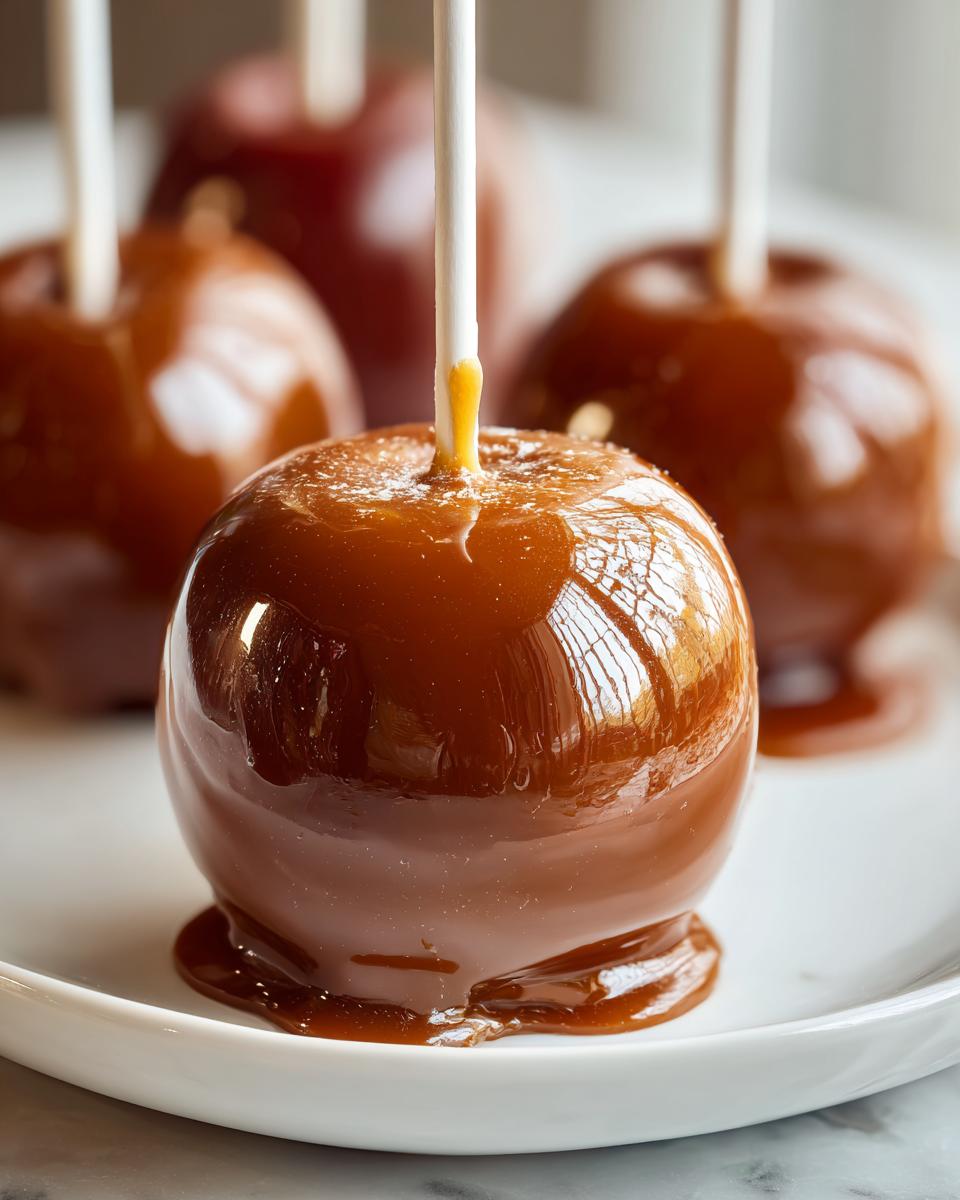
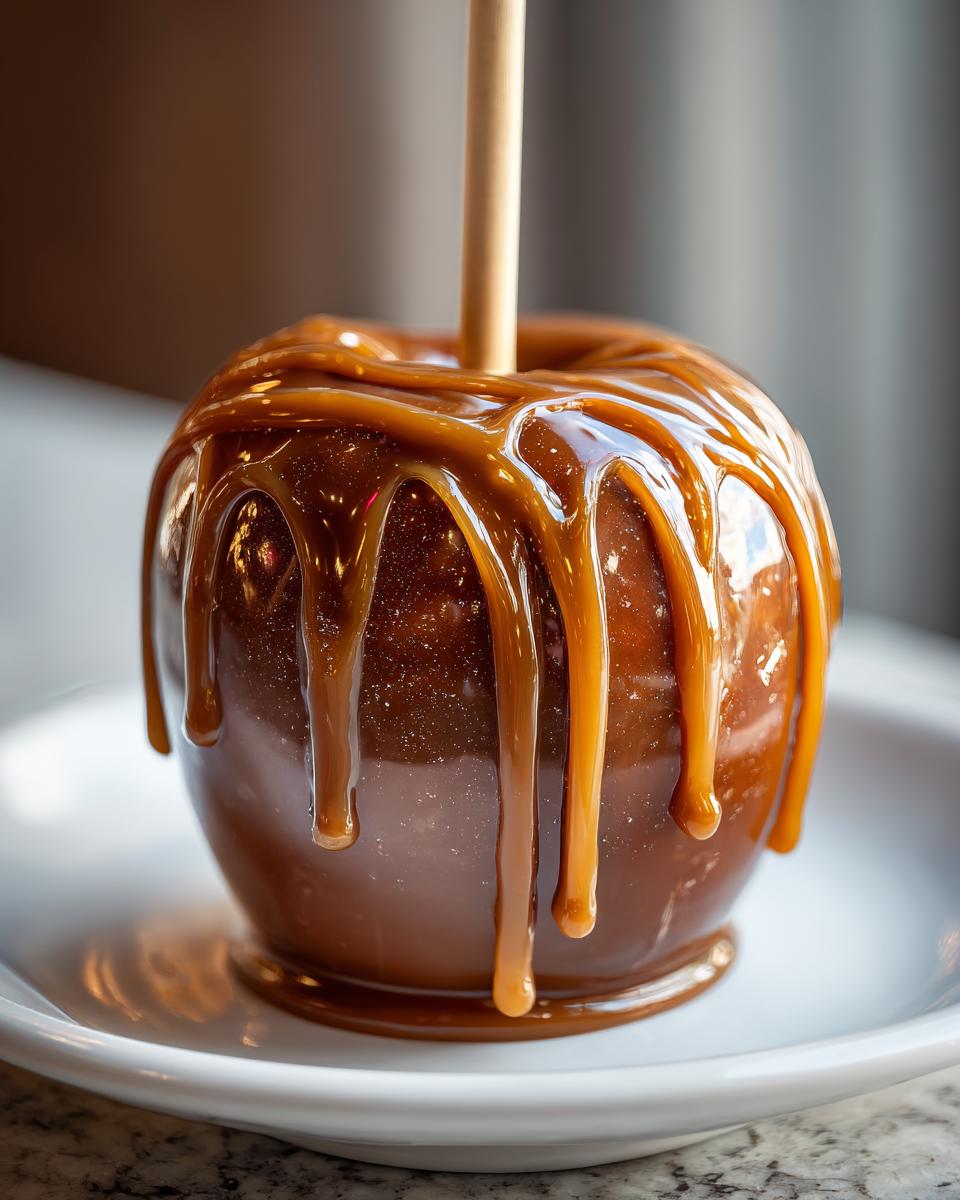
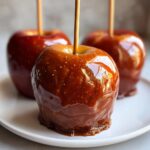
Once it hits temperature, carefully take the pan off the heat. Now, gently stir in your butter pieces, vanilla extract, and salt. Stand back a little because it will bubble up like crazy! Tilt the pan and carefully dip each apple, swirling it around to get a nice, even coat of that luscious caramel. Let the excess drip back into the pan before you move on.
Adding Toppings and Setting Your Caramel Apples
If you’re adding goodies like nuts or sprinkles, now’s the time! Sprinkle them on right after dipping, while the caramel is still soft and sticky. Once they’re coated and topped, place your beautiful caramel apples onto a baking sheet lined with parchment paper. Let them cool completely at room temperature until that caramel is firm and irresistible.
Fun Topping Ideas for Your Caramel Apples
Okay, the caramel is perfect, the apples are dipped – but we’re not done yet! This is where you can really make your homemade caramel apples sing. Think of all those fun carnival treats and how they pile on the goodies! I love making a big platter with all sorts of toppings. You can go classic with chopped peanuts or pecans, or get wild with rainbow sprinkles for a festive pop! Mini chocolate chips are a surefire hit with the kids, and crushed cookies, like those delicious pumpkin chocolate chip cookies, add an amazing texture. Don’t forget crushed pretzels for that perfect sweet and salty combo! Just sprinkle them over the warm caramel right after dipping, and they’ll stick like magic.
Storing and Reheating Your Caramel Apples
So you’ve made these gorgeous caramel apples and, gasp, you have a few left over! Don’t even *think* about sticking them in the fridge – trust me on this. Cold temps make the caramel all weird and sticky, not chewy and delightful like we want. The best way to keep them perfect is right on the counter, on that parchment-lined baking sheet or in an airtight container. They’ll stay delicious for about two days. Any longer, and they might start to lose their perfect chewiness.
Frequently Asked Questions About Caramel Apples
Got questions about making these wonderfully chewy homemade caramel apples? You’re not alone! It’s a bit of a candy-making process, which can sometimes feel a little tricky. But don’t worry, I’ve got you covered with some answers to common sticky situations!
Why is my caramel too thin for my caramel apples?
Oh, the dreaded thin caramel! This usually happens if the caramel hasn’t cooked quite long enough or to the correct temperature. Remember that firm ball stage at 250°F (121°C) we talked about? If it’s too low, it just won’t set up. If it’s a little too thin and you’re already dipping, you can try gently reheating it for another minute or two, but if it’s *really* thin, it might be best to start fresh to ensure that lovely, chewy coating. For more tips on making delicious apple treats, check out my easy butter chicken recipe – different dish, same dedication to perfection!
Can I make caramel apples ahead of time?
Yes, you absolutely can! Making caramel apples ahead of time is totally doable. Just make sure they are completely cooled and set, then store them at room temperature, not in the fridge. As I covered in the storing section, the fridge can make them a bit gooey and the caramel might not be as firm. They’re usually best enjoyed within 1-2 days for that perfect chewy texture!
What is the best way to dip apples for caramel apples?
Okay, for the best dip, make sure your apples are bone dry and the sticks are secure. Tilt the saucepan slightly so the caramel pools up on one side. Then, take your apple by the stick and dip it into the warm caramel, giving it a gentle swirl to coat it evenly all the way around. Let gravity do its thing – hold the apple over the pan for a few seconds to let the excess caramel drip back in. This helps create a nice, even layer without too much pooling at the bottom.
Nutritional Information
Because these caramel apples are so delightfully decadent, the nutritional info can pile up! Keep in mind these are just estimates per apple, and adding toppings will change things up. Enjoy this treat responsibly!
Serving Size: 1 apple
Calories: 550
Fat: 25g
Saturated Fat: 15g
Carbohydrates: 80g
Sugar: 85g
Protein: 1g
Sodium: 150mg
Share Your Homemade Caramel Apples!
So, how did your caramel apples turn out? I’d absolutely LOVE to hear all about it! Did you try any fun toppings? Were they perfectly chewy, just like you imagined? Drop a comment below and let me know your experience – I read every single one! And if you snapped some pics, I’d love for you to share them, maybe tag me over on social media so I can see your beautiful creations!
PrintClassic Caramel Apples
Learn how to make chewy, rich caramel apples from scratch, perfect for fall gatherings, Halloween, or a fun family activity.
- Prep Time: 15 min
- Cook Time: 20 min
- Total Time: 35 min
- Yield: 6 servings 1x
- Category: Dessert
- Method: Stovetop
- Cuisine: American
- Diet: Vegetarian
Ingredients
- 6 medium apples (like Fuji, Gala, or Honeycrisp)
- 6 wooden popsicle sticks or lollipop sticks
- 2 cups granulated sugar
- 1/2 cup light corn syrup
- 1/4 cup water
- 1/2 cup unsalted butter, cut into pieces
- 1 teaspoon vanilla extract
- 1/2 teaspoon salt
- Optional toppings: chopped nuts, sprinkles, mini chocolate chips
Instructions
- Wash and thoroughly dry the apples. Remove any stickers. Insert a wooden stick firmly into the stem end of each apple.
- In a medium saucepan, combine the granulated sugar, corn syrup, and water. Stir gently until the sugar is moistened.
- Cook over medium heat, without stirring, until the mixture reaches 250°F (121°C) on a candy thermometer. This is the firm ball stage.
- Remove the saucepan from the heat. Carefully stir in the butter, vanilla extract, and salt until the butter is melted and the mixture is smooth. Be cautious as the mixture will bubble up.
- Tilt the saucepan and dip each apple into the caramel, rotating to coat evenly. Let excess caramel drip back into the pan.
- If using toppings, sprinkle them onto the caramel immediately after dipping, before the caramel sets.
- Place the coated apples on a baking sheet lined with parchment paper.
- Allow the caramel apples to cool completely at room temperature until the caramel is firm.
Notes
- Ensure your apples are completely dry before dipping for the best caramel adhesion.
- Using a candy thermometer is crucial for achieving the correct caramel consistency.
- If the caramel becomes too thick, you can gently reheat it over low heat.
- Store caramel apples at room temperature for up to 2 days. Refrigeration can make the caramel sticky.
Nutrition
- Serving Size: 1 apple
- Calories: 550
- Sugar: 85g
- Sodium: 150mg
- Fat: 25g
- Saturated Fat: 15g
- Unsaturated Fat: 10g
- Trans Fat: 0g
- Carbohydrates: 80g
- Fiber: 3g
- Protein: 1g
- Cholesterol: 60mg