
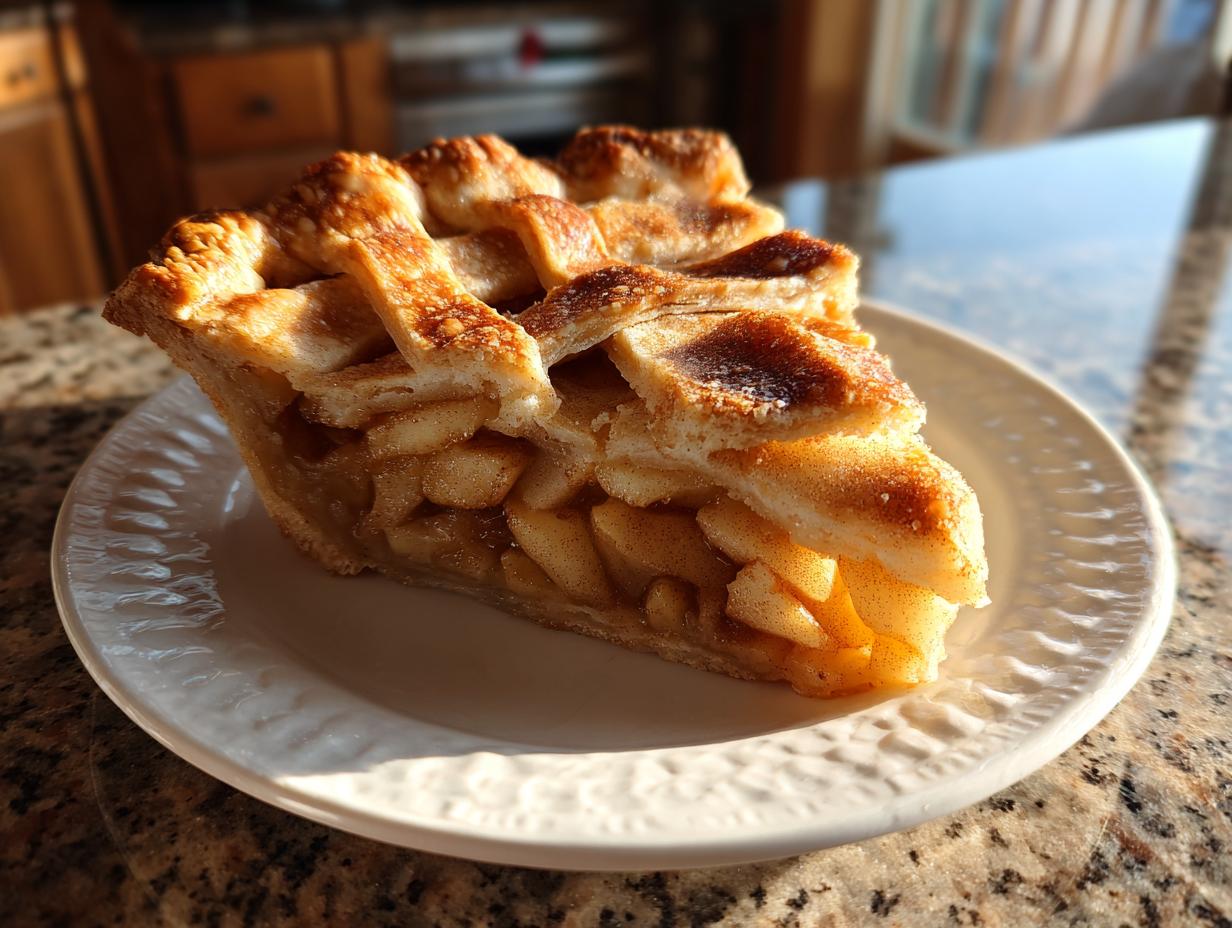
Oh, fall! Can you just feel it? That crisp air, the colorful leaves, and, my absolute favorite part, the smell of warm spices wafting through the kitchen. For me, nothing says autumn quite like a perfectly baked apple pie from scratch. It reminds me so much of being a little kid, perched on a stool in my grandma’s kitchen, watching her work her magic. She had this way of making the simplest things feel like a royal feast, and her apple pie was always the star. This recipe is my love letter to those cozy memories and a tried-and-true way to bring that same comforting magic into your home, even on a busy weeknight.
- Why You'll Love This Classic Apple Pie Recipe
- Ingredients for the Perfect Apple Pie
- Crafting Your Homemade Pie Crust
- Making the Cinnamon Apple Filling
- Assembling and Baking Your Apple Pie
- Cooling and Serving Your Apple Pie
- Frequently Asked Questions About Apple Pie
- Estimated Nutritional Information
- Share Your Apple Pie Creations!
Why You’ll Love This Classic Apple Pie Recipe
Seriously, this isn’t just any pie. It’s the *experience* of fall baked into a beautiful dessert!
- So Easy to Make: Even if you’re new to baking, you’ll nail this one.
- The Flakiest Crust Ever: We’re talking melt-in-your-mouth goodness!
- Warm, Spicy Apples: All those cozy cinnamon and nutmeg vibes.
- Your New Fall Favorite: Perfect for any autumn gathering or just because.
- Pure Comfort Food: Slice it up warm with a scoop of ice cream – heaven!
Ingredients for the Perfect Apple Pie
Alright, let’s gather up everything we need to make this amazing apple pie sing! Don’t worry, these are all good ol’ pantry staples.
- 1 recipe for double pie crust (I’ve got you covered with my favorite flaky crust recipe!)
- 6 medium apples (about 3 pounds total). You’ll want to peel these, get the cores out, and slice ’em up about 1/4-inch thick.
- 3/4 cup granulated sugar – this is for our sweet, spicy filling.
- 2 tablespoons all-purpose flour – this helps thicken up all those yummy apple juices.
- 1 teaspoon ground cinnamon – the quintessential fall spice!
- 1/4 teaspoon ground nutmeg – just a little pinch to make it extra cozy.
- 1 tablespoon lemon juice – this brightens up the apples and keeps them from browning too much.
- 2 tablespoons unsalted butter, cut into tiny little pieces – these will melt into the apples and make everything so rich.
- 1 large egg, beaten – this is for our lovely egg wash, which gives the crust that beautiful golden sheen.
- 1 tablespoon granulated sugar – just a little sprinkle on top before it bakes, for that sparkly finish!
Crafting Your Homemade Pie Crust
Okay, let’s talk crust! The crust is, like, half the magic of a good apple pie, right? And trust me, making it from scratch is SO much better and totally doable. The secret to a flaky crust is all about keeping things cold and not overworking the dough. Seriously, think of it like a gentle hug, not a wrestling match!
First things first, get your butter and water nice and chillede – like an ice bath for goodness. You’ll cut your cold butter into your flour until it looks like coarse crumbs, with some pea-sized buttery bits still in there. Those little buttery pockets are what create all those flaky layers when it bakes! Add your ice water, just a splash at a time, mixing until the dough *just* comes together. Don’t go crazy mixing; you want it shaggy, not smooth.
Now, split your dough into two disks – one a little bigger for the bottom, one for the top. Wrap them up tight in plastic wrap and pop ‘em in the fridge for at least 30 minutes, or even an hour if you have time. This is crucial! It lets the gluten chill out and the butter firm up again. When you’re ready, just roll out each disk on a lightly floured surface. Easy peasy!
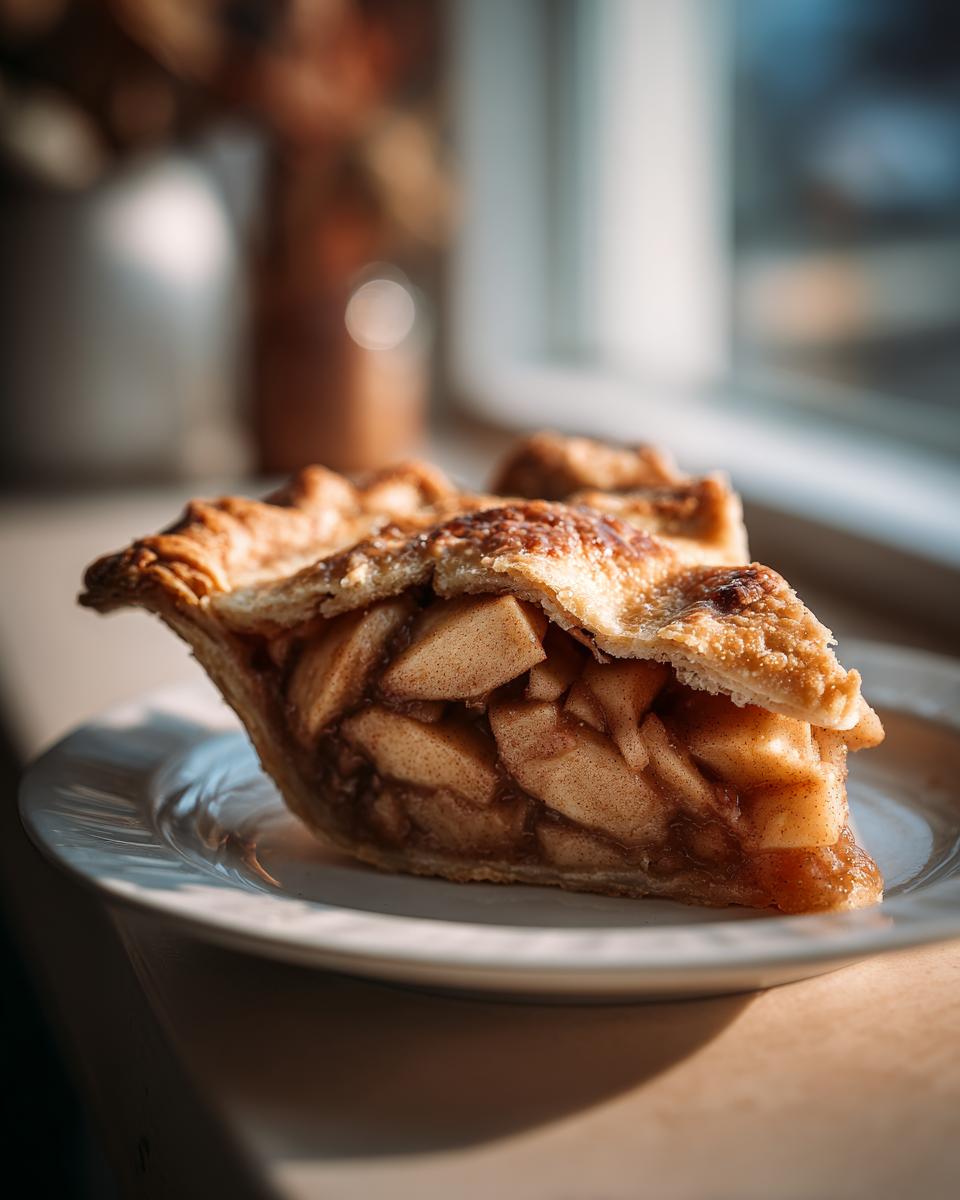
Making the Cinnamon Apple Filling
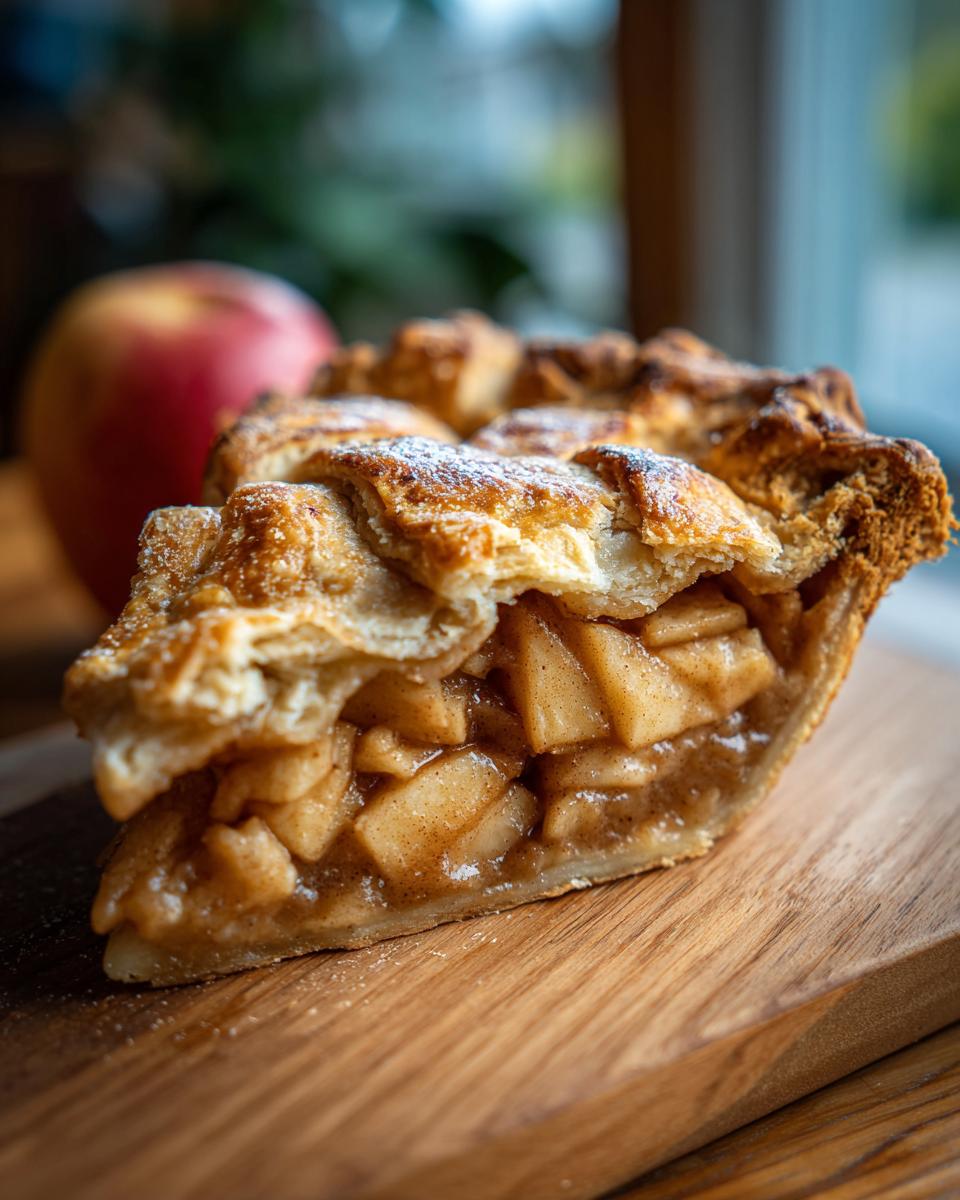
Now for the heart of our delicious apple pie: the filling! This is where all those cozy fall flavors really come alive. First things first, make sure your apples are peeled, cored, and sliced pretty evenly, about 1/4-inch thick. This is super important so they cook up nicely without getting mushy or staying too hard.
Grab a big ol’ bowl and toss those sliced apples with the sugar, flour, cinnamon, nutmeg, and that little splash of lemon juice. Give it all a good, gentle stir so every single apple slice is coated in that magical spice and sugar mix. The flour helps thicken up all those wonderful apple juices as it bakes, so you get that perfect gooey consistency instead of a watery mess. This filling is what makes our homemade pie so special!
Assembling and Baking Your Apple Pie
Okay, we’re at the home stretch for our amazing apple pie! Let’s get this beauty put together and into the oven so we can fill the house with that incredible cinnamon apple aroma. First, grab your chilled pie crust dough. Roll out the larger disk and carefully drape it into your 9-inch pie plate. Don’t stretch it! Just gently press it into the bottom and up the sides. Trim any excess, but leave a little overhang – we’ll need that for sealing.
Now, pour in that glorious cinnamon apple filling we made. Make sure it’s spread out evenly. Dot the top of the apples with those little pieces of butter. Trust me on this, it adds such a yummy richness! Next, roll out your second disk of dough. You can either lay it on top as one solid piece and cut some vents for steam to escape, or get fancy with a lattice top – totally up to you and how much time you have! If you’re up for it, check out my ideas for apple coffee cake or a decadent caramel apple cheesecake for more apple inspiration!
Whichever top crust you choose, lay it over the filling. Now, crimp those edges together to seal everything up nice and tight. You don’t want any of that delicious filling escaping! For that gorgeous golden color, brush the top crust all over with your beaten egg wash. Then, sprinkle that extra tablespoon of sugar over the top for a little sparkle and crunch. Pop it into a preheated 425°F (220°C) oven for about 15 minutes. Then, lower the temp to 375°F (190°C) and let it bake for another 35-45 minutes, or until the crust is beautifully golden brown and you see those lovely bubbly juices. If the edges start to get too dark too fast, just tent them loosely with foil. It’s like giving your pie a cozy little blanket!
Tips for a Perfectly Golden Crust
Getting that perfect golden-brown crust is all about a few little tricks! Making sure your oven is fully preheated is key, starting at that higher temperature helps set the bottom crust. The egg wash is your secret weapon for shine and color, so make sure you coat the entire top evenly. Placing your pie on the center rack also helps with even heat distribution, giving you that beautiful, all-over golden magic we’re aiming for.
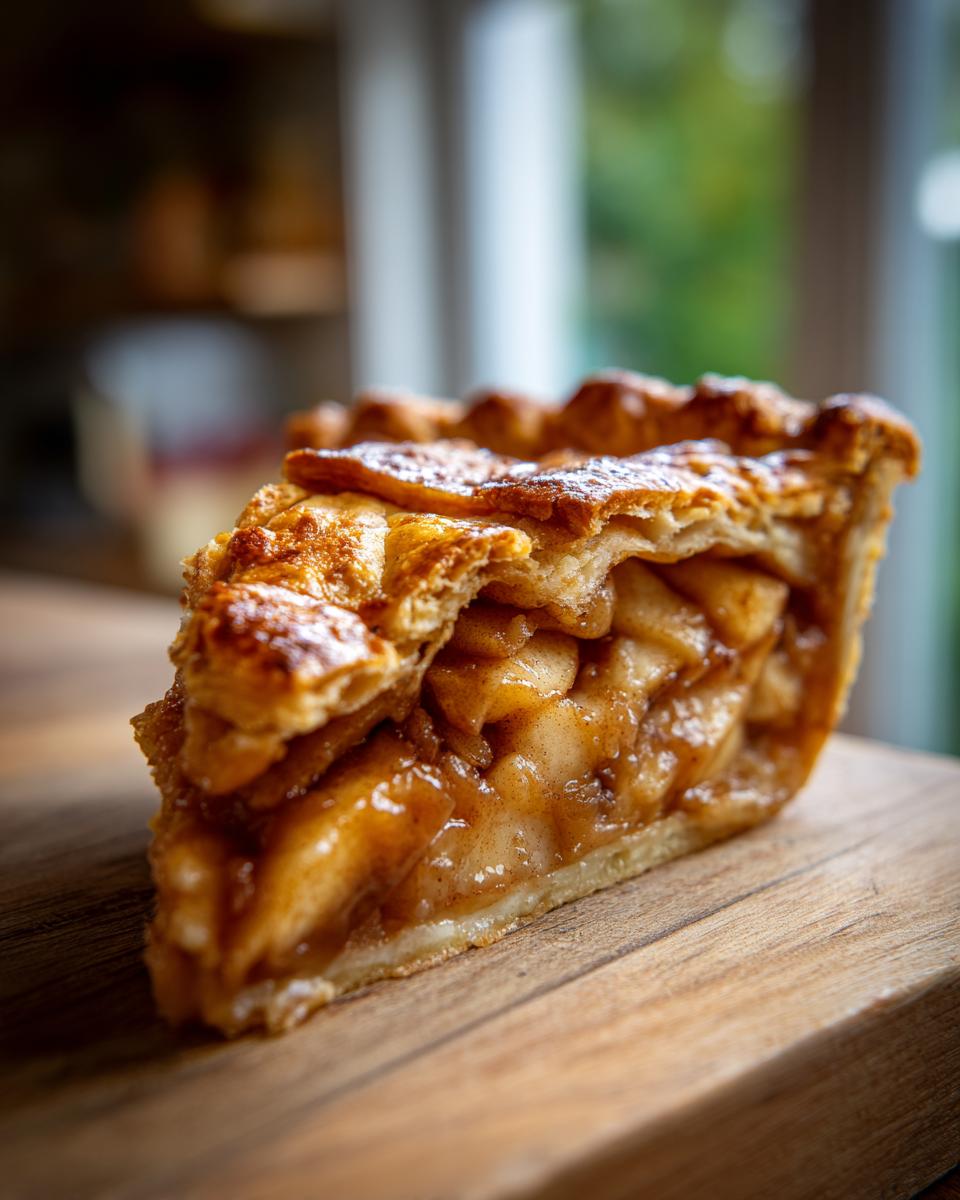
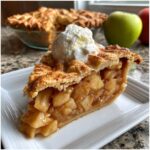
Cooling and Serving Your Apple Pie
Now for probably the hardest part: waiting! It’s super important to let your pie cool on a wire rack for at least 2 to 3 hours. This lets all those yummy apple juices thicken up properly so you don’t have a runny mess when you slice it. Serve it warm or at room temperature. Honestly, a big slice with a scoop of vanilla ice cream or a dollop of whipped cream is just divine. Check out my recipe for Apple Honey Cake for more cozy fall flavors!
Frequently Asked Questions About Apple Pie
Got questions about baking up the best classic apple pie? I’ve got answers!
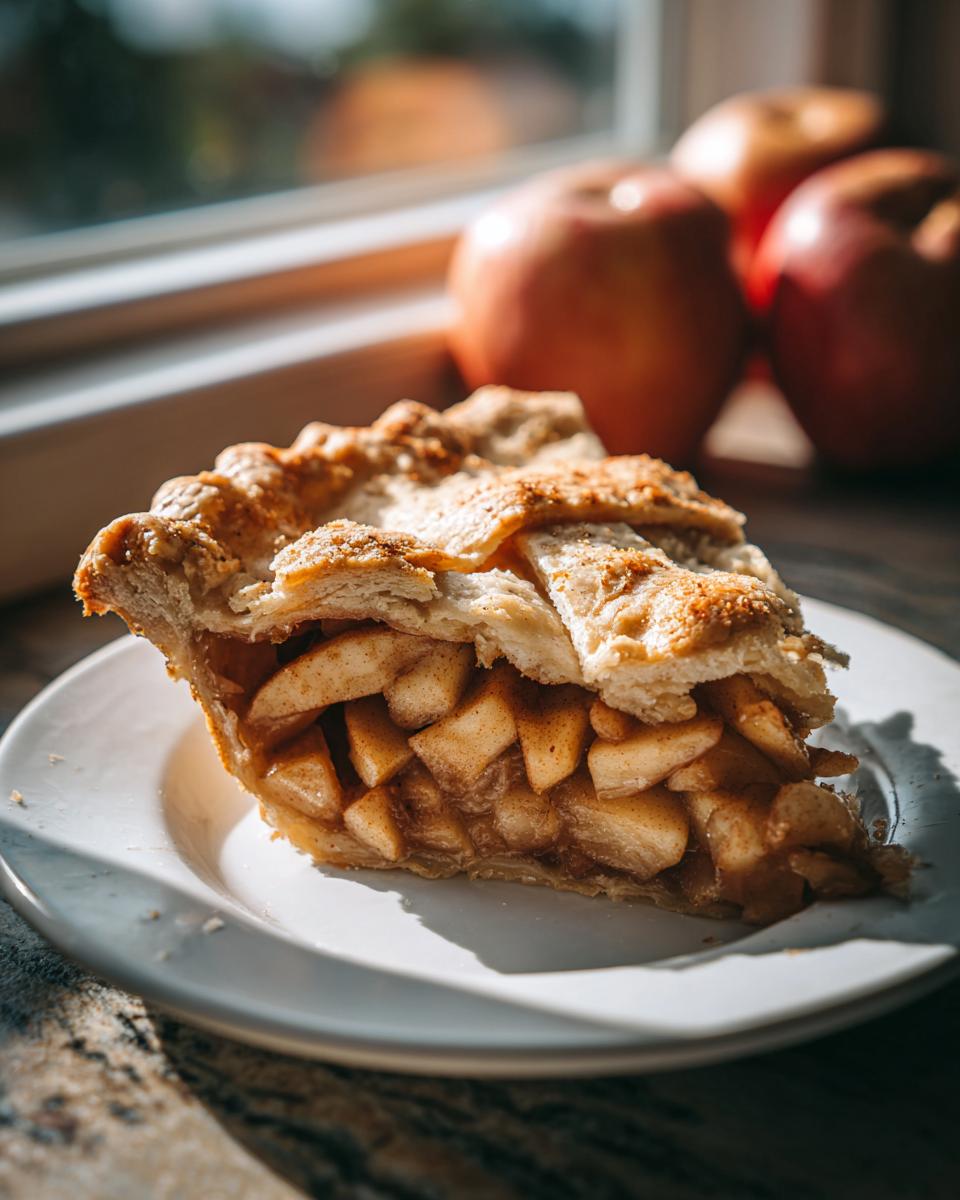
What are the best apples for apple pie?
Oh, for the perfect fall dessert, you really want a mix! I love using Granny Smith for their tartness and firmness that holds up well. Honeycrisp or Fuji are great too, adding a bit of sweetness and great texture. A combination makes for the most delicious flavor!
How do I prevent a soggy bottom crust on my apple pie?
A soggy bottom is no fun! Make sure your filling isn’t too watery, and try pre-baking the bottom crust for about 10-15 minutes before you add the filling. Also, pop your pie onto a baking sheet – it catches any drips and helps to really crisp up the bottom.
Can I make the apple pie ahead of time?
You sure can! You can make the pie crust and chill it for up to 2 days, or even freeze it. The filling can also be mixed a day ahead and kept in the fridge. Assembling the whole pie is best done the day you plan to bake it for the freshest results, but an unbaked pie will also keep in the fridge overnight.
Estimated Nutritional Information
Just a heads-up, the nutritional info below is an estimate for one slice of this glorious apple pie. It can vary a bit depending on the exact ingredients you use, especially the apples and the butter in your crust. But generally, you’re looking at about 350 calories, with around 30g of sugar and 18g of fat per slice. It’s definitely a treat worth savoring!
Share Your Apple Pie Creations!
Alright, now it’s your turn to make some magic happen in the kitchen! I would absolutely LOVE to hear how your apple pie turned out. Did you try the lattice top? Did it fill your home with that amazing cozy smell? Leave a comment below and tell me all about your baking adventures, or rate this recipe if you loved it! And if you snapped a pic, tag me on social media – I can’t wait to see your beautiful pies! For any questions or to share ideas, you can always reach out!
PrintClassic Apple Pie Recipe
Bake a traditional apple pie from scratch with a flaky crust and a warm cinnamon-spiced apple filling. This recipe is perfect for fall gatherings or a comforting dessert.
- Prep Time: 30 min
- Cook Time: 50 min
- Total Time: 80 min
- Yield: 8 servings 1x
- Category: Dessert
- Method: Baking
- Cuisine: American
- Diet: Vegetarian
Ingredients
- 1 recipe for double pie crust
- 6 medium apples (about 3 pounds), peeled, cored, and sliced 1/4-inch thick
- 3/4 cup granulated sugar
- 2 tablespoons all-purpose flour
- 1 teaspoon ground cinnamon
- 1/4 teaspoon ground nutmeg
- 1 tablespoon lemon juice
- 2 tablespoons unsalted butter, cut into small pieces
- 1 large egg, beaten (for egg wash)
- 1 tablespoon granulated sugar (for sprinkling)
Instructions
- Prepare your favorite double pie crust recipe and chill it.
- Preheat your oven to 425°F (220°C).
- In a large bowl, toss the sliced apples with 3/4 cup sugar, flour, cinnamon, nutmeg, and lemon juice.
- Roll out one disk of pie dough and line a 9-inch pie plate. Trim the edges, leaving an overhang.
- Pour the apple filling into the prepared pie crust. Dot the top with the small pieces of butter.
- Roll out the second disk of pie dough. You can either place it as a solid top crust, cutting vents, or cut it into strips for a lattice top.
- Place the top crust over the filling. Crimp the edges to seal. If using a solid top crust, cut several vents.
- Brush the top crust with the beaten egg wash and sprinkle with 1 tablespoon of sugar.
- Bake for 15 minutes at 425°F (220°C).
- Reduce the oven temperature to 375°F (190°C) and continue baking for 35-45 minutes, or until the crust is golden brown and the filling is bubbly. If the crust starts to brown too quickly, loosely tent it with aluminum foil.
- Let the pie cool on a wire rack for at least 2-3 hours before slicing and serving.
Notes
- For the best flavor, use a mix of apple varieties like Granny Smith, Honeycrisp, and Fuji.
- Ensure your apples are sliced uniformly for even cooking.
- Allowing the pie to cool completely is crucial for the filling to set properly.
Nutrition
- Serving Size: 1 slice
- Calories: 350
- Sugar: 30g
- Sodium: 200mg
- Fat: 18g
- Saturated Fat: 10g
- Unsaturated Fat: 8g
- Trans Fat: 0g
- Carbohydrates: 45g
- Fiber: 3g
- Protein: 3g
- Cholesterol: 40mg