
There’s just something so wonderfully comforting about a classic apple pie, isn’t there? The smell of cinnamon and baked apples filling the house, the perfectly flaky crust… sigh. If you’ve ever felt a little intimidated by pie-making, I get it! But trust me, this easy apple pie recipe is a total game-changer. It’s the kind of pie my Grandma used to make, and it always felt like pure magic. She taught me that even the simplest ingredients can create something truly special, and this pie is proof of that. It’s perfect for beginners or when you just want a fantastic dessert without all the fuss. You can check out my own kitchen journey over on my About Page!
- Why You'll Love This Easy Apple Pie
- Choosing the Best Apples for Easy Apple Pie
- Ingredients for Your Easy Apple Pie
- Crafting the Perfect Crust for Your Easy Apple Pie
- Preparing the No-Cook Apple Pie Filling
- Assembling Your Easy Apple Pie
- Baking Your Easy Apple Pie to Perfection
- Cooling and Serving Your Classic Apple Pie
- Frequently Asked Questions about Easy Apple Pie
- Nutritional Information for Easy Apple Pie
- Share Your Easy Apple Pie Creations!
Why You’ll Love This Easy Apple Pie
- It’s truly an easy apple pie recipe – perfect for even the most novice bakers!
- You get that amazing, flaky crust every single time. Seriously, it’s so good.
- The classic apple and cinnamon flavor is just pure comfort.
- It’s ideal for any occasion, from a random Tuesday craving to a big holiday feast.
- This recipe is fantastic for fall baking inspiration!
- It looks and tastes like you spent hours on it – your secret is safe with me!
Choosing the Best Apples for Easy Apple Pie
Okay, picking the right apples for your easy apple pie is super important, trust me! You want apples that are going to bake up nice and tender but not turn into applesauce in your pie. My go-to mix usually includes Honeycrisp, Gala, and Fuji. Honeycrisps are fantastic because they stay firm and have this wonderful sweet-tart flavor that just sings with cinnamon. Gala apples are a bit softer and sweeter, so they add a lovely juicy sweetness that balances everything out. And Fuji? Oh, they’re just so perfectly sweet and crisp. Using a blend of these apples for your no pre-cook apple pie filling means you get a fantastic texture and a flavor that’s just *chef’s kiss*! It really makes a difference in getting that homemade taste we all love.
Ingredients for Your Easy Apple Pie
Alright, let’s get down to business! To make this wonderfully easy apple pie, you’ll need a few simple things. For the crust, that’s 2 and a half cups of all-purpose flour, a teaspoon of salt, and then a whole cup of cold unsalted butter, cut into cubes – make sure that butter is really cold! You’ll also need about half a cup of ice water. For the star of the show, the filling, grab about six medium apples. Honeycrisp, Gala, or Fuji are my favorites for this kinda pie! You’ll want them peeled, cored, and sliced. Then it’s ¾ cup of granulated sugar, 2 tablespoons of flour to thicken things up, a teaspoon of cinnamon, a pinch of nutmeg, and a tablespoon of lemon juice to brighten it all up. Oh, and don’t forget one egg for a nice wash on top and an extra tablespoon of sugar to sprinkle for that perfect crunchy finish!
Crafting the Perfect Crust for Your Easy Apple Pie
Making a really good, flaky crust for your easy apple pie is simpler than you think, and the secret is all in the cold stuff! Seriously, keep that butter and water icy. I like to use a pastry blender to cut the cold butter into the flour and salt until it looks like coarse crumbs with some pea-sized butter pieces still hanging out. Don’t overwork it! Then, you just add the ice water, a tablespoon at a time, mixing until the dough *just* starts to come together. Don’t add too much water, or you’ll get a tough crust! Once it’s there, divide it in half, flatten each part into a disk, wrap ’em up tight, and pop them in the fridge. This part is super important, so don’t skip it!
Chilling the Dough: A Key Step
That chilling time is magic for your pie crust. It lets the gluten in the flour relax, which makes the dough easier to roll out and, most importantly, helps create those super flaky layers when it bakes. You’ll want to chill it for at least 30 minutes, but honestly, an hour is even better if you have the time!
Preparing the No-Cook Apple Pie Filling
Now for the part that makes this pie smell like heaven: the apple filling! It’s so easy, you don’t even need to cook it first – that’s what makes it a true no-cook apple pie filling. Just grab your beautiful sliced apples (remember, Honeycrisp, Gala, or Fuji are great choices!) and toss them into a big bowl. Then, sprinkle in your sugar – about three-quarters of a cup should do it. For thickening, I usually go with about 2 tablespoons of all-purpose flour. Some folks like cornstarch, and it works too, but flour gives it a slightly clearer, more natural finish in my opinion. Add in a teaspoon of cinnamon, a quarter teaspoon of nutmeg, and that tablespoon of lemon juice to keep the apples from browning and add a little zing. Give it all a gentle toss so every apple slice is coated. Easy peasy!
Assembling Your Easy Apple Pie
Alright, time to bring this gorgeous easy apple pie together! First, grab one of those chilled dough disks and roll it out on a flour-dusted surface until it’s about a 12-inch circle. Carefully drape it into your 9-inch pie plate, then trim the edges and crimp them however you like – grandma always said a pretty edge makes a happy pie! Now, just pour all that delicious apple filling you made right into the crust. For the top, you can roll out the second disk and just lay it over the whole thing, remembering to cut a few vents so the steam can escape while it bakes. Or, if you’re feeling fancy (but still keeping it easy!), you can cut the dough into strips for a lovely lattice top. Either way, brush the top crust with your beaten egg and sprinkle with that extra tablespoon of sugar for a beautiful golden finish. It’s really starting to look like a masterpiece! If you ever have questions about the baking process, feel free to reach out!
Lattice Crust Tutorial Tips
Want to try a lattice top for your easy apple pie? It’s easier than it looks! Just slice your second dough round into even strips, about half an inch wide. Lay about half the strips across the filling, spaced evenly. Then, fold back every other strip and lay a crosswise strip in the middle. Unfold the strips. Now fold back the *other* set of strips and lay another crosswise strip. Just keep weaving like that until your pie is covered in a pretty pattern. It sounds tricky, but it’s really just simple weaving!
Baking Your Easy Apple Pie to Perfection
Alright, the moment of truth! Getting this easy apple pie baked just right is key. First things first, preheat your oven to a nice hot 400°F (200°C). Pop your beautiful pie onto a baking sheet – this is a lifesaver for catching any bubbly spills. Bake it like this for about 20 minutes. This initial high heat helps set that crust and get things started. Then, lower the temperature to 375°F (190°C) and let it bake for another 30 to 40 minutes. You’re looking for a gorgeous golden-brown crust and filling that’s happily bubbling in the center. If the edges start getting too dark before the middle is done, just loosely tent some aluminum foil around them. Easy peasy!
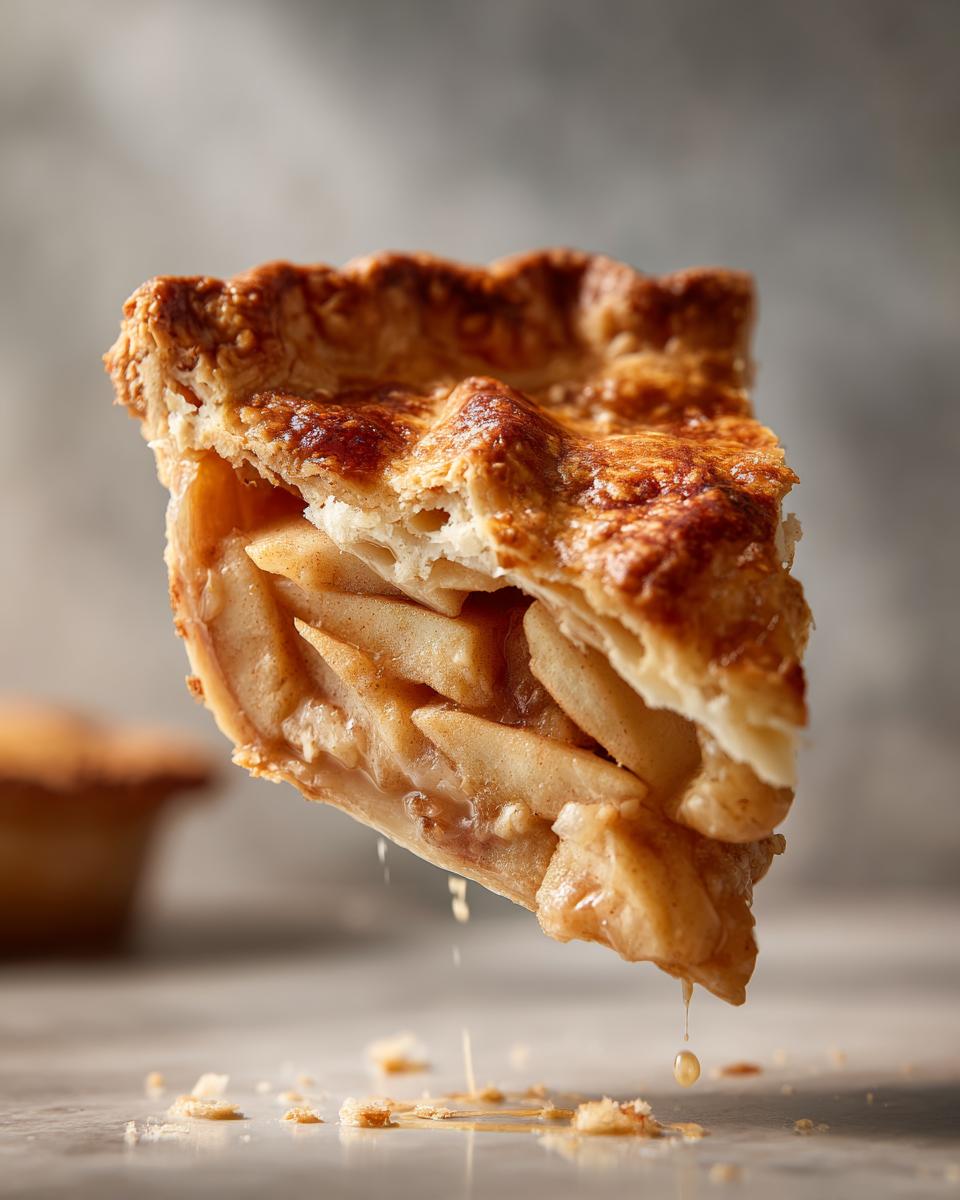
How to Prevent a Soggy Bottom Apple Pie
Oh, the dreaded soggy bottom! Nobody wants that. For your easy apple pie, the biggest help is making sure your filling isn’t too watery to begin with – that flour or cornstarch helps a lot with that. Also, try baking your pie on the very lowest oven rack. The direct heat from the bottom element really gives that crust a chance to crisp up nicely. Sometimes, I even pop it on a preheated baking sheet, which works wonders for getting that bottom crust perfectly golden and firm. It makes a world of difference!
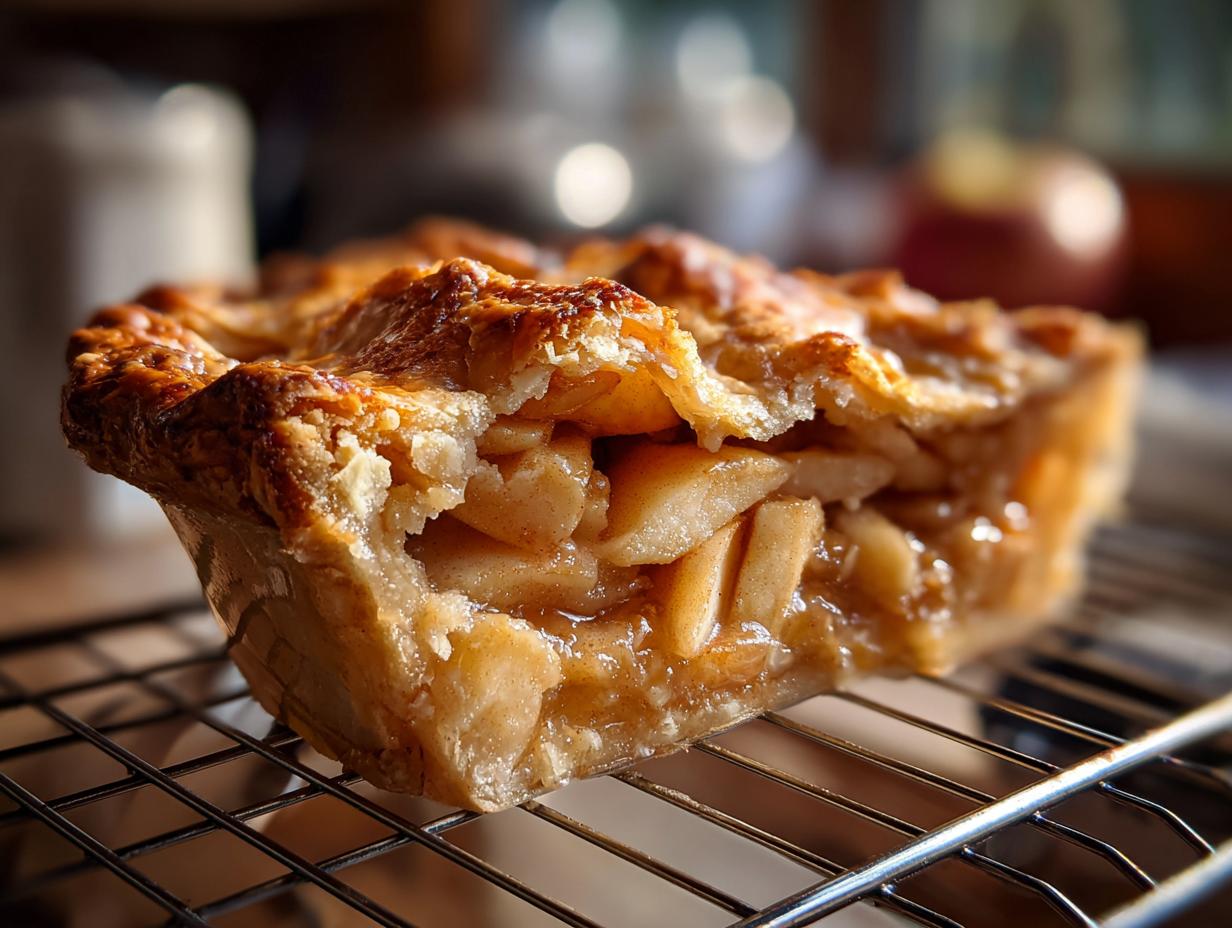
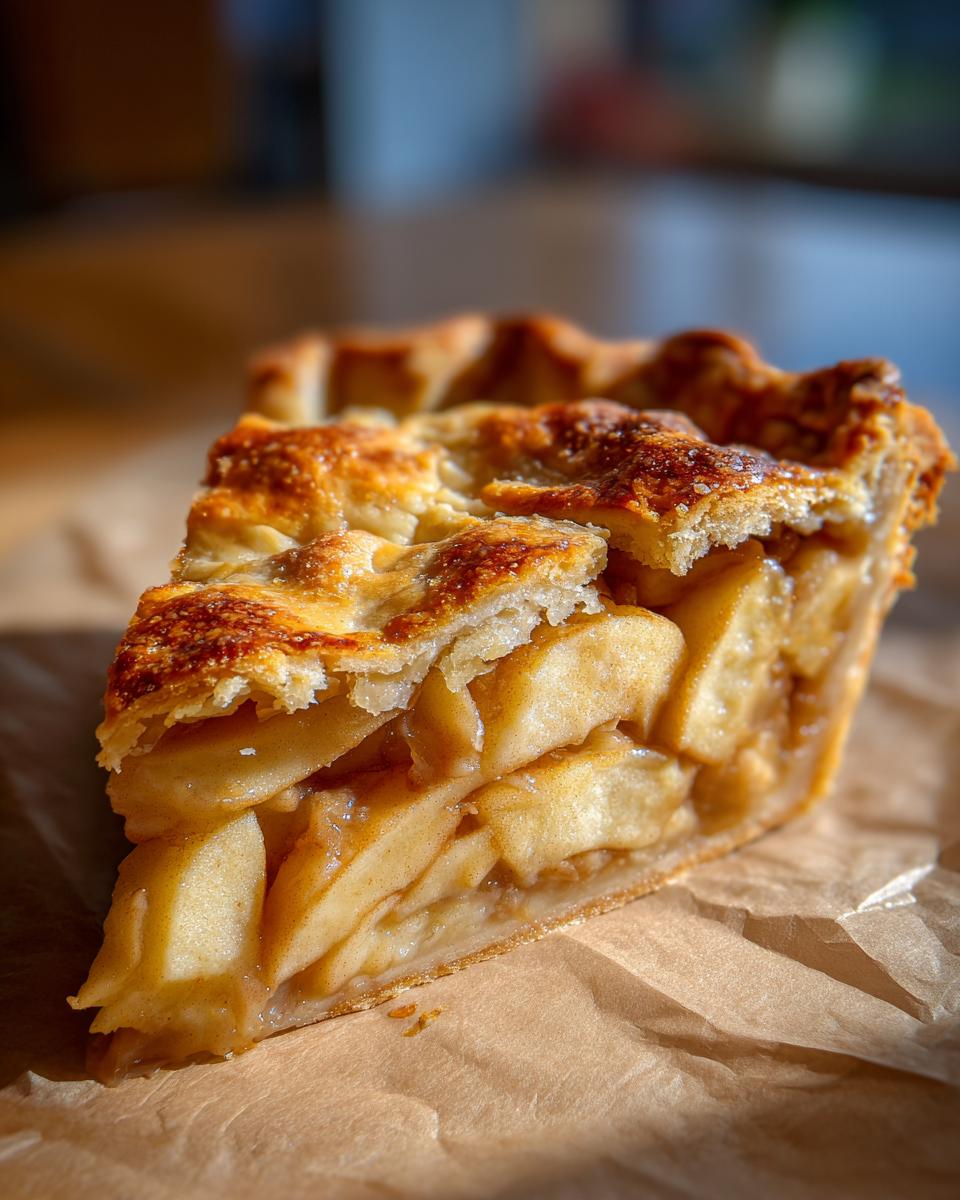
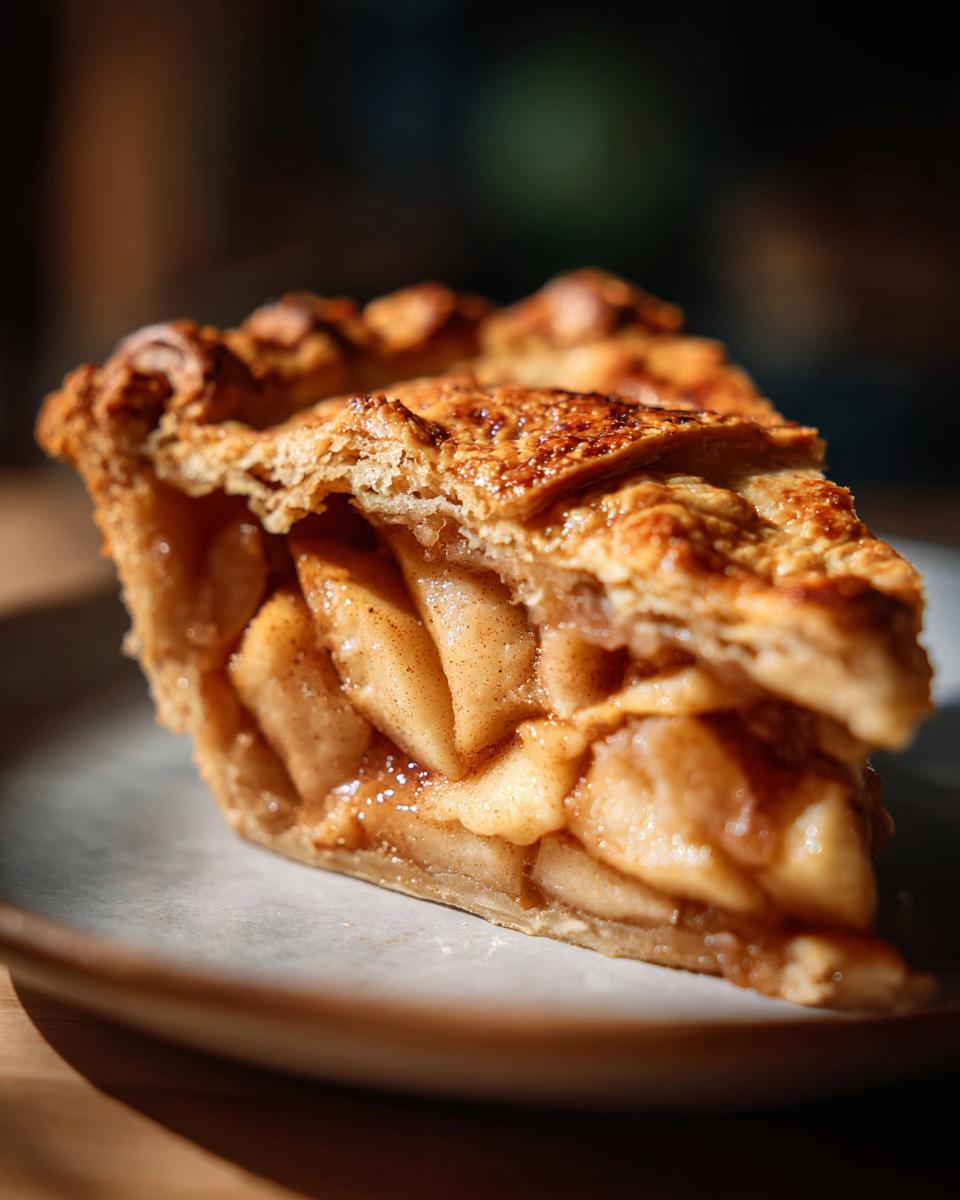
Cooling and Serving Your Classic Apple Pie
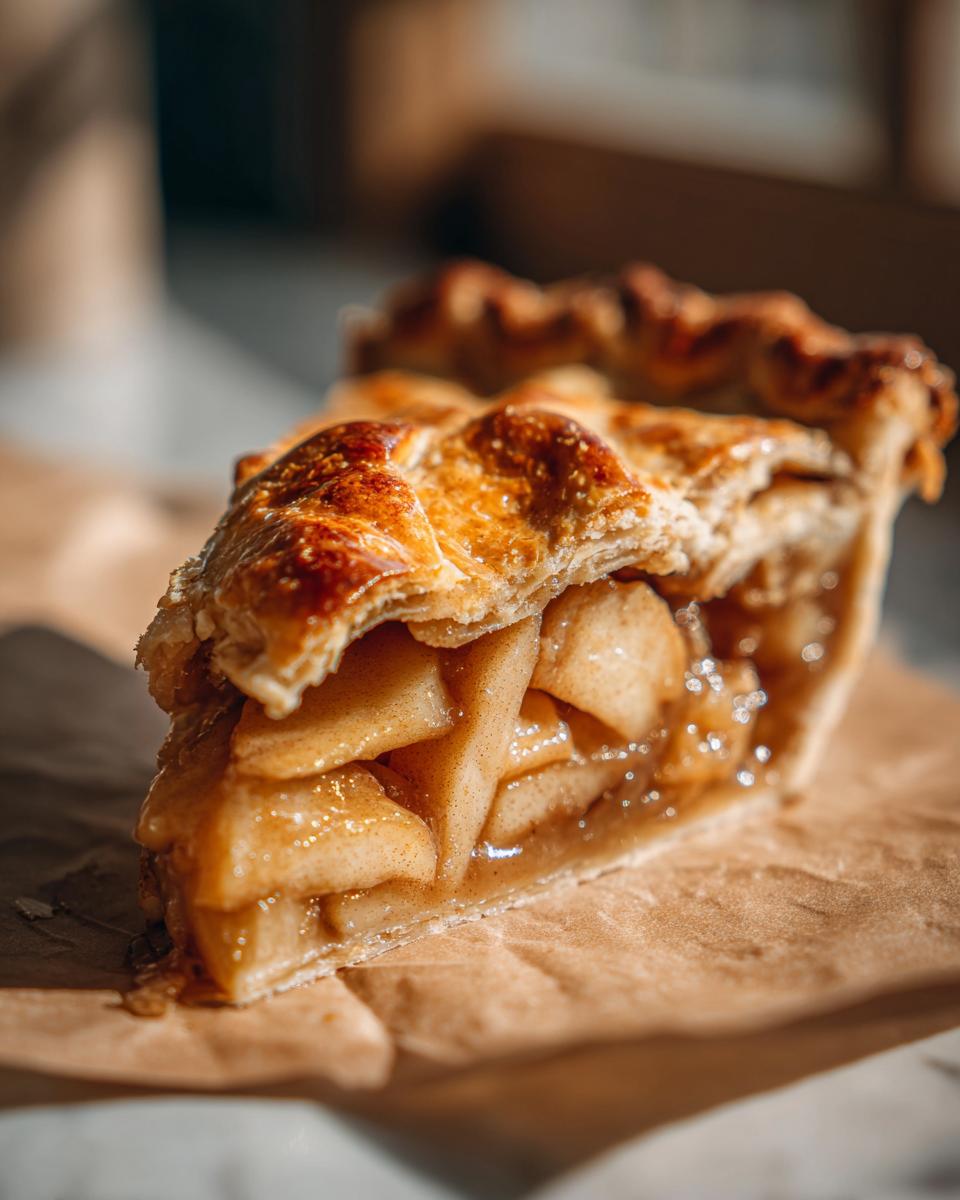
Okay, this part is SO important, and I know it’s hard to wait! You absolutely have to let your classic apple pie cool on a wire rack for at least 2 to 3 hours before you even *think* about slicing into it. I know, I know, the smell is torture! But this waiting allows the filling to thicken up properly. If you cut it too soon, all that yummy apple goodness will just ooze out. Once it’s cooled, serve it up with a big scoop of vanilla ice cream or a dollop of whipped cream. It’s just perfect for cozy fall baking inspiration or as the star Thanksgiving dessert!
Frequently Asked Questions about Easy Apple Pie
Got questions about whipping up this delicious easy apple pie? I’ve got answers!
What are the best apples for an easy apple pie?
Great question! For the best flavor and texture in an easy apple pie, you really want apples that hold their shape when baked. My favorites are Honeycrisp, Gala, Fuji, and even Granny Smith if you like a little tartness. Mixing two or three different kinds is my secret weapon for a more complex flavor. They all work wonderfully in a no pre-cook apple pie filling!
Should I use cornstarch or flour to thicken my apple pie filling?
You can totally use either for your easy apple pie! I usually reach for all-purpose flour, about 2 tablespoons, because it gives a nice, clear finish to the filling. Cornstarch is a great alternative and can result in a slightly glossier filling. Just make sure you mix it well into the apples so you don’t get lumps. Remember, the goal is just to gently thicken it so it doesn’t run everywhere when you slice it!
How do I prevent my apple pie from having a soggy bottom?
Ah, the classic soggy bottom apple pie struggle! For this easy apple pie, I really recommend baking it on the lowest oven rack. It gives that bottom crust direct heat to crisp up. Also, make sure your apples aren’t too watery before they go in the crust, and that you’ve used enough flour or cornstarch to thicken the juices. Sometimes, putting the pie on a preheated baking sheet can work wonders, too!
What is the correct bake time and temperature for a 9-inch apple pie?
For a delicious easy apple pie, I start by preheating the oven to 400°F (200°C) and baking for about 20 minutes. Then, I reduce the temperature to 375°F (190°C) and continue baking for another 30-40 minutes. You’re looking for that golden-brown crust and bubbly filling. This approach helps get the crust just right for a 9-inch apple pie bake time and temp!
How many calories are in a slice of apple pie?
Pinning down the exact apple pie calories per slice can be tricky since it depends on all the ingredients, but typically, a slice of homemade apple pie like this one is around 350-400 calories. It’s a special treat, perfect for enjoying!
Nutritional Information for Easy Apple Pie
Now, I know some of you are curious about the numbers! For a slice of this absolutely delightful easy apple pie, you’re typically looking at around 350 to 400 calories. Keep in mind, these are just estimates, and the exact apple pie calories per slice can change a bit depending on the exact apples you use and how buttery your crust feels that day! My recipe usually breaks down to about 18g of fat, 4g of protein, 45g of carbs, and roughly 25g of sugar per serving. So, enjoy a slice guilt-free – it’s a classic for a reason!
Share Your Easy Apple Pie Creations!
I just LOVE hearing from you all! Have you tried making this easy apple pie yet? I’d be tickled pink if you left a comment below sharing your experience or even dropped a star rating. And please, PLEASE tag me in your photos on social media if you make it – I can’t wait to see your beautiful pies!
PrintEasy Apple Pie
A simple and classic apple pie recipe perfect for any occasion. This recipe focuses on a straightforward filling and a flaky crust, making it accessible for bakers of all levels.
- Prep Time: 30 min
- Cook Time: 50 min
- Total Time: 80 min
- Yield: 8 servings 1x
- Category: Dessert
- Method: Baking
- Cuisine: American
- Diet: Vegetarian
Ingredients
- 2 ½ cups all-purpose flour
- 1 teaspoon salt
- 1 cup (2 sticks) cold unsalted butter, cut into cubes
- ½ cup ice water
- 6 medium apples (such as Honeycrisp, Gala, or Fuji), peeled, cored, and sliced
- ¾ cup granulated sugar
- 2 tablespoons all-purpose flour
- 1 teaspoon ground cinnamon
- ¼ teaspoon ground nutmeg
- 1 tablespoon lemon juice
- 1 large egg, beaten (for egg wash)
- 1 tablespoon granulated sugar (for sprinkling)
Instructions
- In a large bowl, whisk together 2 ½ cups flour and 1 teaspoon salt. Cut in the cold butter using a pastry blender or your fingertips until the mixture resembles coarse crumbs with some pea-sized pieces of butter.
- Gradually add the ice water, 1 tablespoon at a time, mixing until the dough just comes together. Divide the dough in half, flatten each half into a disk, wrap in plastic wrap, and refrigerate for at least 30 minutes.
- While the dough chills, prepare the apple filling. In a large bowl, combine the sliced apples, ¾ cup sugar, 2 tablespoons flour, cinnamon, nutmeg, and lemon juice. Toss gently to coat the apples evenly.
- Preheat your oven to 400°F (200°C).
- On a lightly floured surface, roll out one disk of dough into a 12-inch circle. Carefully transfer the dough to a 9-inch pie plate. Trim and crimp the edges as desired.
- Pour the apple filling into the pie crust.
- Roll out the second disk of dough. You can either place it over the filling as a solid top crust (cutting vents) or cut it into strips for a lattice top. If using a solid top crust, place it over the filling, trim the edges, and crimp to seal. Cut several slits in the top crust to allow steam to escape. For a lattice top, arrange the strips over the filling and press the edges to seal.
- Brush the top crust with the beaten egg and sprinkle with 1 tablespoon of sugar.
- Place the pie on a baking sheet (to catch any drips) and bake for 20 minutes.
- Reduce the oven temperature to 375°F (190°C) and continue baking for another 30-40 minutes, or until the crust is golden brown and the filling is bubbly. If the crust starts to brown too quickly, loosely tent it with aluminum foil.
- Let the pie cool on a wire rack for at least 2-3 hours before slicing and serving. This allows the filling to set properly.
Notes
- For a crispier bottom crust, you can bake the pie on the lowest oven rack.
- Using a mix of apple varieties can add complexity to the flavor.
- Ensure your butter and water are very cold for the flakiest crust.
Nutrition
- Serving Size: 1 slice
- Calories: 350
- Sugar: 25g
- Sodium: 200mg
- Fat: 18g
- Saturated Fat: 11g
- Unsaturated Fat: 7g
- Trans Fat: 0g
- Carbohydrates: 45g
- Fiber: 3g
- Protein: 4g
- Cholesterol: 45mg