
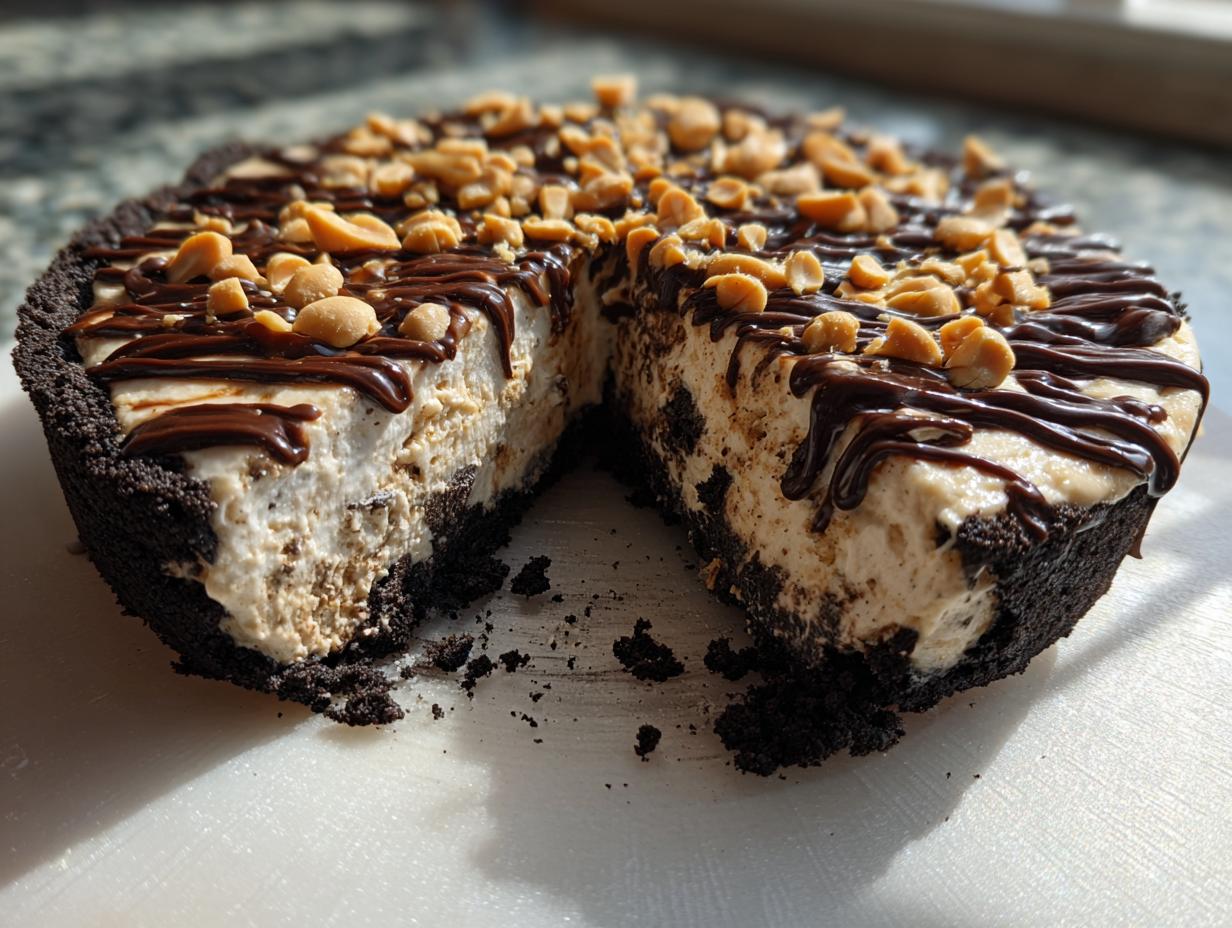
Oh, I totally get it. When the summer heat hits—or when you just need a showstopper dessert for a celebration—you don’t want to spend hours sweating over an oven. You need something truly impressive that comes together with minimal fuss. That, my friends, is why I perfected this No-Bake Oreo Peanut Butter Ice Cream Pie. This isn’t just another frozen dessert; it’s one of the very best easy ice cream pie recipes I’ve ever tested. I’ve made this multiple times for family events, and it always disappears first! It’s reliable, features that amazing salty-sweet contrast we all crave, and absolutely guarantees you’ll look like a baking superhero without ever turning on the heat. Trust me, this recipe actually works, every single time.
- Why This No-Bake Oreo Peanut Butter Ice Cream Pie is Your New Favorite
- Gathering Ingredients for Your Ice Cream Pie
- Step-by-Step Instructions for the No-Bake Ice Cream Pie
- Expert Tips for the Best Ever Ice Cream Pie
- Making Ahead and Storing Your Ice Cream Pie
- Serving Suggestions for This Indulgent Frozen Pie
- Common Questions About Homemade Ice Cream Pie
- Estimated Nutritional Data for This Ice Cream Pie
- Share Your Experience Making This Ice Cream Pie
Why This No-Bake Oreo Peanut Butter Ice Cream Pie is Your New Favorite
I promise you, this pie is the definition of high reward for low effort. We’re talking about one of those brilliant no bake frozen desserts that delivers incredible flavor without demanding precious oven space, especially when it’s scorching outside. This is truly one of the best ever ice cream pie recipes out there!
Perfect for Summer Frozen Treats and Celebrations
Because there is zero baking involved—just crushing, mixing, and freezing—this is tailor-made for those sticky summer days. Forget complicated layers; this is simple joy in a dish. It holds up beautifully as a birthday ice cream dessert because it’s sturdy and completely customizable if you wanted to add different toppings to your ice cream pie.
Quick Prep, Ultimate Reward
Honestly, the active prep time is wild—we’re looking at maybe 20 minutes, tops! Yes, the freezing takes a few hours, but that’s hands-off time! You make it the day before a party, and boom, you’ve got a stunning homemade ice cream pie ready to go. It makes serving up an indulgent frozen pie look ridiculously easy. If you want more reliability in your sweets, you have to try some of my other best dessert recipes!
Gathering Ingredients for Your Ice Cream Pie
Getting ready to make this incredible ice cream pie is half the fun! Since this is a no-bake recipe, we aren’t worrying about measuring flour or keeping things hot. We are just gathering the components for maximum flavor and creaminess. Don’t skip the quality on the peanut butter—that really makes a difference in holding everything together!
For the Oreo Crust Pie Recipe
You absolutely must use Oreos; the chocolate flavor is key to balancing the peanut butter! For the base of this amazing Oreo crust pie recipe, you’ll need:
- 1 1/2 cups crushed Oreo cookies (don’t worry about taking the filling out!)
- 6 tablespoons unsalted butter, melted
For the Creamy Peanut Butter Ice Cream Dessert Filling
This filling is what turns a regular dessert into an ultimate ice cream dessert. You want everything soft enough to mix easily, but not melted soup! Make sure your ice cream is just slightly softened.
- 1 (1.5 quart) container vanilla ice cream, softened slightly
- 1 cup creamy peanut butter
- 1/2 cup powdered sugar
- 1/2 cup heavy cream
For Topping and Garnish
These finishing touches really take it over the top. If you’re looking for a super decadent feel, this is where you add it! If you ever want to try something different, check out my peanut butter cookies recipe inspiration for other ways to use PB!
- 1/4 cup milk chocolate fudge topping, for serving
- 2 tablespoons chopped peanuts, for garnish
Step-by-Step Instructions for the No-Bake Ice Cream Pie
Now that we have our gorgeous ingredients ready, let’s put together this phenomenal ice cream pie! Don’t worry about making things perfect right now; the freezer is going to do all the heavy lifting for us. Just follow these steps, and you’ll have the ultimate frozen treat ready for tomorrow.
Making and Freezing the Oreo Crust Pie Recipe
First things first, we build our foundation! In a bowl, just toss that buttery melted butter right into your crushed Oreos. Mix it up until it looks like wet sand—perfect for packing!
Take that mixture and press it firmly into your 9-inch pie dish. Really pack it into the bottom and up the sides so you get that great crust border. Once it’s tight, pop that beauty into the freezer for at least 30 minutes. This chilling step is vital for a sturdy Oreo crust pie recipe.
Preparing the Peanut Butter Ice Cream Filling
While the crust is getting nice and cold, grab a large bowl. Mix your slightly softened vanilla ice cream with the peanut butter and the powdered sugar until it’s all smooth and dreamy. You want to beat it until it looks uniform—no peanut butter pockets allowed!
In a separate, clean bowl, whip that heavy cream up until you see soft peaks forming. This is what makes the filling so light! Now, gently, gently fold that whipped cream into the peanut butter mixture. Be careful not to overmix; we want to keep all those airy bubbles in there for that super creamy ice cream dessert texture.
Assembling and Setting the Ultimate Ice Cream Dessert
Okay, crust is firm? Awesome. Scoop out that fluffy peanut butter filling and spread it evenly across the chilled Oreo crust. Don’t press down too hard, or you’ll mess up that base! Smooth the top surface.
Cover that whole pie loosely with plastic wrap. Now, the hard part: you have to freeze it for a minimum of 6 hours. Seriously, overnight is best! This long freeze ensures you have a solid, delicious slice of make ahead frozen pie ready for serving. If you need more ideas for simple treats, check out my guide on easy no-bake dessert recipes!
Expert Tips for the Best Ever Ice Cream Pie
Okay, girlfriend, we’ve got the steps down, but the little secrets are what turn a good ice cream pie into something unforgettable. These are the things I learned after testing batches that were too soft or crusts that fell apart on me. Trust me, a few small tweaks make all the difference when you’re moving toward that perfect slice!
Crust Consistency and Flavor Swaps
If you want that crust to be rock solid—the kind that snaps when you cut it—try chilling your 6 tablespoons of butter first instead of melting it completely. It makes mixing a little tougher by hand, but the payoff is huge! Also, don’t feel locked into Oreos! If you want a lighter base for your ice cream pie, you can totally use a standard graham cracker crust ice cream pie base instead. Just use whatever crust you love most!
Achieving the Right Filling Texture
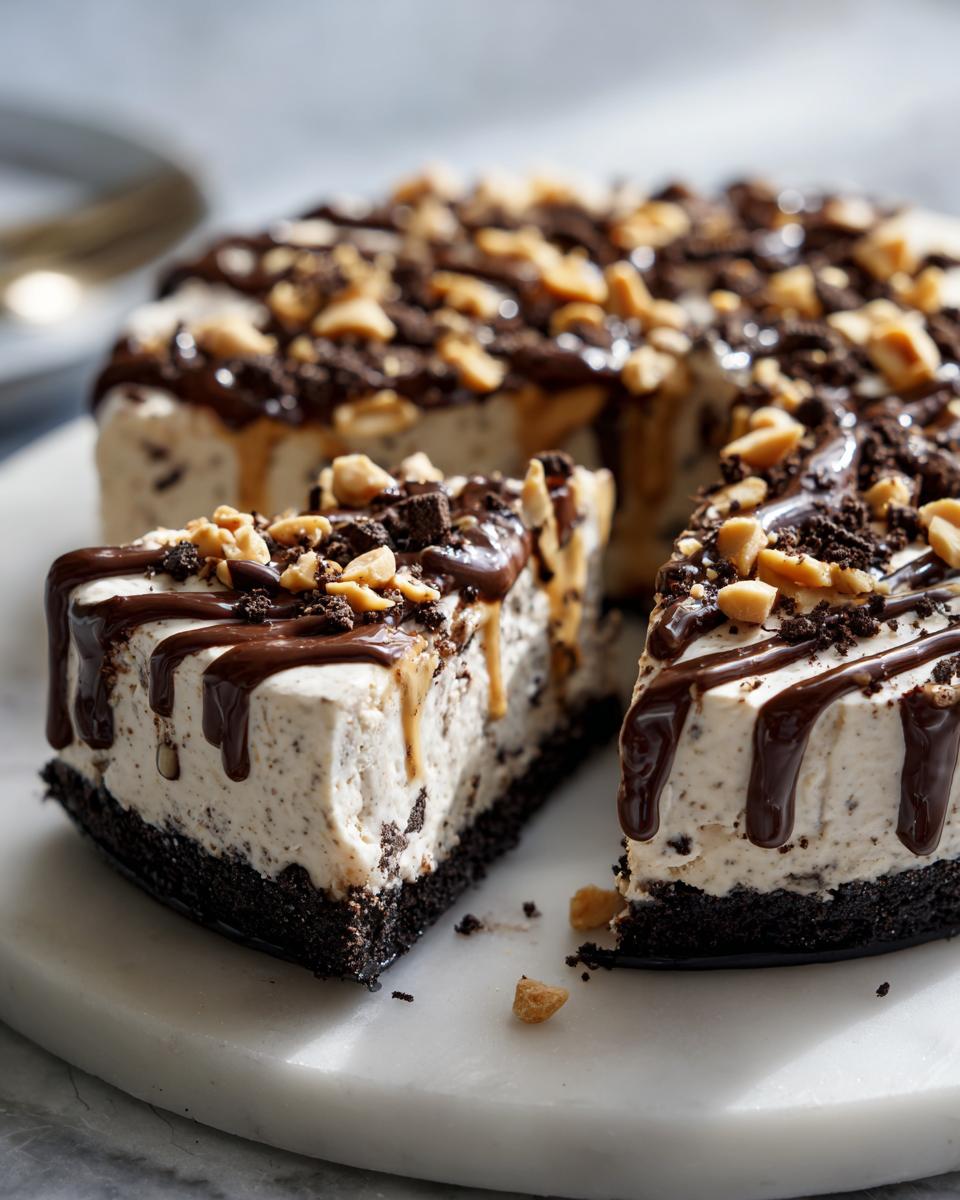
The absolute number one game-changer for any creamy ice cream dessert is how you treat the ice cream before mixing. You don’t want rock-hard scoops, but you *really* don’t want melted liquid! Take it out about 15 or 20 minutes before you start, just until it yields a little when gently pressed with a spoon. This allows it to combine beautifully with the peanut butter and sugar without losing all its structure before it hits the freezer again. That way, your final result is wonderfully dense and creamy!
If you’re looking for other recipes with deep, satisfying flavors, you absolutely have to look at my chocolate chip cookies recipe for inspiration!
Making Ahead and Storing Your Ice Cream Pie
This is where this ice cream pie truly shines for party planning! Since it’s one of the best make ahead frozen pie options out there, you can actually make this completely, and probably should!
I always bake mine the day before I need it. Once the pie is totally firm after that long freeze time, you need to wrap it really well. I cover the top tightly with plastic wrap—making sure the wrap isn’t touching the surface if you plan to add toppings later—and then wrap the whole thing again in aluminum foil. If you keep it tucked away in the coldest part of your freezer, this ice cream pie will stay delicious for up to two weeks. Planning ahead means zero stress when guests arrive!
If you want fantastic tips for other dishes you can prep early, my piece on make ahead dishes has all the details!
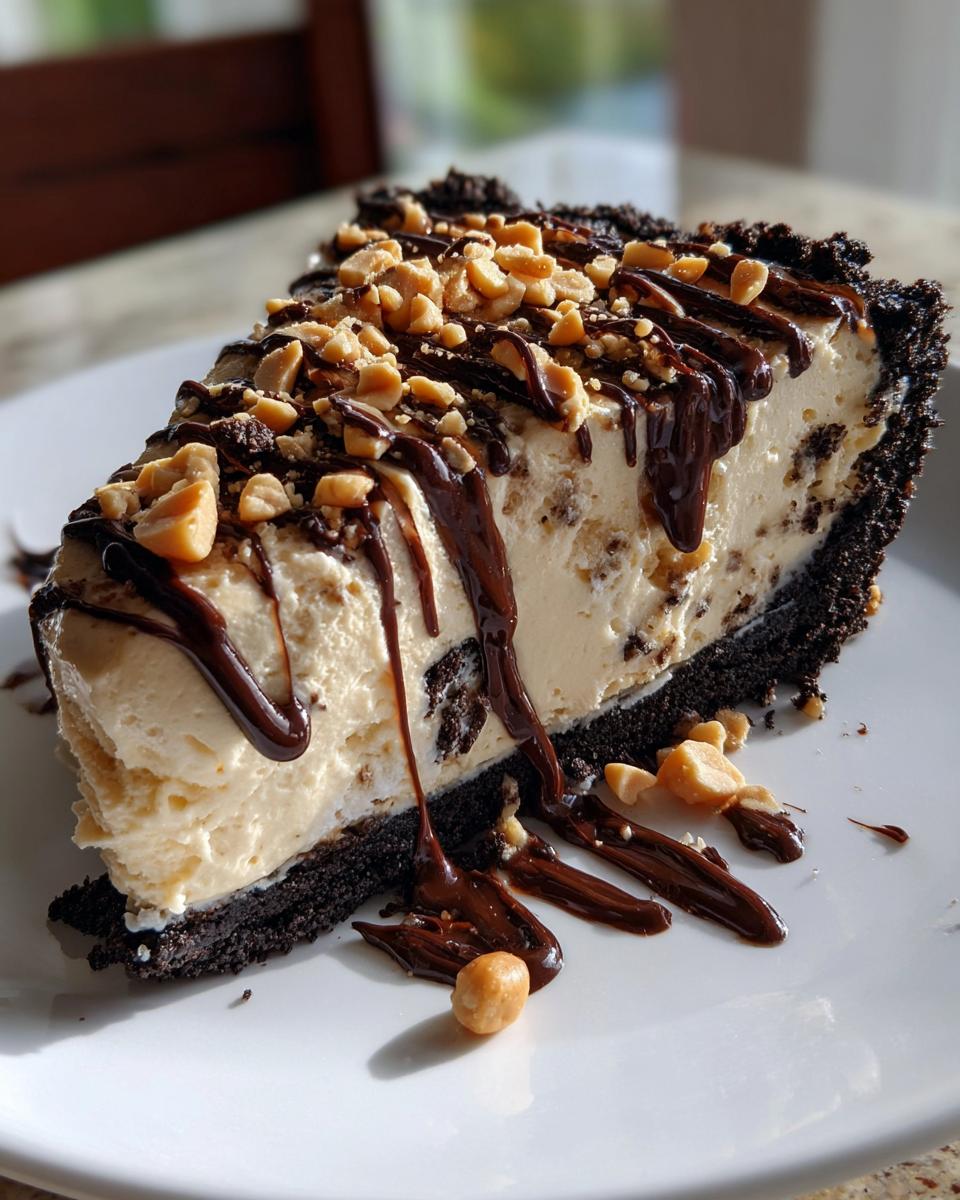
Serving Suggestions for This Indulgent Frozen Pie
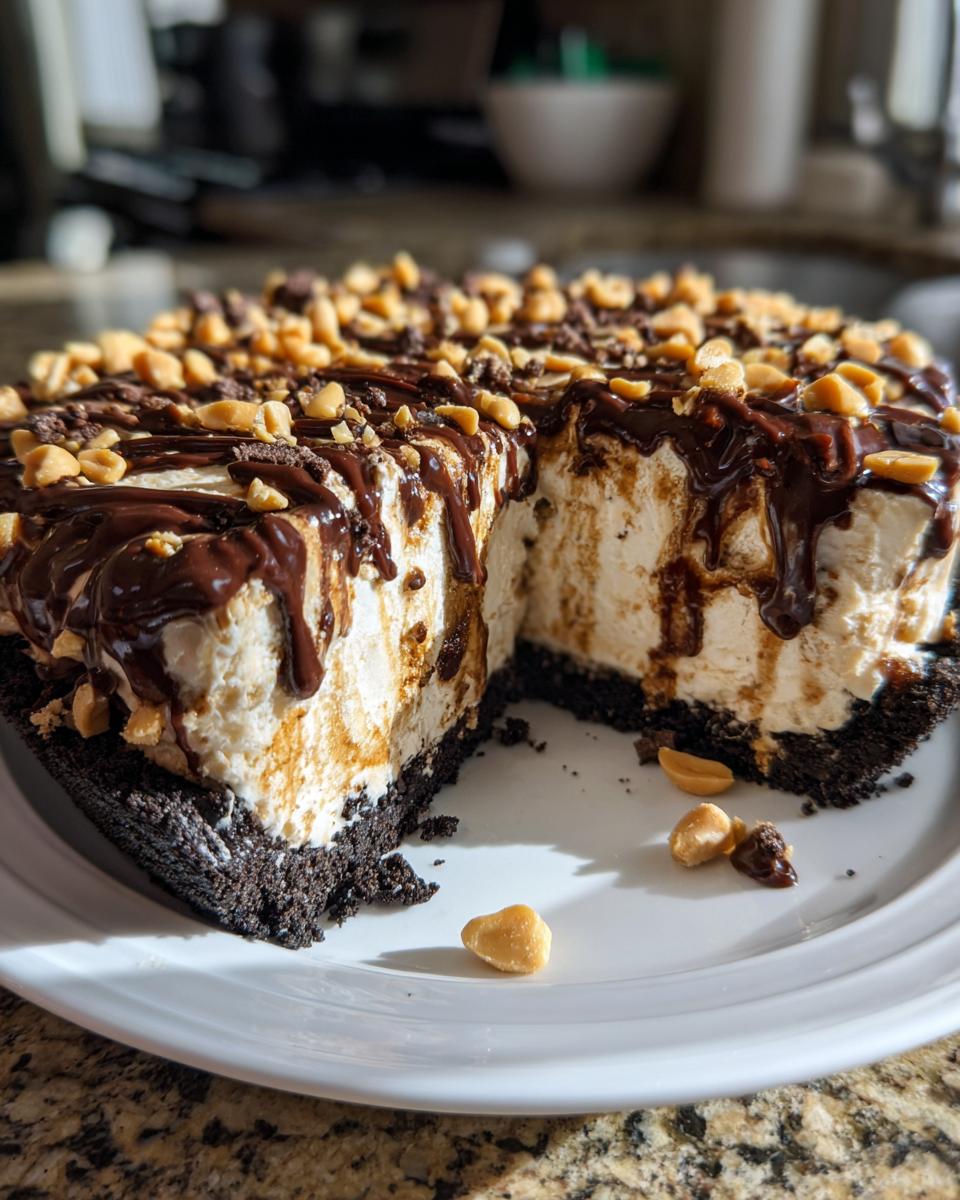
The moment of truth! Slicing into this indulgent frozen pie requires just a tiny bit of pre-planning. You absolutely cannot try to cut this straight from a deep freeze; it’ll just fight you! Before slicing, let the pie sit out on your counter for about 5 to 10 minutes. This lets the filling soften just enough so you get that gorgeous, smooth cut for every slice.
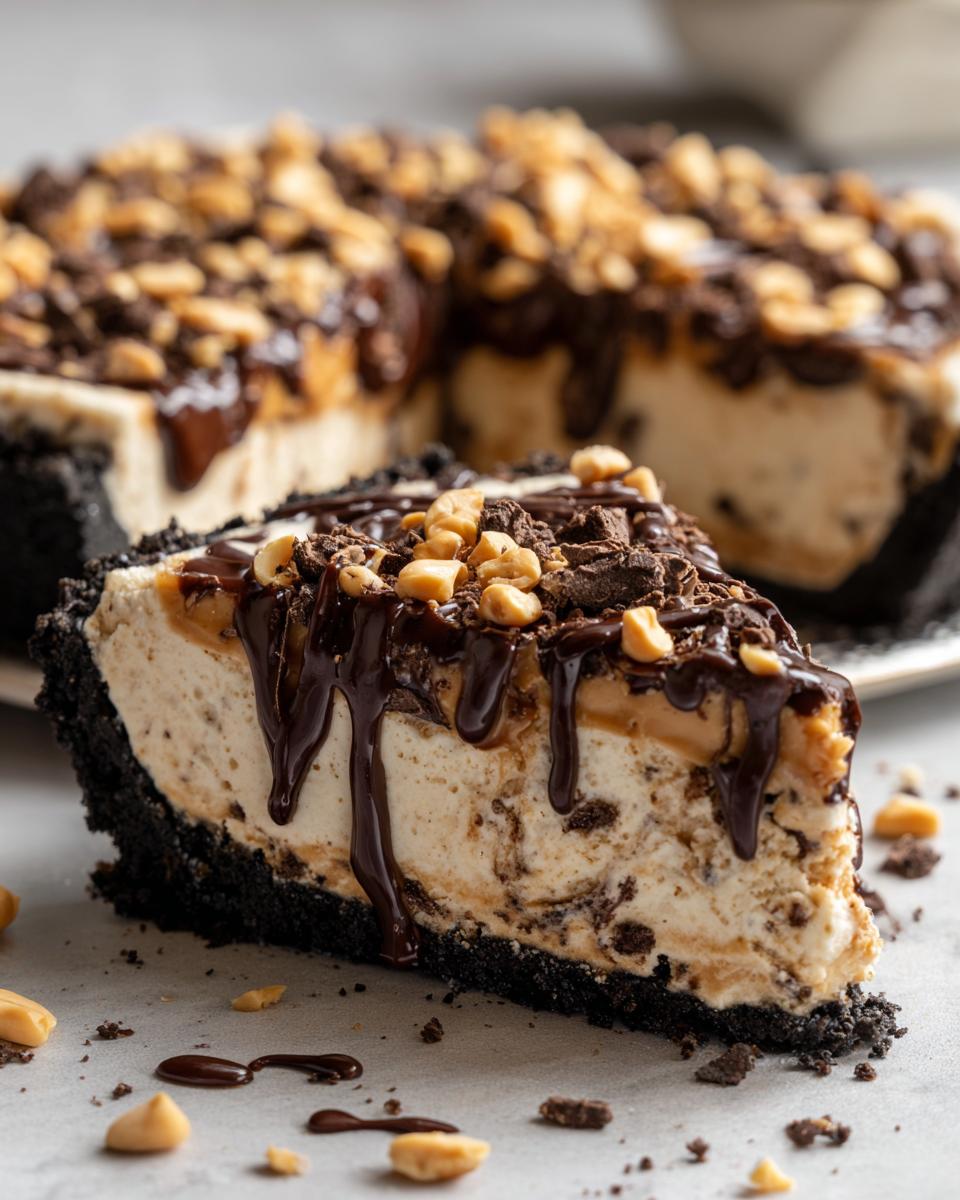
We already topped it with the fudge and peanuts, but don’t stop there! If you’re feeling extra fancy, a drizzle of warm chocolate sauce works wonders—you know, like a fancy diner! And if you love that rich, dark chocolate contrast, pairing a slice with one of my super chewy fudge brownies recipe on the side is just heavenly. Enjoy every bite of your perfect frozen pie!
Common Questions About Homemade Ice Cream Pie
It’s so normal to have questions when you’re making something new, especially when it involves freezer time! I always want you to feel totally confident before you start, so here are a few things folks always ask me about nailing this ice cream pie. We want reliable, delicious results, right?
Can I use a different crust, like a graham cracker crust ice cream pie base?
Absolutely! If you ran out of Oreos or just prefer that buttery, sandy texture, go for it. The crust ratio is usually pretty consistent—if you use about 1 1/2 cups of graham cracker crumbs, you’ll want to use around 5 to 6 tablespoons of melted butter. Press it in just like the Oreos, chill it the same way, and you’re good to go. It makes a lovely graham cracker crust ice cream pie!
How long can I keep this no churn ice cream pie in the freezer?
Since this recipe uses store-bought ice cream that we’ve stabilized with peanut butter and cream, it lasts a long time! Once it’s completely frozen and wrapped tightly (foil, then plastic wrap!), you can safely keep this no churn ice cream pie in the freezer for up to two weeks. It’s the perfect make ahead frozen pie for those big summer holidays!
What if I want a chocolate peanut butter frozen pie instead?
Oh, I love that twist! If you want to lean harder into the chocolate notes for a rich chocolate peanut butter frozen pie, you have two great options. You can simply swap out that vanilla ice cream for a good quality chocolate ice cream. Or, for a deeper flavor, keep the vanilla but add about 2 tablespoons of unsweetened cocoa powder right in when you mix in the peanut butter and powdered sugar. It makes a difference!
If you want more inspiration for desserts you can stash away for later, check out my guide on no bake frozen desserts!
Estimated Nutritional Data for This Ice Cream Pie
Now, I always like to include this section just so we all know what deliciousness we are consuming when we devour a slice of this ice cream pie! Remember, these numbers are just estimates based on the ingredients I used and the 8 slices we plan to cut. If you use different toppings or peanut butter, things might shift slightly!
- Serving Size: 1 slice
- Calories: 450
- Fat: 28g
- Carbohydrates: 45g
- Protein: 8g
It’s definitely an indulgent frozen treat, but totally worth every single creamy, crunchy bite!
Share Your Experience Making This Ice Cream Pie
I am absolutely dying to know how your ice cream pie turned out! Seriously, when you create something this dreamy, you have to share the moment. Please take a quick second to leave a star rating right below this post—it helps other home cooks feel confident trying it!
Did you stick with the peanut butter theme, or did you jazz it up with some cherry swirls? Tag me in your photos on social media; I love seeing your success stories! For more ways to elevate your cooking confidence, always check out my About Page. Happy baking (or, well, freezing)!
PrintNo-Bake Oreo Peanut Butter Ice Cream Pie

Make this easy, no-bake ice cream pie combining a crunchy Oreo crust with creamy peanut butter ice cream. This is a perfect make-ahead frozen treat for summer gatherings or celebrations.
- Prep Time: 20 min
- Cook Time: 0 min
- Total Time: 6 hours 20 min
- Yield: 8 servings 1x
- Category: Dessert
- Method: No Bake
- Cuisine: American
- Diet: Vegetarian
Ingredients
- 1 1/2 cups crushed Oreo cookies
- 6 tablespoons unsalted butter, melted
- 1 (1.5 quart) container vanilla ice cream, softened slightly
- 1 cup creamy peanut butter
- 1/2 cup powdered sugar
- 1/2 cup heavy cream
- 1/4 cup milk chocolate fudge topping, for serving
- 2 tablespoons chopped peanuts, for garnish
Instructions
- Prepare the crust: Combine the crushed Oreo cookies and melted butter in a medium bowl. Press the mixture firmly and evenly into the bottom and up the sides of a 9-inch pie plate. Freeze the crust for at least 30 minutes while you prepare the filling.
- Make the peanut butter filling: In a large bowl, beat the softened vanilla ice cream, peanut butter, and powdered sugar together until just combined and smooth.
- Whip the cream: In a separate small bowl, whip the heavy cream until soft peaks form. Gently fold the whipped cream into the peanut butter ice cream mixture until no streaks remain.
- Assemble the pie: Remove the crust from the freezer. Spread the peanut butter ice cream filling evenly into the frozen Oreo crust.
- Freeze the pie: Cover the pie loosely with plastic wrap and freeze for at least 6 hours, or until completely firm. This makes it a great make-ahead frozen pie.
- Serve: Before serving your ultimate ice cream dessert, let the pie sit at room temperature for 5 to 10 minutes to soften slightly. Drizzle with chocolate fudge topping and sprinkle with chopped peanuts. Slice and serve immediately.
Notes
- For a firmer crust, chill the butter before mixing with the crumbs.
- If you prefer a different base, substitute the Oreo crust with a graham cracker crust recipe.
- You can use no churn ice cream if you prefer not to use softened store-bought ice cream.
- This recipe works well as a birthday ice cream dessert when decorated with sprinkles.
Nutrition
- Serving Size: 1 slice
- Calories: 450
- Sugar: 35g
- Sodium: 320mg
- Fat: 28g
- Saturated Fat: 14g
- Unsaturated Fat: 14g
- Trans Fat: 0.5g
- Carbohydrates: 45g
- Fiber: 2g
- Protein: 8g
- Cholesterol: 45mg