
If you’re anything like me, you love a show-stopping appetizer, but the thought of deep-frying for a party fills you with dread! All that oil splatter and cleanup? No, thank you! That’s why I spent ages perfecting this incredible Easy Crispy Baked Shrimp Toast. This recipe is my answer to elegant entertaining that doesn’t stress you out. We are going for that savory, golden-brown crunch without ever turning on the fryer. Trust me, this straightforward method delivers reliable, fantastic results every single time you make it. It’s the perfect, flavorful shrimp toast solution you’ve been searching for!
- Why This Easy Baked Shrimp Toast Recipe is Your New Go-To Party Food Appetizer
- Gathering Ingredients for Flavorful Shrimp Spread
- Homemade Shrimp Toast Directions: Step-by-Step for Oven Baked Shrimp
- Tips for Success with Your Crispy Shrimp Toast
- Serving Suggestions for Your Easy Shrimp Appetizer
- Storage and Reheating Instructions for Leftover Shrimp Toast
- Understanding the Nutrition of This Baked Seafood Snack
- Common Questions About Making Shrimp Toast
- Share Your Crispy Shrimp Toast Creations
Why This Easy Baked Shrimp Toast Recipe is Your New Go-To Party Food Appetizer
Honestly, when I’m planning a get-together, I want impressive results without a huge post-party cleanup. That’s why I championed this baked version of the classic shrimp toast. Frying is tricky—it’s easy to burn the bread before the filling is cooked, or end up with greasy bites. Baking is just so much more reliable for the home cook!
I tested this batch of stuffed mushrooms recipe—I mean, shrimp toast—dozens of times just to get the bread edges perfectly crisp. We are aiming for that fantastic Crispy Shrimp Toast texture that stays crunchy. It turns this into the ultimate Quick Seafood Finger Food. If you need an elegant Party Food Appetizer that disappears instantly, this is it.
Achieving Ultimate Crispiness with Baked Shrimp Toast
The secret weapon here is the oven, not the oil bath! You get that lovely crunchy base because we brush the edges of the bread with olive oil before baking. The shrimp spread itself cooks perfectly on top, turning a gorgeous, firm texture without soaking into the bread and making it soggy.
Baking allows us to concentrate on building the flavor of that savory topping while the bread underneath gently crisps up. It’s a much more controlled environment, and when they pull out golden brown, you know you nailed it!
Gathering Ingredients for Flavorful Shrimp Spread
I love this part! When I look at a recipe, I want to see ingredients I already have or, at the very least, things I can grab easily at my regular grocery store. You won’t need any exotic hunts for this Savory Toast Recipe!
For the shrimp spread itself, we’re blending fresh shrimp with creamy mayonnaise—that’s our binder! We need a big flavor punch from things like finely minced garlic and just a touch of sesame oil for that lovely, nutty background note. Don’t forget the soy sauce and white pepper!
Here is what you need to pull together this amazing Easy Seafood Snack:
- 1 pound raw shrimp, peeled and deveined
- 8 slices white bread, crusts removed
- 2 tablespoons mayonnaise
- 1 tablespoon finely minced garlic
- 1 teaspoon sesame oil
- 1 teaspoon soy sauce
- 1/2 teaspoon white pepper
- 1 large egg white
- 1 tablespoon cornstarch
- 1 tablespoon olive oil (for brushing bread)
- 1 teaspoon sesame seeds (optional, for topping)
See? All simple stuff. Grab your ingredients, and we are ready for the next step!
Homemade Shrimp Toast Directions: Step-by-Step for Oven Baked Shrimp
Okay, time to get cooking! I know instructions can sometimes look long, but I promise this entire process for our Baked Shrimp Toast flies by. Since we aren’t waiting for oil to heat up, we just fly right into things. First thing’s first—set your oven to 400°F (200°C). I always line my baking sheet with parchment paper right away; it’s cheating, but who cares when the appetizer comes out this good?
Once the oven is warming up, we move straight to prepping the topping. This is where the magic happens for that amazing texture.
Preparing the Shrimp Mixture for Perfect Shrimp Toast
We need to blend the shrimp until it’s spreadable, but listen closely here, because this is crucial for not getting tough seafood! Toss your peeled shrimp in the food processor along with the mayonnaise, that lovely minced garlic, sesame oil, soy sauce, white pepper, egg white, and the cornstarch. The cornstarch is our secret weapon for binding everything beautifully.
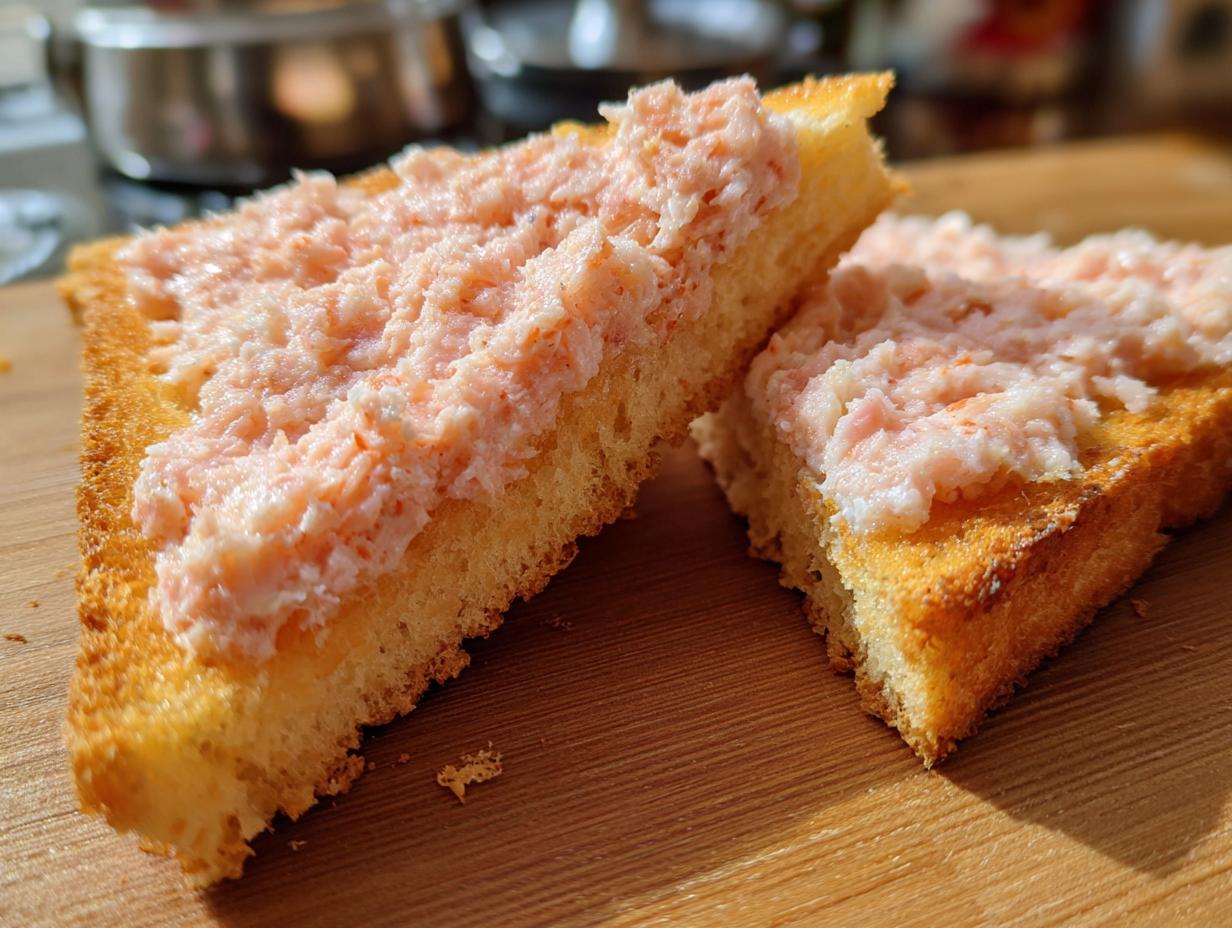
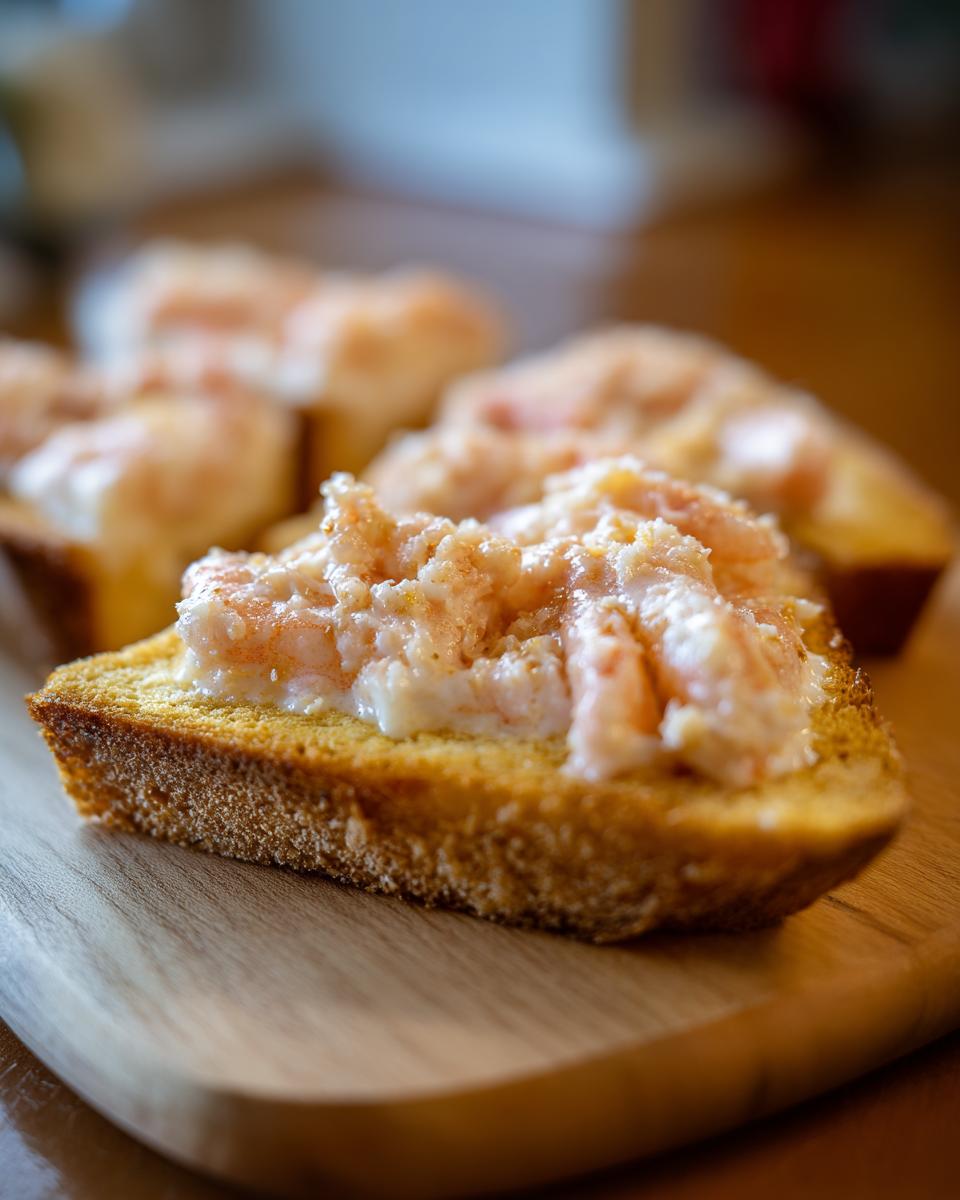
Now, use the **pulse** setting. I mean it! You want to pulse until it’s mostly smooth but you can still see tiny little flecks of shrimp structure remaining. If you over-process it into a paste, you’ll end up with rubbery bites. We want smooth, but with character. Once it looks right, grab your pre-crusted bread—I always cut mine diagonally—and spread a thin, even layer of the delicious mixture onto one side of each piece.
Baking for Golden Brown Shrimp Toasts
Place your bread triangles shrimp-side up on that prepared sheet. Now, take your tablespoon of olive oil—I usually just dab it onto a pastry brush—and lightly brush the exposed bread edges. That oil is what guarantees they turn crisp, not floppy!
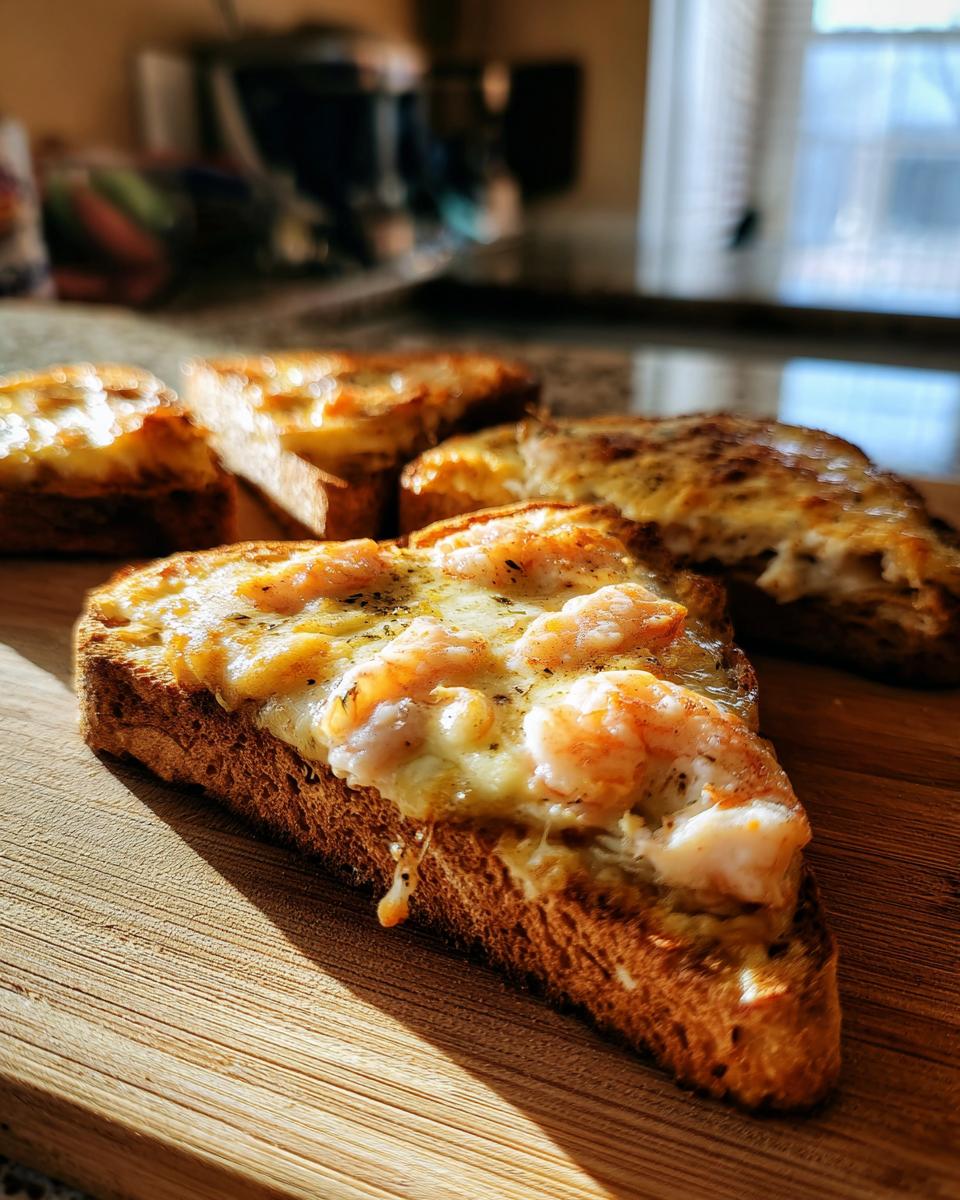
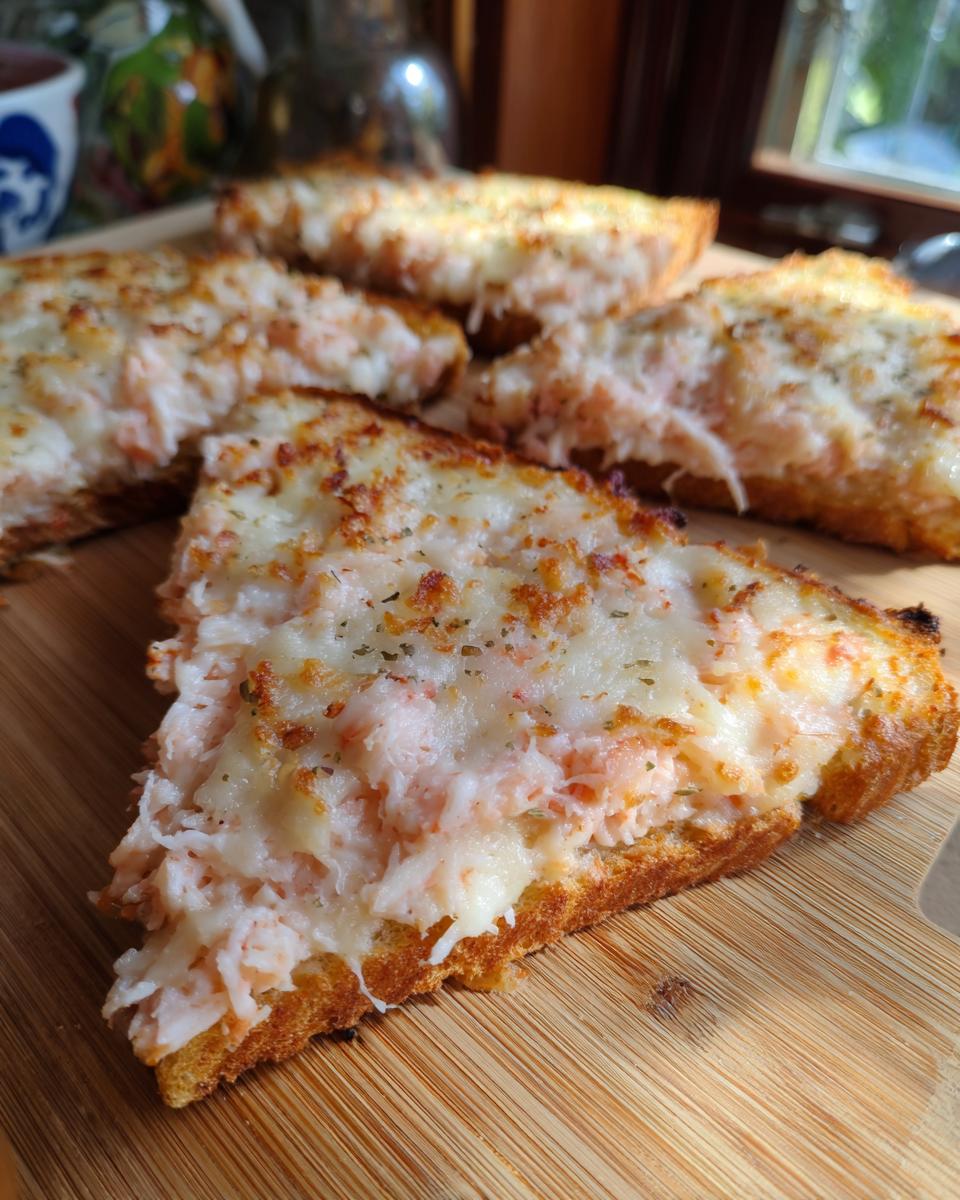
If you’re feeling extra fancy, sprinkle on those sesame seeds now. Pop the whole tray into that 400°F oven. They cook fast! You’re looking for 10 to 14 minutes. You’ll know they are done when the shrimp topping looks fully cooked through and firm, and those bread edges are wonderfully golden brown. Don’t forget these are fantastic served hot with a side of chili sauce, just like my bruschetta recipe is better with a drizzle of balsamic!
Tips for Success with Your Crispy Shrimp Toast
I’m so glad you’re making this! When I test recipes for you, I always think about the little hiccups that might trip someone up. This Savory Toast Recipe is generally rock-solid, but a few tweaks can take it from great to ‘Kate, I need to make triple batch next time!’
My biggest piece of advice for guaranteed crispiness? Don’t skip the light brushing of olive oil on the visible bread edges. That tiny bit of fat helps the starches brown up beautifully in the oven rather than just drying out. It’s a game-changer for that satisfying crunch!
If you are worried about having a slightly softer base, try this trick I discovered: lightly toast your bread slices for about 3 minutes before you even put the shrimp mixture on. It gives the toast an extra layer of defense against moisture. It’s a little extra time, but oh my goodness, the results are worth it for a totally firm base!
Ingredient Notes and Substitutions for Shrimp Toast
Let’s talk ingredients, because reader questions about them are always my favorite. What if you don’t have cornstarch? You can use a teaspoon of all-purpose flour instead; it just helps bind that lovely spread into a cohesive topping that won’t slide off during baking. It’s important to keep that binder in there!
Now, if you’re looking to bring in some deeper, more authentic flavors—maybe you want to nod toward the Southeast Asian flavors—you absolutely should try adding fish sauce. Just half a teaspoon mixed in with the other wet ingredients will give you that characteristic delicious funkiness, turning this into a wonderful Vietnamese Banh Mi Toast flavor profile without changing the texture much at all.
Also, fresh shrimp is always best, but I know life gets busy. If you must use frozen, make sure they are completely thawed and patted bone-dry before they go into the food processor. Excess water is the enemy of crispy toast!
Serving Suggestions for Your Easy Shrimp Appetizer
Once your beautiful Easy Shrimp Appetizer comes out of the oven, golden brown and smelling amazing—what do you serve it with? That’s my favorite part of the process!
Since this is such a savory toast recipe, I find that a little bit of sweet or tangy really cuts through the richness of the shrimp spread perfectly. My number one recommendation is always a store-bought sweet chili sauce. It is effortless entertaining at its finest! Just put a small bowl out, and watch those triangles disappear. If you want something homemade, a quick mix of sriracha, a tiny bit of honey, and a splash of lime juice makes a killer dipping sauce too.
When do I serve this? Honestly, anywhere! These are fantastic Seafood Party Ideas because they are easy to handle finger food. But don’t save them just for guests! I often make a batch of 6 or 8 pieces, serve it over a bed of fresh lettuce, and bam—you have a super fast, satisfying Quick Lunch Shrimp. It feels way fancier than the 30 minutes it actually took to prepare, which is exactly what we love here at Kings Cook!
Storage and Reheating Instructions for Leftover Shrimp Toast
Now, let’s be real for a second. When you make something this delicious, you might end up with a few pieces left over—or maybe you just made a huge batch for meal prepping appetizers (I don’t judge!). Storing Shrimp on Toast correctly is key to keeping that coveted crunch we worked so hard for.
First, let the toast cool completely on a wire rack after baking. If you store it while it’s even slightly warm, condensation builds up, and we all know condensation means sogginess. Once cool, store the shrimp toast in a single layer inside an airtight container. I like to place a paper towel between layers if I absolutely have to stack them, just to absorb any lingering moisture.
This will keep them good in the fridge for about two days. After that, the bread starts losing its zest, no matter how careful you are. That said, don’t even think about using the microwave for reheating! Microwaving heats the water molecules instantly, turning your beautiful crunchy base into damp cardboard. Blech! We need dry heat to revive that crispness.
Quickly Restoring Crispiness in the Oven
If you want that perfect, fresh-from-the-oven texture, your oven or toaster oven is your best friend. Set your oven to 350°F (175°C). You don’t need to preheat for long—just until it’s warm.
Lay the cold shrimp toast pieces directly on a baking sheet. Bake them for about 5 to 7 minutes. Keep a close eye on them, especially the edges. You are just looking to gently warm the shrimp topping through and bring back that firm, snappy bite to the bread. If you use a toaster oven, the time might be even shorter—maybe 4 minutes!
This simple reheating trick means you can totally make this ahead of time, and your guests will never know they aren’t the first batch! It keeps this low-fuss approach working for you, even when you have leftovers.
Understanding the Nutrition of This Baked Seafood Snack
When we talk about making food that is both delicious and a smart choice for entertaining, we have to talk about what’s in it! While this is certainly a savory treat designed for maximum flavor, I was really happy to see how this Baked Seafood Snack stacks up, especially since we skipped the heavy frying. Remember, these numbers are always based on my best estimation for the ingredients used, so they can vary just slightly depending on your brand choices, like the mayonnaise you pick.
I always keep nutrition transparency front-of-mind because you deserve to know what you’re serving your family and friends. After all, feeling good about what you cook is part of feeling confident in the kitchen!
For a standard serving size of two pieces of this Easy Crispy Baked Shrimp Toast, here is the breakdown based on the recipe above:
- Serving Size: 2 pieces
- Calories: 180
- Fat: 6g (with only 1g Saturated Fat!)
- Carbohydrates: 15g
- Protein: 16g
- Sodium: 350mg
See? We get a solid boost of protein from that delicious shrimp, keeping things satisfying! Of course, because we use soy sauce and mayonnaise, the sodium level is something to be mindful of, but for a party appetizer that everyone goes crazy for, I think those numbers are pretty darn good for a homemade bite.
If you are tracking macros, you’ll also be happy to know that the Sugar content is minimal at just 1 gram per serving. These are meant to be enjoyed responsibly as part of a fantastic spread alongside other party food. Just remember to enjoy them while they are fresh and hot for the best texture!
Common Questions About Making Shrimp Toast
Whenever I put out a new recipe, especially one that feels a little bit special like this Homemade Shrimp Toast Directions, I always get a flood of great reader questions! That’s fantastic because it means you’re eager to make this happen in your own kitchen. Here are the top things people ask me about achieving the Best Shrimp Toast Recipe.
Can I use frozen shrimp instead of fresh for this recipe?
Yes, you totally can use frozen raw shrimp! This is a fantastic tip for saving time and keeping ingredients on hand. The crucial part, though, is that you must thaw them completely before you start any blending or chopping. Once thawed, lay the shrimp out on a few layers of paper towels. You need to gently pat them dry—really dry!
If there is excess water from thawing, it throws off the consistency of our spread every time, making it too loose. Wet shrimp leads to sad, soggy bread, and we absolutely do not want that here! Just a few extra minutes of drying goes a long way towards getting that perfect crisp texture.
Can I use my Air Fryer instead of the oven?
Oh, I get this question so much! If you love your air fryer, you can definitely use it for Air Fryer Shrimp Toast. It cooks even faster than the oven, but you have to be careful not to blast the bread right off the topping!
The key is temperature control. Set your air fryer to about 375°F (190°C). Place the prepared toast in the basket, making sure not to crowd them—cook in batches if you have to. They will likely only take 7 to 10 minutes total. Check them early! The goal is the same: cooked shrimp and golden-edged bread. I’ve actually shared my favorite shrimp recipe for the air fryer if you want another great seafood idea!
What type of bread works best for a truly crunchy snack?
For the ultimate structure in this Savory Toast Recipe, you want to stick to standard sandwich bread that has a tight crumb, like plain white or whole wheat sandwich bread. Don’t use thick, crusty artisan slices right away!
Why? Because thick bread takes too long to crisp up in the oven, and the shrimp topping runs a higher risk of drying out or burning. My recommendation, as I mentioned before, is to cut the crusts off (I usually save them for breadcrumbs!) and then, for the best results, lightly toast the bread for three minutes before spreading the mixture. That double-baking approach ensures you get that perfect snap, which you can read more about over at Perfect Shrimp Toast site!
Can I make the shrimp mixture ahead of time?
Yes, this is a great make-ahead strategy for entertaining! You can prepare the seasoned shrimp mixture, pulse it in the food processor, and then store it tightly covered in the refrigerator for up to 24 hours. It holds up beautifully because of the egg white and cornstarch binder.
When you’re ready to serve, just pull it out, spread it evenly onto your bread (which you should trim right before spreading), brush with oil, and bake as directed. Having that spread ready to go makes turning this into a Quick Seafood Finger Food right before guests arrive incredibly easy!
Share Your Crispy Shrimp Toast Creations
Now, the very best part of running Kings Cook is hearing from you! Seriously, when you make a recipe and it turns out even better than you hoped, I want to know about it. That feeling of success—that’s exactly why I share these detailed directions for you.
Did this Baked Shrimp Toast become the surprise hit of your last party? Did you manage to get that amazing, even, golden brown finish on the bread edges? Please take a minute and leave a rating down below. Those little stars are so helpful for other cooks looking to try a new appetizer recipe!
If you have any little tweaks you discovered—maybe you added a little extra garlic or found the perfect presentation idea—drop a comment in the box. Sharing tips helps us all feel more confident navigating the kitchen together. I read every single comment, and I love seeing your successes!
Thank you again for trusting me with your cooking journey. Head over to my About Page if you want to learn more about how we cook together here at Kings Cook. Happy cooking to all my fellow confident chefs!
PrintEasy Crispy Baked Shrimp Toast Appetizer

You can make this easy baked shrimp toast for a crispy, savory snack or impressive party food. This recipe uses simple ingredients and bakes to golden perfection.
- Prep Time: 15 min
- Cook Time: 14 min
- Total Time: 29 min
- Yield: 16 pieces 1x
- Category: Appetizer
- Method: Baking
- Cuisine: Asian Inspired
- Diet: Low Fat
Ingredients
- 1 pound raw shrimp, peeled and deveined
- 8 slices white bread, crusts removed
- 2 tablespoons mayonnaise
- 1 tablespoon finely minced garlic
- 1 teaspoon sesame oil
- 1 teaspoon soy sauce
- 1/2 teaspoon white pepper
- 1 large egg white
- 1 tablespoon cornstarch
- 1 tablespoon olive oil (for brushing bread)
- 1 teaspoon sesame seeds (optional, for topping)
Instructions
- Preheat your oven to 400°F (200°C). Line a baking sheet with parchment paper.
- Prepare the shrimp mixture: Place the shrimp, mayonnaise, minced garlic, sesame oil, soy sauce, white pepper, egg white, and cornstarch into a food processor. Pulse until the mixture is smooth but still has some texture; do not over-process into a paste.
- Trim the crusts from the slices of bread. Cut each slice of bread in half diagonally to create triangles.
- Spread an even, thin layer of the shrimp mixture onto one side of each bread triangle.
- Place the bread triangles, shrimp-side up, on the prepared baking sheet. Brush the exposed bread edges lightly with olive oil.
- Sprinkle the tops with sesame seeds, if using.
- Bake for 10 to 14 minutes, or until the shrimp topping is cooked through and the bread edges are golden brown and crispy.
- Serve your crispy shrimp toast immediately as a quick lunch or party appetizer.
Notes
- For an even crispier base, lightly toast the bread slices in the oven for 3 minutes before adding the shrimp topping.
- If you prefer a Vietnamese Shrimp Toast flavor profile, add 1/2 teaspoon of fish sauce to the shrimp mixture.
- Serve this baked seafood snack with sweet chili sauce for dipping.
Nutrition
- Serving Size: 2 pieces
- Calories: 180
- Sugar: 1
- Sodium: 350
- Fat: 6
- Saturated Fat: 1
- Unsaturated Fat: 5
- Trans Fat: 0
- Carbohydrates: 15
- Fiber: 1
- Protein: 16
- Cholesterol: 110