
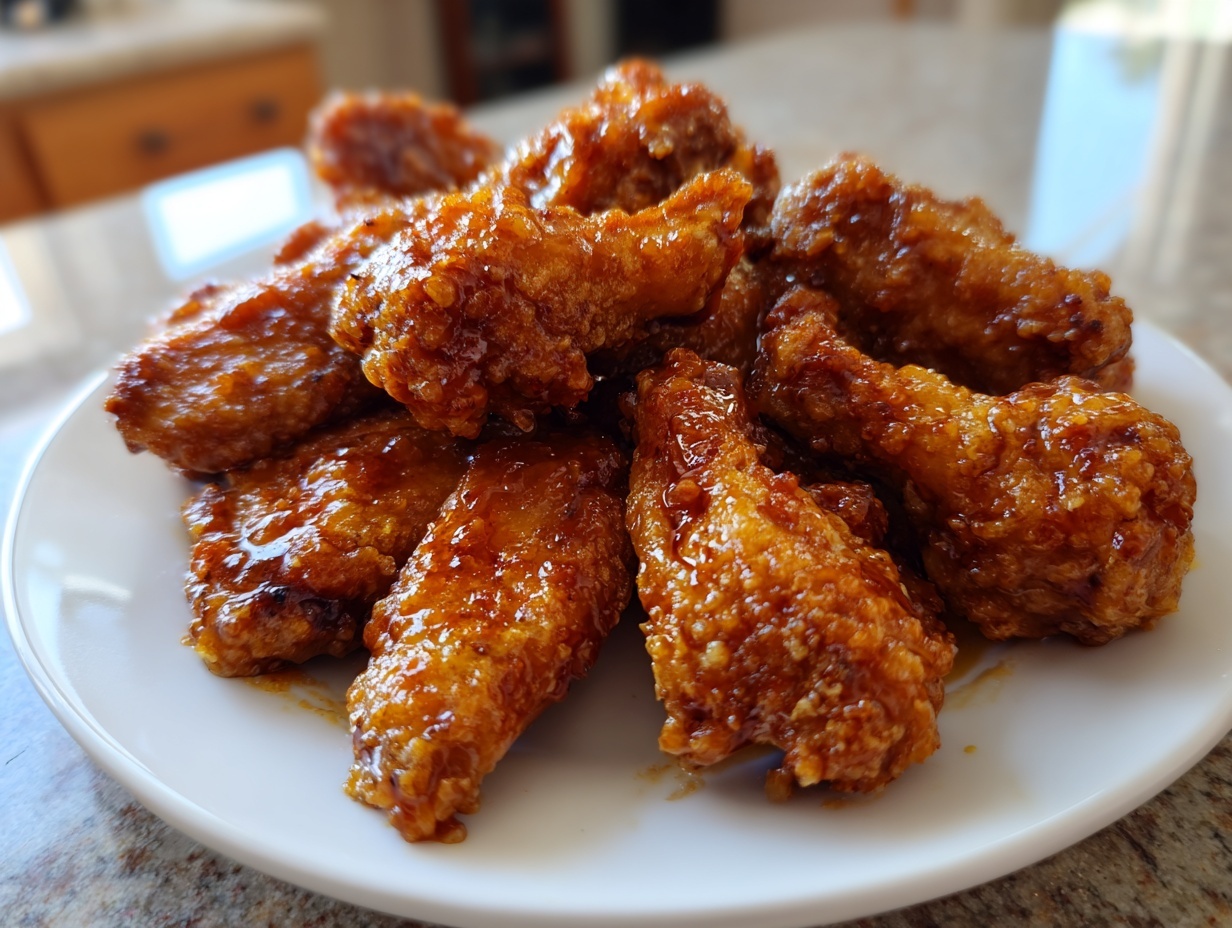
Oh, the eternal struggle! Are you, like so many home cooks I talk to, absolutely tired of making sad, floppy, pale chicken wings when you desperately want that restaurant-quality crunch? You buy the wings, you season them up, and then they come out of the oven looking disappointingly soft. It’s enough to make you want to order takeout every single time! Well, take a deep breath because I’ve cracked the code. This recipe for extra crispy baked chicken wings is going to change your game-day food and party appetizer game forever. I promise these are the best chicken wings you will make at home without ever turning on the deep fryer.
- Why This Is The Best Recipe for Crispy Chicken Wings (No Fry Needed)
- Essential Ingredients for Perfect Baked Chicken Wings
- Step-by-Step Instructions for Crispy Oven Baked Wings
- Flavor Variations for Your Favorite Chicken Wings
- Tips for Making the Best Party Chicken Wings
- Serving Suggestions for Game Day Food
- Storage and Reheating Instructions for Leftover Chicken Wings
- Frequently Asked Questions About Crispy Chicken Wings
- Nutritional Snapshot of These Homemade Chicken Wings
Why This Is The Best Recipe for Crispy Chicken Wings (No Fry Needed)
If you are looking for truly super crispy wings that taste like they came straight from the fryer without the oil mess, you’ve found your holy grail. The secret weapon here isn’t some fancy piece of equipment; it’s chemistry, babe! We rely on baking powder here—not too much, just the perfect amount—which raises the skin’s pH level. Sounds complicated, right? It’s not! All you need to know is that this simple pantry staple helps wick away moisture from the skin as those no fry wings bake at a high heat.
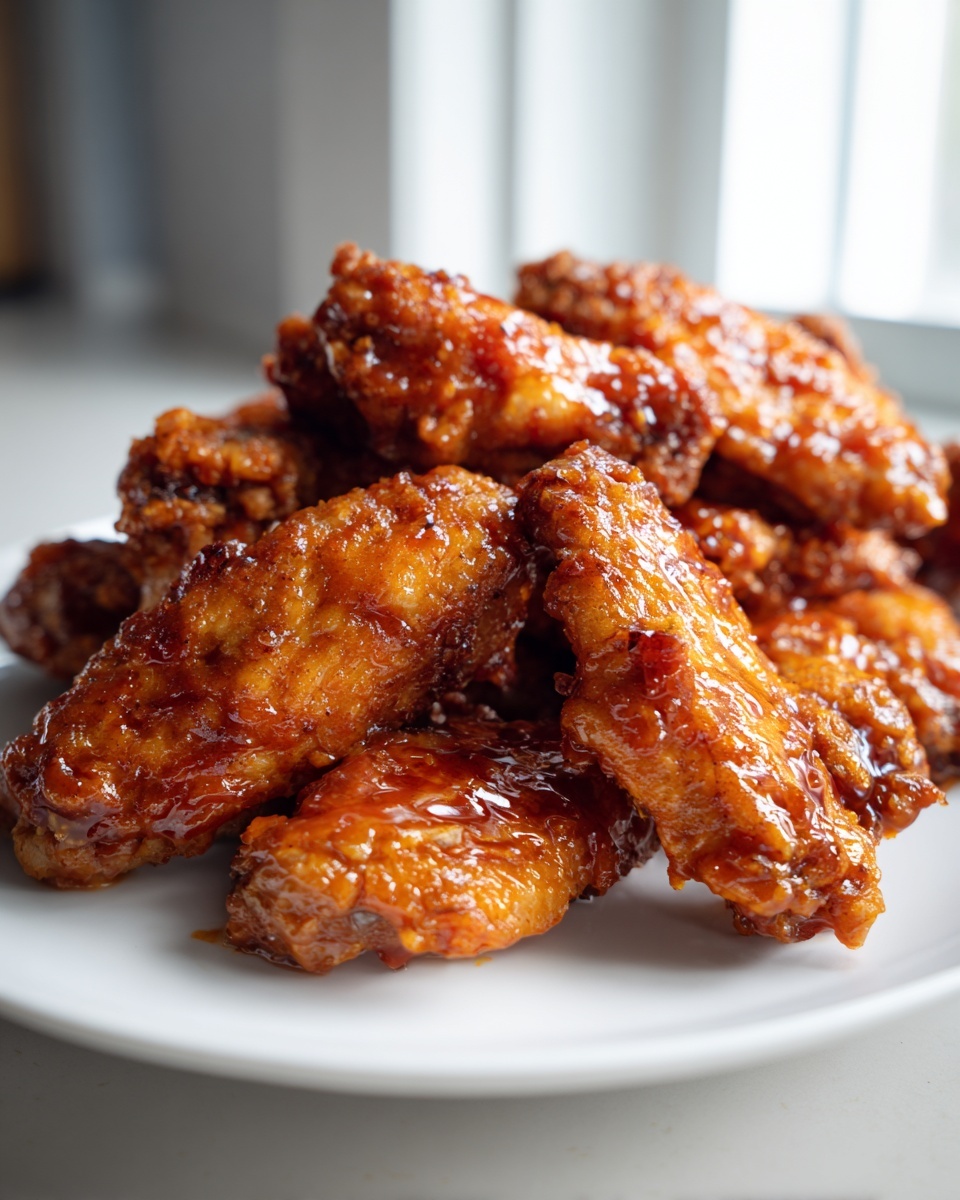
This combination of high heat and the powder coating gives you that amazing, crackly texture you dream about, every single time. I’ve experimented with cornstarch and even just high heat alone, but nothing beats this simple baking powder trick for reliable results. You can even check out some of my tests on deep frying when you have a second, but trust me, this oven technique wins for weeknight cooking. We won’t need a deep fryer for this!
Achieving Juicy Chicken Wings Every Time
Because we’re using a dry coating and baking at 425°F, you might worry that the meat inside will dry out. That’s the other neat trick! That little layer of baking powder and spices acts like a shield. It seals in the chicken juices while the outside gets golden and crisp. This means you get those glorious, fall-off-the-bone juicy chicken wings without them ever touching a drop of oil. It’s the best of both worlds, honestly.
Essential Ingredients for Perfect Baked Chicken Wings
Okay, let’s talk about what you need to gather. Since we aren’t relying on hot oil, the ingredients we use for the coating are everything! Pay attention here, because the right mix guarantees you get those beautiful, crispy chicken wings. Don’t stress; you likely have most of this stuff already.
- 2 lbs chicken wings, separated into flats and drumettes
- 1 tablespoon baking powder (aluminum-free preferred)
- 1 teaspoon kosher salt
- 1/2 teaspoon black pepper
- 1/2 teaspoon garlic powder
- 1/4 teaspoon cayenne pepper (optional—just a tiny kick!)
- 2 tablespoons unsalted butter, melted (for tossing after baking)
- 1/4 cup your favorite wing sauce (e.g., Buffalo, Honey Garlic)
Ingredient Notes and Substitutions for Your Chicken Wings
That baking powder is *vital* for the crisp factor. If you can find aluminum-free, please grab it—it makes for a cleaner taste. This simple setup is the base for everything, whether you need a classic crispy coating or you plan to turn these into incredible Garlic Parmesan wings later on. Absolutely measure that baking powder exactly; too much tastes weird, too little doesn’t crisp up!
Step-by-Step Instructions for Crispy Oven Baked Wings
Alright, here is where the magic really happens. I know reading instructions can sometimes feel tedious, but please trust me on these steps if you want perfect oven baked wings. Cooking these fantastic chicken wings is really all about technique, not complicated steps. Make sure your oven is cranked up hot—we need that initial blast of heat to start the crisping process right away. I always make sure my baking sheet is ready before I even touch the wings; organization is key when you’re cooking for game day!
First thing: Preheat your oven to 425 degrees Fahrenheit. Then, line a large baking sheet with foil—this saves so much scrubbing later! On top of that foil goes a wire cooling rack. The rack keeps the bottom of the wings out of the rendered fat, which seals in moisture but lets air circulate around the entire wing. If the bottom of your wings sit in liquid, they steam, and we definitely don’t want steamed wings!
The Secret to Super Crispy Wings: Drying and Coating
You absolutely must pat your chicken wings completely dry with paper towels. I mean bone dry! If there is even a hint of moisture, that moisture will turn to steam and stop the skin from crisping up. Once they are dry, toss them in that mixture of baking powder and seasonings. Make sure every single flat and drumette is coated evenly. This dry rub does the heavy lifting for that unforgettable crunch.
Baking Time and Flipping for Even Cooking
Arrange your coated wings on the rack in a single layer, spacing them out—no touching! You want them to bake, not steam. Throw them in the oven for a solid 25 minutes. When you pull them out, flip every single piece over carefully. Then, they go back in for another 20 to 25 minutes until they look golden, bubbly, and ridiculously crispy. If you’re looking for some extra flavor protection before saucing, check out my recipe for the best all-purpose chicken marinade, although for this specific crust, we stick to the dry rub!
Flavor Variations for Your Favorite Chicken Wings
Now that you’ve mastered the crispy base—the real bare bones of perfect chicken wings—the fun part begins: flavoring! Since this recipe gives you that beautifully crisp exterior, it holds up wonderfully to any kind of sauce or dry rub. You don’t need a separate recipe for almost every flavor profile you love.
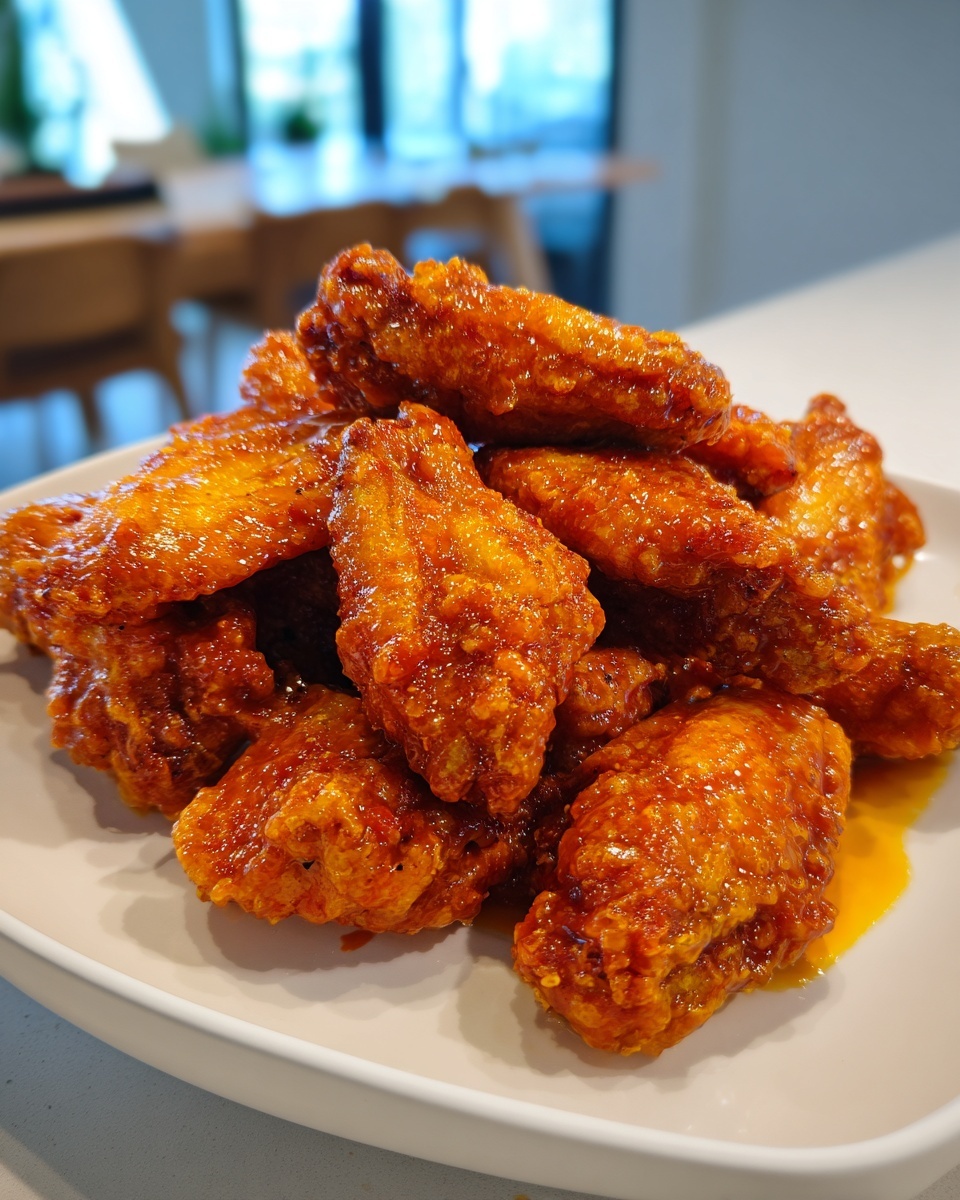
For instance, if you want classic Buffalo wings recipe flavor, just wait until they come out of the oven, toss them with melted butter and your favorite bottled or homemade buffalo sauce. If your heart is set on savory toppings, skip the sauce toss entirely. Instead, right after they exit the oven, toss them gently in melted butter and a hefty mix of garlic powder, dried herbs, and grated Parmesan cheese until they are fully coated to make amazing Garlic Parmesan wings.
This method is also perfect for those sticky Honey Garlic wings; just mix honey and soy sauce and toss them while they are piping hot. Having this foolproof crispy foundation means you can experiment wildly! For another crispy idea, remember that my crispy chicken cutlet technique focuses on crunch, and this wing base uses a very similar principle.
Tips for Making the Best Party Chicken Wings
When game day rolls around or I have a big crowd over, I always turn to these baked wings because they save my sanity, truly! Cooking a huge batch of party chicken wings can feel overwhelming, but since these are baked and not fried, you can spread them out on multiple racks without worrying about oil splatter everywhere. I remember one huge Super Bowl party where I made almost five pounds of these wings; I just used two racks and rotated them halfway through. It worked like a dream!
The key to hosting smoothly is staying ahead of the game. That’s why this recipe is perfect: you can do the heavy lifting before anyone even rings the doorbell. Don’t forget to check out my recipe for the perfect cheese ball if you need another easy appetizer that screams ‘celebration’!
Making Chicken Wings Ahead of Time
This is the pro move for feeding a crowd! You can absolutely bake the wings completely through (step 5), let them cool, refrigerate them overnight, and then finish them later. Right before you want to serve them, just put those cooled wings back on the rack, crank the oven up to 400°F, and bake for about 10 minutes until they are heated through and crispy again. Then move straight to saucing them!
Serving Suggestions for Game Day Food
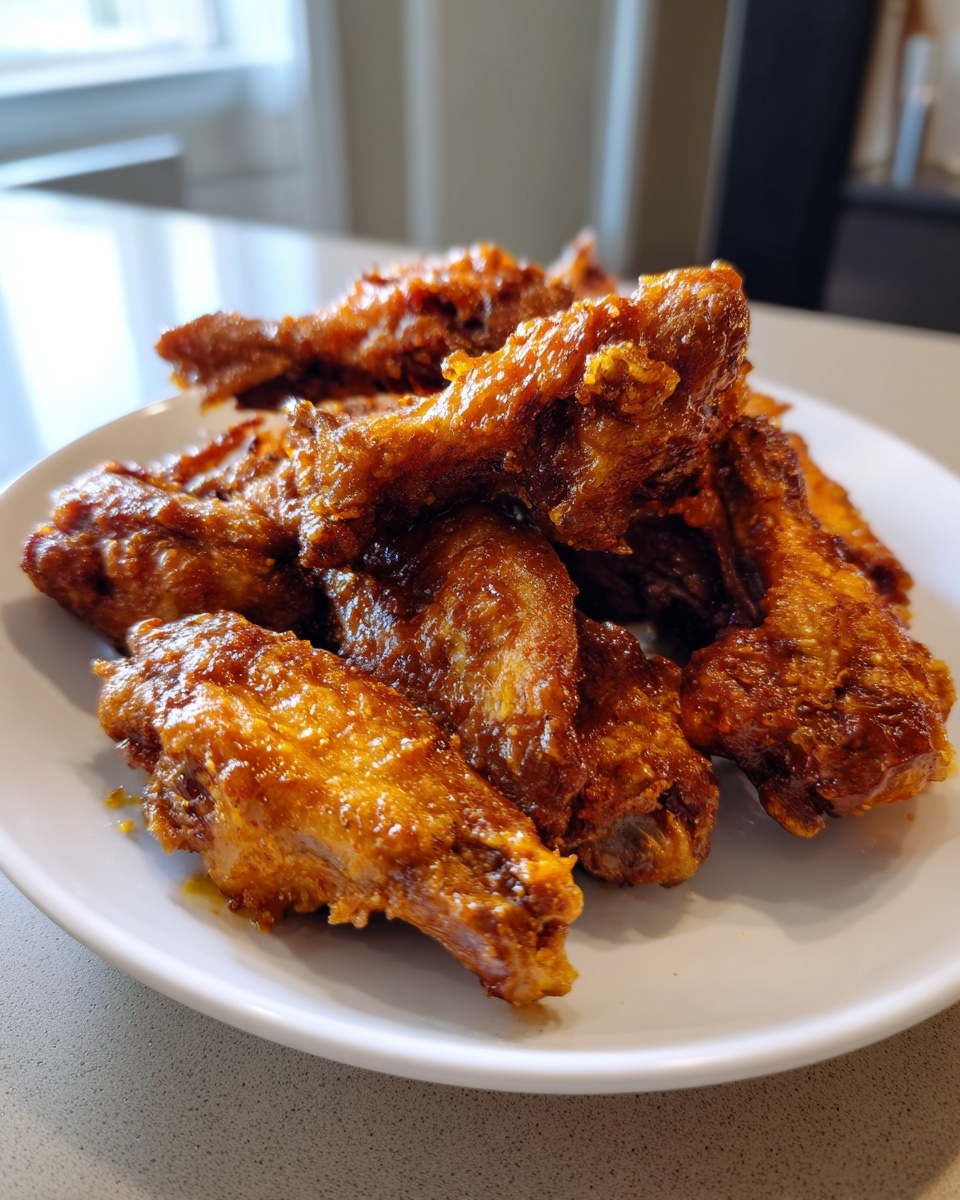
Now that you have the most amazing, crispy-on-the-outside, juicy-on-the-inside chicken wings, you can’t just serve them naked, right? Presentation matters, especially when you’re planning fantastic game day food!
For me, presentation is simple: lots of dipping sauces and crisp veggies on the side. You absolutely must have creamy blue cheese dressing or a cool ranch dressing nearby to cut through the richness of the sauce, especially if you went heavy on the Buffalo flavor. I always surround my platter of wings with fresh celery sticks and some carrot coinage. They’re crunchy, they offer a nice break for your palate, and honestly, they make the spread look more thoughtful. If you also need an easy handheld snack, my classic deviled eggs recipe is always the first thing to disappear!

Storage and Reheating Instructions for Leftover Chicken Wings
Okay, first of all, there are rarely leftovers when I make a big batch of these chicken wings, but when there are? We treat them like gold! You need to refrigerate any sauced wings in an airtight container, but here is the kicker: you absolutely, positively cannot reheat them in the microwave. Microwaving turns that perfect crispiness right back into sadness. That is the fastest way to undo all our hard work!
The best way to bring them back to life is in a 400°F oven for about 8 to 10 minutes. If you happen to own an air fryer—and you know I love mine for everything from snacks to sides like these fried pickles—that’s even better! Pop them in the air fryer at 375°F for about 5 minutes. They’ll come out steaming hot and nearly as crunchy as they were fresh out of the oven. You won’t believe this method works!
Frequently Asked Questions About Crispy Chicken Wings
I know you might still have a few lingering questions, especially once you see how truly amazing these crispy chicken wings turn out in your own kitchen! It’s natural to wonder about temperature tweaks or what happens if you decide to go the air fryer route. I’ve answered the most common questions I get about achieving that perfect texture for your next batch of appetizer recipes.
If you want to dive deep into the air fryer world, I have a whole guide dedicated to perfect air fryer wings, but generally, this baking powder trick works wonders in there too! Let’s tackle the ingredient questions first, shall we?
Can I use baking soda instead of baking powder for these chicken wings?
That’s a great question about substitutions! I highly recommend sticking to the baking powder we listed. Baking soda is much stronger than baking powder, and if you use too much, your wings can end up with a distinct metallic or even soapy flavor. We want savory and crispy, not chemical!
How long do I bake the wings if I use small drumettes only?
If you only use drumettes, they generally cook faster because they are smaller and have less bone mass. I would suggest checking them around the 35-minute total mark instead of the full 45 minutes recommended for the mixed batch. Keep an eye on the color, and pull them when they look golden brown, even if the official time isn’t up.
Is this recipe truly gluten-free if I omit the sauce?
Yes! If you stick just to the dry rub we created in step 3—salt, pepper, garlic powder, cayenne, and baking powder—then these homemade chicken wings are naturally gluten-free. Just be cautious when you add your Buffalo sauce later on! Always check the label on your favorite sauce to make sure there’s no unexpected flour thickener hiding in there.
Nutritional Snapshot of These Homemade Chicken Wings
I always like to give you a general idea of what you’re working with, even though I’m not a certified nutritionist! These numbers are estimates based on serving size (4 wings) before tossing in heavy sauces. Keep in mind that everything changes once you slather on a sugary Honey Garlic glaze or a buttery Cowboy Butter sauce. For the base recipe, you are looking at about 280 calories per serving, with a great hit of 23 grams of protein. That makes these a surprisingly good option for your next air fryer wings experiment, too!
PrintExtra Crispy Baked Chicken Wings: The Ultimate No-Fry Recipe

You want restaurant-quality crispy chicken wings without the mess of frying. This easy oven-baked chicken wings recipe uses a simple technique to give you super crispy wings that stay juicy inside. They are perfect for game day food or your next party.
- Prep Time: 15 min
- Cook Time: 45 min
- Total Time: 60 min
- Yield: 4 servings 1x
- Category: Appetizer
- Method: Baking
- Cuisine: American
- Diet: Gluten Free
Ingredients
- 2 lbs chicken wings, separated into flats and drumettes
- 1 tablespoon baking powder (aluminum-free preferred)
- 1 teaspoon kosher salt
- 1/2 teaspoon black pepper
- 1/2 teaspoon garlic powder
- 1/4 teaspoon cayenne pepper (optional)
- 2 tablespoons unsalted butter, melted (for tossing after baking)
- 1/4 cup your favorite wing sauce (e.g., Buffalo, Honey Garlic)
Instructions
- Preheat your oven to 425 degrees Fahrenheit. Line a large baking sheet with foil for easy cleanup, then place a wire cooling rack on top of the foil.
- Pat the chicken wings completely dry using paper towels. This step is crucial for achieving crispy chicken wings.
- In a large bowl, combine the baking powder, salt, pepper, garlic powder, and cayenne pepper.
- Add the dried chicken wings to the bowl and toss them thoroughly until every piece is evenly coated with the dry mixture. The baking powder helps draw out moisture and promotes browning.
- Arrange the coated wings in a single layer on the wire rack. Do not let the wings touch each other; this allows air to circulate for maximum crispiness.
- Bake for 25 minutes. Flip the wings over.
- Continue baking for another 20 to 25 minutes, or until the skin is golden brown and very crispy.
- Remove the wings from the oven. Place them in a clean, large bowl.
- Drizzle the melted butter over the hot wings and toss gently.
- Add your chosen wing sauce (Buffalo, Honey Garlic, etc.) and toss again until the wings are fully coated.
- Serve your homemade chicken wings immediately with celery sticks and blue cheese dressing for the best game day food experience.
Notes
- For the absolute best results, place the wings in the refrigerator uncovered for at least one hour after drying and before coating. This further dries the skin.
- If you prefer a dry rub finish, skip steps 6 through 10 and toss the hot wings with an extra tablespoon of seasoning blend instead of sauce.
- If you are using an air fryer, cook at 380 degrees Fahrenheit for 20 minutes, shaking the basket halfway through.
Nutrition
- Serving Size: 4 wings
- Calories: 280
- Sugar: 1
- Sodium: 350
- Fat: 20
- Saturated Fat: 6
- Unsaturated Fat: 14
- Trans Fat: 0
- Carbohydrates: 1
- Fiber: 0
- Protein: 23
- Cholesterol: 85