
The holidays just aren’t the holidays without that rich, warm scent of spice filling the air, right? For me, that means pulling out my favorite recipe for homemade eggnog. If you’ve ever bought that thin, overly sweet stuff from the store, you are in for such a treat! I spent years trying to nail the perfect eggnog that rivals what your grandma used to make—one that is seriously thick, richly creamy, and tastes like pure velvet. Trust me when I say the secret is all in how you handle the eggs. I tested the tempering step over and over again until I got that wonderfully smooth custard base. Once you master this classic winter beverage, you won’t ever go back!
- Why This Homemade Eggnog Recipe is Your New Holiday Staple
- Ingredients for the Best Eggnog from Scratch
- Easy Eggnog Tutorial: Step-by-Step Preparation Instructions
- Serving Your Classic Winter Beverage Eggnog
- Make Ahead Holiday Drinks: Storing Your Homemade Eggnog
- Troubleshooting Common Eggnog Issues
- Frequently Asked Questions About Making Eggnog
- Estimated Nutritional Data for This Eggnog
- Share Your Festive Holiday Sips
Why This Homemade Eggnog Recipe is Your New Holiday Staple
You deserve homemade happiness this season, and I promise this eggnog will give you all the confidence you need! Forget the watery, store-bought versions we’ve all been forced to settle for. This is the best eggnog from scratch you’ll ever make, delivering that truly creamy holiday drink experience.
Once you feel how easy it is to create something this luxurious, you’ll realize you’ve been missing out! It’s tradition made simple, ready to impress your family. If you’re looking for other show-stopping holiday showstoppers, you should check out my recipe for layered phyllo nut pastry!
Achieving That Velvety Winter Custard Drink Texture
Getting that perfect texture is simple when you pay attention to two things: slow heating and tempering. That slow process on the stove is what turns those basic ingredients into a true velvety winter custard drink. Don’t skip drizzling in that heavy cream near the end, either! That’s the secret sauce that pushes this into the realm of thick and rich eggnog.
Ingredients for the Best Eggnog from Scratch
To make truly amazing eggnog, you need the right starting lineup. It’s all about using the best dairy and spices you can find! We are using six yolks here for that luscious body the store-bought stuff just can’t replicate. Make sure you have your sugar, salt, and those warm spices ready to go before you even turn on the stove. Accuracy here is what builds trust in this homemade eggnog recipe!
Ingredient Notes and Substitutions for Your Eggnog
When it comes to the spirits, the recipe calls for dark rum or brandy, but feel free to use bourbon if that’s what you have on hand during your holiday gatherings. If you’re making non-alcoholic eggnog for the kids or anyone avoiding spirits, just leave that part out entirely and add an extra splash of whole milk, like my notes suggest. Seriously, don’t skimp on the vanilla extract either—it makes a huge difference in brightening up that heavy spice profile!
Easy Eggnog Tutorial: Step-by-Step Preparation Instructions
Okay, deep breath! I know the step called “tempering the eggs” sounds scary, but trust me, it’s really just carefully mixing hot things into cold things so they don’t freak out and scramble. This is the make-or-break moment for your eggnog, but we’re going to walk right through it together, slow and steady.
We start by heating the milk gently—you just want those little bubbles forming around the edges, no rolling boil allowed! Once that milk is hot, we move to the careful part. You can get a head start on other things later, but right now, focus on this mixing technique. If you’re looking for another fun breakfast treat, check out my French toast recipe while you wait for things to heat up!
Mastering the Tempering Technique for Smooth Eggnog
This is the magic. When you pour that hot milk into your egg and sugar mix, you *must* whisk constantly. I mean it—non-stop whisking! If you stop, those yolks will cook instantly and turn into little bits of sweet cooked egg floating in your beautiful eggnog. We are slowly raising the temperature of the eggs so they gently turn into a thick base instead of curdling. My little trick, learned from years of making custard sauces, is to use a good, heat-proof rubber spatula to scrape the bottom and sides of the pan continually once the mix goes back onto the heat. This keeps everything moving so perfectly smooth.
Chilling: The Secret to Thick and Rich Eggnog
Once that mixture is thick enough to coat the back of your spoon—remember, we don’t want it boiling!—you take it off the heat and stir in your cream and booze (if you’re using it). Now comes the hardest part because you have to wait! You need to strain it right away to catch any tiny bits that *did* scramble, then cover it and put it in the fridge. Don’t even think about serving it warm! It needs at least four hours, but trust me, letting this thick and rich eggnog chill overnight allows those holiday spices to really sink in and gives you that luxurious, pudding-like feel we are aiming for.
Serving Your Classic Winter Beverage Eggnog
Now that you’ve made this amazing, dense eggnog, it’s time to make it look as good as it tastes! Remember, presentation is huge for us home cooks who want to make our guests feel special. This is absolutely the perfect holiday party drink for setting the mood.
The most important serving tip is temperature: make sure it’s super cold. After all that heating and tempering, chilling is what truly locks in that creamy texture. Before pouring into pretty glasses, give the whole batch a good, quick whisk just in case it settled. I always serve mine alongside a little bowl of extra spices. If you are serving these lovely drinks before the main event, you should totally check out my recipe for easy classic deviled eggs!
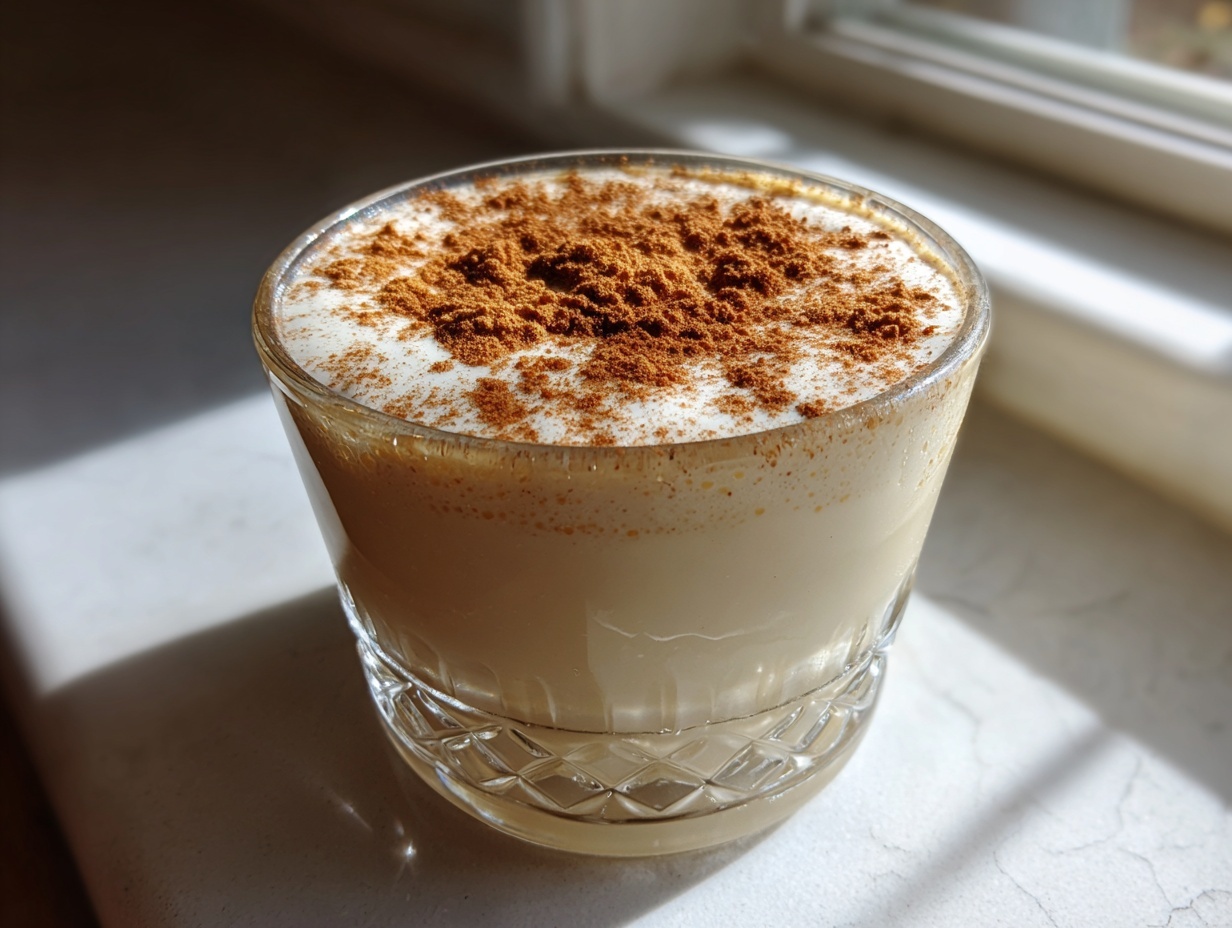
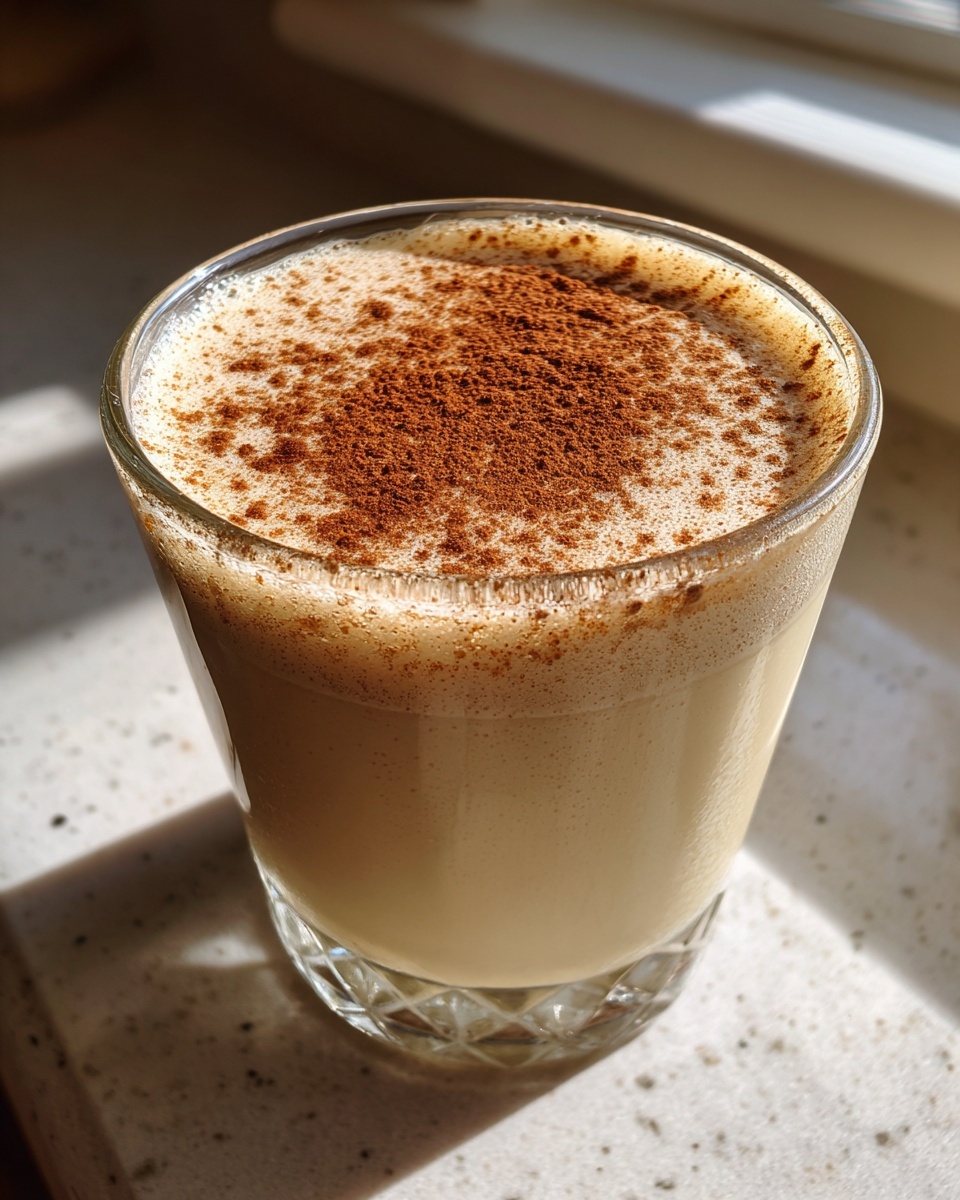
And please, don’t forget the garnish! A simple, generous dusting of freshly grated nutmeg right on top finishes the deal. It releases such a beautiful aroma the second it hits the table.
Make Ahead Holiday Drinks: Storing Your Homemade Eggnog
The best part about perfecting this eggnog? It becomes one of your best make ahead holiday drinks! Planning ahead cuts down on stress, and honestly, this homemade version only gets better after a day or two in the fridge as those spices meld. You can certainly make this entire batch three or four days before your big family gathering.
Just make sure you store it in a clean, airtight container. Dairy and egg mixtures don’t especially love being handled too much, so mix it up, strain it, and then tuck it away. When it’s time to serve it at your party, give it a vigorous whisk again to bring back that creamy texture we worked so hard for.
If you’re planning on a huge spread, this recipe pairs perfectly with something savory and simple, like my amazing easy cheese ball recipe. The contrast of the rich, spiced drink with a fun appetizer is fantastic!
Troubleshooting Common Eggnog Issues
Even when following the rules, sometimes our eggnog doesn’t come out exactly how we pictured. Don’t panic if something goes a little sideways! We all have those moments in the kitchen, and knowing how to fix them is what separates a good cook from a great one. I’ve totally been there trying to get that perfect cup of holiday cheer, so here are the three most common hiccups I see when people try this recipe for the first time.
The biggest fear, of course, is the texture. If you end up with a grainy texture, that almost always means the heat got a little too high during the cooking process, and those egg yolks started to scramble just a tiny bit. It happens fast!
But here’s the good news about fixing this batch of spiced holiday punch. If it feels grainy, the fix is easy: strain it! Just run the entire batch through a very fine-mesh sieve, like the one you use for sifting flour. You might lose a tiny bit of volume, but straining catches those microscopic cooked egg bits and instantly smooths it back out into the luxurious liquid it should be. It’s all about recovery!
What if your drink seems too thin even after chilling? If you’ve waited the full overnight period and it still feels more like milk than a heavy custard, it likely needs more time in the cold. Chilling time is crucial for this nutmeg flavored dessert drink to fully set up. Give it another few hours, or even a whole second night, and you should see that extra thickness develop.
Finally, and this is personal preference, sometimes the spices just don’t pop! If you taste it and feel like it needs more holiday warmth, you can always stir in a little extra ground nutmeg right before serving. It’s a perfect way to boost the flavor right at the last second without having to re-cook the whole thing.
Frequently Asked Questions About Making Eggnog
I absolutely never mind answering a few last-minute questions about this recipe! It’s a special occasion drink, and you need confidence going into it. I’ve pulled together the questions I get asked most often when people are whipping up their first batch of this spiced holiday punch.
Can I make this eggnog recipe without eggs?
That’s a great question, especially if you’re trying to cater to dietary needs or just prefer not to use eggs in your drinks. Honestly, this specific recipe—the one that yields that divine, thick and rich eggnog—is built around those six egg yolks. They are crucial for creating that signature velvety custard texture when we cook it on the stovetop. If you absolutely need a completely egg-free version, you’ll probably need to search for a dedicated vegan recipe that uses cornstarch or thickeners to mimic that richness, because skipping the yolks here just won’t give you the results we are aiming for in this classic take.
How long does homemade eggnog last in the refrigerator?
This is where making it homemade really pays off, but you do need to be mindful of the dairy and eggs! Because we are cooking this mixture to cook out some of the raw egg risk, it lasts much longer than homemade-raw-egg versions. I generally feel completely safe serving this beautifully spiced drink for about three to five days stored tightly covered in the fridge. If you notice any smell change or real thinning that won’t whisk back together, it’s time to say goodbye. That’s why I always suggest making it a day or two ahead, rather than the whole week!
What is the best liquor to add to eggnog?
Ah, the fun part! As written, this recipe uses optional dark rum or brandy, which gives it a wonderful, deep, traditional flavor profile. That’s usually my go-to for a classic eggnog with rum or brandy variation. However, you have options! Many people swear by a good quality bourbon or even a spiced whiskey for an extra kick of vanilla and oak flavors that really enhance the nutmeg. Whichever you choose for your nutmeg flavored dessert drink, just remember that the alcohol acts as a slight preservative, so don’t go overboard. A little goes a long way in boosting those holiday flavors!
If you’re looking for other incredible holiday appetizers to serve alongside your creamy drink, you have to try my stuffed mushrooms recipe!
Estimated Nutritional Data for This Eggnog
Okay, let’s talk numbers for a second. When you’re making something this rich and decadent, you know it’s going to be a treat, not a diet staple! I always like to include the nutritional estimates because it helps to keep things real when planning your holiday feasting.
Remember, because this recipe involves optional spirits (rum or brandy) and you might use slightly different brands of heavy cream or whole milk, these numbers are just estimates for one cup serving. If you make the non-alcoholic eggnog version, the calorie and nutrient counts will shift slightly, mostly in terms of fat and protein content based on dairy choices.
Here’s what the basic calculation looks like for one serving of this creamy holiday drink:
- Calories: Around 450
- Total Fat: About 28 grams (with 16 grams being saturated fat—that’s the richness talking!)
- Carbohydrates: Roughly 38 grams
- Sugar: Approximately 35 grams
- Protein: A solid 12 grams
- Cholesterol: Be advised, this is high (around 350mg) because of all those wonderful egg yolks we use for the texture.
- Sodium: About 110mg
It’s a substantial, flavorful cup of holiday joy. Focus on enjoying this traditional Christmas drink in moderation, because that rich, creamy impact is exactly what makes homemade eggnog so special!
Share Your Festive Holiday Sips
Well, that’s it! You’ve officially mastered the best eggnog from scratch! I am genuinely so excited for you to serve this up at your next gathering. When you make a festive drink this good, you have to tell someone about it, right?
When you make this batch of creamy holiday drink, please come back here and leave me a rating below. Seriously, that little star rating helps me see which recipes are serving you well for the upcoming holidays! I absolutely live for hearing which dishes become part of your family’s traditions.
Did you add the rum or did you stick with the non alcoholic eggnog version? Did you make it a day ahead? Drop all those details in the comments—I love reading every single one!
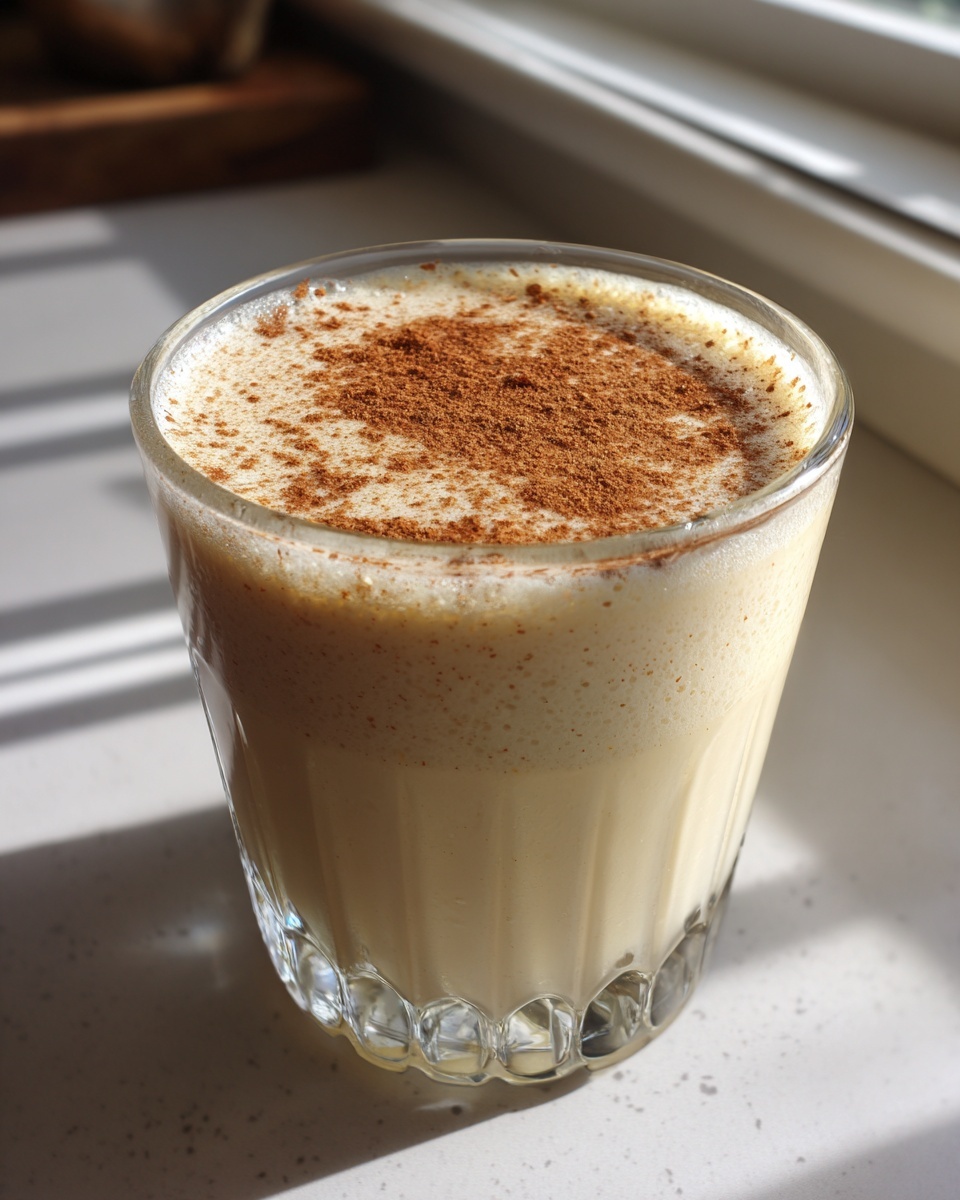
And if you took a stunning photo of that deeply chilled, nutmeg-dusted glass of eggnog, please share it on social media! Tag me so I can see your beautiful work. It makes my whole week when I see my recipes living happily in your kitchen. If you need a fantastic, comforting main dish to balance out all that rich creaminess, my chicken fried steak recipe is a classic crowd-pleaser!
Happy sipping, friends, and may your holidays be bright and absolutely delicious!
PrintClassic Homemade Eggnog: Rich and Creamy Holiday Drink

Make this old fashioned homemade eggnog from scratch. This recipe yields a rich, thick, and creamy holiday beverage, far better than store-bought options. You can easily make it alcoholic or non-alcoholic.
- Prep Time: 15 min
- Cook Time: 15 min
- Total Time: 30 min
- Yield: 6 servings 1x
- Category: Beverage
- Method: Stovetop Cooking
- Cuisine: American
- Diet: Vegetarian
Ingredients
- 6 large egg yolks
- 3/4 cup granulated sugar
- 1/4 teaspoon salt
- 1/4 teaspoon ground nutmeg
- 1/4 teaspoon ground cinnamon
- 1/8 teaspoon ground cloves
- 1/2 cup dark rum or brandy (optional)
- 1 quart whole milk
- 1 pint heavy cream
- 1 teaspoon vanilla extract
- Extra ground nutmeg for garnish
Instructions
- In a medium bowl, whisk the egg yolks, sugar, salt, nutmeg, cinnamon, and cloves until the mixture is pale yellow and smooth.
- In a medium saucepan, heat the whole milk over medium heat until small bubbles form around the edges. Do not boil.
- Temper the eggs: Slowly pour about 1 cup of the hot milk into the egg mixture while whisking constantly. This prevents the eggs from scrambling.
- Pour the tempered egg mixture back into the saucepan with the remaining milk.
- Cook over medium-low heat, stirring constantly with a wooden spoon or heatproof spatula, until the mixture thickens enough to coat the back of the spoon (reaching 160 degrees F). Do not let it boil.
- Remove the saucepan from the heat immediately. Stir in the optional rum or brandy, heavy cream, and vanilla extract.
- Strain the eggnog through a fine-mesh sieve into a clean bowl to remove any small cooked egg pieces, ensuring a smooth texture.
- Cover the bowl and chill the eggnog in the refrigerator for at least 4 hours, or preferably overnight, to allow the flavors to meld and the drink to thicken.
- Before serving this velvety winter custard drink, whisk it well and pour into glasses. Garnish each serving with a fresh sprinkle of ground nutmeg.
Notes
- For a non-alcoholic eggnog, simply omit the rum or brandy and add 1/4 cup extra whole milk.
- To achieve the thickest texture, chill the eggnog completely before serving. The chilling process is key to a creamy holiday delight.
- You can prepare this recipe a day ahead for your holiday party drinks.
Nutrition
- Serving Size: 1 cup
- Calories: 450
- Sugar: 35
- Sodium: 110
- Fat: 28
- Saturated Fat: 16
- Unsaturated Fat: 12
- Trans Fat: 1
- Carbohydrates: 38
- Fiber: 0
- Protein: 12
- Cholesterol: 350