
Oh, I totally get it. Sometimes you need that seriously rich, decadent, melt-in-your-mouth sweet treat, and you need it *now*. You don’t want to power up the oven, and you definitely don’t want a complicated process. If that craving hits you like a freight train, I have your back with the ultimate solution: this no-bake chocolate peanut butter fudge. Seriously, this recipe is my secret weapon when I need instant comfort. We’re talking about a dessert so creamy and satisfying, you’ll wonder why you ever bothered with complicated candy making. The prep is genuinely under 25 minutes of active work—it’s quick, it’s reliable, and it tastes like pure indulgence. I’m Kate, and when I say this recipe actually works, you can trust me; it’s been tested, tweaked, and approved right here in my kitchen for all those moments when only the best chocolate swirl will do!
- Why This Easy Fudge Recipe is Your New Go-To
- Gathering Ingredients for Your Chocolate Peanut Butter Fudge Recipe
- Step-by-Step Instructions for Layered Fudge Recipe
- Tips for Making Perfect Chocolate Peanut Butter Fudge Every Time
- Variations on the Decadent Peanut Butter Dessert
- Storage and Reheating for Homemade Fudge Squares
- Frequently Asked Questions About Chocolate Peanut Butter Fudge
- Nutritional Estimates for This Indulgent Sweet Treat
- Share Your Homemade Fudge Squares
Why This Easy Fudge Recipe is Your New Go-To
When you need a truly satisfying sweet fix, you don’t want fuss. That’s what makes this recipe stick around in my recipe rotation. It hits all the right notes without any weird complications. Forget struggling with candy thermometers; we’re keeping this simple and reliable!
Ready in Under 30 Minutes Prep Time
I know you’re busy, so let’s talk time management. You only spend about 25 minutes actually *doing* things to get this ready for the fridge. That makes it the perfect quick dessert for when company unexpectedly shows up or you absolutely must have something sweet before the evening is over. The rest is just waiting time!
Achieving Perfectly Creamy Chocolate Peanut Butter Fudge
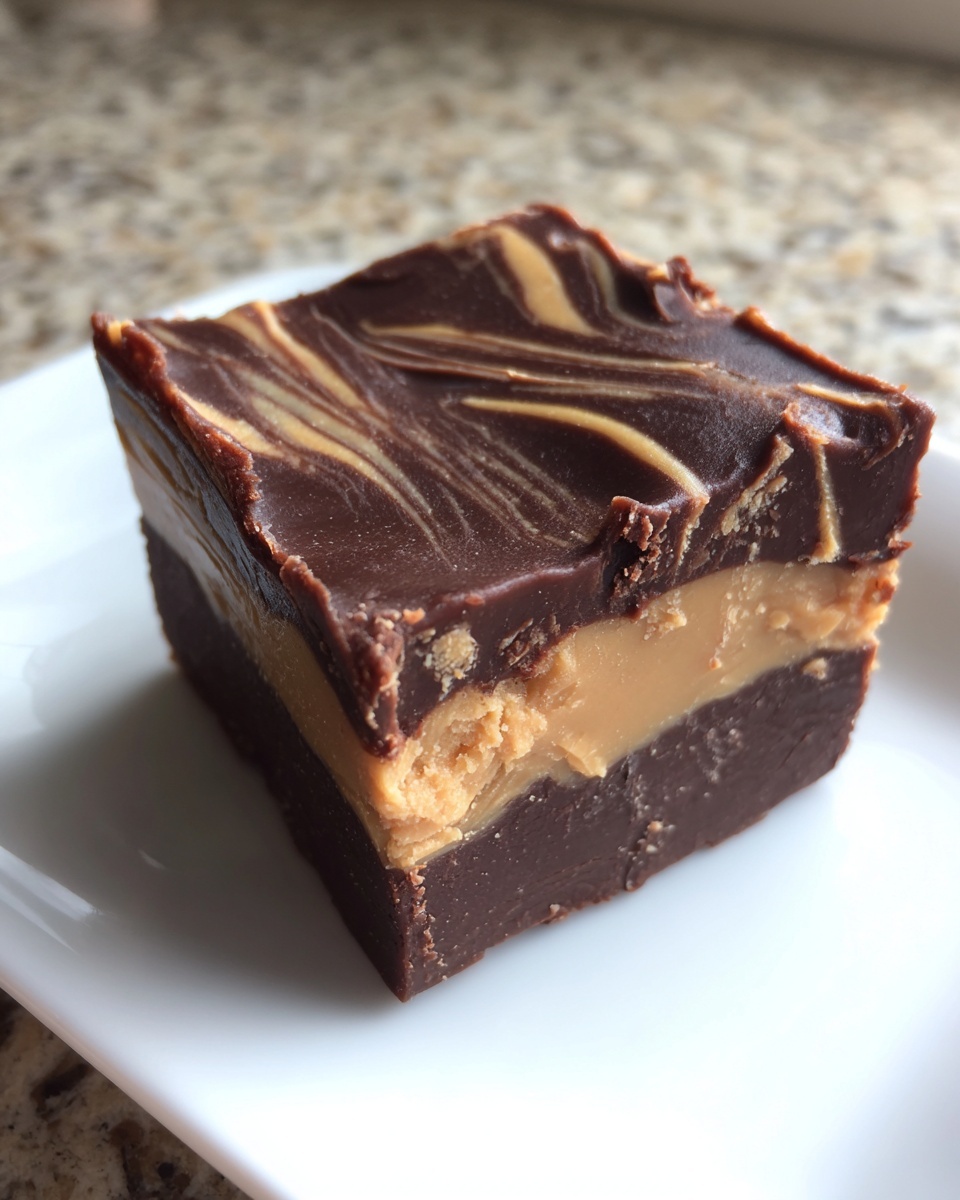
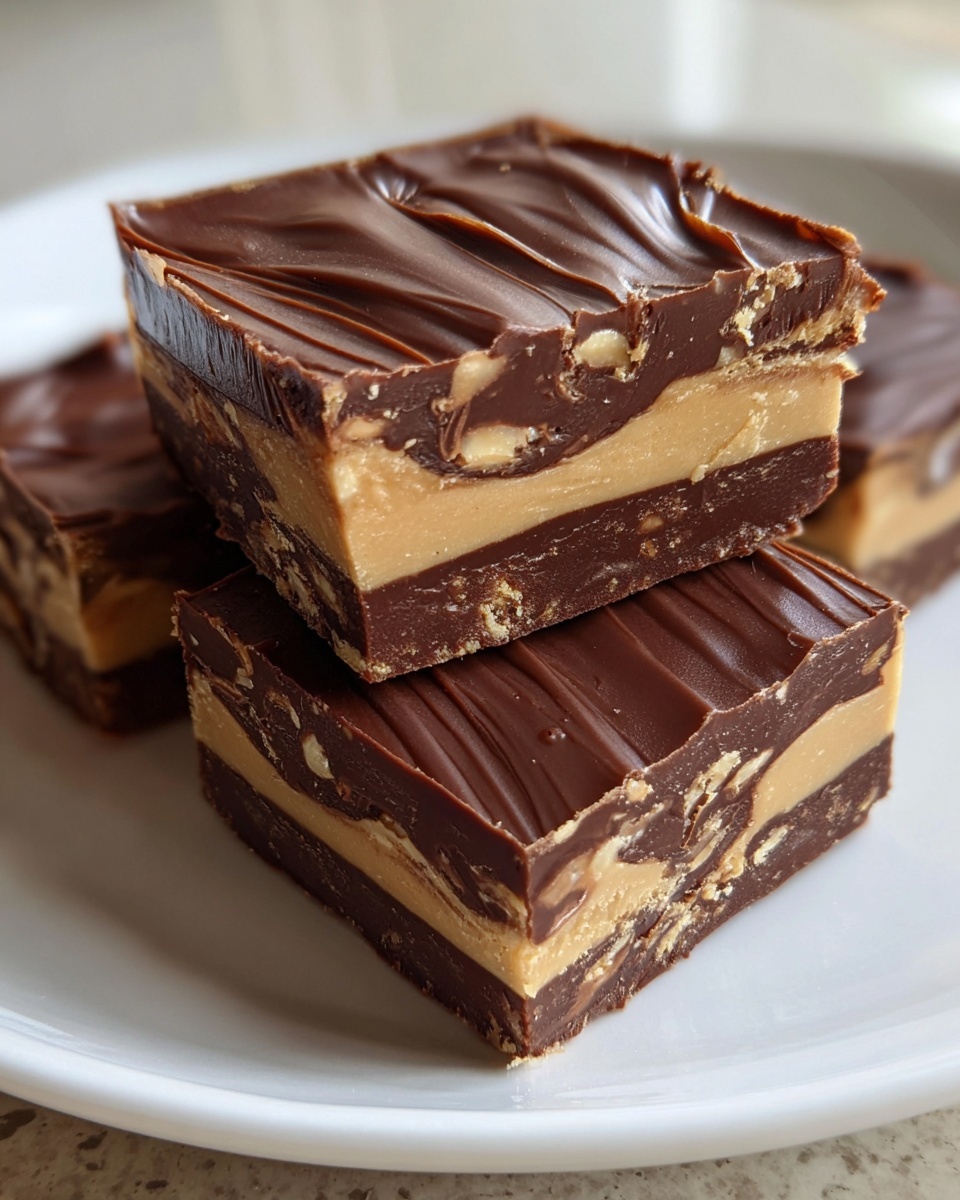
The thing I love most about this method for chocolate peanut butter fudge is the texture. Because we skip the stovetop heating and tempering chocolate, you end up with this incredible, rich, and unbelievably creamy fudge. It has that wonderful density that just melts away in your mouth. It truly is a marvelous, melt in your mouth fudge experience without any guesswork.
Ideal for Gifting and Parties
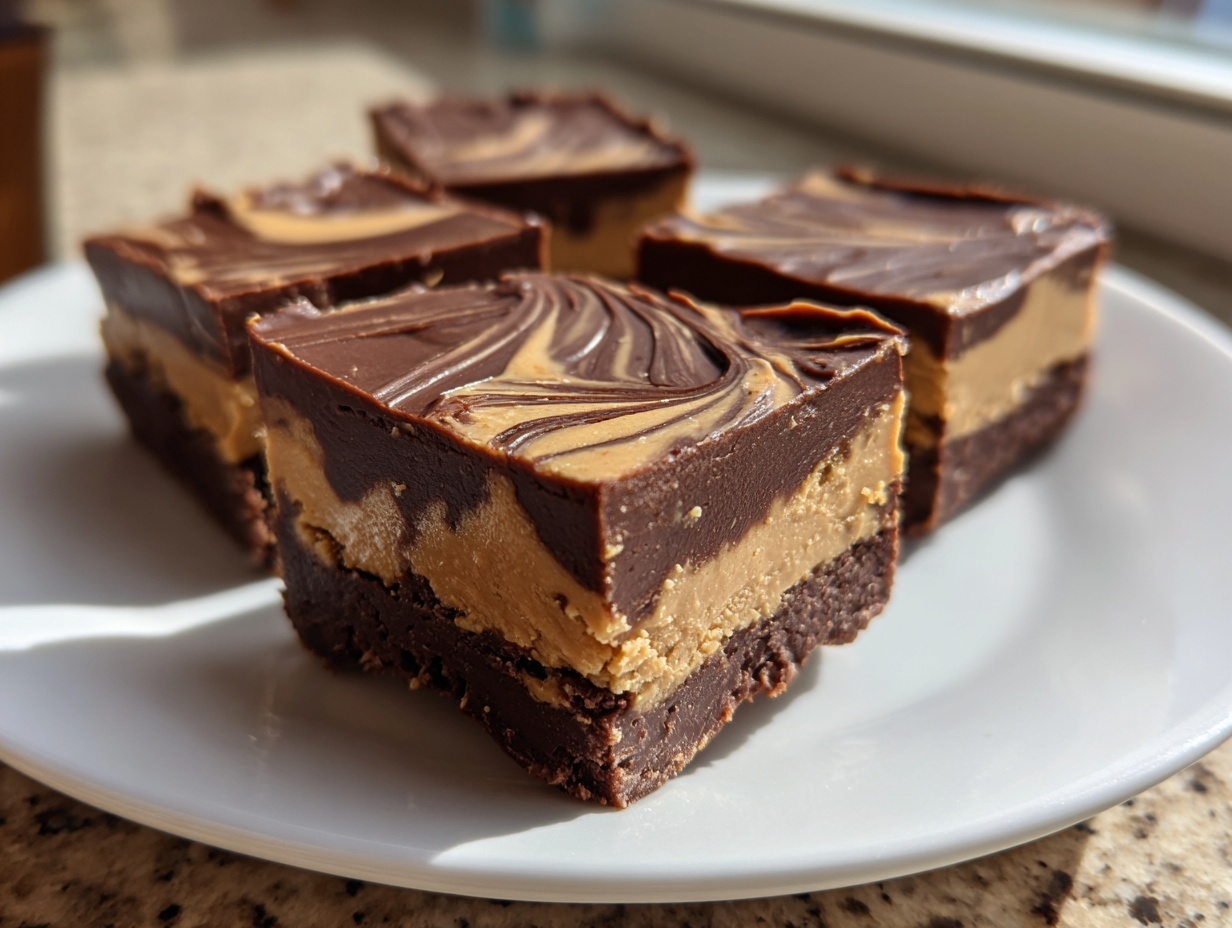
These turn out so neat and clean! Once they’re chilled, you can cut perfect, uniform homemade fudge squares. They look absolutely stunning layered in a little tin, making them fantastic for gifting during the holidays or taking to a potluck. Everyone always asks me for the recipe because they look so fancy, but they’ll never guess how easy they were!
Gathering Ingredients for Your Chocolate Peanut Butter Fudge Recipe
Okay, now that you know how easy this is going to be, we have to talk about the ingredients. This is where confidence comes from, right? Knowing you have the right stuff on hand! Since this is a no-bake recipe, technique is simple, but ingredient quality really shines through, especially in a recipe as pure as this chocolate peanut butter fudge. You don’t need to run to specialty stores, though. Everything here is pantry-friendly. Make sure you grab your measuring cups and a good fine-mesh sieve, because getting things precise now means silky smooth results later. If you’re looking for other simple candy ideas after this one, you absolutely need to check out my easy Oreo fudge recipe, too!
Ingredient List for the No Bake Chocolate Peanut Butter Dessert
Here’s what you need for our layered goodness. Pay attention to the state of the butter—it must be softened! We need one cup (that’s two sticks) of unsalted butter, making sure it’s soft but definitely not melted. You’ll also want one teaspoon of vanilla extract. For the dry volume, grab three cups of powdered sugar, and you have to sift that, please! Make sure you sift those two cups of cocoa powder too, or you’ll end up with lumps, and nobody wants a lumpy sweet treat. For the star of the show, we need one cup of creamy peanut butter—no chunky stuff for this particular no bake chocolate peanut butter dessert. Finally, for that top chocolate drizzle and to help things set nicely, get 1/4 cup of milk chocolate chips, 1/4 cup of semi-sweet chocolate chips, and just one tablespoon of vegetable shortening. That’s it, your essential list for homemade fudge squares!
Step-by-Step Instructions for Layered Fudge Recipe
This is where the magic happens, and honestly, it’s so easy you’ll feel like you cheated! We only need a few bowls and a microwave-safe dish. Remember, since we aren’t baking, setting up your pan first is the single most important thing you do. For the absolute best results when making this chocolate peanut butter fudge, make sure your equipment is lined and ready before you start mixing the base together. Let’s get this simple candy recipe put together! If you want to see how others have approached their chocolate fudge, check out this detailed guide: chocolate peanut butter fudge recipe.
Preparing the Pan and Chocolate Peanut Butter Base
First things first, grab that 8×8 inch baking pan. Line it with parchment paper, making sure you leave a nice overhang on the sides—that’s your built-in handle for later! Now for the base layer. You need to beat that softened butter—and I mean *softened*, not greasy melted butter—with the vanilla extract until it looks smooth and lovely. Next, start adding that sifted powdered sugar and cocoa powder bit by bit while mixing. Once it looks crumbly, fold in half of your creamy peanut butter. Keep mixing until it actually comes together like a stiff, thick dough. Trust me on this, it will look like thick cookie dough at this point! Take that mixture and press it firmly and evenly into your prepared pan. This forms our foundational layer.
Creating the Chocolate Topping and Swirl for Your Chocolate Peanut Butter Fudge
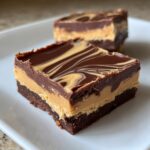
Time for the chocolate! In a small microwave-safe bowl, combine your milk chocolate chips, semi-sweet chips, and that tablespoon of shortening. Microwave this in 30-second bursts, stirring well each time until it’s utterly smooth and glossy. Pour that melted chocolate right over your peanut butter base and spread it out evenly. This is our second layer! Now for my favorite part: the swirl. Take the remaining peanut butter and just warm it up for about 15 seconds in the microwave. It doesn’t need to be liquid, just warm enough to drizzle easily. Drizzle that warm peanut butter over the chocolate and take a knife or a toothpick and gently move it around to create that beautiful marble effect across your chocolate peanut butter fudge. If you want distinct layers, work quickly before the chocolate layer sets up!
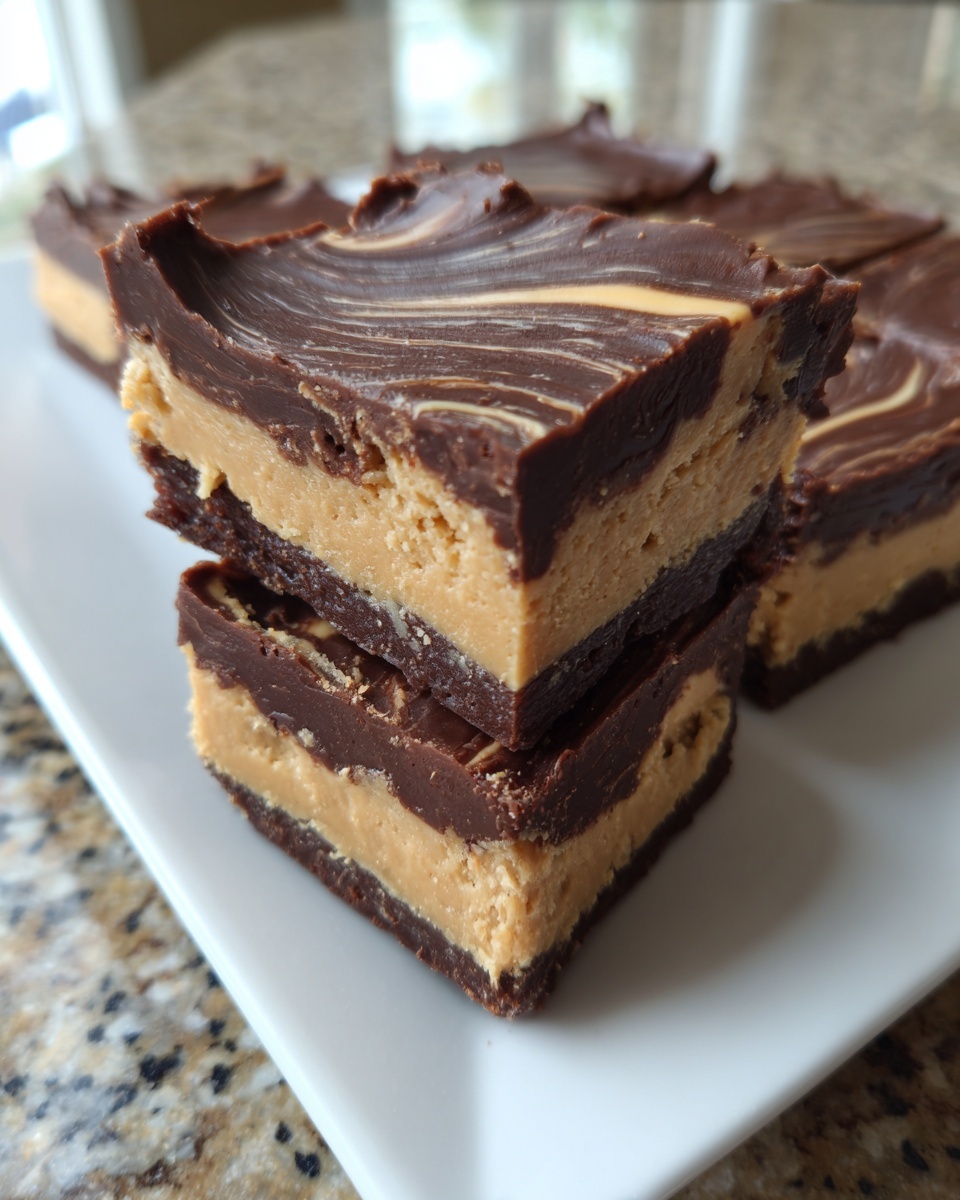
Chilling and Cutting the Simple Candy Recipe
Okay, the hard work is done! Now we just need patience. This needs at least two hours in the refrigerator to get firm enough to cut cleanly. Don’t try to rush this part; if you cut it too soon, you’ll get a gooey mess instead of beautiful homemade fudge squares. Once it’s completely set—firm to the touch—use those parchment overhangs to lift the entire block out onto a cutting board. Wipe your knife clean between cuts. You should get about 24 squares. If you’re looking for more inspiration on easy homemade sweets, check out my peanut butter cookies recipe for another guaranteed winner!
Tips for Making Perfect Chocolate Peanut Butter Fudge Every Time
I always tell people that while this chocolate peanut butter fudge is super simple, a couple of tiny details can take it from good to absolutely legendary. Building that confidence in the kitchen, like I always talk about, means knowing the little tricks that the recipe card might not explicitly state. These little pointers are what make sure you get that perfect, melt-in-your-mouth bite every single time you make it. We want rich, creamy fudge, not something crumbly or oily, right? For more absolute foolproof homemade sweets, sometimes I lean on my fudge brownies recipe for extra chocolatey comfort!
Ingredient Temperature Matters for Creamy Fudge
This is my number one tip, hands down. For that incredible texture we want, your butter must be perfectly softened. I mean it needs to be pliable and yield easily to a gentle press, but there should be no shine to it, no greasiness weeping off the edges. If your butter is melted, the whole structure of the base layer changes, and we lose that essential creaminess that makes this chocolate peanut butter fudge so special. Take it out early and let it sit on the counter until it’s ready!
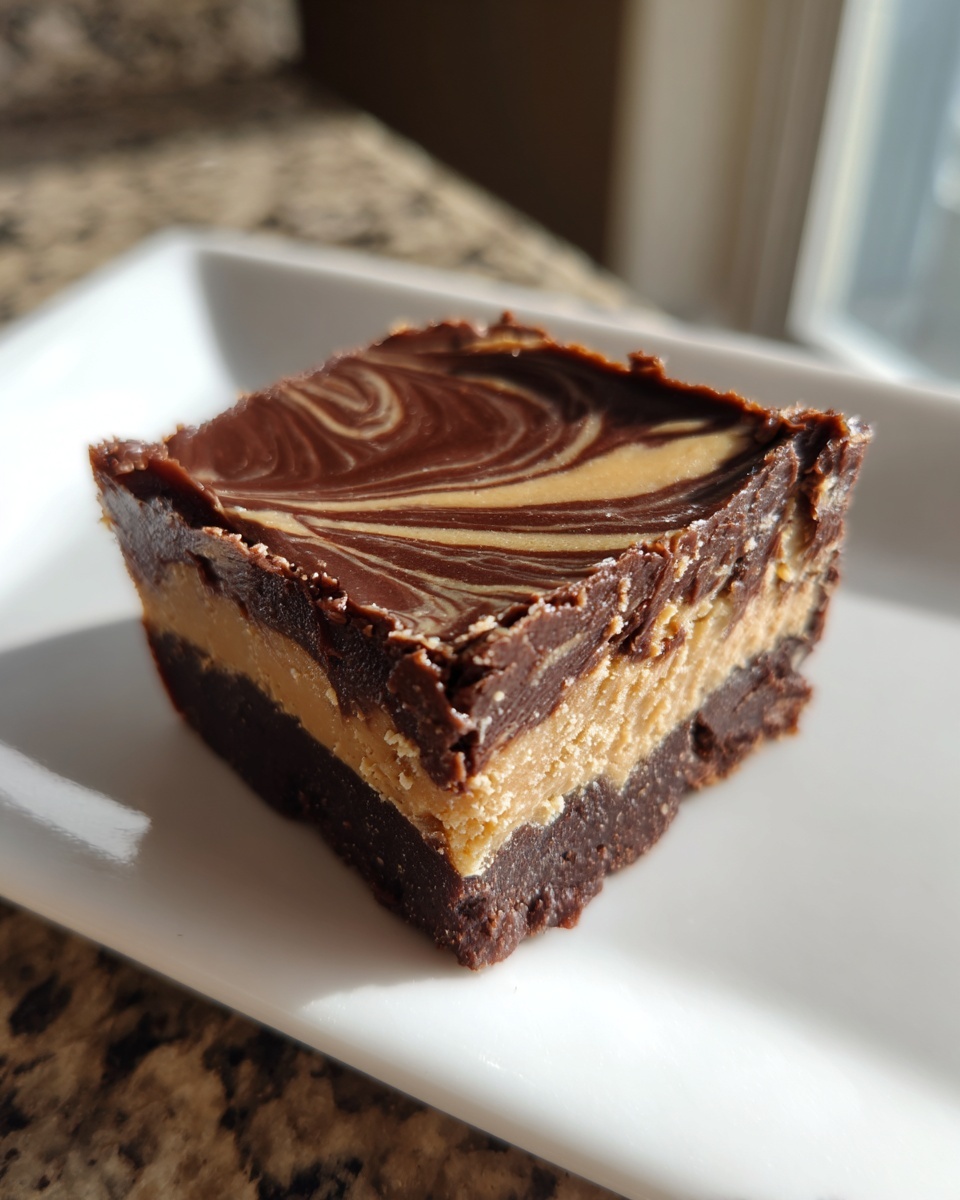
Mastering the Chocolate Swirl Technique
If you are hoping for that gorgeous, distinct marble effect—that pretty little pattern that makes this look like a true layered fudge recipe—you have to work with a sense of urgency once that chocolate layer is poured. The chocolate sets up really fast, especially when it hits the cooler peanut butter layer underneath. My advice is to warm that remaining peanut butter just enough so it drizzles nicely, and immediately drizzle and swirl it into place. If you wait too long, the peanut butter layer won’t move through the chocolate, and you’ll just end up with blobs instead of delicate ribbons. If you want to see how others handled their swirls, check out this great inspiration from chocolate peanut butter fudge online!
Variations on the Decadent Peanut Butter Dessert
You know I love giving you reliable recipes, but I also love it when you make them your own! This chocolate peanut butter fudge recipe is such a fantastic jumping-off point. It’s easy to slightly tweak the layers to create totally new experiences. We are achieving that perfect layered fudge without even turning on the oven, but you can definitely customize the look and flavor.
If you’re after that iconic look of Buckeye Fudge, skip the final drizzle/swirl step entirely. Instead, after the middle chocolate layer is poured and slightly set, nestle a small peanut butter candy (like a homemade buckeye) right into the center of each expected square area. Or, for a total chocolate impact, swap out the milk chocolate chips for dark chocolate when you melt the topping. That deep, slightly bitter cocoa provides an amazing contrast to the sweet peanut butter layer underneath. For even more simple joy when you need a quick fix, try out my classic chocolate chip cookies recipe!
Storage and Reheating for Homemade Fudge Squares
So, you made a giant batch of this incredible chocolate peanut butter fudge—that’s the easy part! The next challenge is keeping it fresh so you can enjoy those creamy pockets of heaven for days. Good news: this simple candy recipe stores like a dream. You absolutely need to keep your beautiful homemade fudge squares in an airtight container.
I always recommend keeping them in the refrigerator. Honestly, this recipe keeps really wonderfully in there, which helps maintain that perfect dense texture we worked so hard to achieve. It should stay perfectly fresh and delicious for up to one full week. Since we aren’t dealing with delicate cake layers, you don’t have to worry about warming them up; they are meant to be eaten cool and firm right from the fridge!
Frequently Asked Questions About Chocolate Peanut Butter Fudge
I always get questions after people try this recipe for the first time—usually asking how they managed to make such an indulgent sweet treat so easily! I’ve gathered the most common inquiries right here to help you feel totally confident, especially if you’re gifting these little gems. If you’re interested in other simple candy recipes, make sure you take a look at my guide on easy homemade candy basics!
Can I make this a 3 ingredient fudge recipe?
That’s a fair question! You see those 3-ingredient recipes floating around, and they definitely have their place for a super fast sugar fix. However, this layered chocolate peanut butter fudge uses a few more components—like that crucial butter and the mixed chocolate chips—to give you the superior, distinct layers and that truly creamy fudge texture we are aiming for. The extra steps here guarantee a higher quality, richer result that genuinely melts in your mouth. So while you *can* simplify it, I highly recommend sticking to this tried-and-true blend!
How do I make this into Buckeye Fudge?
Oh, I love the idea of turning these into Buckeye Fudge! That’s such a classic flavor combination. To get that look, you basically need to reverse the final step slightly. Instead of drizzling the remaining melted peanut butter sauce over the top and swirling it, you’ll want to let the bottom chocolate layer set up just a touch. Then, instead of drizzling, you’ll dollop a slightly thicker ball of peanut butter mixture right onto the center of where each square will be cut. You want the peanut butter to spread just a tiny bit, leaving a rim of the dark chocolate showing around the edge, mimicking that famous candy shape. It looks fantastic!
Is this truly a fudge without baking?
Absolutely, 100% yes! This entire recipe is designed to be a fudge without baking. We use softened butter and powdered sugar to create a smooth, pliable base that sets firm only through chilling in the refrigerator. That’s why it qualifies as such a fantastic quick dessert option. There’s no oven time needed at all, which means less heat in the kitchen and a faster payoff for your sweet tooth!
Nutritional Estimates for This Indulgent Sweet Treat
Now, since this chocolate peanut butter fudge is definitely an indulgent sweet treat, I always like to give folks a heads-up on what they are enjoying! You know how it is—deliciousness sometimes packs a little punch nutritionally. Based on my calculations using the ingredients listed, here are the averages per square. Keep in mind these are estimates, as the exact size of your cuts can change things up quite a bit, but this gives you a reliable baseline.
Here is the breakdown for one square:
- Calories: 210
- Fat: 14g
- Carbohydrates: 21g
- Protein: 4g
- Sugar: 22g
- Saturated Fat: 6g
See? Totally worth it for a quick dose of happiness. Enjoy knowing exactly what you’re digging into!
Share Your Homemade Fudge Squares
I truly hope you loved making this chocolate peanut butter fudge as much as I love sharing it with you! Once you’ve enjoyed those perfect homemade fudge squares, please come on back and leave a rating and a comment below. Tell me how it turned out—I absolutely live for those success stories! And if you snapped a gorgeous photo of your swirl effect, tag me on social media! It brings me so much joy seeing you master this simple candy recipe. If you enjoyed this easy treat, you might also love checking out my chocolate chip cookies recipe next, or grabbing some inspiration from this shared recipe online!
PrintEasy No-Bake Chocolate Peanut Butter Layered Fudge
Make this rich, creamy chocolate peanut butter fudge using simple steps. This no-bake dessert features luscious layers of chocolate and peanut butter, yielding perfect squares ideal for sharing or gifting.
- Prep Time: 25 min
- Cook Time: 0 min
- Total Time: 2 hours 25 min
- Yield: 24 servings 1x
- Category: Dessert
- Method: No-Bake
- Cuisine: American
- Diet: Vegetarian
Ingredients
- 1 cup (2 sticks) unsalted butter, softened
- 1 teaspoon vanilla extract
- 1/4 cup unsweetened cocoa powder
- 3 cups powdered sugar, sifted
- 1 cup creamy peanut butter
- 1/2 cup milk chocolate chips
- 1/4 cup semi-sweet chocolate chips
- 1 tablespoon vegetable shortening
Instructions
- Line an 8×8 inch baking pan with parchment paper, leaving an overhang on the sides for easy removal.
- In a large bowl, beat the softened butter and vanilla extract until smooth.
- Gradually add the sifted powdered sugar and cocoa powder to the butter mixture, beating until fully combined and crumbly.
- Add half of the peanut butter to the mixture and beat until the dough comes together. Press this chocolate peanut butter layer evenly into the prepared pan.
- In a small, microwave-safe bowl, combine the milk chocolate chips, semi-sweet chocolate chips, and shortening. Microwave in 30-second intervals, stirring until completely smooth.
- Pour the melted chocolate mixture over the peanut butter layer. Spread evenly.
- In a separate small bowl, warm the remaining peanut butter slightly (about 15 seconds in the microwave) so it is pourable. Drizzle the remaining peanut butter over the chocolate layer.
- Use a knife or toothpick to gently swirl the top layer to create a marble effect.
- Refrigerate the fudge for at least 2 hours, or until firm.
- Use the parchment paper overhang to lift the fudge from the pan. Cut into 24 squares before serving.
Notes
- For the creamiest results, make sure your butter is truly softened, not melted.
- If you want a distinct swirl, work quickly before the chocolate layer sets.
- Store this homemade fudge in an airtight container in the refrigerator for up to one week.
Nutrition
- Serving Size: 1 square
- Calories: 210
- Sugar: 22
- Sodium: 65
- Fat: 14
- Saturated Fat: 6
- Unsaturated Fat: 8
- Trans Fat: 0
- Carbohydrates: 21
- Fiber: 1
- Protein: 4
- Cholesterol: 15