
I’m going to tell you something right now: if you are still calling the delivery guy for pizza night, you are missing out on the best food experience your own kitchen can offer! Seriously. I’ve tried probably a hundred versions over the years, and I finally landed on the absolute gold standard. This is the best, easy pizza dough recipe you will ever use. I tested this specific combination of yeast, flour, and oil meticulously—dozens of times—until it gave me that perfect balance: a soft, gloriously chewy pizza crust married to a truly crispy pizza bottom. Making homemade pizza from scratch used to feel like a huge chore, but I promise, once you nail this formula, you won’t look back. Welcome to your new favorite night!
- Why This Pizza Dough Recipe is Your New Favorite
- Gathering Ingredients for Your Pizza Dough Recipe
- How To Make Pizza Dough From Scratch: Step-by-Step Instructions
- Expert Tips for the Best Pizza Dough Recipe Results
- Make Ahead Pizza Dough Storage Instructions
- Serving Suggestions for Your Homemade Pizza Crust
- Frequently Asked Questions About This Pizza Dough Recipe
- Estimated Nutritional Breakdown for This Pizza Dough Recipe
- Share Your Homemade Pizza Dough Success
Why This Pizza Dough Recipe is Your New Favorite
I know, I know, everyone claims their recipe is the best, but hear me out! You need a pizza dough that works hard for you, not the other way around. This specific method takes the stress out of from scratch baking. You get that gorgeous takeout quality right here at home without needing complicated Italian heritage or a pizza oven. These are the reasons I keep coming back to this formula for every Family Pizza Night.
- It only uses 6 everyday pantry items to create a stunning base.
- It’s reliable! This is a true no-fail method, ready in under two hours—perfect for a spontaneous Weeknight Pizza Idea.
- It delivers on texture: you get a soft, airy interior with that essential Chewy Pizza Crust.
- The bottom achieves that desirable, crackly, Crispy Pizza Bottom that delivery joints always seem to miss.
Achieving the Perfect Texture Every Time
How do we get that amazing mouthfeel? It boils down to the hydration level and making sure our yeast is happy! When you follow the initial steps correctly—getting that foam—you are guaranteeing the best rise. That yeast does all the heavy lifting, creating those beautiful gas bubbles that turn dry ingredients into something soft and airy when baked. It’s all about activating that life in the dough correctly!
Simple Ingredients for Your Best Pizza Dough Recipe
The best part about this Easy Pizza Dough From Scratch? You don’t need a specialty store run! We are sticking to the basics here: flour, water, yeast, oil, salt, and a tiny pinch of sugar to feed the yeast. That’s it! I always keep the flour as all-purpose since it handles the quick rise so beautifully, but it’s truly amazing what you can achieve with just these six components.
Gathering Ingredients for Your Pizza Dough Recipe
Before we get kneading, let’s talk about what you need to pull together this fantastic pizza dough recipe. I’ve kept this list short, sweet, and simple because that’s what makes it perfect for busy evenings. You won’t need any obscure flours or fancy stuff; just the basics for a show-stopping Homemade Pizza Crust.
The fantastic news is that this batch is generous! It makes exactly enough dough for two beautiful 12-inch pizzas, so you can either have a mega Family Pizza Night or save half for an even quicker meal tomorrow. I love that flexibility this recipe gives me.
Remember, since we are working with yeast, details matter just a little bit at the start. Don’t skip the precision on the water temperature if you want that perfect rise!
Ingredient Clarity and Preparation Notes
When you are getting your ingredients out, pay close attention to two things, trust me. First, the yeast! You absolutely must use active dry yeast here. Using instant yeast can sometimes throw off the timeline, so stick to active dry for this specific recipe to ensure a proper activation.
Second, the water temperature is key for waking up that yeast. It needs to be warm, but definitely not hot—we don’t want to accidentally kill our little yeast buddies! Aim for that sweet spot right between 105°F to 115°F. If you don’t have a thermometer, just test it on your wrist; it should feel pleasantly warm, like a perfect bath temperature. Once you nail that, you are ready to start assembling the dough!
We are building a foundation here that tastes better than anything you can get delivered. Speaking of great foundational flavors, have you ever tried making quick homemade bruschetta while the dough is rising? It’s the perfect starter!
How To Make Pizza Dough From Scratch: Step-by-Step Instructions
Okay, deep breath! This is the fun part where you actually turn those simple ingredients into something magical. Don’t let the yeast scare you. We are walking through this together to make sure you end up with that textbook Easy Pizza Dough From Scratch that’s ready for topping. It’s really not complicated once you see the pieces fall into place, but patience in this first hour is what sets us up for success.
Activating the Yeast and Mixing the Pizza Dough Recipe
First up, we have to check on our yeast. Grab that warm water—the 105°F to 115°F stuff we talked about—and put it in a big bowl. Toss in the teaspoon of sugar, which is like a little snack for the yeast, and then pour the active dry yeast right on top. Now we wait! See how it starts looking cloudy, and then after about five to ten minutes, it gets all foamy and bubbly on top? That foam is crucial! That’s your green light telling you the yeast is alive and ready to work its magic for your pizza dough recipe.
Once you confirm that beautiful foam, it’s time to bring everything else in. Add in your flour, the good olive oil, and the salt right into that same bowl. I usually start mixing this with a sturdy wooden spoon. You want to work it just until it looks “shaggy.” That’s the term bakers use when the dough has barely come together but is still rough and a little messy looking. Don’t stress if you see dry bits floating around; we fix that next!
Kneading and First Rise for Your Homemade Pizza Crust
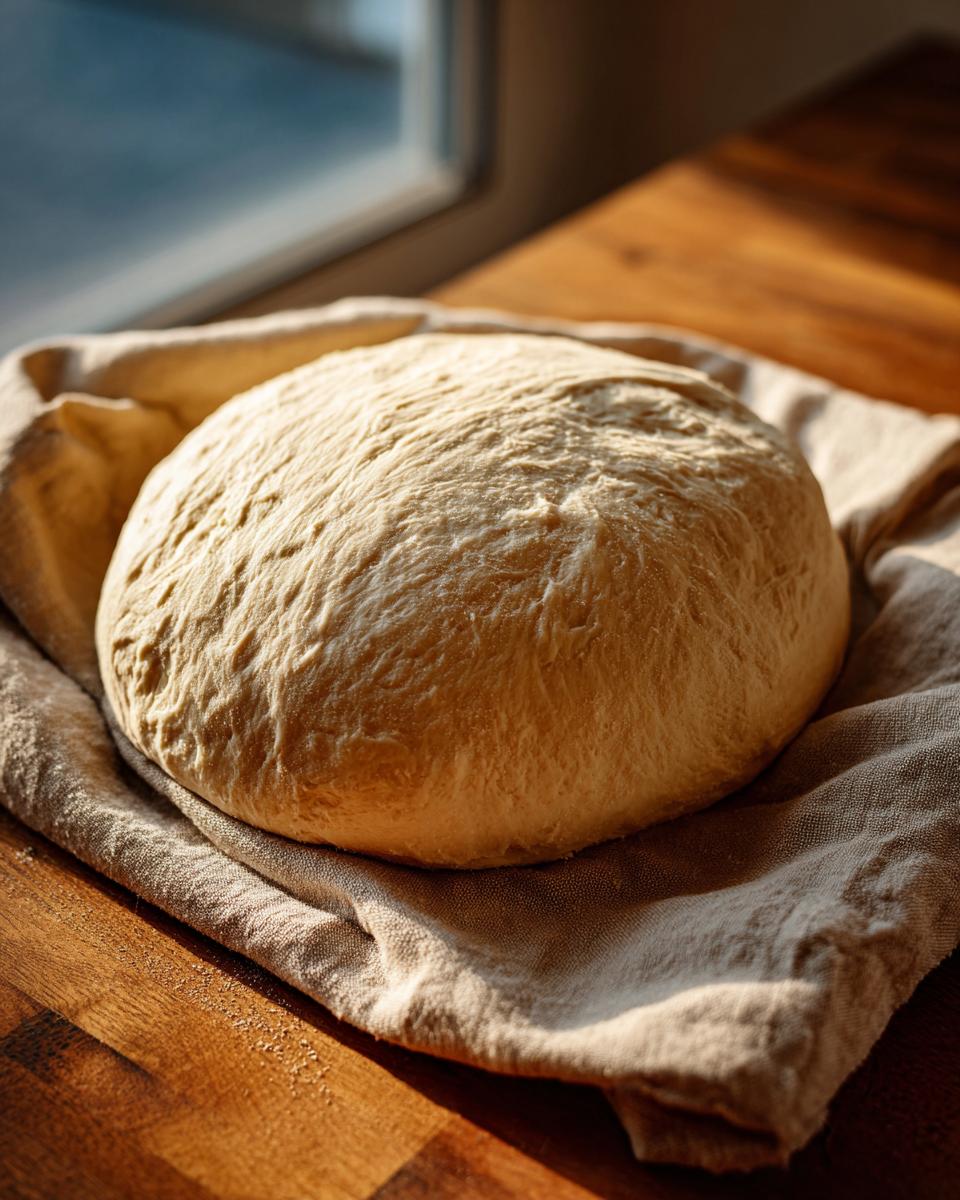
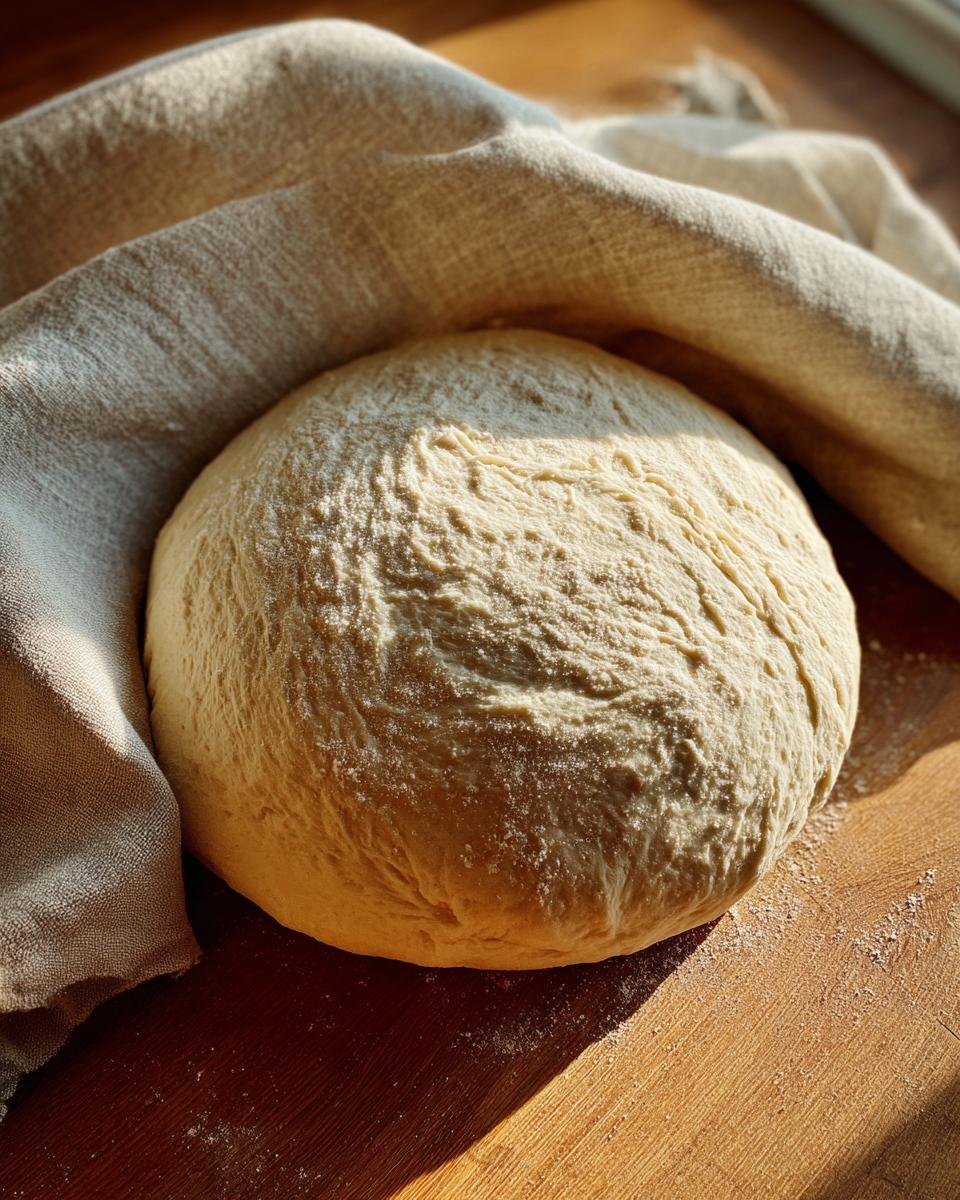
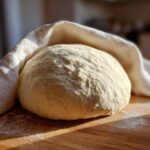
Now we need to build the structure for that amazing Homemade Pizza Crust. Turn that shaggy mess out onto a counter that’s just lightly dusted with flour. If you’re using a stand mixer, throw the dough hook on and let it run on medium-low speed. Either way, you have to knead this dough for a solid 5 to 7 minutes. You are looking for transformation here—it goes from sticky and lumpy to something smooth, velvety, and elastic. It should feel soft under your hands when it’s ready.
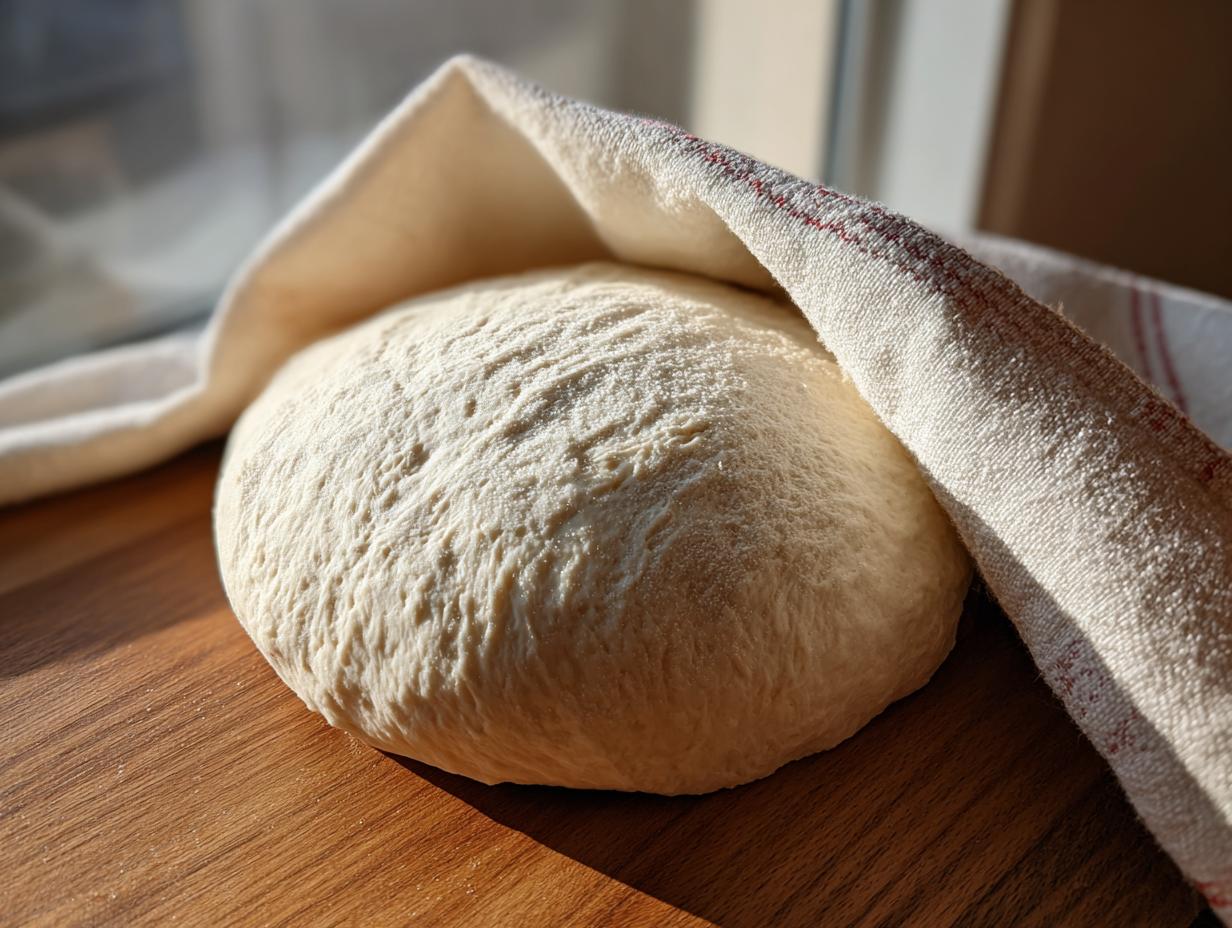
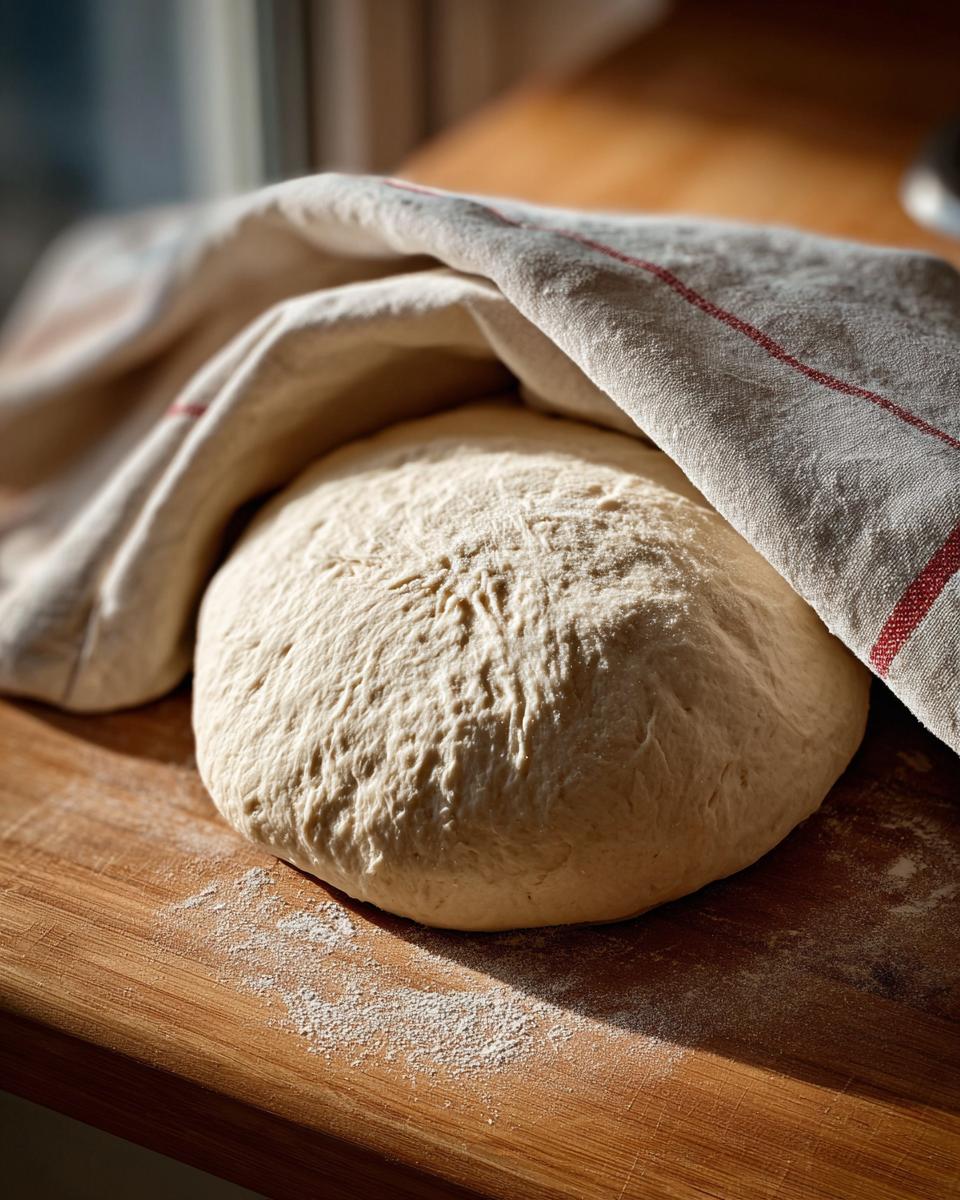
Once it’s smooth, lightly grease a clean bowl (a little more of that olive oil works great). Pop your dough ball in, turn it around once so it gets a nice coating, and then cover the bowl tightly with plastic wrap or a clean kitchen towel. Here’s where the rising happens. You want to place this somewhere warm—like on top of the fridge or near a slightly warm oven pilot light. Let it sit undisturbed for 1 to 1.5 hours. When you come back, it should have doubled in size. That glorious puff is what ensures a light, airy crust later! If you want to see what you can do with this next, check out these great focaccia bread tips while you wait!

Expert Tips for the Best Pizza Dough Recipe Results
We made a fantastic dough, but now we need to make sure it performs like a superstar when it hits that hot oven! These tips are the little things I learned from years of tinkering—they separate a good Homemade Pizza Crust from a truly great one. If you are aiming for restaurant quality, pay special attention to how you handle the heat and the resting time.
Achieving a Crispy Pizza Bottom
Listen, you want that satisfying crackle when you bite into the edge, not a soggy middle, right? The single biggest game-changer for getting a wonderful, Crispy Pizza Bottom is heat management. While your dough is taking its first rise in the oven, put your pizza stone or, even better, a baking steel, inside the oven.
Preheat the oven—and that stone—to its highest setting. Seriously, crank it up! When that dough is ready to go, sliding it onto that screaming-hot surface instantly shocks the base, forcing it to crisp up while the top still puffs nicely. It creates a beautiful contrast in textures that just screams quality pizza dough recipe.
Flavor Development: Slow Fermentation for Artisan Pizza Dough Recipe
Okay, sometimes we need pizza fast, and the 1.5-hour rise is perfect for that. But if you have an afternoon to plan ahead, I strongly encourage you to try slow fermentation. This technique is what takes your pizza from good to legitimately Artisan Pizza Crust territory.
Once the dough has finished that first rise and you’ve punched it down, instead of letting it proof again on the counter, tuck it away in the fridge. Cover the bowl tightly. Letting it rest for 24 to 48 hours lets the flavors deepen so much! Fermentation builds complex, slightly tangy flavors that you just can’t rush. When you pull it out to use, just let it sit on the counter for about 30 minutes to warm up slightly before you stretch it. It’s so worth the short wait for amazing depth!
If you’re interested in other slow-rise bread projects that truly soak up flavor, you should check out my tips on making sourdough bread sometime!
Make Ahead Pizza Dough Storage Instructions
We all love pizza, but sometimes life gets busy, right? One of the biggest strengths of this pizza dough recipe is how flexible it is! You absolutely do not have to bake it all the moment it doubles in size. This recipe holds up wonderfully, which is great news for meal prepping your week!
If you have half the dough left over after shaping your first pizza, or if you just want to make a huge batch for later, you can totally do that. Just pop the unused portion into an airtight container—a large Ziploc bag works great, or just use your oiled bowl and cover it super tight.
You can safely store this dough in the refrigerator for up to three full days. That’s right, you can prep your future Homemade Pizza Crust on a Monday and still have amazing dough ready for Friday night! See? It’s just as helpful as my recipe for dinner rolls for quick, comforting meals.
Now, here’s the non-negotiable part: you can’t stretch cold dough! When you pull it out of the fridge to use it, you need to plan ahead just a little bit. Let it sit out on the counter, covered, for at least 30 minutes. Give it time to relax and come back up to room temperature. Cold dough is stiff and fights you every time you try to stretch it. Patience for 30 minutes equals zero frustration when you are trying to form that perfect circle!
Serving Suggestions for Your Homemade Pizza Crust
Now the dough is perfect, it’s rising beautifully, and you’re officially ready for Family Pizza Night! You’ve done the hard part with this Homemade Pizza Crust, so let’s celebrate with some fantastic topping ideas. You don’t have to go wild with complicated sauces or imports; simple, classic combos truly let the quality of your crust shine through!
For a perfect, traditional Italian experience that needs almost no thought, you absolutely have to try a classic Margherita. It’s just crushed high-quality tomatoes, fresh mozzarella balls (drained well!), a drizzle of olive oil, and fresh basil scattered on *after* it comes out of the oven. That light topping lets you taste that perfectly chewy crust we worked so hard on. It’s simple perfection, and I detail exactly how I assemble a flawless one in my Margherita pizza recipe.
If the kids are debating toppings, keep it easy. A good smear of pesto instead of tomato sauce, sprinkled with goat cheese and thinly sliced mushrooms, always disappears fast at my house. Or, for something spicy and savory, try a base of spicy Italian sausage crumbles, roasted red peppers, and black olives. Remember, because your base is so sturdy and flavorful from this pizza dough recipe, even minimal toppings feel gourmet. Go forth and top wisely!
Frequently Asked Questions About This Pizza Dough Recipe
When you’re diving into making a pizza dough recipe for the first time, you always end up with questions! It’s totally normal. I remember obsessing over whether I used the right flour or if my dough felt too sticky. I’ve collected the most common things people ask about this specific batch so that you can jump straight to making that perfect, crispy crust.
Can I use bread flour instead of all-purpose flour in this pizza dough recipe?
Oh, yes, you absolutely can! That’s a great question for everyone aiming for that extra chew. All-purpose flour is my go-to because it’s what most people have on hand for a great Easy Pizza Dough From Scratch. But if you want a seriously hearty, satisfying chewiness in your finished crust—getting closer to that genuine Artisan Pizza Crust texture—go ahead and swap in bread flour. Bread flour has a higher protein content, which develops stronger gluten strands, making the structure tougher and chewier. Don’t change anything else; just swap cup-for-cup!
How do I get a truly ‘Quick Pizza Dough Recipe’ if I don’t have time to wait 1.5 hours?
I totally understand the weeknight sprint! The 1.5 hours is necessary for a robust rise, but if you’re desperate, you can coax the yeast into working a little faster. My trick is to use water that is slightly warmer than usual—maybe just barely touching 115°F. Be careful not to go hotter, or you’ll shock the yeast! Also, place your covered bowl in a spot that’s naturally warmer, like inside an oven cavity that you just finished preheating but have ensured is *turned off*. That little bit of ambient heat helps speed up the process so you might shave 20 minutes off that rise time. It’s the closest thing to a true Quick Pizza Dough Recipe we can manage while still using yeast!
What is the difference between this recipe and a ‘No Knead Pizza Dough’?
That’s a crucial distinction! This recipe, while easy, is designed to be kneaded for about 5 to 7 minutes. That kneading step is important because it quickly builds the gluten structure we need for a soft dough that still holds its shape when you stretch it for your Homemade Pizza Crust. A true No Knead Pizza Dough relies almost entirely on a very long, slow rest (often 12 hours or more) in the fridge for the gluten to relax and develop. For a same-day pizza plan, this kneading method works much better and faster than a traditional slow-fermented no-knead approach.
Estimated Nutritional Breakdown for This Pizza Dough Recipe
Now, I never look at the nutrition label before I eat the first slice—who does when pizza is involved, honestly?—but since this recipe makes two full pizzas, I thought I should give you a rough idea of what you’re working with here. This is just a ballpark estimate, you understand. Exact readings depend on the brand of flour you use, how much oil you brush on your pan, and even how thick you roll things out!
These numbers are based on a serving size of one-half of the total dough ball—so basically, half a pizza’s worth of crust before you even think about cheese and toppings! This breakdown should give you a good baseline for tracking your pizza dough recipe consumption.
- Calories: Around 450 per serving
- Fat: About 6 grams
- Saturated Fat: Just 1 gram
- Carbohydrates: Roughly 88 grams
- Protein: A solid 15 grams! See? It’s a hearty Homemade Pizza Crust!
- Sugar: A low 3 grams
- Sodium: Around 450 mg
Just a quick disclaimer, because I’m not a licensed nutritionist: These are definitely estimates, and the final numbers will change wildly once you start piling on the pepperoni and mozzarella! But hey, at least you know the base for your amazing Easy Pizza Dough From Scratch is pretty well balanced for a bread product!
Share Your Homemade Pizza Dough Success
Whew! That’s it! You’ve officially mastered my favorite pizza dough recipe, and now it’s time to bake the best pizza of your life!
I genuinely hope you end up with that crisp bottom and beautifully chewy edge—it’s such a satisfying thing to pull out of your own oven. I really want to know how it went! Did you try slowing down the fermentation for extra flavor? Or did you stick to the quick rise for a super fast Friday night dinner?
Please, please, don’t be shy! Head down to the comments section below right now. I want you to leave a rating—give this recipe the stars it deserves if you loved it! And if something didn’t quite work for you, ask me anything! Seriously, I read every single question. This is how we all get better at our homemade pizza crust game together.
If you have questions about substitutions or need troubleshooting help, or if you just want to show off your beautiful, bubbly crust, that’s the perfect place to connect. Thanks so much for baking with me today! If you need to get in touch with me directly for anything else, you can always hop over to my contact page. Happy topping!
PrintBest Ever Easy Homemade Pizza Dough Recipe
Make superior homemade pizza tonight with this easy pizza dough recipe. It yields a soft, chewy crust with a crispy bottom, tasting better than delivery. This recipe uses simple ingredients and is ready for same-day pizza needs.
- Prep Time: 20 min
- Cook Time: 15 min
- Total Time: 1 hour 50 min
- Yield: 2 large pizzas 1x
- Category: Dinner
- Method: Baking
- Cuisine: Italian
- Diet: Vegetarian
Ingredients
- 1 1/2 cups warm water (105°F to 115°F)
- 2 1/4 teaspoons active dry yeast
- 1 teaspoon sugar
- 3 3/4 cups all-purpose flour
- 2 tablespoons olive oil
- 2 teaspoons salt
Instructions
- Combine the warm water, yeast, and sugar in a large bowl. Let this mixture sit for 5 to 10 minutes until it becomes foamy. This confirms the yeast is active.
- Add the flour, olive oil, and salt to the yeast mixture.
- Mix with a wooden spoon or stand mixer until a shaggy dough forms.
- Turn the dough out onto a lightly floured surface. Knead for 5 to 7 minutes until the dough is smooth and elastic. If using a stand mixer, use the dough hook for 5 minutes on medium-low speed.
- Place the dough in a lightly oiled bowl, turning to coat. Cover the bowl with plastic wrap or a clean kitchen towel.
- Let the dough rise in a warm place for 1 to 1.5 hours, or until it has doubled in size. This dough makes enough for two 12-inch pizzas.
- Punch the dough down gently, divide it in half, and shape it into rounds. You are now ready to stretch and top your pizza crust.
Notes
- For a crispier bottom, preheat your pizza stone or baking steel in the oven while the dough rises.
- You can make this dough ahead of time; store it covered in the refrigerator for up to 3 days. Allow it to come to room temperature for 30 minutes before shaping.
- If you want an artisan crust with more flavor, let the dough rise slowly in the refrigerator for 24 to 48 hours.
Nutrition
- Serving Size: 1/2 dough ball
- Calories: 450
- Sugar: 3
- Sodium: 450
- Fat: 6
- Saturated Fat: 1
- Unsaturated Fat: 5
- Trans Fat: 0
- Carbohydrates: 88
- Fiber: 3
- Protein: 15
- Cholesterol: 0