
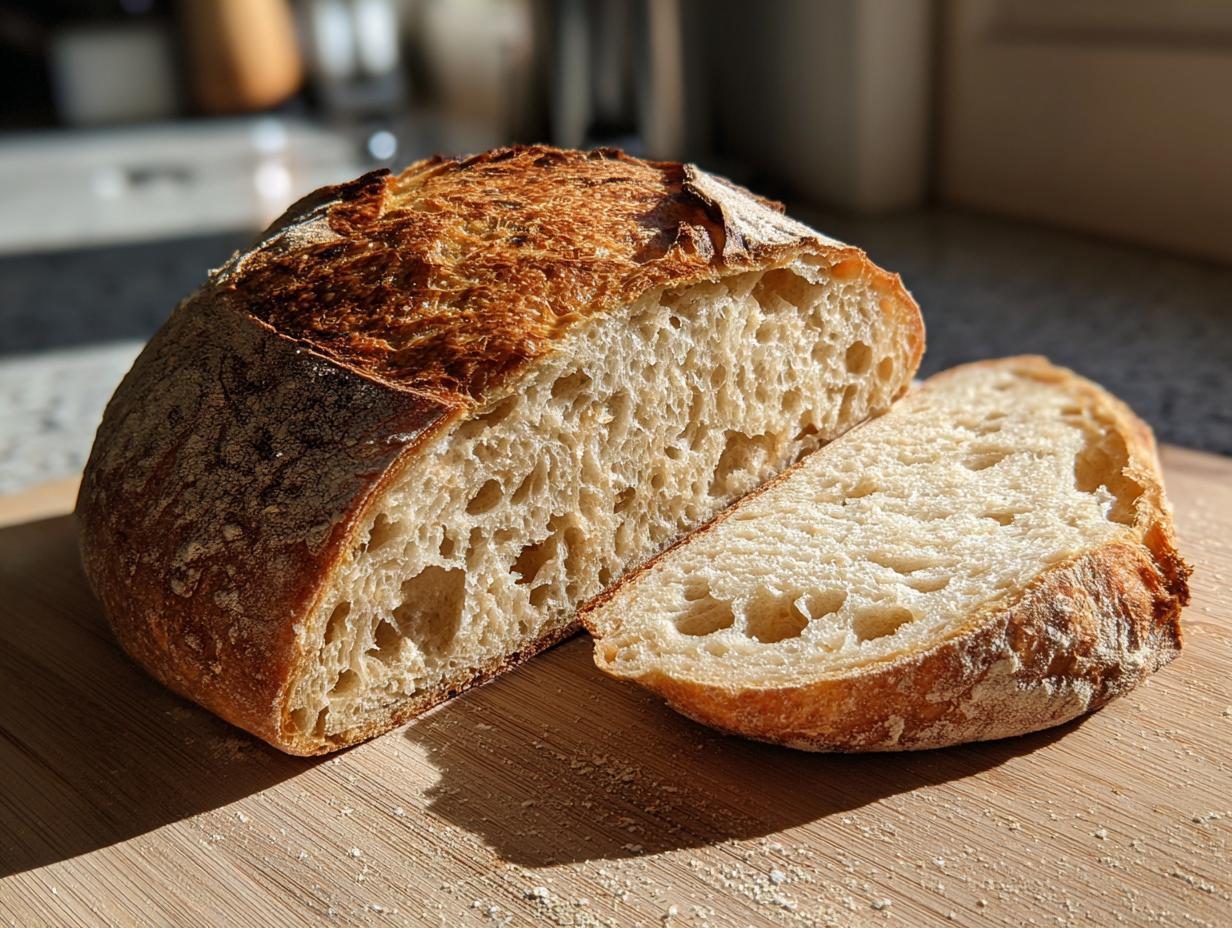
There’s just something incredibly satisfying about pulling a perfectly golden, crusty loaf of homemade sourdough bread right out of your own oven, isn’t there? I know that feeling of accomplishment you’re chasing! It can seem a little intimidating at first, but trust me, creating beautiful artisan crusty bread at home is totally achievable. Here at Kings Cook, my whole goal is to help you feel super confident in the kitchen, and this recipe for sourdough bread is one I’ve tested over and over so you get those amazing bakery-quality results every single time. Get ready to bake some magic!
- Why You'll Love This Sourdough Bread Recipe
- Essential Ingredients for Your Sourdough Bread
- Expert Tips for Perfect Sourdough Bread
- Step-by-Step Guide to Making Sourdough Bread
- Troubleshooting Common Sourdough Bread Issues
- Frequently Asked Questions about Sourdough Bread
- Nutritional Information for Sourdough Bread
- Share Your Homemade Sourdough Loaf!
Why You’ll Love This Sourdough Bread Recipe
Honestly, this sourdough bread recipe is basically a kitchen game-changer! Here’s the scoop on why you’re going to love it:
- Super easy to follow – even if you’re just starting out with your starter!
- You’ll get that gorgeous, bakery-style crusty exterior and perfectly chewy, tangy inside.
- It’s ridiculously rewarding to pull this artisan crusty bread out of your own oven.
- The whole long fermentation process just builds *incredible* flavor that store-bought bread often misses.
Essential Ingredients for Your Sourdough Bread
Okay, for this amazing homemade sourdough loaf, you really don’t need a whole lot of fancy stuff! Just a few key players make all the difference. Make sure you’ve got these ready to go:
- 100g active sourdough starter: This is your magic leavening power! Make sure it’s bubbly and ready to go.
- 350g warm water: Not hot, not cold, just nice and warm to get things going.
- 500g bread flour: This is crucial for that chewy texture and good gluten structure.
- 10g fine sea salt: Enhances the flavor and helps build a strong dough.
Expert Tips for Perfect Sourdough Bread
Alright, let’s talk about some little secrets that’ll really make your sourdough bread shine! I’ve baked batch after batch, tweaking things here and there from my own kitchen adventures, so you can trust these tips. First off, make *sure* your bread starter recipe is super active before you even get started. You want it nice and bubbly, basically bouncing with life! This is non-negotiable for a good rise and that lovely tangy flavor.
When you’re handling the dough, don’t be afraid of it! It’s going to feel a bit sticky, especially at first, but that’s what the stretch and folds are for. They build up all that strength and structure needed for a beautiful loaf. And for that amazing crusty exterior everyone loves on their homemade sourdough loaf? Make sure your oven and your Dutch oven are screaming hot before your bread goes in. That initial blast of heat is what gives you that gorgeous, crackly crust. Trust me!
Step-by-Step Guide to Making Sourdough Bread
Alright, let’s get our hands doughy and bake this amazing sourdough bread! This is where the magic really happens, and I promise it’s more fun than complicated. We’ve tested every single step to make sure you get that gorgeous artisan crusty bread you’ve been dreaming of. Just like how I broke down that easy apple fritters recipe, we’ll tackle this step-by-step!
Mixing and Initial Rest for Sourdough Bread
First things first, grab a big bowl! Mix your active sourdough starter with the warm water until it’s all nice and combined. Then, toss in your bread flour. You’ll just mix it until it looks shaggy – don’t overdo it! Pop a lid on it and let it rest for about 30 minutes. This little nap helps the flour start to absorb all that liquid, which is super important for our sourdough bread!
Developing Dough Strength: Stretch and Folds
Now, add that fine sea salt to the dough. Mix it in really well. For the next two hours, you’re going to do these things called stretch and folds. It’s pretty simple: grab a bit of the dough from the edge, stretch it up, and fold it over itself. Do this a few times, rotating the bowl. Do this every 30 minutes. It’s like giving your dough a little workout to build up all that gluten structure that makes bread chewy and fluffy!
Room Temperature Rise for Your Sourdough
After your stretch and folds are done, it’s time for the main rise – the bulk fermentation! Cover the bowl and just let it sit on your counter for about 4-6 hours. How long it takes really depends on how warm your kitchen is. You’re looking for the dough to basically double in size. You’ll see it puff up and get nice and airy. This is a crucial part of developing the amazing flavor in your sourdough bread!
Shaping and Cold Fermentation
Once your dough has risen beautifully, it’s time to shape it. Gently turn it out onto a lightly floured surface. Try to shape it into a nice round or oval – whatever feels comfortable! Then, pop it into a floured proofing basket or even just a bowl lined with a floured tea towel. Cover it up and slide it into the fridge overnight, at least for 12 hours. This long, cold fermentation is a total flavor booster and makes the dough way easier to handle when you’re ready to bake.

Baking Your Artisan Sourdough Bread
Okay, the moment of truth! Get your oven preheated to 475°F (245°C) and make SURE your Dutch oven is in there for at least 30 minutes. You want it screaming hot! Carefully turn your dough out of the basket onto some parchment paper – it makes transferring easier. Score the top of your sourdough bread with a sharp knife or a lame; this helps it expand. Gently lower the dough into the hot Dutch oven, pop the lid on, and bake for about 20 minutes. Then, take the lid off and bake for another 20-25 minutes until you get that deep golden-brown, crackly crust. Your kitchen will smell amazing!
Troubleshooting Common Sourdough Bread Issues
Even with the best intentions, sometimes our sourdough bread doesn’t turn out *exactly* as planned. Don’t you worry, it happens to everyone! I’ve certainly had my share of not-so-perfect loaves in my kitchen. If your sourdough bread comes out a little flat, or maybe the crumb feels too dense or even a bit gummy, let’s figure out why. Often, it comes down to a few things I’ve learned from my own baking adventures. Remember how I love to test everything out? Well, these are some of the common hiccups and how to fix them for your next homemade sourdough loaf! For more on starter care, you can always check out my tips.
A flat loaf? That usually means your starter wasn’t quite active enough, or maybe the dough didn’t get a full rise during its bulk fermentation. Make sure your starter is *really* bubbly and has doubled in size before you mix your dough next time. A dense crumb can also be a sign of under-proofing or not enough gluten development. Really focus on those stretch and folds! And for that gummy texture? That usually means the bread wasn’t baked long enough, or it needs more time to cool completely before slicing. Seriously, resist the urge to cut into it too soon – it makes *all* the difference!
Frequently Asked Questions about Sourdough Bread
Got questions about whipping up your own sourdough bread? I totally get it! Baking this kind of bread is a bit of an art, and there are always little things that pop up. I’ve pulled together some of the most common things people ask, based on all the testing I’ve done in my kitchen. I hope these answers help bring you confidence as you bake your next delicious homemade sourdough loaf! If you have a question I didn’t cover, feel free to reach out!
What makes a good bread starter recipe?
A really good bread starter recipe is all about consistent feeding and giving it time to get active and bubbly. Think of it like a pet – it needs regular food (flour and water) and a warm spot to thrive! When it’s nice and bubbly, it’s ready to give your sourdough bread that signature tang and rise. If your starter seems sluggish, just give it another few feedings and be patient.
How do I get that perfect artisan crusty bread look?
Ah, the dream crust! For that amazing artisan crusty bread texture, the key is a super hot oven and the Dutch oven trick. Preheating your Dutch oven until it’s scorching hot creates a steamy environment when you first bake the loaf. This steam allows the dough to expand beautifully before the crust sets. Then, removing the lid lets the crust get nice and dark and super crackly. It’s pure magic!
Is it really important to do the long, cold fermentation?
Oh, absolutely! That overnight rest in the fridge is a total game-changer for your sourdough bread. It’s not just about making the dough easier to handle when it’s time to shape it. The slow, cold fermentation really develops a deeper, more complex flavor that you just can’t get with a quick rise. Plus, it helps digest some of the starches, making the bread easier on your tummy!
My sourdough bread turned out flat. What did I do wrong?
Don’t worry, it happens! Flat sourdough bread usually points to a couple of things. Your starter might not have been active enough when you mixed the dough, or the dough might not have had enough time to rise properly during its bulk fermentation. Make sure your starter is nice and bubbly before you start, and give the dough ample time to double in size at room temperature. Sometimes, a gentle shaping and a good proofing basket can also help give it that lift!
Nutritional Information for Sourdough Bread
Just a quick note on nutrition for this lovely loaf! Keep in mind these numbers are just estimates, as every batch can turn out a little differently depending on exactly how you bake it and even the flour you use. Per slice, you’re looking at around 250 calories, about 50g of carbohydrates, 8g of protein, and a little bit of fiber. Delicious *and* satisfying!
Share Your Homemade Sourdough Loaf!
I just *love* seeing what you all create in your kitchens! If you bake this sourdough bread, please share your gorgeous homemade sourdough loaf with me! Leave a comment below to tell me how it turned out, or even rate the recipe. It honestly makes my day to see your successes. You can also check out more of my kitchen adventures over on my blog!
PrintArtisan Sourdough Bread Recipe
Bake a crusty, tangy sourdough loaf at home with this easy-to-follow recipe. Perfect for home bakers looking for bakery-quality results.
- Prep Time: 30 min
- Cook Time: 45 min
- Total Time: 16 hours 15 min
- Yield: 1 loaf 1x
- Category: Bread
- Method: Baking
- Cuisine: American
- Diet: Vegetarian
Ingredients
- 100g active sourdough starter
- 350g warm water
- 500g bread flour
- 10g fine sea salt
Instructions
- In a large bowl, mix the active sourdough starter and warm water until combined.
- Add the bread flour and mix until a shaggy dough forms. Cover and let rest for 30 minutes.
- Add the salt and mix thoroughly into the dough.
- Perform a series of stretch and folds every 30 minutes for the next 2 hours.
- Let the dough rise at room temperature until doubled in size, about 4-6 hours, depending on room temperature.
- Gently shape the dough into a round or oval. Place in a floured proofing basket or bowl.
- Cover and refrigerate overnight for at least 12 hours.
- Preheat your oven to 475°F (245°C) with a Dutch oven inside for at least 30 minutes.
- Carefully turn the dough out of the proofing basket onto parchment paper. Score the top of the loaf with a sharp knife or lame.
- Transfer the dough to the preheated Dutch oven. Cover and bake for 20 minutes.
- Remove the lid and bake for another 20-25 minutes, or until the crust is deep golden brown and the internal temperature reaches 200-210°F (93-99°C).
- Let the bread cool completely on a wire rack before slicing.
Notes
- Ensure your sourdough starter is active and bubbly before you begin.
- The long, cold fermentation in the refrigerator develops flavor and makes the dough easier to handle.
- For a crispier crust, you can remove the bread from the Dutch oven for the last 5-10 minutes of baking and place it directly on the oven rack.
Nutrition
- Serving Size: 1 slice
- Calories: 250
- Sugar: 2g
- Sodium: 400mg
- Fat: 1g
- Saturated Fat: 0g
- Unsaturated Fat: 1g
- Trans Fat: 0g
- Carbohydrates: 50g
- Fiber: 2g
- Protein: 8g
- Cholesterol: 0mg