
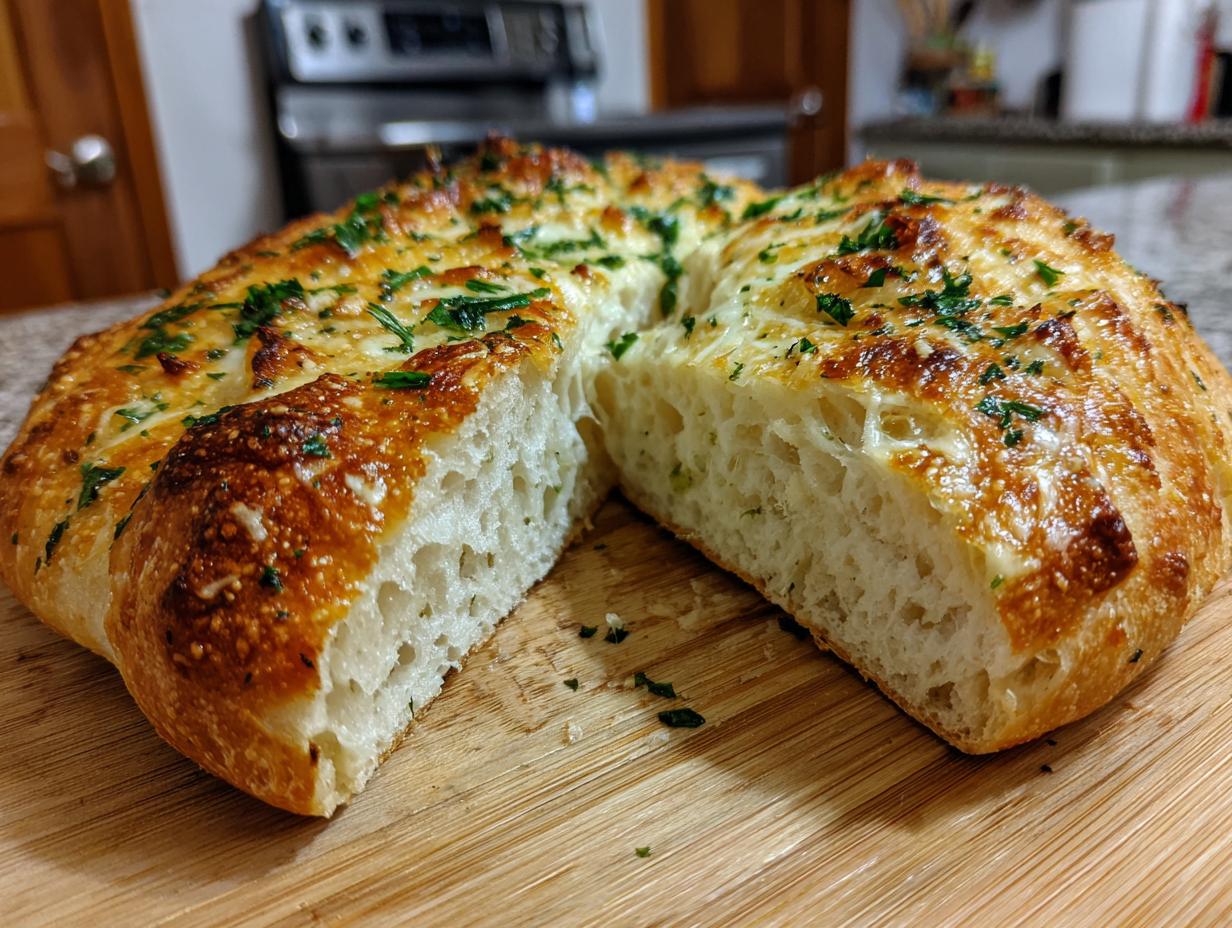
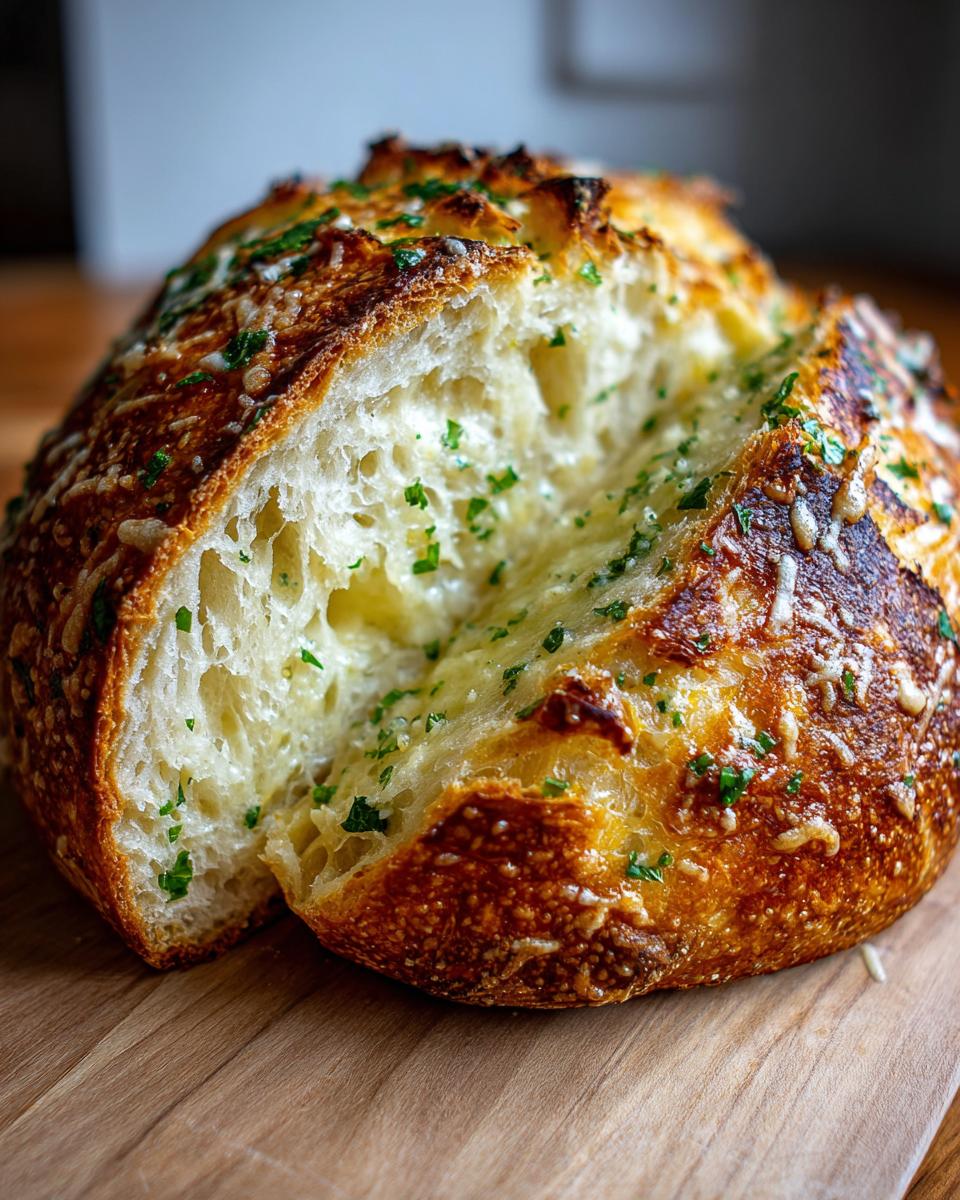
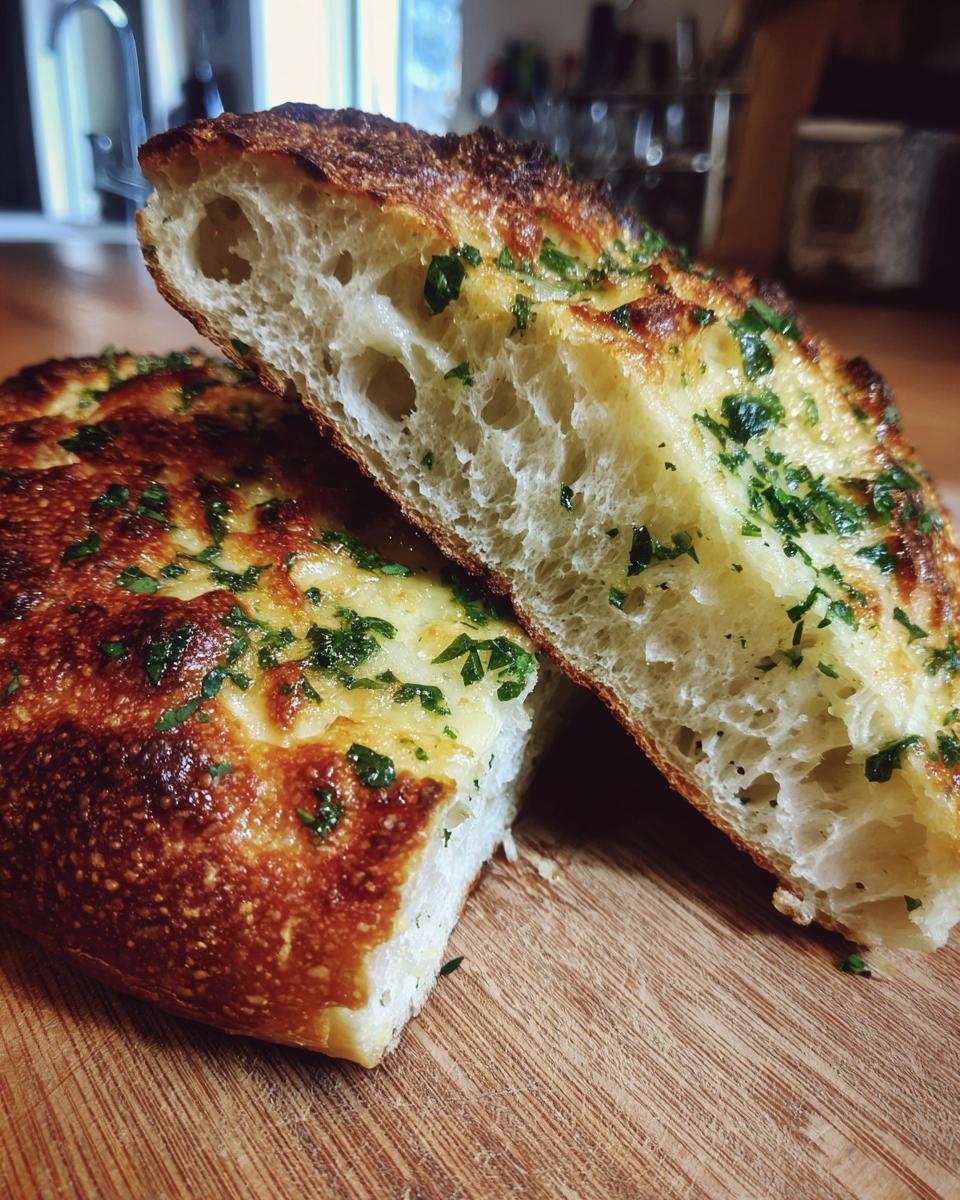
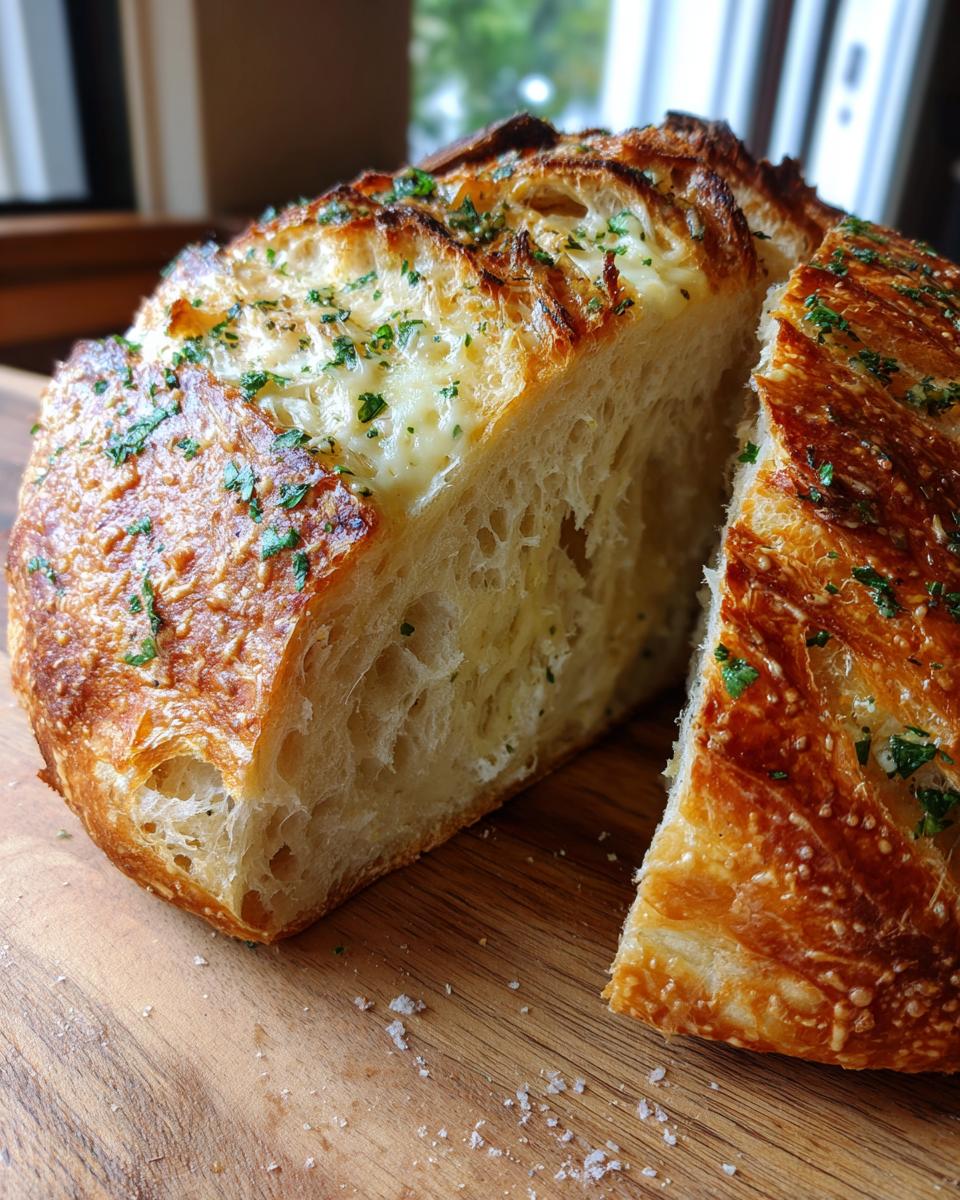
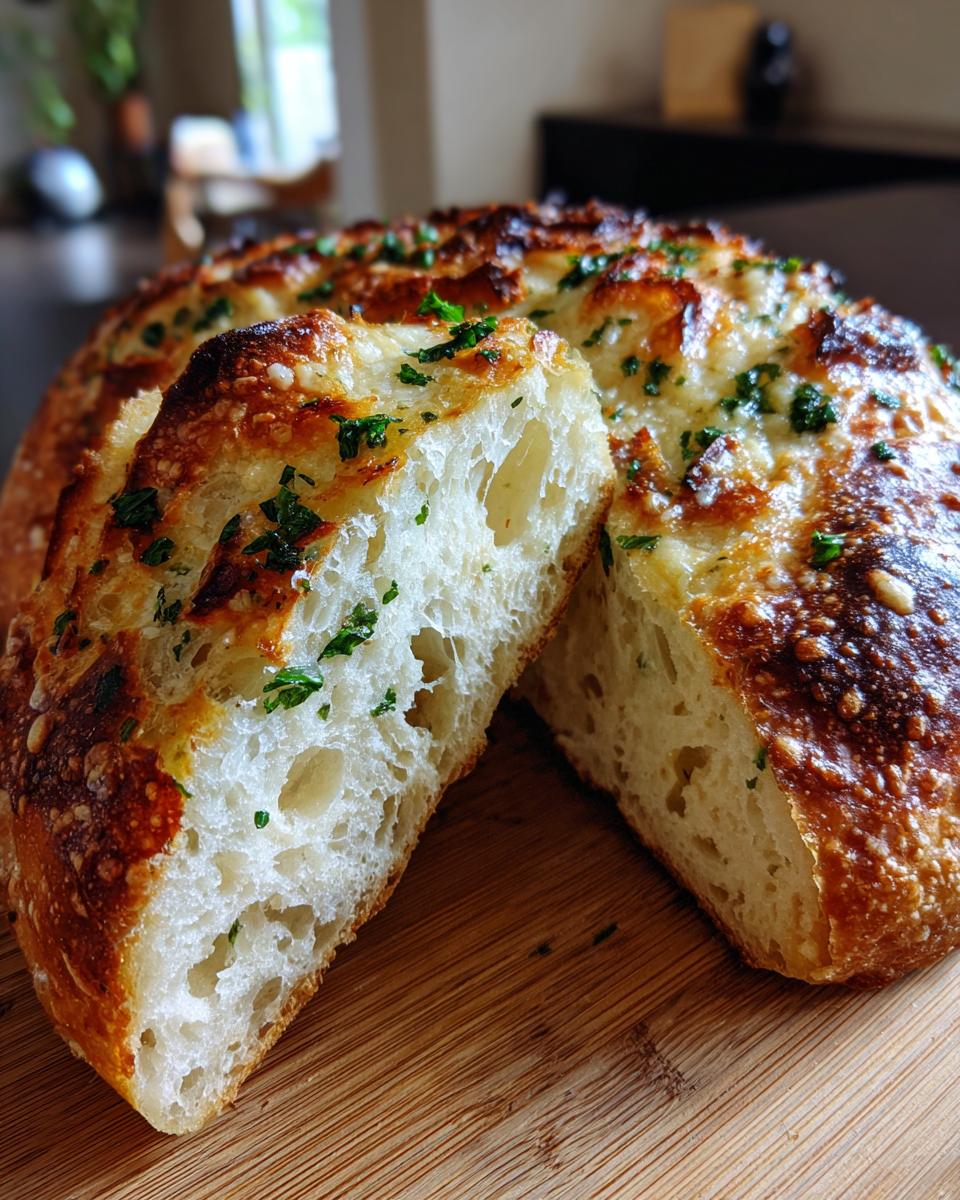
Stop scrolling right now if you’ve ever stared longingly at a bakery window, thinking that incredible, blistered, crusty loaf of artisan bread was permanently out of your reach! Trust me, I’ve been there. That’s why I spent months perfecting what I call my Easy Artisan Bread Recipe—it’s a revolutionary, no-knead method baked right in a Dutch oven, and we’re kicking it up a serious notch with savory garlic and salty Parmesan.
You don’t need special skills here; I’ve tested this recipe repeatedly to ensure even someone who thinks yeast is scary can pull off a stunning loaf. This savory twist gives you bakery-quality results with almost zero hands-on work. Get ready for the best homemade loaf you’ve ever made!
- Why This Easy Artisan Bread Recipe Works for Beginners
- Gathering Your Ingredients for Artisan Bread
- Step-by-Step Instructions for Your Garlic Parmesan Artisan Bread
- Tips for Perfect Crust Bread Tutorial
- Savory Artisan Bread Ideas and Variations
- Serving Suggestions for Your Crusty Homemade Bread
- Storing and Reheating Your Artisan Bread for Beginners
- Frequently Asked Questions About This Easy No Knead Loaf
- Nutritional Snapshot of This Garlic Parmesan Bread Recipe
Why This Easy Artisan Bread Recipe Works for Beginners
I know what you’re thinking: “Artisan bread sounds intimidating.” But honestly, this specific Easy Artisan Bread Recipe is the one that turns people who are terrified of yeast into card-carrying bread bakers! The secret isn’t complex technique; it’s just the right combination of time and temperature. When you ditch the kneading, you give the dough time to develop incredible flavor all on its own.
- Almost no physical effort required from you.
- The final loaf is stunning every single time.
- The savory Parmesan and garlic flavors make it instantly impressive.
If you ever want to try a different savory style, check out my focaccia recipe—it’s another great one for beginners!
The Magic of No Knead Crusty Bread
We are relying on time, not muscle, for structure here. The 12-to-18-hour rest period is super important because that slow fermentation builds organic acids. That’s what gives the No Knead Crusty Bread that deep, complex, tangy flavor you usually only get from professional bakeries. Seriously, just mix it, walk away, and let science do the hard work. It’s wild how much flavor develops while you’re sleeping!
Achieving Bakery Style Bread at Home
This is where the magic weapon comes in: the Dutch oven. Putting your dough directly into a screaming hot pot that traps all the steam is how we mimic professional steam injection ovens. That steam keeps the outer layer of the dough soft just long enough at the start so it can expand fully. When you take the lid off later, you get that gorgeous, shattering crust that marks truly Bakery Style Bread at Home. Don’t skip preheating that pot!
Gathering Your Ingredients for Artisan Bread
Okay, assembling everything for this artisan bread is the easiest part, promise! We only use staples, but the details really matter for that perfect rise and savory bite. You’ll need three cups of all-purpose flour, 1 ½ teaspoons of salt, and just a tiny bit of instant yeast—a quarter teaspoon, that’s it! Then, grab 1 ½ cups of lukewarm water, four tablespoons of melted butter, two cloves of garlic (finely minced—don’t be shy!), half a cup of grated Parmesan, and a tablespoon of fresh parsley, chopped up nicely.
Before you dive in, make sure your water isn’t hot; just barely warm to the touch is perfect. A quick check is to dip your pinky in—it shouldn’t feel hot at all. We rely on that gentle warmth to wake up our tiny amount of yeast. I also highly recommend using a drier, hard Parmesan for grating, not the pre-shredded stuff in a bag if you can help it; the quality really shines through here.
Ingredient Notes and Substitutions for Your Homemade Artisan Loaf
Since this is a Homemade Artisan Loaf, our yeast choice is crucial. You must use instant yeast—active dry yeast needs to be proofed first, and we’re keeping this recipe simple! If you *only* have active dry, you’ll need to proof about ¾ teaspoon of it in a bit of that lukewarm water first, wait for the foam, and then use that mixture in place of the water and instant yeast measurement. Also, for flavor depth, make sure that Parmesan is real Parmigiano-Reggiano if you can swing it!
If you’re looking for other easy baking projects, you might love my recipe for soft homemade naan bread, too!
Step-by-Step Instructions for Your Garlic Parmesan Artisan Bread
Alright, this is the part where we put it all together! Even though this artisan bread technically takes about 14 hours to finish, the actual active work time is ridiculously short. Trust me, following these steps precisely is how you move from a wet blob to a gorgeous, golden loaf that smells like an Italian trattoria. Remember, the long rest is non-negotiable for maximum flavor, so plan ahead for this!
Mixing the Dough and Long Fermentation
First things first, get your flour, salt, and yeast whisked together in a big bowl—that’s step one! Then, pour in the lukewarm water. You’re going to mix this with a sturdy wooden spoon until everything looks like a messy, wet, shaggy disaster. That’s exactly right! Do *not* try to knead it; this recipe hates kneading. Just cover that bowl super tightly with plastic wrap and forget about it on your counter for 12 to 18 hours. When you come back, it’ll be bubbly and soft, and the hard work is basically done!
Preparing for the Dutch Oven Bread Baking
Now for the flavor injection! Gently scrape the rested dough onto a floured counter and just fold it over itself a few times to make a loose ball. Don’t deflate it too much! In a little bowl, mix your melted butter, minced garlic, and parsley. Brush this all over the top of your dough ball, and sprinkle half that glorious Parmesan on top. Cover it for just 30 minutes. Meanwhile, stick your lid on your empty Dutch oven and preheat that whole setup to 450°F (232°C). Getting that pot smoking hot is key for spectacular Dutch Oven Bread Baking.
If you want to see how I bake a similar savory bread, check out my guide to easy no knead Dutch oven garlic herb bread for another weeknight win!
Tips for Perfect Crust Bread Tutorial
Achieving that beautiful, crackly crust on your loaf is absolutely doable at home, and it’s really all about steam management. This whole process of baking in a Dutch oven is designed to give you the ultimate Perfect Crust Bread Tutorial result. My biggest piece of advice? Do not peek under the lid for the first 30 minutes! The steam trapped inside is what keeps the surface flexible enough to puff up gloriously.
Once you remove the lid after that initial 30 minutes at 450°F, that’s when the browning starts. You’re looking for a color that’s deep golden brown, maybe even pushing toward mahogany in spots. If you notice it browning too fast after you take the lid off, quickly lower the temperature to 425°F. If you’re ever curious about other techniques for getting structure, my sourdough guide goes deep into how acidity affects structure, too!
Finally, always, always let the bread cool completely on a wire rack. Slicing into it while it’s piping hot traps moisture inside, and that’s the fastest way to steam your beautiful crust right into sogginess. Patience pays off here!
Savory Artisan Bread Ideas and Variations
Honestly, once you master this base dough, you can do anything with it! This recipe is just the starting point for endless Savory Artisan Bread Ideas. Since we already have the garlic and Parmesan working their magic, it’s easy to pivot the flavor profile for whatever meal you’re planning.
My favorite swap is ditching the parsley entirely and adding one teaspoon of dried rosemary when you mix in the Parmesan. Rosemary pairs so beautifully with the richness of the cheese and butter. Another winner is using shredded Gruyère instead of Parmesan—it melts slightly differently and gives you this incredible, gooey interior goodness. For something a little zestier, try mixing in one teaspoon of dried thyme and a half teaspoon of finely grated lemon zest during that final 30-minute rest period.
If you need other recipes that are great for playing around with flavors, my focaccia bread recipe is super forgiving and lets you load up on toppings!
Serving Suggestions for Your Crusty Homemade Bread
This Crusty Homemade Bread isn’t just for show; it’s designed to be eaten alongside great meals! Because ours has that fantastic savory note from the garlic and Parmesan, it begs to be served warm as an accompaniment to dinner. It’s the absolute best dunking vehicle you can ask for.
First, you have to try it warm with a little drizzle of good, fruity olive oil. Seriously, the crunch of the crust meeting that smooth oil is addictive. But for a real comfort meal, this loaf is the perfect partner for a big bowl of soup. I love pairing it with a bright tomato basil soup, where the cheese in the bread just melts right into the broth.
It’s also perfect torn up and used to sop up the sauce from any pasta dish. Don’t let any of those crumbs go to waste!
Storing and Reheating Your Artisan Bread for Beginners
We’ve put in all that time, so we need to store this beautiful artisan bread correctly! Once the loaf is completely cool—and I mean absolutely, totally cool—you want to avoid plastic bags at all costs. Plastic traps moisture and will turn your glorious crust soft and chewy in minutes. For the best chance at keeping that crunch, store it on the counter in a plain paper bag or loosely wrapped in a clean kitchen towel. This lets the bread breathe a little.
If you need to refresh it later, here’s the trick for this Beginner Artisan Bread: just pop a slice (or the whole loaf, cut side up) back into a 350°F oven for about five minutes. That little blast of dry heat reactivates that crisp crust perfectly. If you want to try another easy bake, my focaccia recipe is fantastic for using up leftovers, too!
Frequently Asked Questions About This Easy No Knead Loaf
It’s normal to have a few little questions when diving into no-knead baking for the first time. That super long rest can feel a little strange, but trust me, the payoff is worth it for this Easy No Knead Loaf! Here are the things I hear most often from new bakers.
What if I don’t have a Dutch oven for baking?
Oh, you can still make this! The Dutch oven traps steam, which is the secret weapon for the crust. If you don’t have one, use a deep, oven-safe pot or even a sturdy, thick-sided cast iron skillet with a tight-fitting lid. You must put a few ice cubes on the bottom rack *under* your pot just before you put the bread in the oven. That creates the necessary steam to get that beautiful oven spring!
Can I use active dry yeast instead of instant yeast?
You absolutely can, but remember those instructions I gave earlier? You can’t just toss it in dry. Active dry yeast needs to be whisked into that lukewarm water (just use the 1 ½ cups water measurement) first. Let it sit for about 5 to 10 minutes until it gets foamy on top. If it doesn’t foam, your yeast is dead, and you need to start over with fresh yeast. Once it foams, proceed as normal!
My dough isn’t bubbly after 18 hours—did I mess up my artisan bread?
Don’t panic! Sometimes the temperature in your kitchen makes a huge difference. If your kitchen is cool, the fermentation takes longer. It should still look wet, slightly jiggly, and maybe have a few bubbles breaking the surface. If it looks totally flat, it might just need another few hours. You can try moving the bowl to a slightly warmer spot (like inside an oven that is turned OFF, with the light on). Next time, you might want to check out my easy homemade naan bread recipe if you want something much quicker!
Nutritional Snapshot of This Garlic Parmesan Bread Recipe
I always love knowing what’s in the amazing rustic bread I’m about to devour, even if I try to ignore the numbers sometimes! Keep in mind these figures are just what I calculated based on the exact measurements for this Garlic Parmesan Bread Recipe, so they are estimates, okay? They don’t account for slight variations in flour or the exact amount of Parmesan you might sprinkle on top before baking.
- Serving Size: 1 slice
- Calories: 240
- Total Fat: 6g
- Carbohydrates: 42g
- Protein: 7g
This is a hearty loaf meant to complement a meal, not replace a whole dinner, so enjoy a slice (or two!) guilt-free before you slather it with butter!
PrintEasy No Knead Artisan Bread with Garlic and Parmesan
You can bake bakery-quality artisan bread at home with this simple, no-knead recipe. This loaf features a wonderfully crusty exterior and a soft interior, infused with savory garlic and rich Parmesan cheese. It is perfect for beginners and pairs well with any dinner.
- Prep Time: 15 min
- Cook Time: 50 min
- Total Time: 13 hours 50 min
- Yield: 1 loaf 1x
- Category: Bread
- Method: Baking
- Cuisine: American
- Diet: Vegetarian
Ingredients
- 3 cups all-purpose flour
- 1 ½ teaspoons salt
- ¼ teaspoon instant yeast
- 1 ½ cups lukewarm water
- 4 tablespoons unsalted butter, melted
- 2 cloves garlic, minced
- ½ cup grated Parmesan cheese
- 1 tablespoon fresh parsley, chopped
Instructions
- In a large bowl, whisk together the flour, salt, and yeast.
- Pour in the lukewarm water and mix with a wooden spoon until a shaggy dough forms. Do not knead the dough.
- Cover the bowl tightly with plastic wrap and let the dough rest at room temperature for 12 to 18 hours. The dough will become bubbly and increase in volume.
- After the long rise, gently scrape the dough onto a lightly floured surface. Fold the dough over itself a few times to form a rough ball.
- In a small bowl, mix the melted butter, minced garlic, and chopped parsley. Brush this mixture over the top of the dough ball. Sprinkle half of the Parmesan cheese over the butter mixture.
- Cover the dough loosely with plastic wrap and let it rest for 30 minutes.
- About 30 minutes before baking, place a Dutch oven with its lid inside your oven and preheat the oven to 450°F (232°C).
- Carefully remove the hot Dutch oven from the oven. Gently lift the dough and place it into the hot Dutch oven. Sprinkle the remaining Parmesan cheese on top.
- Cover the Dutch oven with the lid and bake for 30 minutes.
- Remove the lid and continue baking for another 15 to 20 minutes, or until the crust is deep golden brown.
- Carefully remove the bread from the Dutch oven and let it cool completely on a wire rack before slicing.
Notes
- For the best crust, make sure your Dutch oven is fully preheated before adding the dough.
- If you prefer a milder garlic flavor, use roasted garlic instead of raw minced garlic.
- This bread is excellent served warm alongside soup or pasta dishes.
Nutrition
- Serving Size: 1 slice
- Calories: 240
- Sugar: 1
- Sodium: 350
- Fat: 6
- Saturated Fat: 3
- Unsaturated Fat: 3
- Trans Fat: 0
- Carbohydrates: 42
- Fiber: 2
- Protein: 7
- Cholesterol: 10