

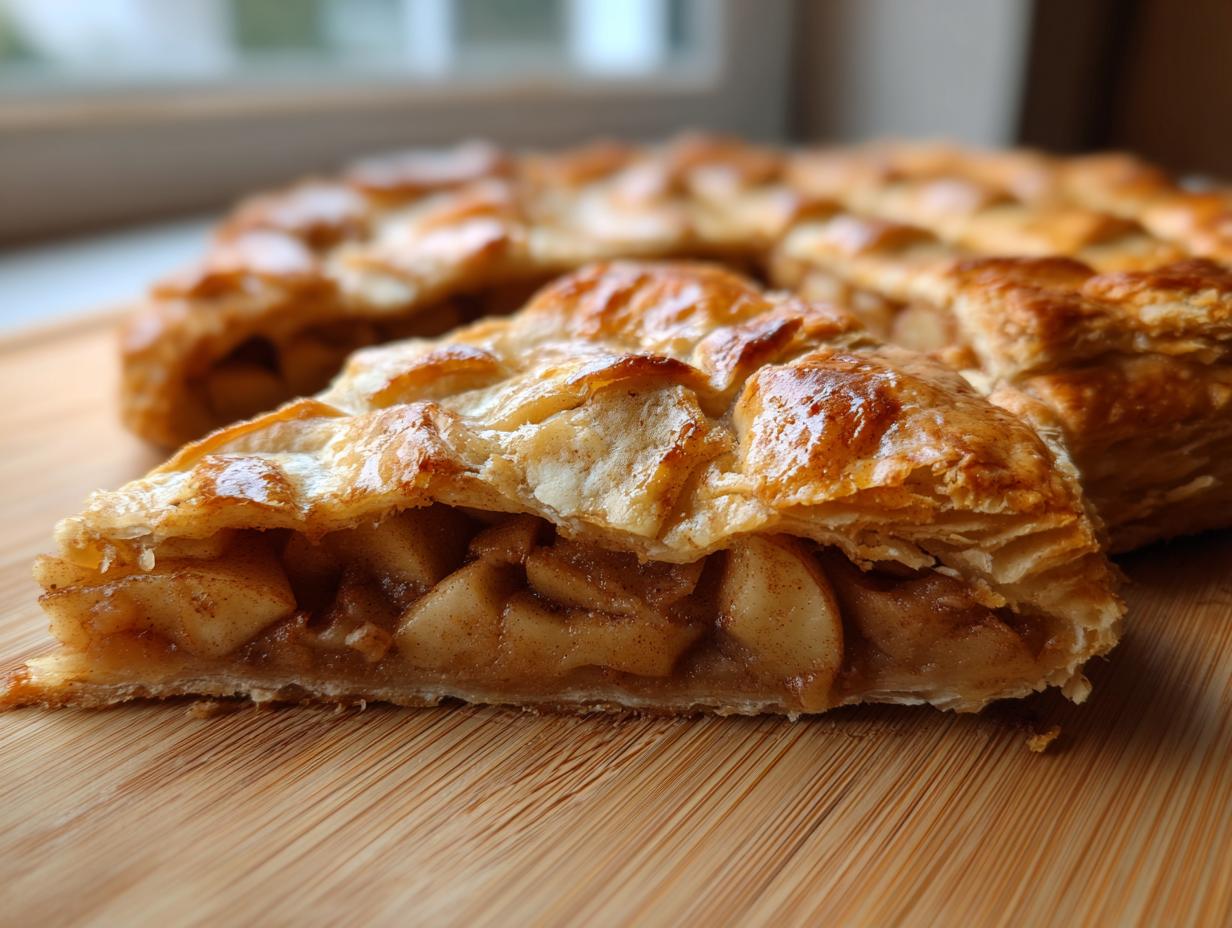
Oh, how I adore rustic baking! There’s something genuinely freeing about a dessert that looks gorgeous even when you don’t stress over crimping edges, right? If you’ve ever wanted the spectacular look of a French apple pastry without wrestling with tricky pie dough, then dear friend, you’ve found your match. This amazing apple galette puff pastry recipe is designed to bring that feeling of accomplishment to your table in under 45 minutes. I’m Kate, and honestly, finding those simple, reliable recipes that just *work* is what Kings Cook is all about. Let’s skip the fuss and go straight to that flaky, buttery deliciousness!
- Why This apple galette puff pastry Recipe Works for You
- Gathering Ingredients for Your apple galette puff pastry
- Step-by-Step: How to Make apple galette puff pastry
- Baking Times and Temperature for Perfect apple galette puff pastry
- Tips for Success with Your Quick Apple Tart
- Serving Suggestions for This easy apple galette recipe
- Storage and Reheating Instructions for Leftover apple galette puff pastry
- Frequently Asked Questions About This French Apple Pastry
- Share Your Homemade apple galette puff pastry Creation
Why This apple galette puff pastry Recipe Works for You
I hear you—sometimes you just need something beautiful that doesn’t take all afternoon. That’s exactly why this recipe is my go-to when I want a showstopper so quick! We’re using pre-made puff pastry, which does all the hard work for us, making this totally foolproof.
- It’s incredibly fast! You’ll be amazed at what you can whip up in the time it takes to preheat your oven.
- It looks fancy, but zero pie lattice skills are required. It’s pure rustic charm.
If you want to see how a traditional pie stacks up, check out my tried-and-true classic apple pie recipe, but for speed, nothing beats this galette.
Quick Prep Time for a Simple Fall Baking Treat
Honestly, this is the definition of simple fall baking comfort food! We are talking about 15 minutes of hands-on time. That’s less time than it takes to decide what movie to watch tonight. Because the crust is already made, we can focus entirely on those perfect, spiced apples.
The Beauty of a Rustic Puff Pastry Dessert
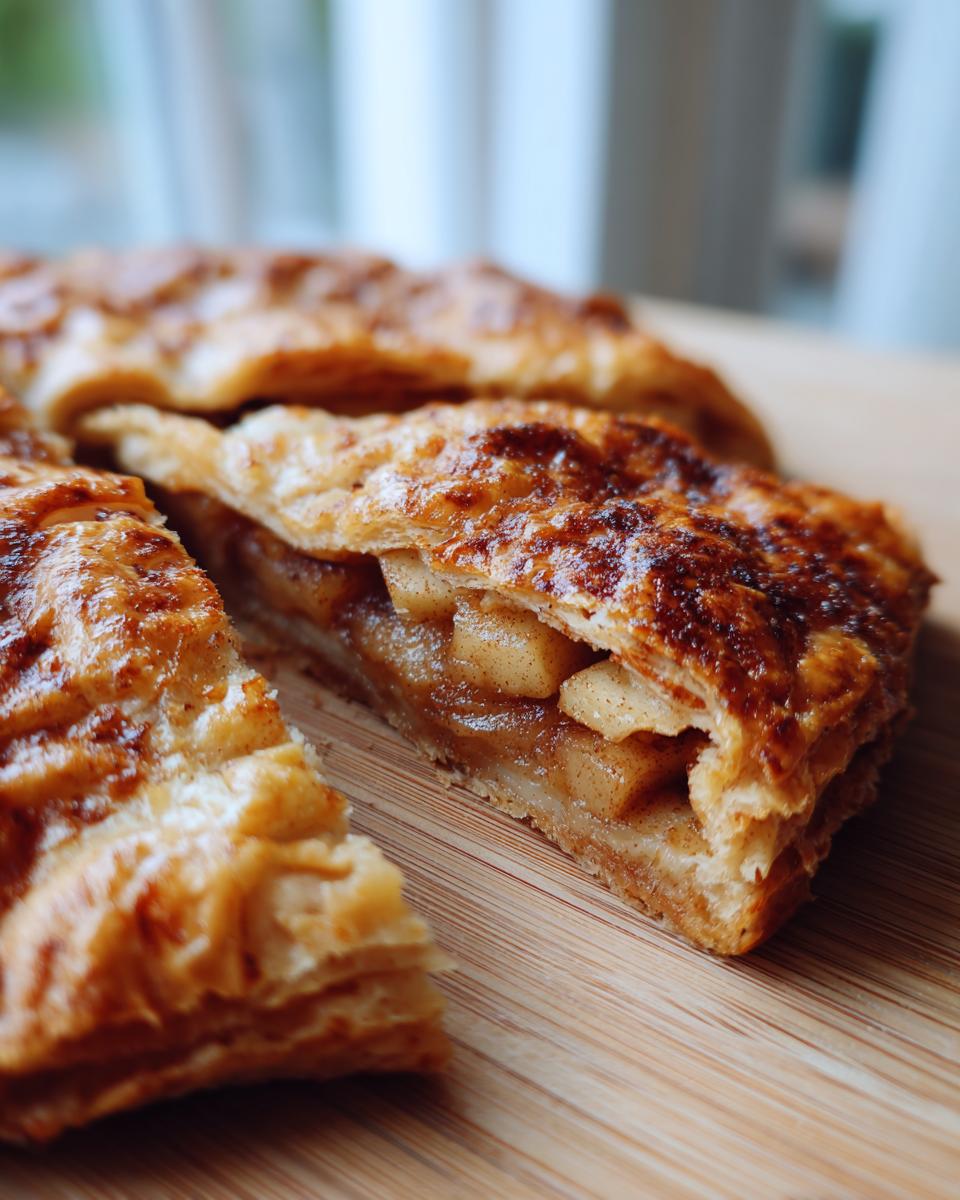
There is something so incredibly satisfying about a rustic puff pastry dessert. You just fold the edges over and let the butter and heat do the rest. It puffs up beautifully and naturally around the apples, creating those gorgeous golden edges that look totally impressive when you bring it to the table.
Gathering Ingredients for Your apple galette puff pastry
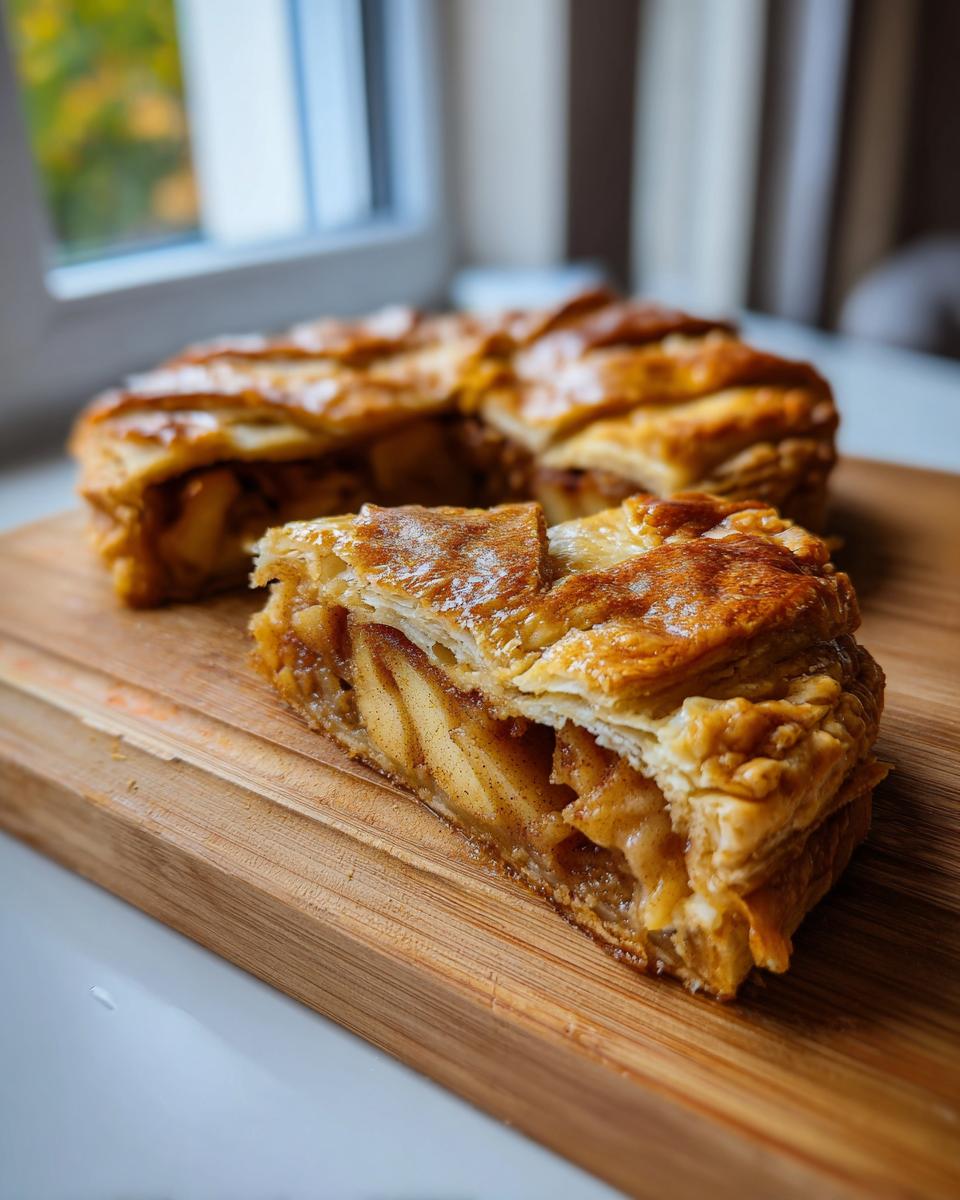
Before we get to the fun part—the folding!—let’s make sure we have everything ready to go. Remember, clear steps build confidence, so I always organize my little mise en place bowl by bowl. Since the prep time is so short, having these items prepped makes the assembly feel like a breeze. We really need good apples here because they form the heart of our cinnamon apple filling.
If you’re looking for other cozy fruit options, I have a fantastic recipe for classic apple crisp that uses similar flavors!
Apple Selection and Preparation for the Cinnamon Apple Filling
You want apples that hold their shape but still soften nicely while baking. I usually grab a mix—a couple of tart Granny Smiths for that nice zing, and maybe one sweet Honeycrisp. The key is slicing them super thin and uniform, about 1/8 of an inch thick. See? We sprinkle in just a tablespoon of flour with the sugar and spices. That little bit of flour is our secret insurance policy to thicken up any juices that escape; no soupy middle for us!
Handling the Buttery Puff Pastry
This is where relying on quality makes all the difference. We are using one sheet of store-bought, buttery puff pastry. It needs to be fully thawed—check the package directions—but you want it stiff and cold when you unfold it. If it gets too warm and floppy, it’ll just spread out instead of puffing up high and flaky in the oven, and we want those amazing layers!
Step-by-Step: How to Make apple galette puff pastry
Okay, let’s get our hands dirty—but not too dirty! Since all our prep work is done, assembling this apple galette puff pastry is incredibly fast. Think of this like creating a beautiful, edible frame for the apples. It’s all about building up those crispy layers so they look absolutely stunning when they come out of the oven.
Preparing the Oven and Mixing the apple galette puff pastry Filling
First things first: turn that oven up to 400°F (200°C). We need it nice and hot because we want the puff pastry to get that immediate blast of heat so it puffs up really high and fast. Line a standard baking sheet with parchment paper—I never skip this unless I want a terrible mess! Now, take your beautifully sugared and spiced apples. Toss them gently in your bowl. We aren’t stirring vigorously here; we just want every slice coated in that sweet, slightly spiced glaze. If you crush the apples, they release too much water too soon, and we don’t want that!
Assembling the Free Form Apple Pastry
Unfold your cold puff pastry sheet right onto that parchment paper. You’re going to arrange the apples right in the middle. Here’s the magic trick for a perfect how to make apple galette: leave a good two-inch border all the way around the edge. Don’t pile the apple mixture too high either; we don’t want the juices boiling over and drowning our pastry. Now, start folding that border up over the apples. Just fold, pleat, fold, pleat! You’re essentially creating a little retaining wall. This exposed center is what gives us that wonderful, open-face free form apple pie look!
Finishing Touches for a Golden Rustic Puff Pastry Dessert
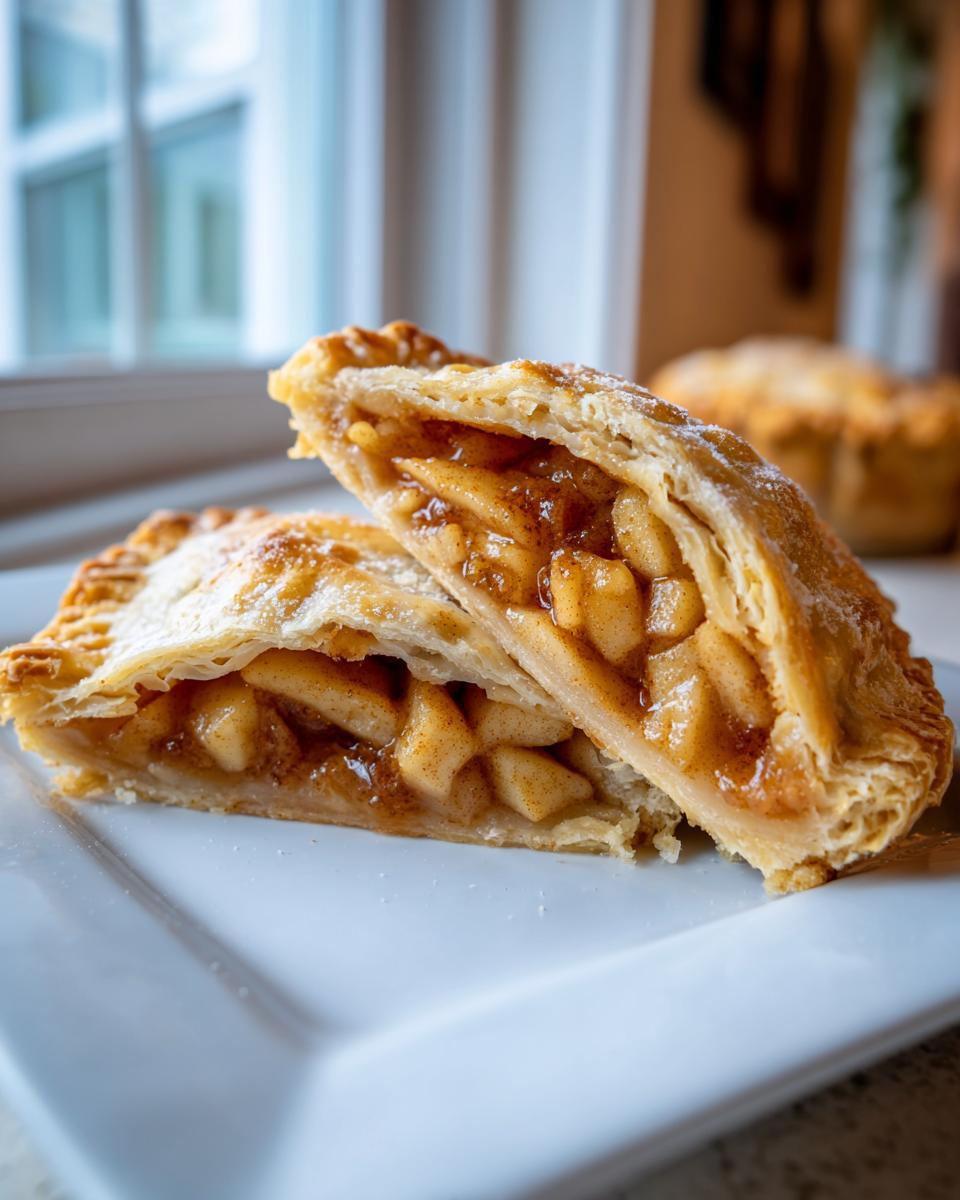
This next part is purely cosmetic, but oh boy, does it make a difference! Take your beaten egg—that’s our egg wash—and brush it generously but *only* on the folded pastry edges. Avoid brushing the apples themselves, or they’ll get dark too fast. Once the edges are shiny gold, grab your coarse sugar and sprinkle it right over the egg wash. Those crunchy sugar crystals will bake into a beautiful, sparkling crust. It really elevates this simple bake into something special, making it a true rustic puff pastry dessert.
If you want to see some other beginner French sweets, I walk through a couple of easy techniques in my easy apple fritters recipe!
Baking Times and Temperature for Perfect apple galette puff pastry
Alright, the assembly is done, and your kitchen probably already smells like heaven, which is a good sign! Now comes the waiting game, but since we used such hot heat, it won’t be long. We need high heat to really encourage that buttery puff pastry to lift and separate into those beautiful, flaky layers we love so much.
Pop your baking sheet straight into that 400°F (200°C) oven. We are looking for a bake time right around 25 to 30 minutes. Don’t just set a timer and walk away; you need to watch this beauty!
How do you know when it’s done? Trust your eyes first! You definitely want to see the pastry edges that you brushed with egg wash turn a deep, gorgeous golden brown. That means the butter has done its job. Second, check the apples. They should look soft, slightly caramelized around the edges, and definitely tender when poked lightly with a small knife. If you used the flour trick correctly, the juices bubbling up won’t look watery; they should look a little thick and syrupy. That’s your signal that this apple galette puff pastry is ready to come out and shine!
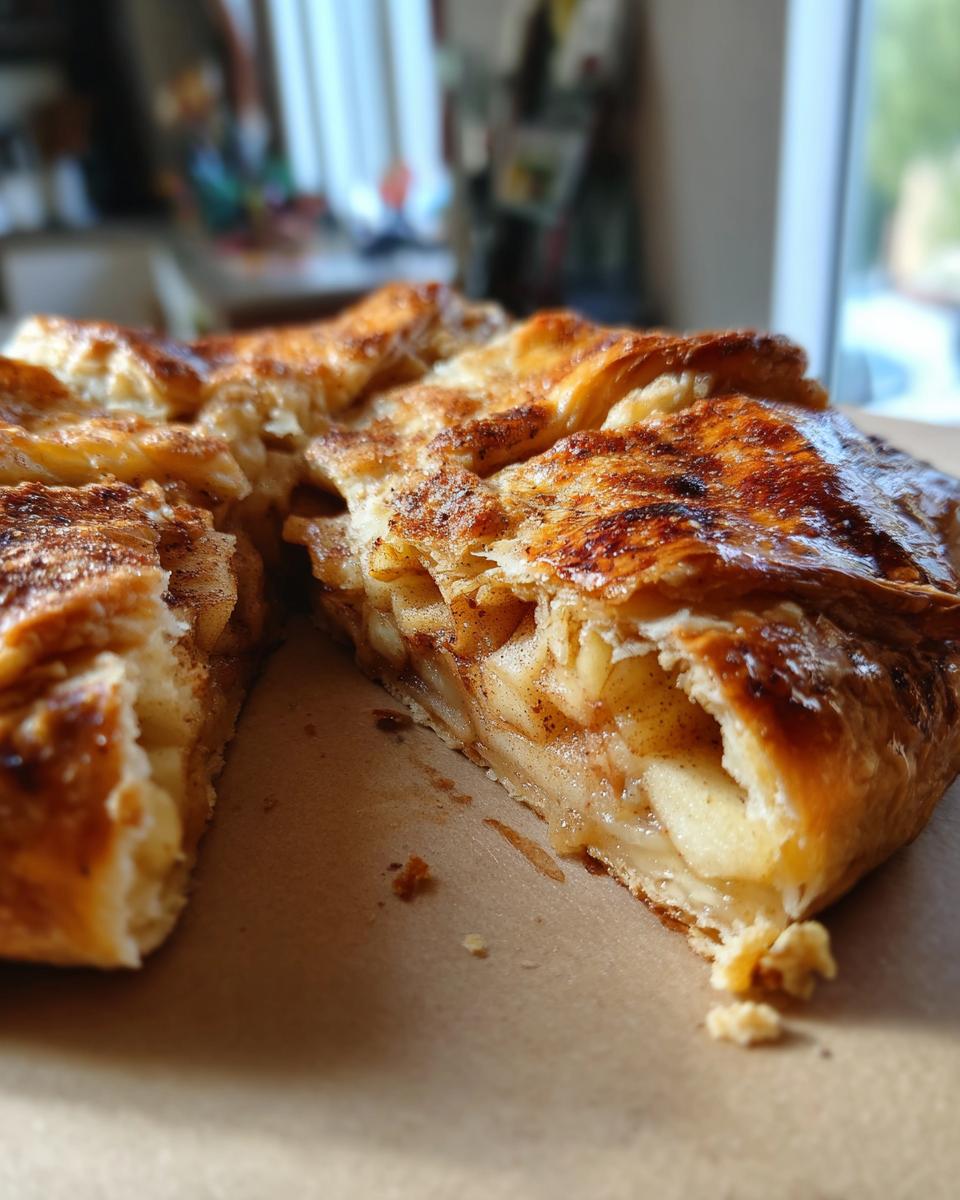
Remember, if you’re making a larger galette, it might take closer to 35 minutes, so just use those visual cues we talked about. We are aiming for tender apples wrapped in glorious, crisp pastry!
Tips for Success with Your Quick Apple Tart
Even with the easiest recipe, sometimes things don’t go perfectly the first time, right? I’ve made this quick apple tart more times than I can count, and I’ve learned a few little tricks along the way to prevent those rookie mistakes. My goal is for your pastry to be shatteringly crisp, not chewy or damp in the middle. Trust me on these; they take zero extra effort but give you maximum payoff!
If you’re looking for a different way to use apples in the fall, you should absolutely try my recipe for moist apple cake—it’s a beautiful contrast to this crisp tart!
Preventing a Soggy Bottom on Your apple galette puff pastry
This is the number one fear whenever you make *any* free-form pie or tart, and it’s totally real! Because the apples sit directly on the pastry, they release moisture, which can turn that gorgeous buttery puff pastry soggy. Here are two ways I fight back against sogginess.
First, my favorite trick is to pre-bake the base. Before you put the apples on, just pop the raw, unfolded pastry onto the baking sheet for about 8 minutes at 400°F, just until it starts to set and puff slightly. Take it out, let it cool for a minute, pile your apples on, fold the sides, and then proceed with the egg wash and bake! It adds 8 minutes, sure, but it guarantees a firm base.
Alternatively, if you own a pizza stone, use it! Preheat the stone right in the oven. Sliding the galette onto that hot stone helps draw moisture and heat up the bottom crust super fast, which is fantastic for crispness.
Enhancing Flavor in the Cinnamon Apple Filling
While the flour in the filling helps absorb liquid, we can also boost the overall richness right where the apples meet the pastry. Before you fold those edges up around the filling, take maybe a tablespoon of melted, salted butter. You can brush this lightly over the exposed apples right inside the crust boundary, or even drizzle it lightly over the apple mound itself.
This extra little layer of fat helps the apples caramelize beautifully and adds a fantastic, almost *carmelized* depth to the spice mixture. It blends perfectly with the cinnamon and nutmeg, making the whole center taste richer and more complex—a simple addition for a huge flavor boost in your quick apple tart.
Serving Suggestions for This easy apple galette recipe
The best part about making an easy apple galette recipe is deciding how you want to serve it! This dessert is already fantastic on its own—that buttery crust and those warm, spiced apples are honestly all you need. But why stop there when you can take it over the top? Presentation matters, even when the pastry is rustic!
My personal preference is always to serve this galette slightly warm. When it’s fresh out of the oven (after that 10-minute rest, remember!), the pastry is super flaky, and the apples are soft and fragrant. If you’re making it for a gathering, you can bake it fully earlier in the day, let it cool completely, and then pop it back into a warm oven (about 325°F) for five minutes just before serving. This warms the fruit through without completely softening that lovely crisp crust.
If you want to go classic American comfort for this free form apple pie experience, you have to add ice cream. Seriously, a big scoop of high-quality vanilla bean ice cream melting slightly over the warm apples? That temperature contrast is just divine!
If you are celebrating or just want something extra decadent, I highly recommend a drizzle of homemade caramel sauce. I have the absolute best recipe for homemade easy caramel sauce that takes literally five minutes more. That rich, buttery caramel drizzled over the cinnamon apples and crisp pastry is just heaven. Sometimes I even dust it with a little powdered sugar first, just to make it look extra pretty before the caramel goes on!
Don’t forget the simple options either! A dollop of fresh, slightly sweetened whipped cream or even a nice smear of crème fraîche works splendidly if you prefer a little tang to cut through the richness of the buttery puff pastry.
Storage and Reheating Instructions for Leftover apple galette puff pastry
It’s rare that we have leftovers of this incredible apple galette puff pastry because it disappears so fast, but if you manage to save a slice or two? Don’t let that beautiful pastry go soft on you! Puff pastry is temperamental; it loves being fresh and crisp, and the microwave is its arch-nemesis—it turns glorious puff into sad, chewy rubber almost instantly. Seriously, don’t even think about microwaving it!
For short-term storage, just cover the cooled galette loosely with plastic wrap or place it in an airtight container if you have a lot of slices. It stays perfectly fine sitting right on the counter at room temperature for about a day. If you need to keep it longer, say up to three days, pop it into the fridge. The cold might make the pastry seem a little firm, but don’t worry, we fix that easily!
Reviving That Golden, Flaky Crust
The key to enjoying leftovers of this buttery puff pastry dessert is reheating it properly. You want that crisp, flaky texture back without turning the whole thing into a hot mess. The oven or even an air fryer is your absolute best friend here.
If you are reheating just one slice, pop it directly onto a small tray and slide it into a preheated oven set to about 350°F (175°C). It only needs about five to eight minutes. You’ll know it’s ready when the pastry smells fresh again and the apples are just warming through. The heat crisps up any lingering steam trapped in the pastry layers.
For larger leftovers, arrange the pieces on a baking sheet and reheat gently for about 10 to 12 minutes. If you want to use the air fryer, that works like a charm too—a quick five minutes at 340°F usually brings it right back to life! The trick, whether you’re reheating a whole quick apple tart or just a sliver, is to use dry heat.
This careful reheating process ensures that the next day, your easy apple galette recipe remnant still tastes almost as good as the first slice. Enjoy!
Frequently Asked Questions About This French Apple Pastry
Whenever I post about using store-bought shortcuts, I always get folks asking me the little practical details. It’s smart! Knowing the ‘what ifs’ helps you nail the result every time. These are some of the questions I get most often about making this delightful French apple pastry. If you’re looking for general baking guidance, I cover lots of basic concepts in my beginner pastry recipes section too!
Can I use pie dough instead of puff pastry for this apple galette puff pastry?
Oh, you absolutely *can* use your favorite pie dough here, but I have to be honest—it changes the whole vibe! When you use pie dough, you get that lovely, sturdy, traditional crust texture. But the real showstopper here is the amazing, light lift you get from the buttery puff pastry. It separates into hundreds of flaky layers when it bakes, which is what makes this dessert so wonderfully airy. If you stick with pie dough, you’ll end up with something closer to a free form pie, which is delicious, but it won’t have that signature puff!
What is the best way to slice apples for this rustic puff pastry dessert?
This is a make-or-break detail for the filling! We want everything to cook evenly, right? If you cut them too thick, the edges of the pastry will burn before the apples in the center are soft. I insist on slicing them thin—aim for about 1/8 of an inch thick. A mandoline slicer is your best friend here if you have one, but if you’re doing it by hand, just take your time. Thin, uniform slices ensure every bite of this rustic puff pastry dessert is perfectly tender!
Can I make this quick apple tart ahead of time?
Yes! This is one of the reasons this is my favorite for weekend baking prep! You can absolutely put the entire quick apple tart together—slice the apples, mix the filling, lay it out, and fold those edges—all in about 15 minutes. Once assembled, cover the whole thing gently with plastic wrap and pop it into the fridge for up to 24 hours.
However—and this is crucial—do *not* apply the egg wash or sprinkle the coarse sugar until you are ready to bake it. The egg wash can get gummy or dry out if left sitting for too long. Just pull it out of the fridge, brush those edges, sprinkle the sugar, and bake as directed. It keeps the final look sharp and beautifully golden!
Share Your Homemade apple galette puff pastry Creation
We did it! You’ve taken simple ingredients and turned them into this gorgeous, aromatic, and totally reliable apple galette puff pastry. Seriously, doesn’t that buttery, flaky crust just make your heart sing? I truly believe that when a recipe works this perfectly with so little stress, it brings a big dose of joy into your day. I hope you felt that confidence building as you folded those edges and watched them brown in the oven!
Now that you’ve mastered this easy apple galette recipe, I want to see your beautiful work! Head down to the comments section right below this post and let me know how it turned out for you. Did you serve yours with ice cream or just a dusting of sugar? Drop a star rating—it really helps other home cooks know this recipe is worth making!
If you snap a picture of your finished dessert—especially if you got amazing height on that puff pastry—tag me on social media! I love seeing your successful bakes. Seeing your creations makes all my recipe testing worthwhile. Remember, cooking is about progress, not perfection, and mastering this beautiful sweet pastry tutorial means you are officially a dessert hero!
Keep that momentum going in the kitchen, and I’ll see you on the next recipe!
PrintEasy Apple Galette with Buttery Puff Pastry

Make a rustic, free form apple pie using store-bought puff pastry for a quick and delicious dessert. This simple fall baking recipe is perfect for beginners.
- Prep Time: 15 min
- Cook Time: 30 min
- Total Time: 45 min
- Yield: 6 servings 1x
- Category: Dessert
- Method: Baking
- Cuisine: American
- Diet: Vegetarian
Ingredients
- 1 sheet frozen puff pastry, thawed
- 3 medium apples (such as Honeycrisp or Granny Smith), thinly sliced
- 1/4 cup granulated sugar
- 1 tablespoon all-purpose flour
- 1 teaspoon ground cinnamon
- 1/4 teaspoon ground nutmeg
- 1 tablespoon lemon juice
- 1 large egg, beaten (for egg wash)
- 1 tablespoon coarse sugar (for sprinkling)
Instructions
- Preheat your oven to 400°F (200°C). Line a baking sheet with parchment paper.
- In a medium bowl, gently toss the sliced apples with the granulated sugar, flour, cinnamon, nutmeg, and lemon juice until the apples are evenly coated.
- Unfold the thawed puff pastry sheet onto the prepared baking sheet. If the pastry is sticking, lightly flour your work surface first.
- Arrange the apple mixture in the center of the pastry, leaving a 2-inch border around the edges. Do not overlap the apples too much.
- Carefully fold the edges of the pastry up and over the apples, creating pleats as you go. The center of the apples will remain exposed. This forms your rustic puff pastry dessert.
- Brush the folded pastry edges with the beaten egg wash.
- Sprinkle the coarse sugar evenly over the egg-washed edges.
- Bake for 25 to 30 minutes, or until the pastry is golden brown and puffed, and the apples are tender.
- Let the apple galette cool on the baking sheet for at least 10 minutes before slicing and serving.
Notes
- For an extra rich flavor, you can brush the apples with melted butter before folding the edges.
- Serve this quick apple tart warm with a scoop of vanilla ice cream or a drizzle of caramel sauce.
- If you prefer a softer crust, you can bake the galette on a pizza stone instead of a baking sheet.
Nutrition
- Serving Size: 1 slice
- Calories: 280
- Sugar: 18
- Sodium: 150
- Fat: 16
- Saturated Fat: 8
- Unsaturated Fat: 8
- Trans Fat: 0
- Carbohydrates: 32
- Fiber: 2
- Protein: 3
- Cholesterol: 45