
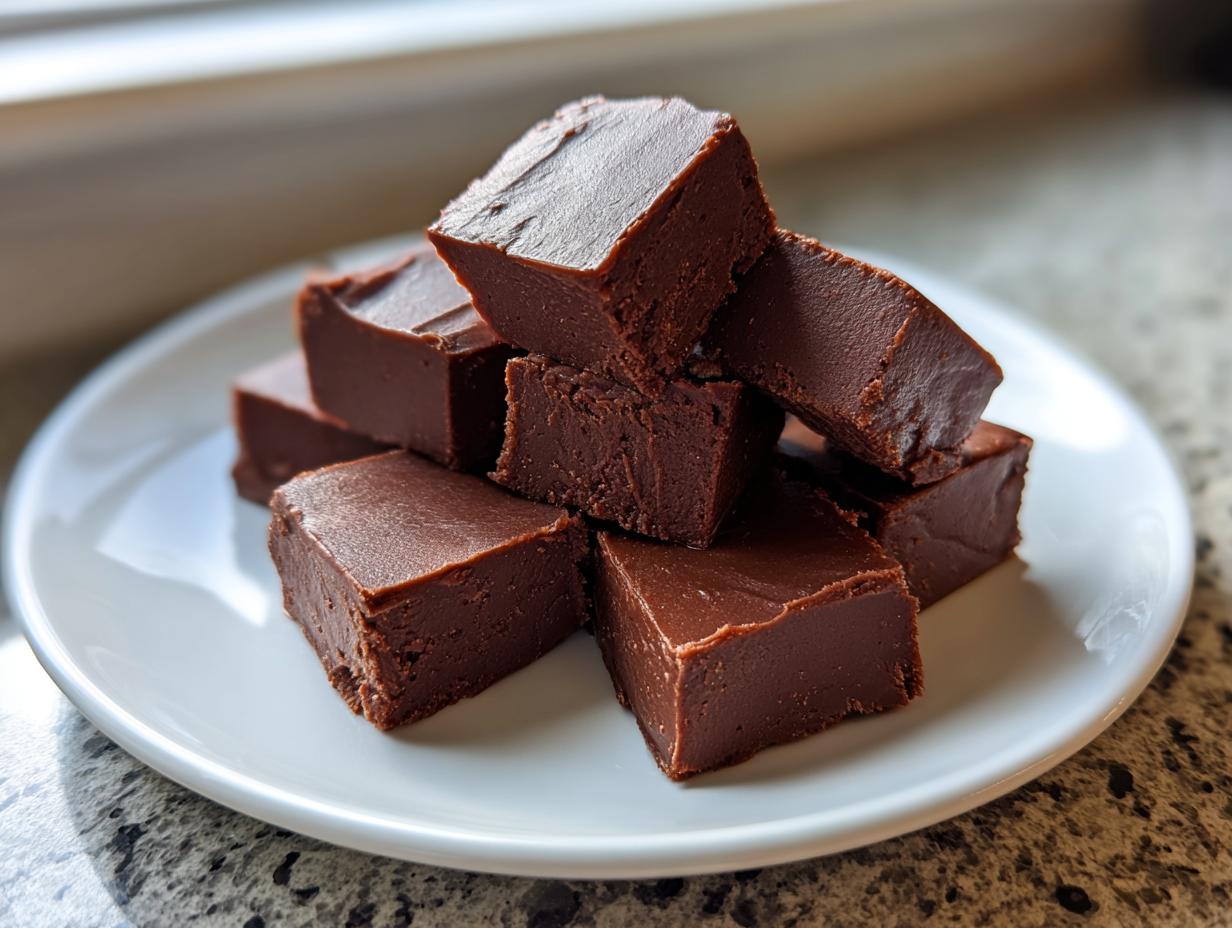
Listen, I know the feeling. It’s late, you need a quick, satisfying sweet bite, or maybe the holidays are upon us, and you need a giant batch of homemade candy *yesterday*. Forget all those nerve-wracking recipes that require you to stand over a stove wrestling with a candy thermometer! I’m here to tell you that the absolute best, richest, creamiest chocolate fudge you will ever make requires only three things, and zero stress.
This recipe is my signature 3-Ingredient Condensed Milk Chocolate Fudge, and honestly, it’s the definition of foolproof. I promise that every single batch I’ve tested here in my kitchen turns out perfectly smooth and decadent. If you’re worried about candy making ending in disappointment, trust me—this simple method is reliable, quick, and tastes exactly like the classic chocolate squares you dreamed about as a kid. Let’s get this ridiculously easy fudge made!

- Why This 3 Ingredient Fudge Recipe is Your New Go-To
- Gathering Ingredients for Your Simple Fudge Recipe
- Step-by-Step Instructions for Perfect Homemade Fudge
- Tips for the Best Old Fashioned Fudge Results
- Delicious Variations for Your Condensed Milk Fudge
- Storing Your Rich Dessert Candy for Gifting
- Frequently Asked Questions About This Foolproof Fudge
- Estimated Nutritional Data for This Quick Fudge Dessert
- Share Your Experience Making This Easy Fudge Recipe
Why This 3 Ingredient Fudge Recipe is Your New Go-To
If you’ve ever been intimidated by homemade candy, this is the recipe that will change everything for you. It delivers on the promise of an Easy Fudge Recipe without any of the fuss. It’s fast, it’s rich, and basically, it’s a miracle!
- It’s a true No Bake Fudge, meaning you don’t even have to turn on the oven—just the microwave!
- It’s lightning fast. Seriously, the prep time is almost nothing, making it perfect for last-minute sweet cravings or gifts.
- It’s incredibly reliable. This is the recipe I hand out when friends tell me they’ve failed at fudge before.
Foolproof Fudge: No Candy Thermometer Needed
My biggest joy in sharing this recipe is watching people realize they don’t need special equipment. We completely skip the scary stage of cooking sugar to 234 degrees! Using sweetened condensed milk is the hack here. It manages the crystallization process for us, so you get a perfectly set, smooth block of condensed milk fudge every single time. It builds confidence, I’m telling you!
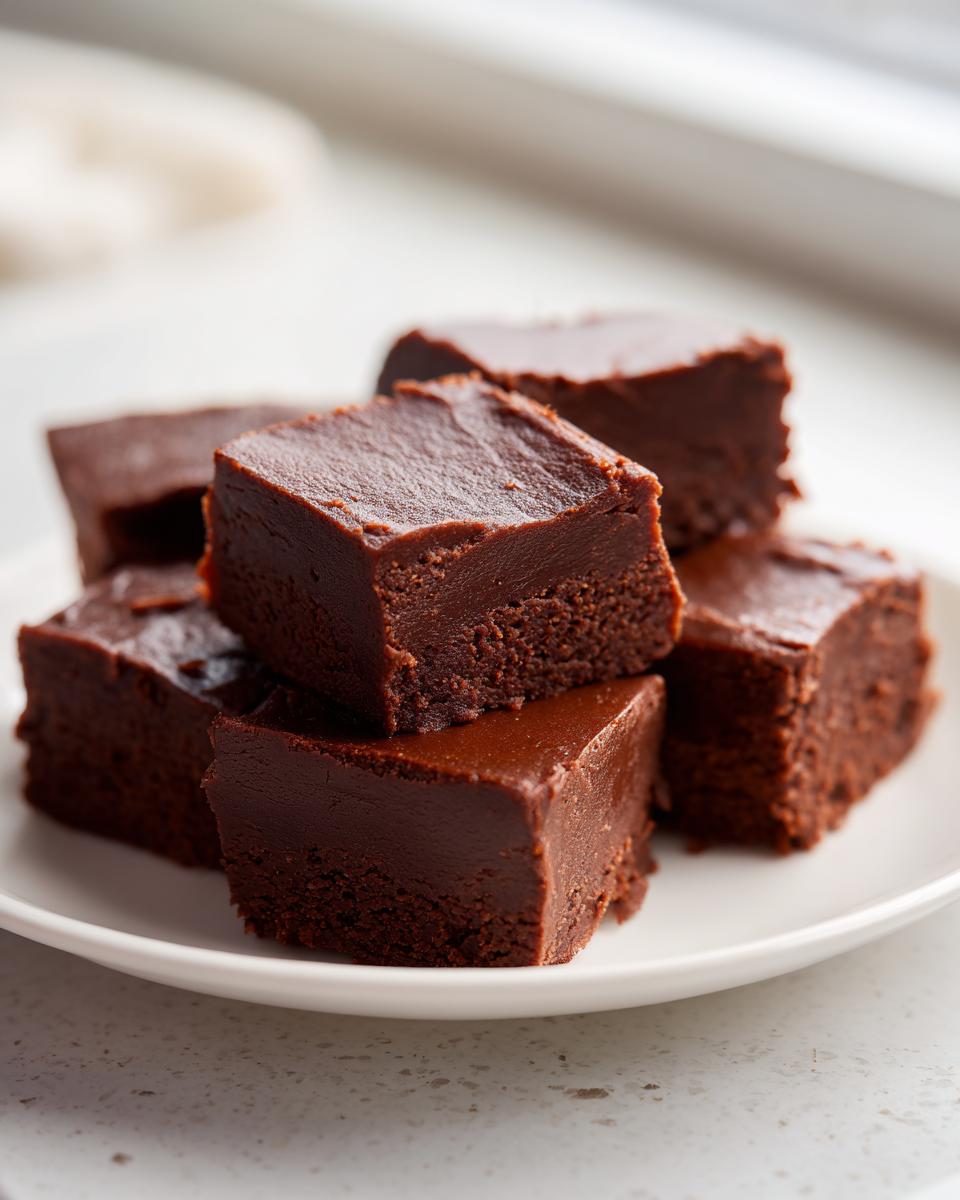
The Secret to Creamy Chocolate Fudge Texture
Traditional fudge can sometimes turn grainy on you if you mix it too much or too little while cooling. Not this stuff! The combination of the fat in the chocolate chips and the stabilizers in the condensed milk guarantees that velvety, luxurious mouthfeel. You get that deep, satisfying bite associated with the Creamy Chocolate Fudge you find at specialty shops, only you made it on your Tuesday night.
Gathering Ingredients for Your Simple Fudge Recipe
Okay, let’s talk about what you need! The beauty of this Simple Fudge Recipe is that you probably have most of this already. Seriously, three ingredients! You don’t need a long shopping list, which is why this is the ultimate emergency dessert. Keep these three things stocked, and you’re always ready for a sweet treat or a last-minute edible gift.
Here is the exact list for our 3 Ingredient Fudge:
- 1 (14 ounce) can sweetened condensed milk
- 2 cups semi-sweet chocolate chips
- 1 teaspoon vanilla extract
Ingredient Notes and Substitutions for Perfect Fudge
Even with only three items, quality matters! I strongly recommend using the best semi-sweet chocolate chips you can find. Since there are so few components here, the chocolate flavor really jumps forward.
If you use milk chocolate chips, your fudge will be sweeter and a little softer, so you might need an extra 30 minutes in the fridge to set up properly. Dark chocolate chips give you that deep, intense flavor that keeps it from being too sugary. It’s a worthwhile little swap to personalize your Homemade Fudge.
Step-by-Step Instructions for Perfect Homemade Fudge
Following the directions exactly is how we guarantee this batch of Homemade Fudge comes out beautifully creamy instead of messy. Since we aren’t cooking this on the stovetop, the microwave is our powerhouse, but we need to be gentle to keep that texture perfect. Don’t rush the melting phase; that’s where you set yourself up for success!
Don’t forget, if you love rich chocolate, once you master this base, you absolutely have to try my famous fudge brownies recipe—it’s just as easy!
Preparing the Pan and Melting the Fudge Base
First things first: get your 8×8 pan lined with parchment paper. This is non-negotiable! You need that overhang on the sides because when this fudge sets up, it gets super firm. You use the paper like handles to lift the entire slab out at the end, saving you a ton of scraping.
Now, put your chocolate chips and the can of condensed milk into a microwave-safe bowl. Here’s the key: microwave it in 30-second bursts. After each 30 seconds, pull it out and stir thoroughly. Usually, it takes about a minute to a minute and a half total until it’s perfectly glossy and smooth. If you microwave it too long without stirring, the chocolate can seize up on you!
Setting and Cutting Your Quick Fudge Dessert
Once you stir in that vanilla extract—wow, the smell just hits you!—pour it into your prepared pan and spread it out evenly. We need patience now. It must go into the refrigerator for a minimum of two hours. Don’t cheat this! If you try to cut it too soon, you’ll end up with chocolate smears everywhere.
When it’s firm, use those parchment handles to lift the whole thing out onto a cutting board. Use a sharp, warm knife to cut it into small squares. If the knife sticks, run it under hot water and dry it quickly before each cut. Enjoy those perfect little squares of Quick Fudge Dessert!
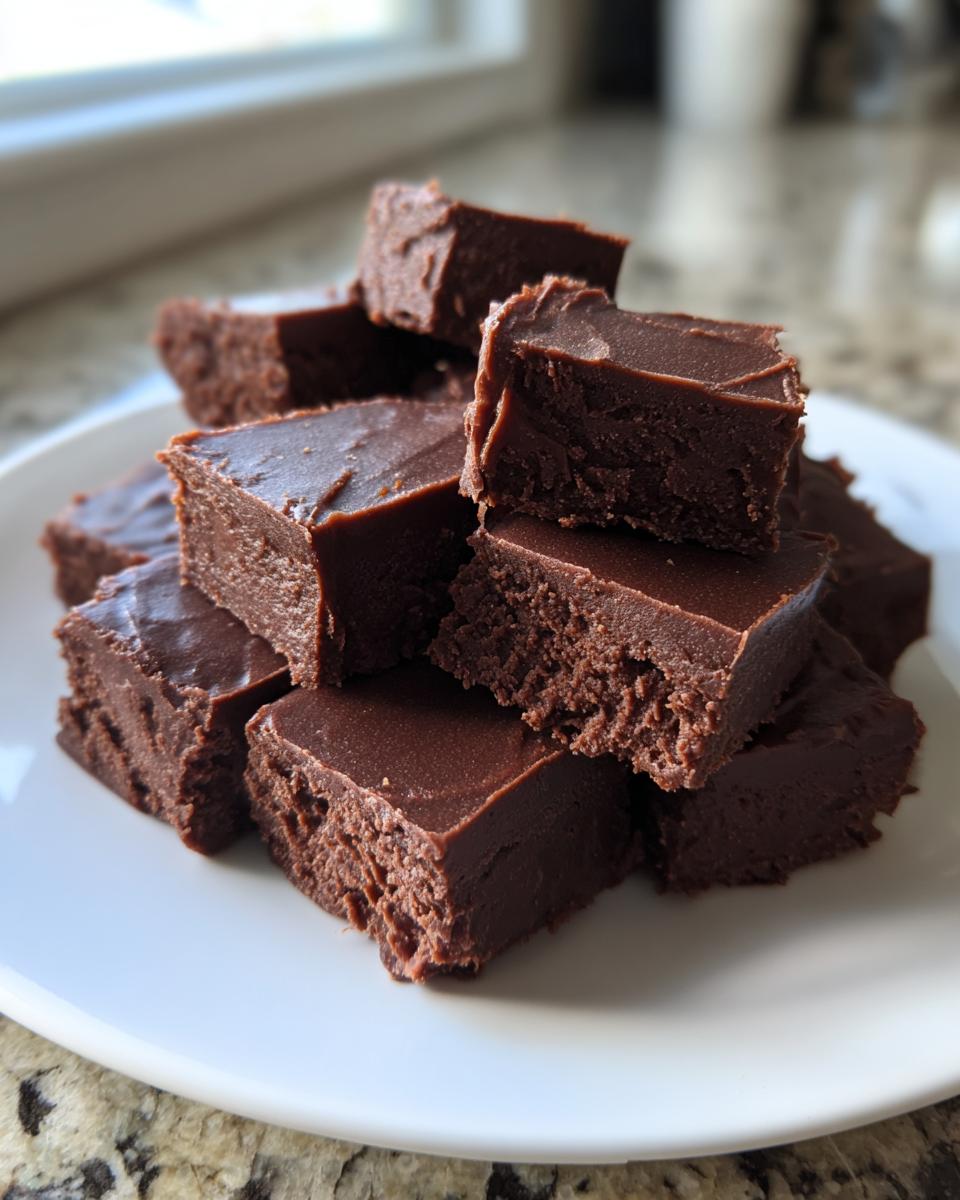
Tips for the Best Old Fashioned Fudge Results
Even though this is a super easy recipe, we want the results to taste like they came out of a proper candy shop, right? This is how we elevate our simple mix into the kind of Old Fashioned Fudge that demands a second helping. The secret isn’t in extra steps; it’s about respecting the ingredients and planning ahead just a little bit.
For the very Best Homemade Fudge that tastes luxurious, leave it uncovered in the fridge for about 30 minutes after you take it out but before you cut it. This helps the texture relax just slightly, making it easier to slice without cracking or crumbling. After cutting, airtight storage is key. If you’re making these for gifting, wrap the squares individually in parchment paper before putting them into one big tin. Have you checked out my essential chocolate chip cookie recipe? It uses similar rules about honoring simple, quality ingredients!
When you want that rich, old-time molasses depth of flavor, you can check out the techniques used over at Tasty Fitness Recipes for traditional methods—but remember, sometimes the easiest route is the one your craving wins!
Delicious Variations for Your Condensed Milk Fudge
Now that you’ve mastered the original, let’s get playful! This Condensed Milk Fudge is a dream canvas for additions. Because the base is so straightforward, it handles mix-ins like a champion. You don’t need to change the melting time or technique, just fold in your extras right after the vanilla.
If you want something bright, stir in a teaspoon of peppermint extract just before pouring it into the pan—it makes the best holiday treat! Or, if texture is your jam, fold in a cup of toasted pecans or mini marshmallows right at the end. The possibilities for customizing your fudge are endless, but I always come back to the classics.
Making Peanut Butter Fudge using this Base
Oh, you want peanut butter? Smart choice! Swap out half of your semi-sweet chocolate chips for an equal amount of peanut butter chips, or, even better, just stir in 1/2 cup of creamy peanut butter along with the vanilla extract. It melts right into the hot chocolate mixture and gives you an unbelievable, salty-sweet flavor.
If you want a beautiful swirl, reserve about a quarter cup of the melted chocolate mixture before adding the peanut butter, then drizzle it over the top of the peanut butter fudge in the pan and gently swirl with a butter knife. For more fun ideas on using that peanut butter flavor, you have to check out my peanut butter cookies recipe!
For even more inspiration on easy additions, take a peek at what the folks over at Berry Whisk are doing with different chocolate fudge recipes!
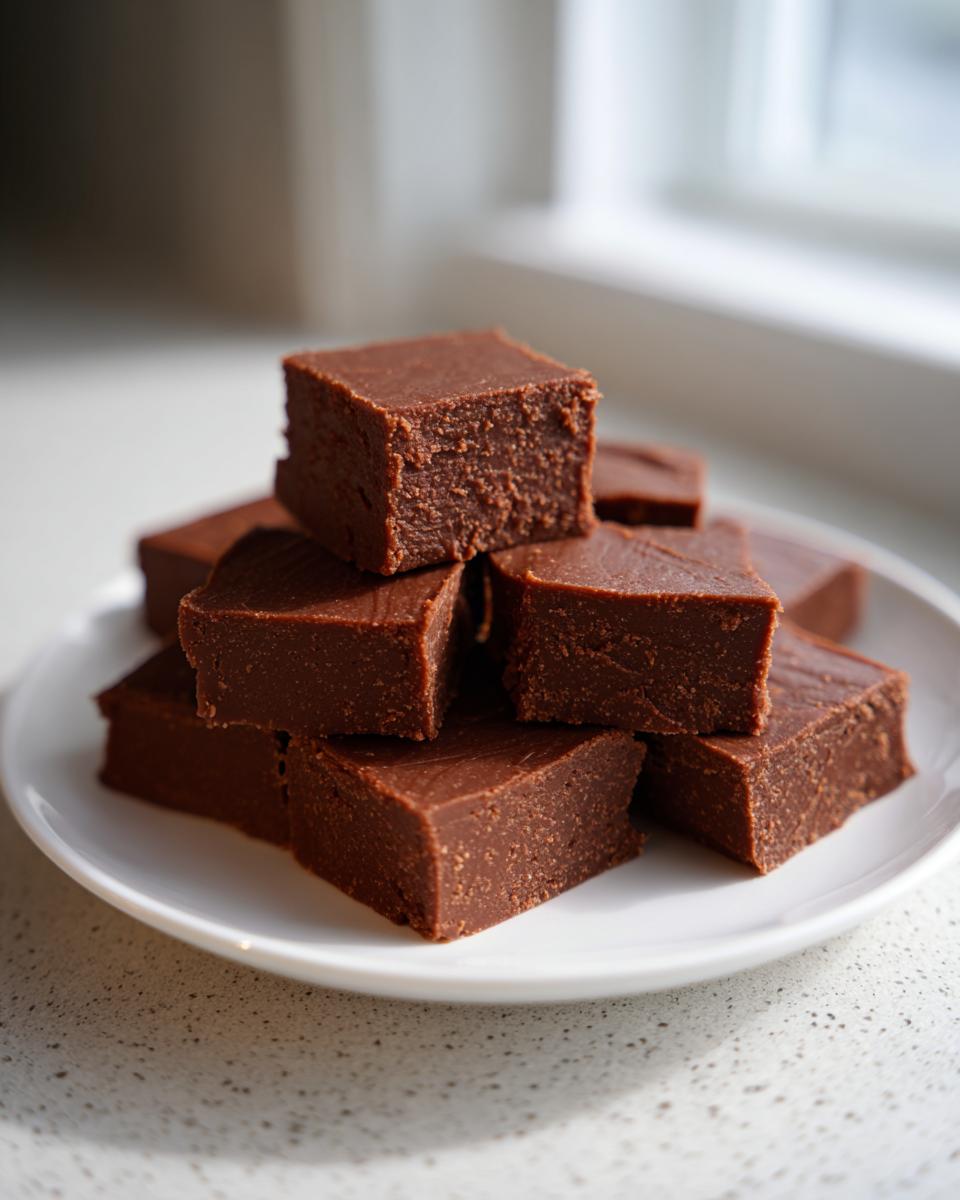
Storing Your Rich Dessert Candy for Gifting
Once you’ve got these beautiful, perfect squares of Rich Dessert Candy, you need to know how to keep that creamy texture intact! Storing this fudge is genuinely simple, which is another reason I love the condensed milk method so much. For up to a week, you can keep it right on the counter in an airtight container. It stays perfectly happy at room temperature, which is handy if your fridge is already full of leftovers.
If you’re planning on gifting this—and you absolutely should, these make amazing Sweet Homemade Gifts—I recommend wrapping each square individually in a small piece of wax paper or parchment before stacking them nicely in a tin. If you need it to last longer, two weeks in the fridge works, too, but let it sit out for about 20 minutes before serving so it softens up slightly.
For beautiful presentation when boxing these up, I always refer back to my guide on decorating sugar cookies for layering tips—you can use similar small dividers to keep the fudge from sticking to each other in the box!
Frequently Asked Questions About This Foolproof Fudge
I know when you find a recipe this easy, you start wondering about the fine print! It’s natural. Here are the questions I get asked most often about making sure this particular batch of foolproof fudge turns out perfectly smooth and delicious for you. Let’s clear up any last bits of confusion so you can get this rich dessert candy made!
Can I use regular milk chocolate instead of semi-sweet in this fudge?
You absolutely can! Milk chocolate chips will totally work in this base. Just be prepared that the result will be noticeably sweeter because milk chocolate has more sugar than semi-sweet. Honestly, I find that if I use milk chocolate, the fudge sometimes tastes a little *too* sweet for me, so I usually chill it a tiny bit longer just to firm it up more. If you like super sweet treats, go for it!
How long does this fudge really take to set?
The recipe states a minimum of two hours in the fridge, and that’s usually enough time for standard square cuts. However, sometimes your setting time depends on a couple of things! If your kitchen is really warm or if you made a thick batch—maybe you used a square pan that was smaller than 8×8 inches—it might need closer to three hours or even longer in the fridge to feel completely firm. Always check the center by pressing gently before you try to lift it out!
If you’re curious about stacking things for holiday tins, you should look at my tips for layering baklava—the separation techniques work for fudge too! For other super simple, fast dessert ideas, check out the amazing hacks shared by Lisa’s Dinner Time Dish.
Estimated Nutritional Data for This Quick Fudge Dessert
I’m definitely not a nutritionist—I just like making yummy food! But since so many of you ask about the macros for this Quick Fudge Dessert, here is the estimated goodness packed into one small square. Just remember, these figures are based on using standard semi-sweet chips and condensed milk. If you use dark or milk chocolate, those numbers will absolutely shift!
We’re talking about rich dessert candy here, so yes, the sugar is on the higher side, but trust me, one square is usually enough to handle that sweet craving!
| Nutrient | Approximate Value (Per Square) |
|---|---|
| Calories | 120 |
| Total Fat | 6g |
| Saturated Fat | 4g |
| Total Carbohydrates | 16g |
| Sugars | 16g |
| Protein | 2g |
Keep in mind that since this recipe yields 36 small squares, sharing is key! I’ve found fats are higher if you accidentally cut the squares a little bigger than I recommend. Enjoy this indulgent treat responsibly!
Share Your Experience Making This Easy Fudge Recipe
I truly hope this 3-ingredient magic has brought some simple joy and sweetness into your kitchen! I put so much work into testing and perfecting recipes that I genuinely want to see what you create.
Did you try adding peppermint extract? Did you decide to swirl in some peanut butter? I want to hear all about it! Please leave a rating for this Easy Fudge Recipe below—a simple five stars lets other home cooks know they can trust this recipe too.
If you have any burning questions about storage, ingredients, or if you want to suggest a next-level flavor variation, drop a comment down there. I read every single one, and I love connecting with you all! If you need to reach me directly for a private question, you can always send a note through my contact page. Happy making, and I can’t wait to see your incredible homemade fudge!
PrintEasiest 3-Ingredient Condensed Milk Chocolate Fudge
Make rich, creamy chocolate fudge using only three simple ingredients. This foolproof recipe is quick, no-bake, and perfect for homemade gifts or a decadent dessert.
- Prep Time: 10 min
- Cook Time: 2 min
- Total Time: 2 hours 12 min
- Yield: 36 small squares 1x
- Category: Dessert
- Method: No Bake
- Cuisine: American
- Diet: Vegetarian
Ingredients
- 1 (14 ounce) can sweetened condensed milk
- 2 cups semi-sweet chocolate chips
- 1 teaspoon vanilla extract
Instructions
- Line an 8×8 inch baking pan with parchment paper, leaving an overhang on the sides for easy removal. Lightly grease the parchment paper.
- Place the chocolate chips and sweetened condensed milk in a microwave-safe bowl.
- Microwave in 30-second intervals, stirring well after each interval, until the mixture is completely smooth and melted. This usually takes 1 to 1.5 minutes total.
- Stir in the vanilla extract until fully combined.
- Pour the fudge mixture into the prepared baking pan and spread evenly.
- Refrigerate for at least 2 hours, or until the fudge is firm enough to cut.
- Lift the fudge out of the pan using the parchment paper overhang. Cut into small squares.
Notes
- For a richer flavor, use high-quality chocolate chips.
- If you prefer a firmer fudge, chill it for longer than 2 hours.
- Store leftover fudge in an airtight container at room temperature for up to one week, or refrigerated for up to two weeks.
Nutrition
- Serving Size: 1 square
- Calories: 120
- Sugar: 16
- Sodium: 25
- Fat: 6
- Saturated Fat: 4
- Unsaturated Fat: 2
- Trans Fat: 0
- Carbohydrates: 16
- Fiber: 0
- Protein: 2
- Cholesterol: 5