
Oh my gosh, is there any smell that screams “home” louder than a freshly baked apple pie? I swear, just thinking about it takes me right back to my childhood kitchen. If you’ve been searching high and low for that one, non-fail recipe, stop scrolling right now because you’ve found it. This is, without a doubt, the apple pie recipe you need: The Best Classic Homemade Apple Pie Recipe with Flaky Buttery Crust.
I know that sounds like a big claim, but having spent years officially taste-testing for my own grandmother—yes, that was my main job growing up—I learned exactly what makes a pie truly great. When I host my Sunday Suppers now, this pie is always the star because it’s reliable and so comforting. It’s the real deal, made the right way!
- Why This Classic Apple Pie Recipe Delivers Comfort
- Gathering Ingredients for Your Homemade Apple Pie
- Step-by-Step Instructions for the Perfect Apple Pie Recipe
- Tips for Success with Your Homemade Apple Pie Recipe
- Variations on the Classic Apple Pie Recipe
- Serving Suggestions for This Apple Pie Recipe
- Storage and Reheating Instructions for Apple Pie
- Frequently Asked Questions About This Apple Pie Recipe
- Nutritional Estimate for This Apple Pie Recipe
- Share Your Homemade Apple Pie Experience
Why This Classic Apple Pie Recipe Delivers Comfort
When I tell you this is the apple pie recipe you’ve been searching for, I mean it across the board. This pie isn’t fancy or complicated; it just tastes exactly like what you picture when you think of holidays and home. It’s consistently a winner! You’ll see why it’s earned its place on my most trusted baking list.
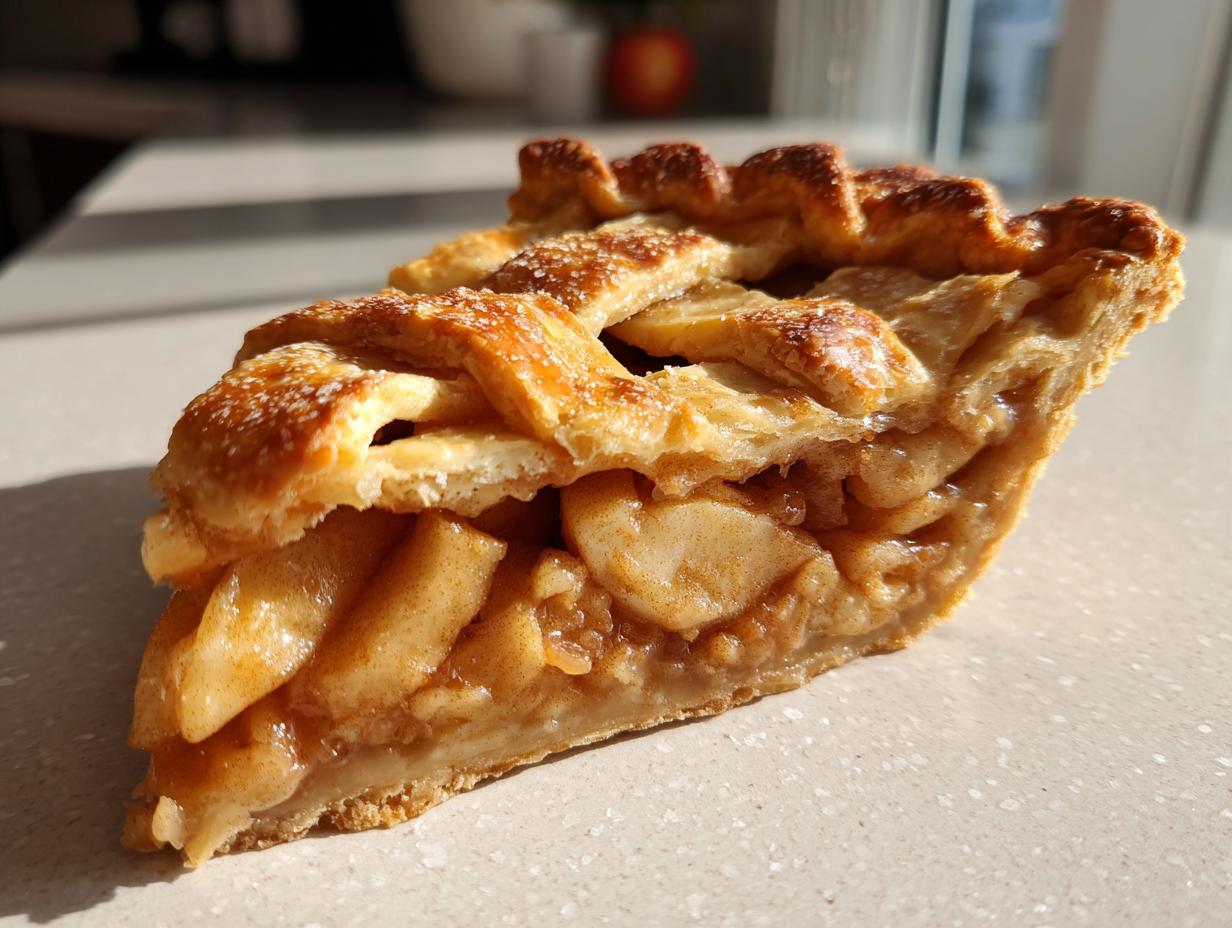
- A crust that shatters perfectly when you cut into it.
- Filling that is spiced just enough to warm you up without being overpowering.
- It’s the ultimate comfort food dessert, no question!
For more fall favorites, you should definitely check out my apple crisp recipe when you’re done with this one!
The Secret to a Flaky Pie Crust
Listen, the crust is everything here. If you want that gorgeous, golden texture, you have to listen to the number one rule: keep everything cold. I mean, super cold butter and ice water are non-negotiable for that signature flaky pie crust. We handle it as little as possible! That prevents the butter from melting into the flour too soon, which means those little pockets of fat stay separate and turn into steam pockets when they bake. That’s what creates the layers!
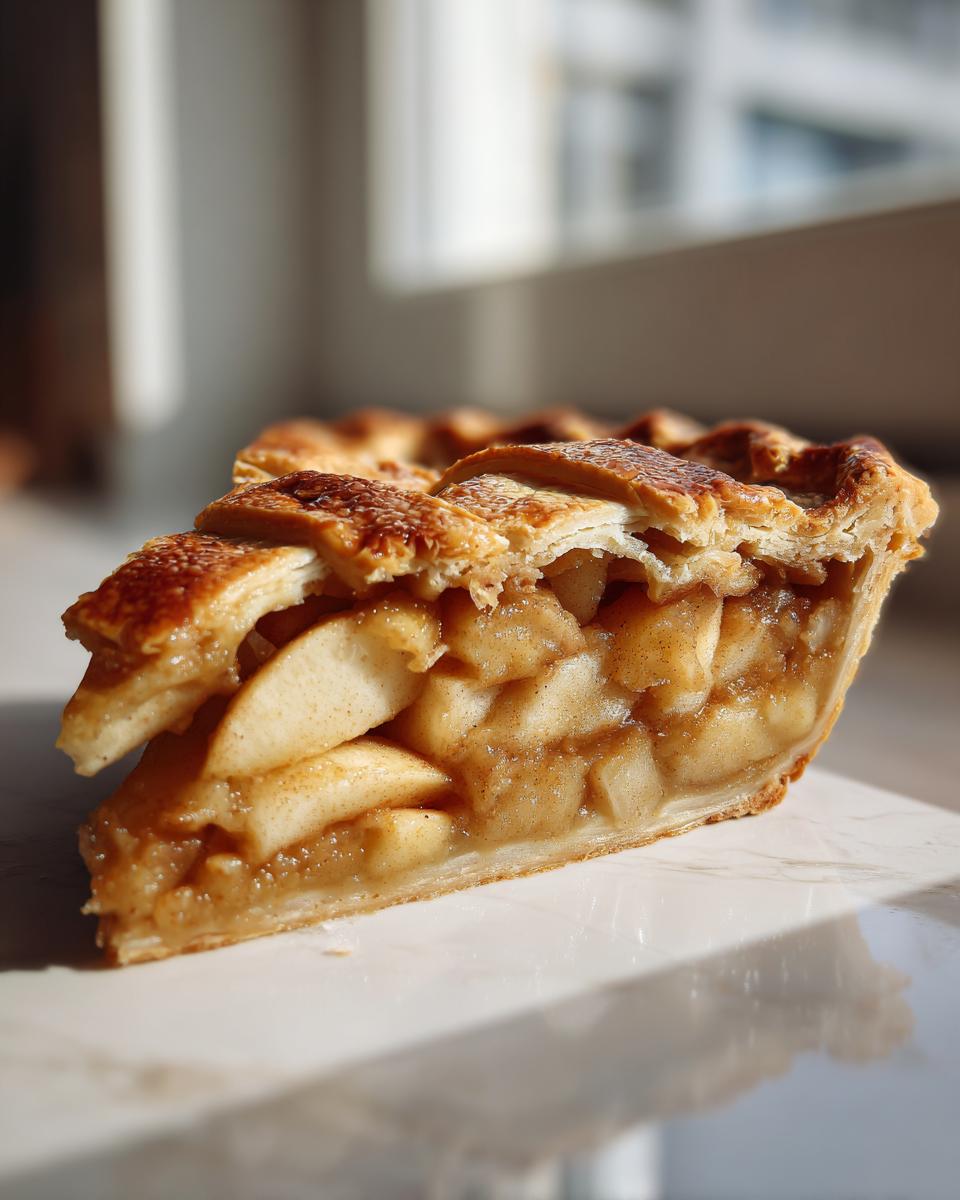
Achieving the Best Apple Filling for Your Apple Pie Recipe
My favorite part of making any apple pie recipe is smelling those spices come together. You need a mix of apples—some tart, like Granny Smith, and some sweeter ones for balance. The cinnamon and hint of nutmeg really shine through. I tried leaving out the allspice once, and honestly? It felt naked. You want that complexity in your spiced filling, trust me, it makes all the difference in the overall flavor profile of your pie.
Gathering Ingredients for Your Homemade Apple Pie
Before we dive into the actual baking, we have to talk about assembly. Getting your ingredients ready and making sure they are exactly what the recipe calls for is half the battle won for this apple pie recipe. Seriously, don’t pre-measure anything until you’ve read my notes down below. Precision matters with the dough, but with the apples, you want generous amounts!
Once you have these laid out, you’re already halfway to that gorgeous Thanksgiving dessert.
For the Buttery Pie Dough
Remember, the key to the crust is cold, cold, cold! Make sure your butter is cubed and straight from the fridge, and your water is ice cold—maybe even add an ice cube to the measuring cup for a minute if you have to.
- 2 1/2 cups all-purpose flour
- 1 teaspoon salt
- 1 cup (2 sticks) cold unsalted butter, cut into cubes
- 1/2 cup ice water, plus more if needed
For the Cinnamon Spiced Apples Filling
This is where the magic happens! I use a mix of apples because I love that combination of sweet and tart; it keeps the overall flavor from being too dull. Make sure you slice these evenly so they all cook through at the same time.
- 6-8 medium baking apples (like Granny Smith and Honeycrisp), peeled, cored, and sliced 1/4 inch thick
- 3/4 cup granulated sugar
- 1/4 cup packed light brown sugar
- 1 teaspoon ground cinnamon
- 1/4 teaspoon ground nutmeg
- 1/8 teaspoon ground allspice
- 2 tablespoons all-purpose flour (for filling)
- 1 tablespoon lemon juice
- 1 large egg, beaten (for egg wash)
- 1 tablespoon coarse sugar (for sprinkling)
If you’re looking for something a little different but still warm and spiced, you have to try my apple cinnamon muffins recipe next!
Step-by-Step Instructions for the Perfect Apple Pie Recipe
Okay, deep breath! We are now moving from gathering stuff to actually making this beautiful apple pie recipe. Don’t let the steps intimidate you; if you follow these closely, you’ll have a pie that looks like it came straight from a postcard. I’ve broken the process down into three manageable parts—the crust, the assembly, and the bake. Remember, the main trick for this whole delicious experience is patience, especially with the chilling and the cooling!
For more ideas on fall baking, check out my apple coffee cake!
Making and Chilling the Flaky Pie Crust
First things first, we need that phenomenal crust! In your mixing bowl, whisk together your flour and salt. Now, take that super cold butter—the cubed kind—and cut it into the flour mixture. You want it to look like coarse crumbs, but you absolutely must keep some pea-sized chunks of butter visible. Those are our structure makers! Now, add the ice water slowly, tablespoon by tablespoon, until the whole thing just barely sticks together when you squeeze it. Stop mixing right then! Divide that shaggy dough into two disks, wrap them up tight, and they need a minimum of one hour chilling time in the fridge. Don’t rush this part, or you’ll curse me later!
Assembling Your Classic Apple Pie Recipe
While the dough chills, toss those sliced apples with all your sugars, spices, flour, and lemon juice until they are perfectly coated. That mixture is the heart of your classic apple pie recipe. Next, grab one chilled disk and roll it out on a floured surface until it’s about 12 inches across. Carefully drape it into your 9-inch pie plate. Now, pile in all those gorgeous cinnamon-spiced apples. If you feel like getting extra fancy, dot the top of the apples with a few little nubbins of leftover butter—it helps the filling get glossy! Roll the second dough disk for the top crust, slap it on, crimp those edges together like you mean it, and please, please, please cut several steam slits into the top. It needs to breathe!
Baking and Cooling the Apple Pie Recipe
Time to get this pie into the heat! You want to preheat your oven to a hot 425 degrees F. Pop your pie onto a baking sheet—trust me on this, drips happen—and bake it hot for 15 minutes. After that initial blast, we drop the temp down to 375 degrees F and keep baking for another 40 to 50 minutes until the crust is deep golden brown and you see the filling bubbling thick inside. If the edges look like they’re turning black instead of golden, just tent them with a little foil. The last step for the best apple pie recipe? Patience! You have to let it cool on a rack for at least three whole hours. If you cut it early, the filling melts into a puddle. Trust me on this cooling time!
Tips for Success with Your Homemade Apple Pie Recipe
Baking a perfect pie takes a little know-how, especially when you aren’t relying on guesswork! I’ve learned a few things over the years perfecting this apple pie recipe that make the process less stressful and guarantee that flaky crust we all dream about. These aren’t complicated tricks; they are just solid, tested practices that deliver results every single time, perfect for your holiday baking spread.
If you want another easy apple dessert to try, whip up my easy apple fritters next week!
Ingredient Notes and Substitutions for Apple Pie
I cannot stress this enough: keep your butter and water frigid when making the dough! Those cold chunks are what create lift. If you are really running behind schedule and need an apple pie recipe that moves faster, don’t panic! My grandmother actually gave me permission to write that you absolutely can substitute two store-bought pie crusts in a pinch. It won’t be quite as good as handling the dough yourself, but hey, sometimes fast wins!
Variations on the Classic Apple Pie Recipe
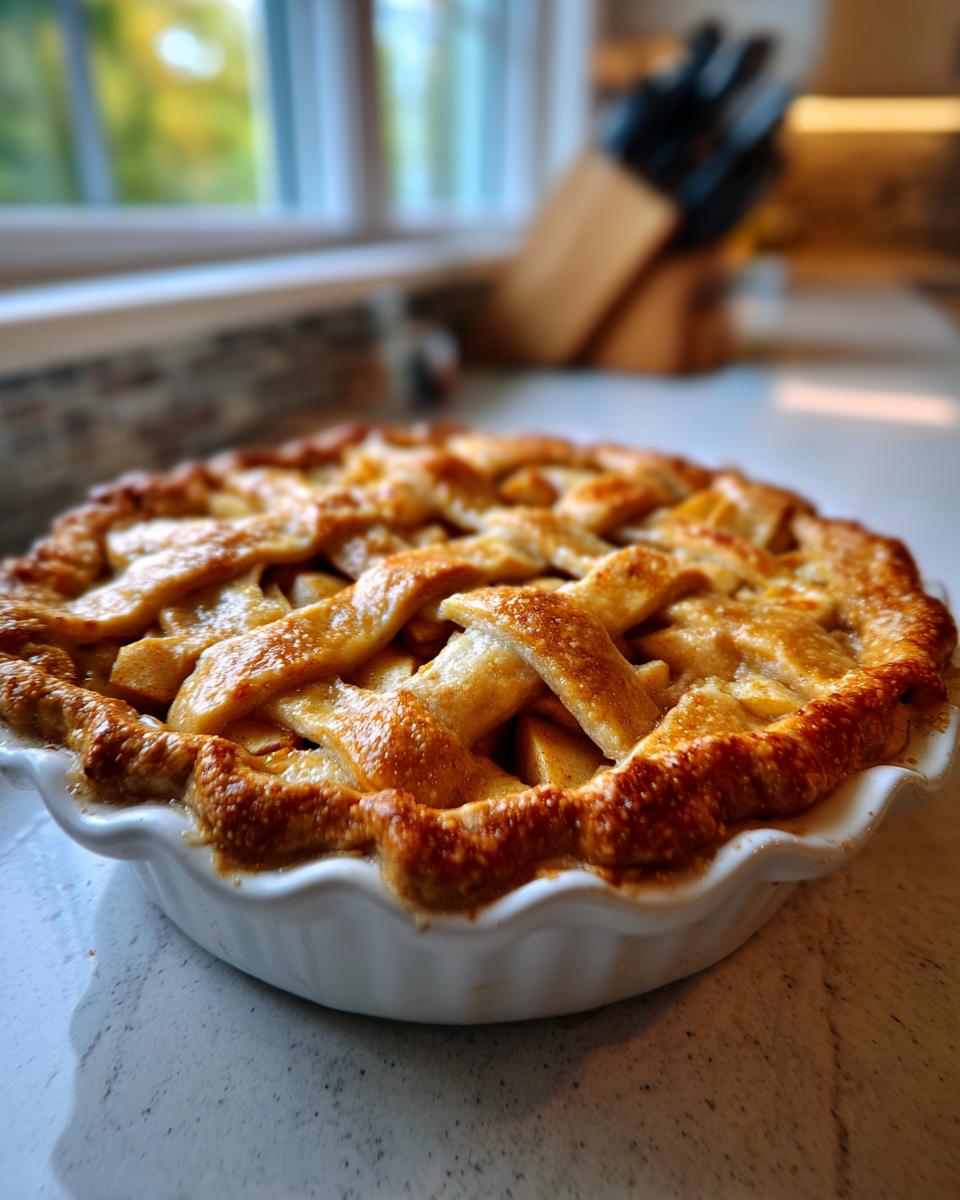
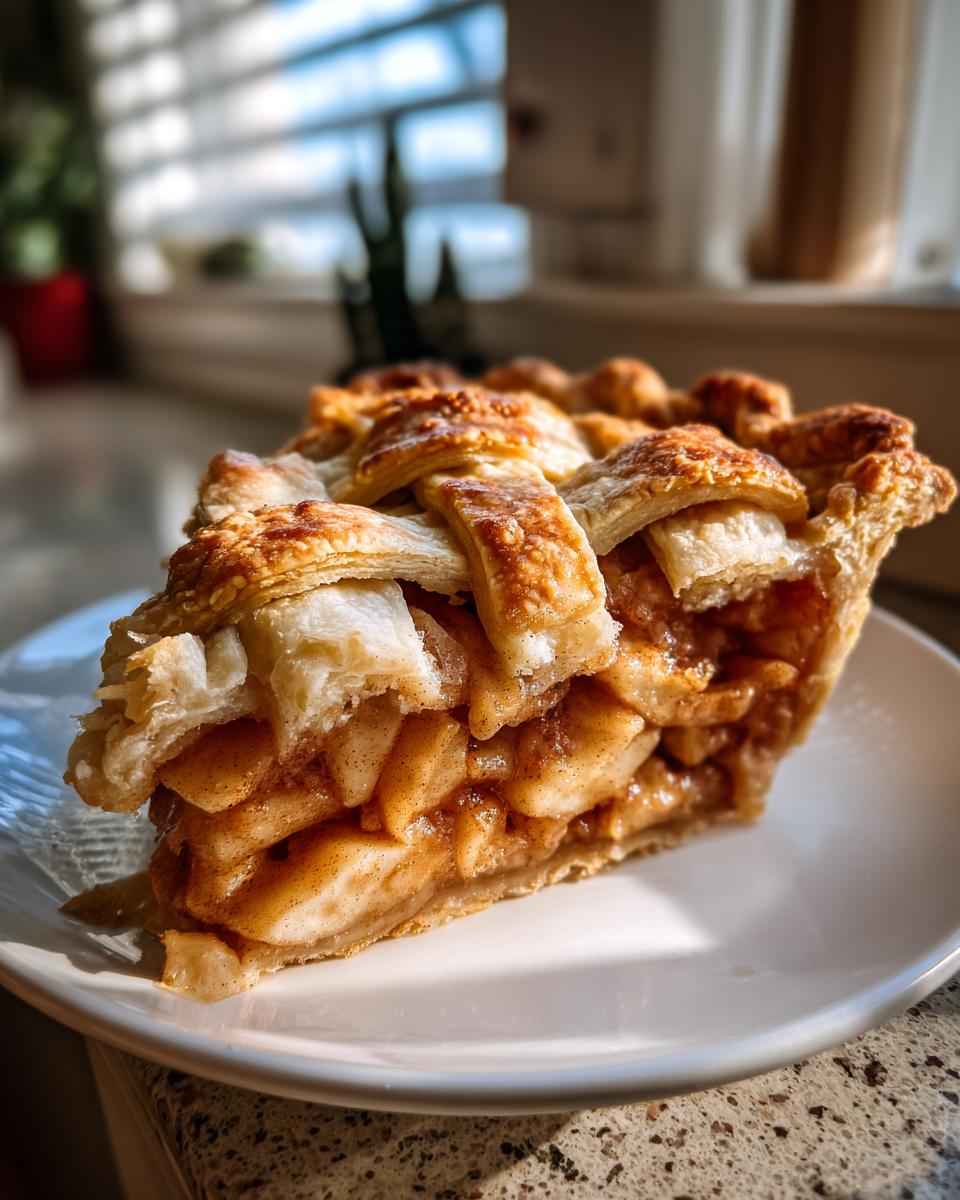
Now that you have mastered the absolute best apple pie recipe with that sturdy, flaky crust, you can have some fun! I love making this pie exactly as it is, but sometimes you want to switch things up for a gathering. My favorite little change is leaning into that cozy, rustic presentation.
Instead of the solid top crust, try cutting your dough into strips and weaving a lattice top. It lets the filling peek through while still protecting those lovely spices underneath. If you want to go full-on comfort mode, skip the top crust entirely and cover the apples with a buttery crumble topping instead—that’s your perfect Dutch apple pie variation!
Either way you top it, it’s going to be heavenly.
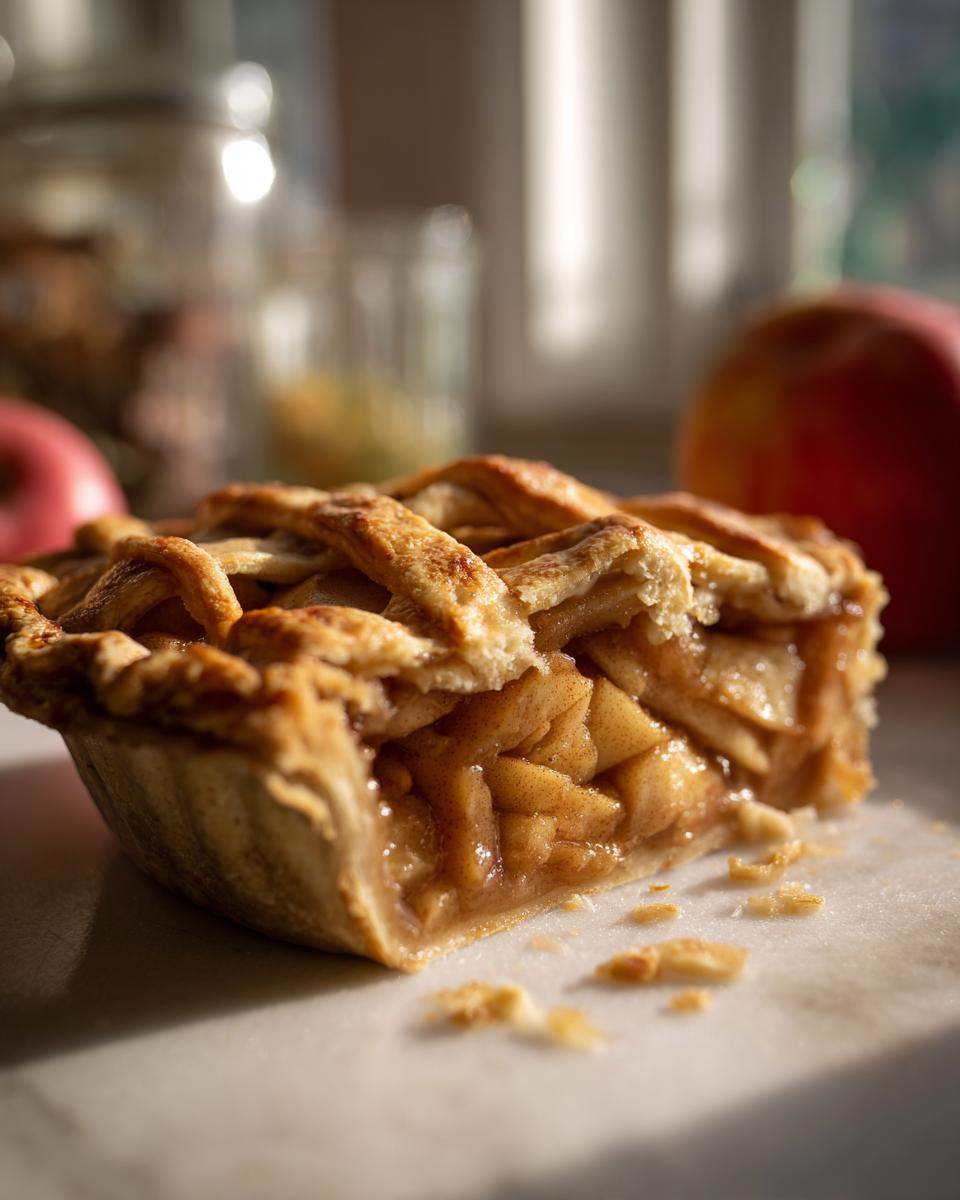
Serving Suggestions for This Apple Pie Recipe
You did it! You baked the best apple pie recipe, and now comes the best part: eating it! Honestly, a slice this good doesn’t need much, but I always feel like it deserves a little something extra, especially when serving it up warm after dinner. It’s the ultimate comfort food dessert, after all.
When I serve this pie, I always have two things ready. You absolutely have to pair a warm slice with a big scoop of good quality vanilla bean ice cream. The contrast between the warm, spiced apples and the cold creaminess? *Chef’s kiss!* If ice cream isn’t your thing, whipped cream that isn’t too sweet is another must-have. For even more dessert inspiration, check out my list of best dessert recipes!
Storage and Reheating Instructions for Apple Pie
So, you have leftover pie? Lucky you! This is one of those desserts that actually tastes pretty great the next day, too. Since we used a homemade crust and fresh apples, we need to be a little careful with how we store it compared to some of those super-sugary pies.
Generally, you can leave your finished pie right on the counter, loosely covered, for a full day. The sugar and acid in the filling act as a mild preservative. However, if you aren’t eating it the next day, definitely move it to the fridge. It will keep well for three to four days in there, tightly wrapped or covered.
When you are ready for a second helping, skip the microwave! It makes the crust soggy in a flash. The best way to reheat a slice is right in a toaster oven or a regular oven at about 350 degrees F until it’s warmed through and the crust crisps up again. That takes about 10 minutes. Pure happiness!
Frequently Asked Questions About This Apple Pie Recipe
It’s totally normal to have questions when you’re diving into a new apple pie recipe, especially one that focuses so much on technique! Baking pie can feel intimidating, but I promise, once you know these little secrets, you’ll feel like a pro. I’ve pulled some of the things I get asked most often about mastering this classic dish.
What are the best apples to use for a classic apple pie recipe?
A great classic apple pie recipe absolutely hinges on your apples! I always tell people you need a wonderful blend of textures and tastes. Don’t just use one kind. I love mixing tart Granny Smiths—they hold their shape beautifully—with something a little sweeter and softer, like Honeycrisp or Fuji. This mix keeps your filling from being way too sour or just tasting like sweet mush. It gives you great structure and that balanced bite!
Can I make the buttery pie dough ahead of time?
Yes, you totally can, and honestly, I recommend it! Making the buttery pie dough a day ahead is a lifesaver, especially if you’re juggling brunch and dinner plans. Just make sure you wrap those two disks tightly in plastic wrap and keep them well chilled in the fridge for up to two days. When you’re ready to bake, let them sit on the counter for maybe ten minutes just so they aren’t rock hard, but keep them cool!
How do I prevent the bottom crust from getting soggy in my apple pie recipe?
Soggy bottoms are the worst, aren’t they? It drives me crazy! For this apple pie recipe, my top tip, besides making sure the filling isn’t too wet, is to bake the pie on the lowest rack in your oven initially. That blast of heat hits the bottom crust hard and fast, helping it set up before the apple juices have time to soak in. Also, using a clear glass or metal pie plate helps because you can actually see the bottom browning!
For more ideas for chilly weather baking, check out my page on fall baking recipes!
Nutritional Estimate for This Apple Pie Recipe
Now, I’m not a nutritionist, so please take these numbers as a general guide—they are based on the recipe using one slice as a serving size. When you bake with real butter and all those lovely apples, you get real food! These estimates are perfect for when you’re just curious about what you’re eating, but honestly, the joy of this dessert is what really matters.
For a general idea of what’s in one slice, based on the ingredients listed:
- Calories: Around 450
- Fat: About 25g
- Carbohydrates: Roughly 55g
- Protein: Close to 5g
This information is just an estimate, of course, and the final numbers can change depending on how sweet your apples are or if you decide to add that extra pat of butter on top for browning! If you want to see another delicious, sweet option, you might want to check out this fun Apple Pie by Grandma Ople recipe idea!
Share Your Homemade Apple Pie Experience
Whew! We did it! You’ve baked a true classic, and I cannot wait to hear about it. Please, when you pull that gorgeous, golden pie out of the oven, snap a picture and show me how your apple pie recipe turned out!
Drop a comment below, tell me if you went lattice or crumble, and let me know how long it lasted in your house. Sharing our cooking triumphs is the best part of blogging! I’m so proud of you for tackling this recipe. You can always read a little more about my own kitchen adventures over on my About Page!
PrintThe Best Classic Homemade Apple Pie Recipe with Flaky Buttery Crust

Bake a traditional, comforting apple pie featuring a flaky, buttery crust and a perfectly spiced apple filling. This reliable recipe delivers the classic taste you remember.
- Prep Time: 45 min
- Cook Time: 65 min
- Total Time: 110 min
- Yield: 8 servings 1x
- Category: Dessert
- Method: Baking
- Cuisine: American
- Diet: Vegetarian
Ingredients
- 2 1/2 cups all-purpose flour
- 1 teaspoon salt
- 1 cup (2 sticks) cold unsalted butter, cut into cubes
- 1/2 cup ice water, plus more if needed
- 6–8 medium baking apples (like Granny Smith and Honeycrisp), peeled, cored, and sliced 1/4 inch thick
- 3/4 cup granulated sugar
- 1/4 cup packed light brown sugar
- 1 teaspoon ground cinnamon
- 1/4 teaspoon ground nutmeg
- 1/8 teaspoon ground allspice
- 2 tablespoons all-purpose flour (for filling)
- 1 tablespoon lemon juice
- 1 large egg, beaten (for egg wash)
- 1 tablespoon coarse sugar (for sprinkling)
Instructions
- Prepare the Crust: In a large bowl, whisk together 2 1/2 cups flour and 1 teaspoon salt. Cut in the cold butter cubes using a pastry blender or your fingers until the mixture resembles coarse crumbs with some pea-sized pieces of butter remaining.
- Gradually add ice water, one tablespoon at a time, mixing until the dough just comes together. Do not overmix. Divide the dough in half, form each half into a disk, wrap in plastic, and chill for at least 1 hour.
- Prepare the Filling: In a separate large bowl, combine the sliced apples, granulated sugar, brown sugar, cinnamon, nutmeg, allspice, 2 tablespoons of flour, and lemon juice. Toss gently until the apples are evenly coated.
- Assemble the Pie: On a lightly floured surface, roll out one dough disk into a 12-inch circle. Carefully transfer the dough to a 9-inch pie plate. Trim the edges, leaving a 1-inch overhang.
- Pour the apple filling into the crust. Dot the top of the apples with a few small pieces of leftover butter, if desired.
- Roll out the second dough disk for the top crust. Place it over the filling. Trim the top crust overhang to match the bottom. Crimp the edges to seal. Cut several slits in the top crust to allow steam to escape.
- Brush the top crust lightly with the beaten egg wash and sprinkle with coarse sugar.
- Bake: Preheat your oven to 425 degrees F (220 degrees C). Place the pie on a baking sheet to catch any drips. Bake for 15 minutes at 425 degrees F.
- Reduce the oven temperature to 375 degrees F (190 degrees C). Continue baking for 40 to 50 minutes more, or until the crust is golden brown and the filling is bubbly. If the edges brown too quickly, cover them loosely with foil.
- Cool: Let the pie cool on a wire rack for at least 3 hours before slicing and serving. This allows the filling to set properly.
Notes
- For the flakiest crust, keep your butter and water as cold as possible throughout the mixing process.
- Use a mix of sweet and tart apples for the best flavor balance in your filling.
- If you are short on time, you can substitute two store-bought pie crusts for the homemade dough.
Nutrition
- Serving Size: 1 slice
- Calories: 450
- Sugar: 35g
- Sodium: 250mg
- Fat: 25g
- Saturated Fat: 15g
- Unsaturated Fat: 10g
- Trans Fat: 0g
- Carbohydrates: 55g
- Fiber: 3g
- Protein: 5g
- Cholesterol: 60mg