
Oh, cookie decorating! Doesn’t it just make your heart sink when you spend all that time cutting out perfect shapes, only to have your icing slide right off or come out cracked and dull? I’ve been there more times than I care to admit when I was first learning. It’s honestly frustrating when you want that professional, glossy look! That’s exactly why I spent weeks testing and re-testing the foundational recipe for decorating. This isn’t just any frosting; this is my ultimate, rock-solid, beautiful *royal icing recipe*. It’s one of my most rigorously tested formulas here at Kings Cook, designed specifically for the home cook who just wants something that actually works beautifully, every single time, right out of the bowl.
- Why This Is the Best Royal Icing Recipe for Cookies
- Ingredients for Your Royal Icing Recipe Using Meringue Powder
- How to Make Royal Icing: Step-by-Step Instructions
- Coloring and Storing Your Royal Icing Recipe
- Troubleshooting Common Issues with Your Royal Icing Recipe
- Tips for Beginner Cookie Decorating Icing Success
- Frequently Asked Questions About This Royal Icing Recipe
- Nutritional Estimates for This Royal Icing Recipe
- Share Your Royal Icing Recipe Creations
Why This Is the Best Royal Icing Recipe for Cookies
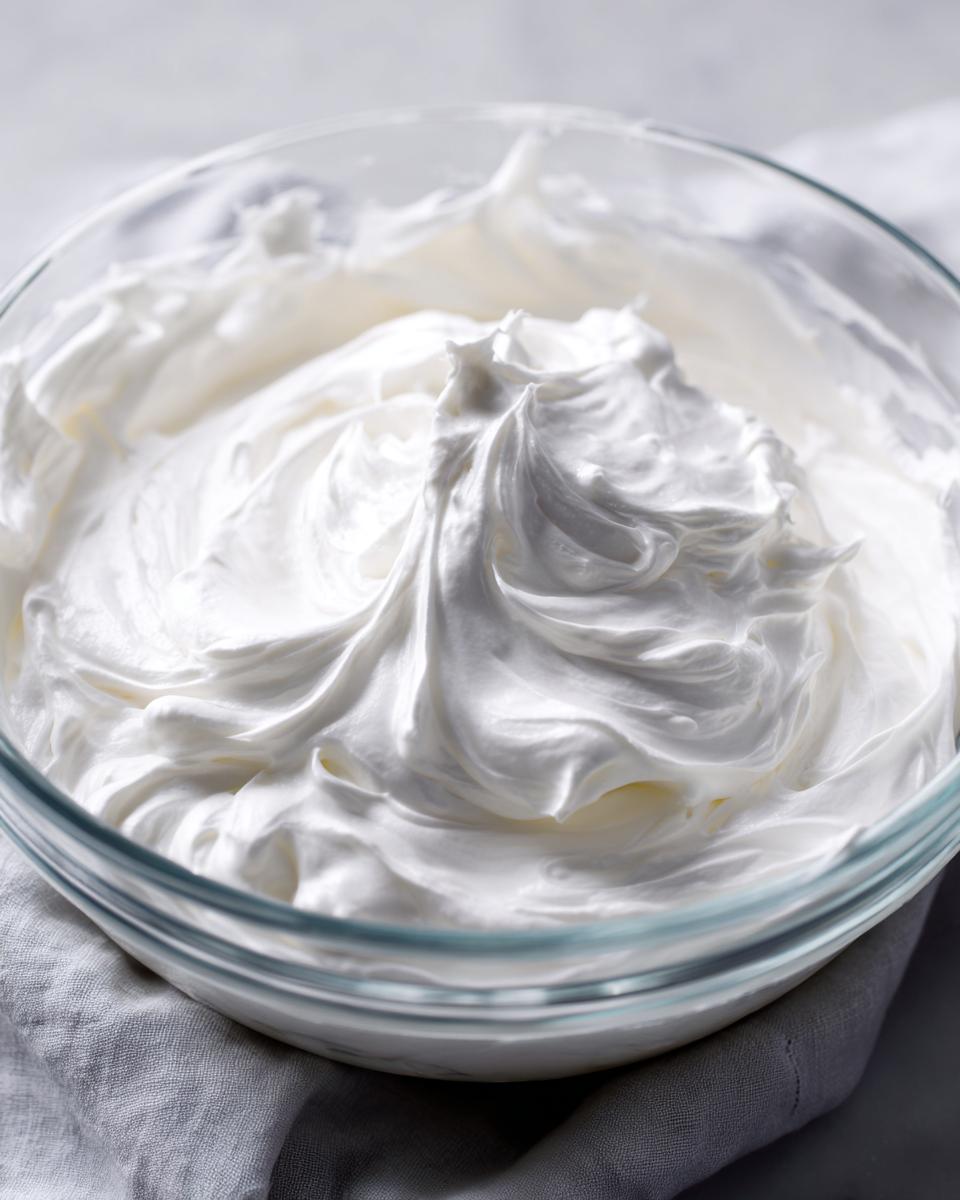
When I first started decorating, the thought of using raw egg whites terrified me. We’re making food for our families, right? That’s why this specific royal icing recipe uses meringue powder. It gives you that incredible stability you need for professional-looking cookies without any worry about salmonella. Trust me, this formula is my go-to because it delivers that flawless, glossy shine we all want, and it’s guaranteed to be an *icing that dries hard*.
It’s one of the secrets I share in my guide on decorating sugar cookies! This recipe is what I use when I know the cookies need to be stacked, boxed up, or shipped. It’s just the most reliable base I’ve found for consistent results.
Expert Tips for a Stable Royal Icing Recipe
The magic here is simplicity married with stability. Meringue powder is my absolute favorite substitute because it’s shelf-stable and eliminates the raw egg concern completely. For real insurance, I often toss in just a tiny pinch of cream of tartar—it keeps the icing from ever becoming gritty.
This little step helps ensure your piping remains crisp, even if the kitchen gets warm. It’s all about making sure your gorgeous cookie art stays put!
Ingredients for Your Royal Icing Recipe Using Meringue Powder
When you’re ready to start, pull out these components. I always sift the powdered sugar first; nobody wants little dusty lumps sneaking into their beautiful design! For this batch, you’ll need just a few things to whip up enough easy sugar cookie icing to cover about three dozen cookies.
- 3 tablespoons meringue powder
- 4 cups powdered sugar, sifted
- 6 tablespoons warm water
- 1 teaspoon clear vanilla extract (or other flavoring)
- 1/4 teaspoon cream of tartar (optional, for extra stability)
How to Make Royal Icing: Step-by-Step Instructions
Alright, now for the fun part—turning these simple ingredients into what looks like magic! The real muscle of this recipe comes from really whipping it up. This is the key to learning how to make royal icing that sets up just right. First, combine your meringue powder and the sifted powdered sugar in your largest bowl. Then, pour in that warm water and your vanilla extract.
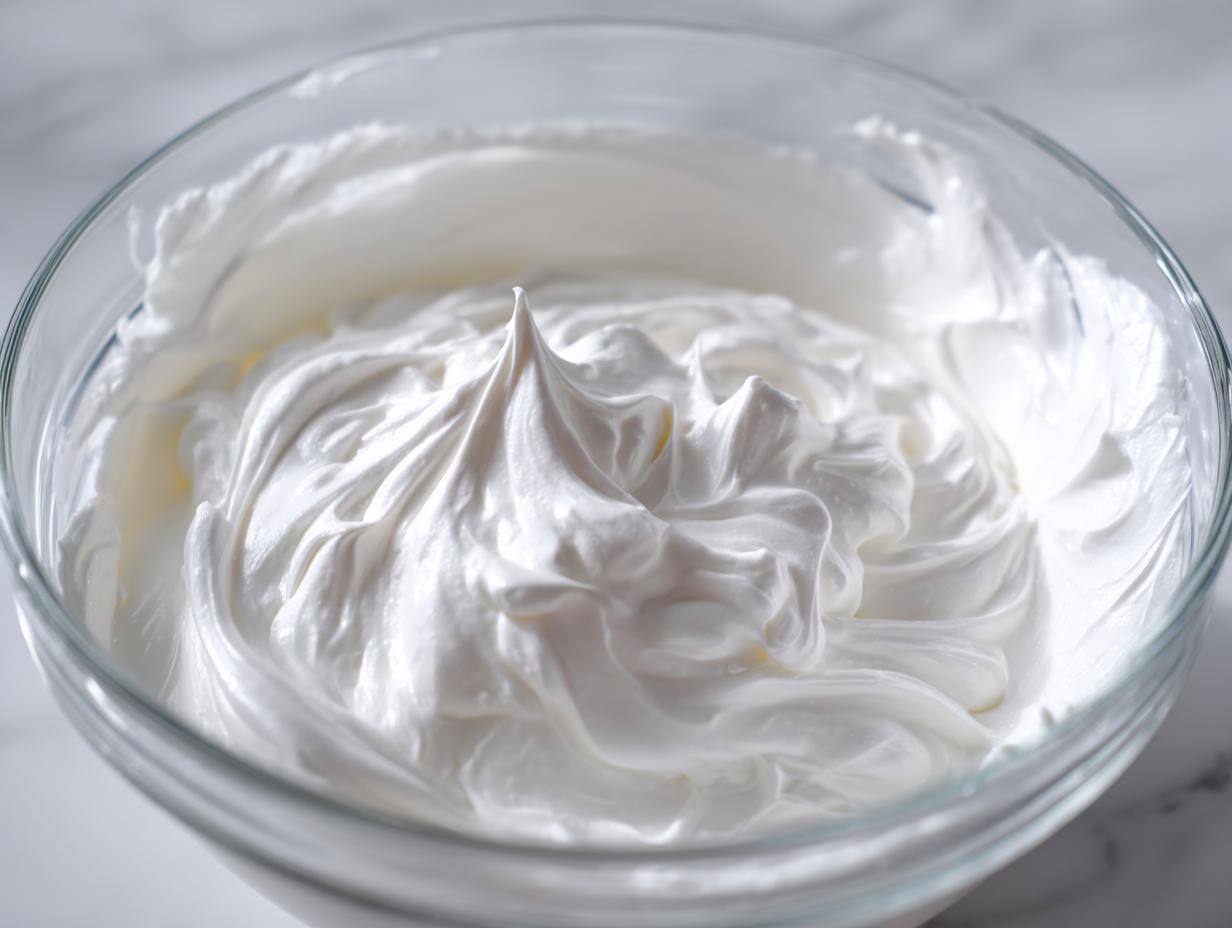
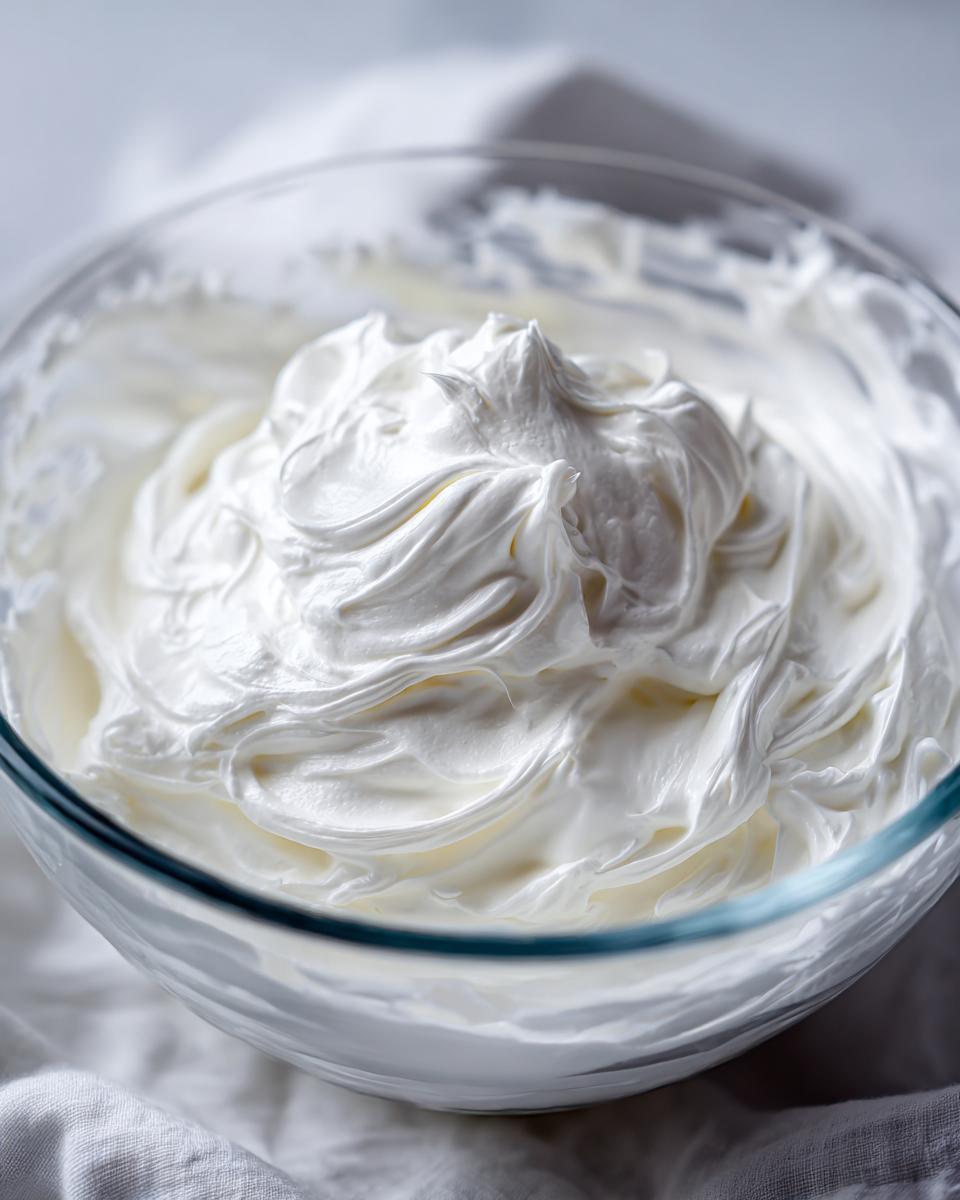
You have to commit to the mixing time here, seriously! Put your mixer on low speed until everything just gets acquainted. Then, crank that speed up to medium-high for a full 5 to 7 minutes. Don’t peek too early! That whipping motion traps all the air, and that air is what makes your royal icing recipe dry down rock hard and super glossy. You’ll know it’s ready when it looks impossibly thick and holds stiff peaks when you lift the whisk attachment. It should look smooth and almost luminous!
Achieving the Perfect Royal Icing Consistency
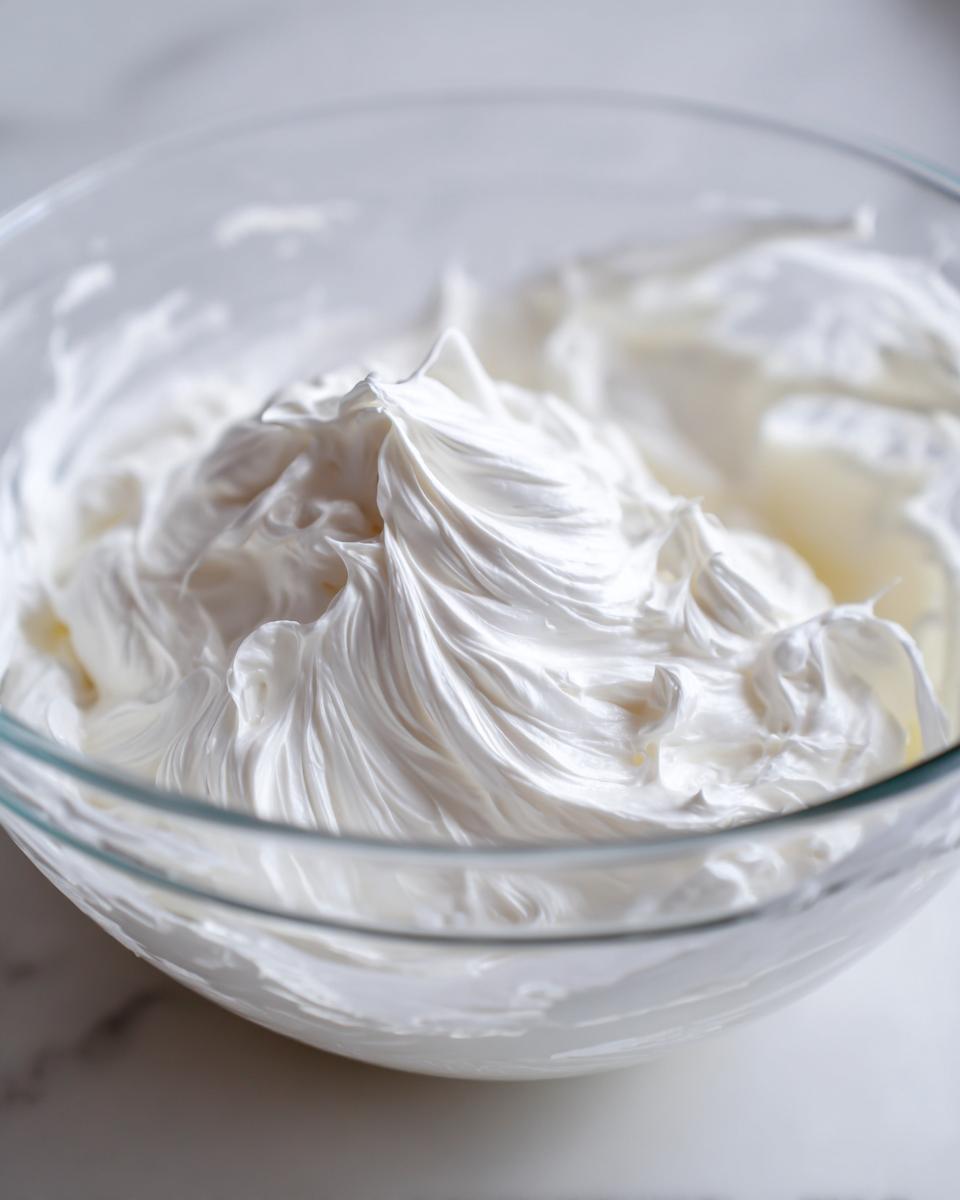
This is where most beginners get tripped up, but you won’t because I’m telling you the trick! The consistency you need depends entirely on what you are doing. If you’re just outlining your cookies—creating that border—you want your icing stiff, like the peaks you just saw. It should hold its shape perfectly when you pipe it.
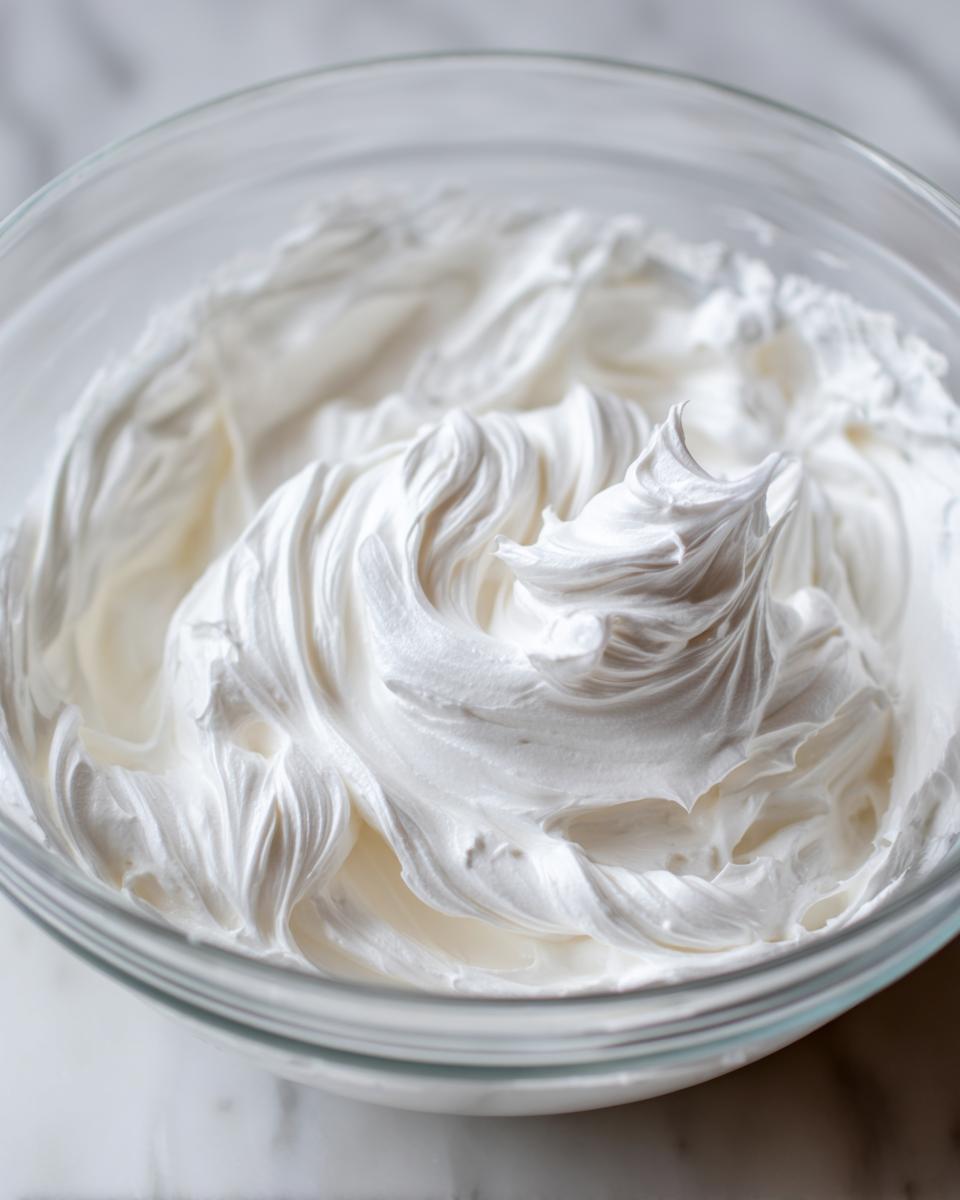
But for flooding? That requires thinning! This is crucial for that smooth look. You need the 10-second rule. Slowly drizzle in water, literally teaspoon by tiny teaspoon, mixing briefly after each drop. Once you lift your spatula, the ribbon of icing that falls back into the bowl should vanish completely within about 10 seconds. If it disappears instantly, it’s too thin! If it takes ages, it’s too thick. If you over-thin it (oops, happens to the best of us!), just whisk in a tablespoon of sifted powdered sugar until you’re back to that perfect 10-second flow. That’s how you guarantee a perfect royal icing consistency every darn time.
Coloring and Storing Your Royal Icing Recipe
Once you’ve nailed that incredible glossy royal icing consistency, the next thing you need to worry about is color! My biggest piece of advice here is to skip the liquid food dyes you buy at the grocery store. Seriously, don’t do it! Liquid coloring will thin out your beautiful stiff mixture, and we worked hard for that perfect set-up. You absolutely must use gel food coloring for vibrant color without messing up the texture.
Now, storage is everything if you want your colors to stay vibrant and your icing not to turn into a concrete block in the bowl. You need to cover every bowl you use—even if it’s just for five minutes—with plastic wrap. Make sure that wrap actually touches the surface of the icing! This blocks the air out completely and keeps that gorgeous, smooth finish from developing that dreaded crust.
Keep it all stored airtight at room temperature. Never, ever put this icing in the fridge! It hates the cold and will weep weird little water droplets all over your beautiful creations later on. Room temperature is the way to go for long-term stability.
Troubleshooting Common Issues with Your Royal Icing Recipe
Even with my best *royal icing recipe*, sometimes things go slightly sideways, right? That’s totally normal when you’re learning to decorate cookies! If your icing starts cracking as it dries, ninety-nine percent of the time it means your consistency was too thin when you flooded, or you didn’t use enough water/moisture in the original batch. That’s why I stress adding water slowly!
If you notice weeping—those yucky little puddles of water forming on top of your finished cookie—it almost always means the icing got refrigerated at some point, or maybe you used too much liquid flavoring. Remember, room temperature storage is key!
On the flip side, if your piping tip is suddenly getting clogged, don’t panic. It just means your icing seized up. Gently stir in half a teaspoon of water to loosen it up. We want that smooth, glossy finish from royal icing for cookies, and a little adjustment helps us get there!
Tips for Beginner Cookie Decorating Icing Success
If this is your first time tackling decorated cookies, I want to give you a gentle push to feel confident! Decorating is all about workflow. You should always start by outlining your cookie shape with a slightly stiffer mixture of this royal icing recipe. This border acts like a tiny dam. Once that outline is set for about 15 to 30 minutes, you come back with your thinned flood mixture. This two-step process is how you get those professional, smooth surfaces without the icing escaping over the edges!
Mastering Piping Icing Consistency
For those glorious outlines, you want to use the icing right after that big 7-minute whip—it’s your stiffest consistency, and it needs absolutely no extra thinning. This mixture should hold a sharp peak on your spatula. Load your piping bag carefully, making sure you push the icing right down to the very tip so there aren’t any air bubbles trapped near the opening. This solid base is what gives you perfect, clean lines for piping details later on.
Frequently Asked Questions About This Royal Icing Recipe
Why do I need to use meringue powder when I can use egg whites?
That’s a fair question! While you certainly can use fresh egg whites, my preference for this royal icing recipe is meringue powder for two big reasons: consistency and safety. The powder ensures you get *no raw egg royal icing*, which gives me peace of mind, especially when baking for larger crowds. Plus, it dissolves perfectly every time, meaning less chance of gritty icing.
How do I adapt this icing for flooding cookies?
Flooding requires thinning! After you’ve mixed your final batch of stiff icing, you just slowly add water, one tiny teaspoon at a time. You’re aiming for that ’10-second rule’ consistency. This means when you drizzle some off the spatula, it disappears back into the bowl in about 10 seconds. This technique is the absolute trick to learning how to flood cookies with royal icing smoothly!
My icing is drying too fast; what am I doing wrong?
If your icing is drying too quickly in the bowl—even before you get to decorating—it means the surface is being exposed to too much air. You must tightly cover your bowls! I push plastic wrap directly onto the icing surface. This blocks the air, keeps your frosting smooth, and maintains that glossy look. It saves your gorgeous batch from hardening into a useless lump!
Nutritional Estimates for This Royal Icing Recipe
Now, I know what some of you bakers are thinking—you want to know what’s in this beautiful stuff! While I focus on making things taste amazing and look professional, I always try to give you an honest estimate of what you’re working with. It’s important to know what you’re consuming, even if it’s just a thin layer on a cookie!
Keep in mind that these numbers are just estimates, drawn from the basic ingredients listed in the recipe. Since we all use slightly different brands of powdered sugar or vanilla, your final numbers might shift around a little bit. But this will give you a really good baseline understanding!
Here are the estimates based on a serving size of about 1/4 cup of the final mixed icing:
- Serving Size: 1/4 cup
- Calories: 180
- Sugar: 45g
- Sodium: 15mg
- Fat: 0g
- Protein: 1g
See? It’s mostly sugar, which is what makes it set up so beautifully hard! This icing isn’t something we eat by the bowlful, thank goodness, but it’s good to have this information on hand for tracking your beautiful holiday baking creations.
Share Your Royal Icing Recipe Creations
I truly hope this detailed guide demystifies making that perfect, smooth, hard-drying royal icing recipe for you! Honestly, seeing your creations is the best part of running Kings Cook. When you nail those flood fills or get those sharp piping lines, I want to hear about it!
Did you try this recipe for Christmas cookies or maybe for a special birthday batch? Please, don’t be shy! Come back here and leave a rating—even just five stars without a word lets me know this formula is working its magic for you. If you had any hiccups or triumphs, drop a comment below. I read every single one, and sharing those little wins helps build confidence for everyone else who is just starting out!
If you snap a picture of those gorgeous, glossy cookies, tag us on social media! Sharing photos is how we all celebrate those kitchen victories together. I can’t wait to see how you’ve made this base recipe your own. Let’s keep turning those “I can’t” baking moments into “I did!” moments!
PrintThe Ultimate Easy Royal Icing Recipe Using Meringue Powder
Make smooth, glossy royal icing that dries hard, perfect for decorating sugar cookies. This reliable recipe uses meringue powder for stability and is simple for beginners.
- Prep Time: 10 min
- Cook Time: 0 min
- Total Time: 10 min
- Yield: Covers approximately 3 dozen medium cookies 1x
- Category: Baking
- Method: Mixing
- Cuisine: American
- Diet: Vegetarian
Ingredients
- 3 tablespoons meringue powder
- 4 cups powdered sugar, sifted
- 6 tablespoons warm water
- 1 teaspoon clear vanilla extract (or other flavoring)
- 1/4 teaspoon cream of tartar (optional, for extra stability)
Instructions
- In a large bowl, combine the meringue powder and sifted powdered sugar.
- Add the warm water and vanilla extract to the dry ingredients.
- Using an electric mixer fitted with a whisk attachment, start mixing on low speed until the ingredients are just combined.
- Increase the speed to medium-high and beat for 5 to 7 minutes until the icing is very thick, glossy, and holds stiff peaks. This whipping process incorporates air, which helps the icing dry hard.
- Check the consistency. For piping outlines, the icing should be stiff. For flooding, add water one teaspoon at a time until the icing flows smoothly and settles back into itself in about 10 seconds (the 10-second flood consistency).
- Divide the icing into separate bowls if you plan to color it. Add gel food coloring sparingly and mix until smooth.
- Cover the icing bowls with plastic wrap, pressing the wrap directly onto the surface of the icing to prevent a crust from forming.
- Use immediately for decorating cookies, or store covered at room temperature for up to two weeks.
Notes
- To achieve the 10-second flood consistency, slowly add water until a ribbon of icing dropped back into the bowl disappears in about 10 seconds.
- If the icing becomes too thin, add a small amount of sifted powdered sugar to thicken it.
- Always use gel food coloring for vibrant colors without thinning the icing consistency.
- Store unused icing airtight at room temperature; do not refrigerate, as this can cause the icing to weep.
Nutrition
- Serving Size: 1/4 cup
- Calories: 180
- Sugar: 45
- Sodium: 15
- Fat: 0
- Saturated Fat: 0
- Unsaturated Fat: 0
- Trans Fat: 0
- Carbohydrates: 45
- Fiber: 0
- Protein: 1
- Cholesterol: 0