
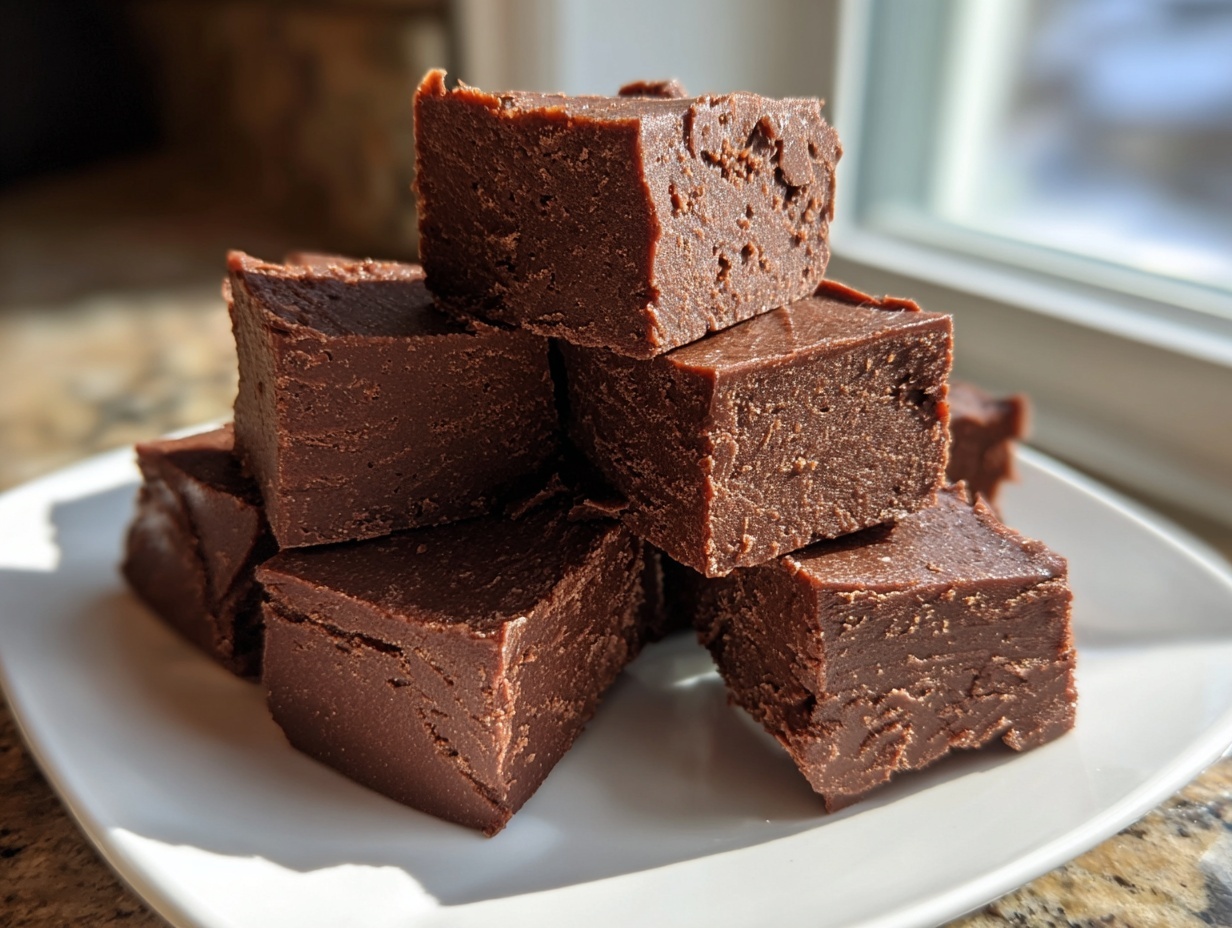
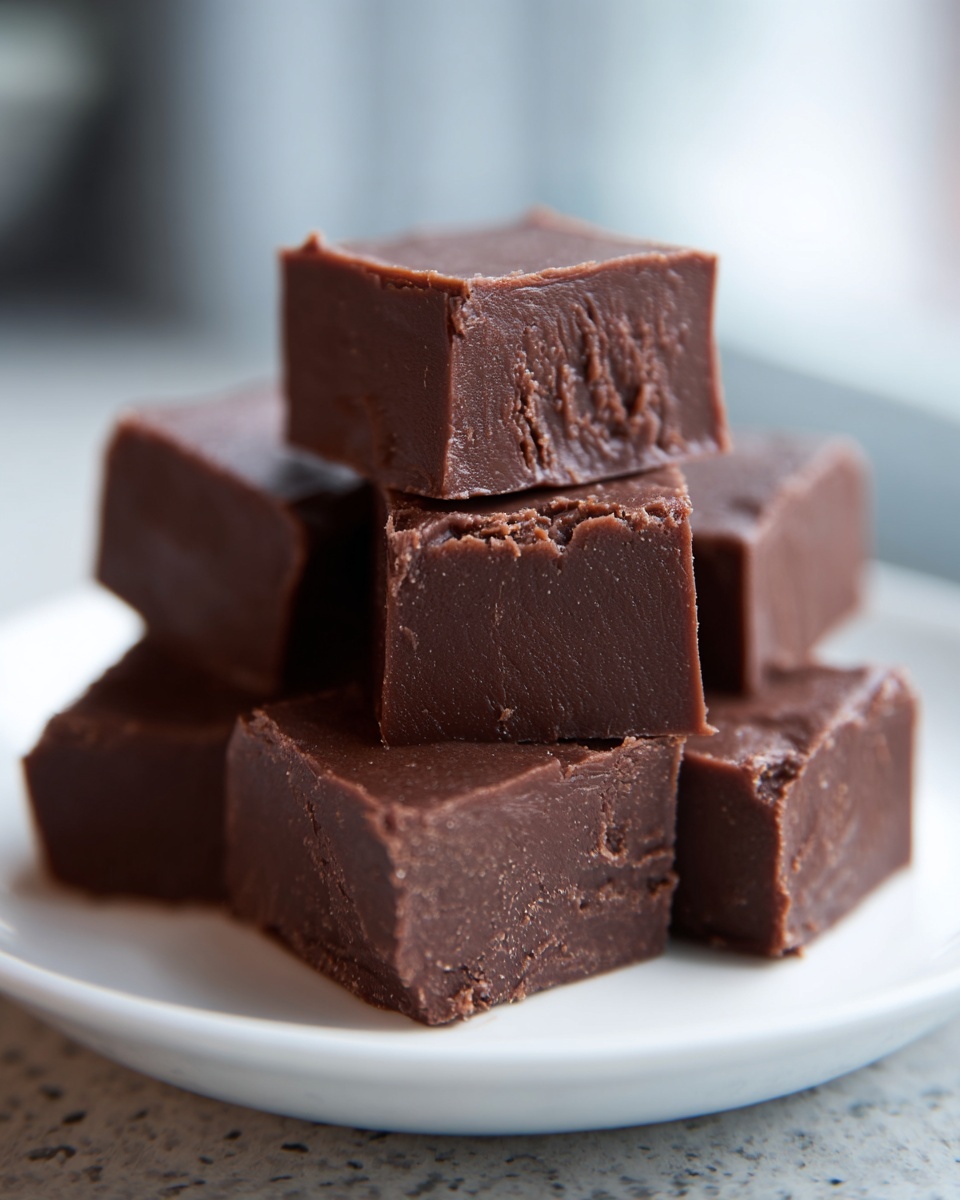
Oh, fudge! Is there anything more decadent and satisfying than that perfect, melt-in-your-mouth square of chocolate and peanut butter combined? I certainly don’t think so. If you’ve ever felt intimidated by making smooth, creamy fudge because of all those confusing candy-making instructions, I have thrilling news for you. This **chocolate peanut butter fudge recipe** is the easiest, most reliable one you will ever need—we are skipping the scary candy thermometer entirely!
This combination of rich, bittersweet chocolate meeting salty, sweet peanut butter is pure magic. It’s my absolute go-to when I need a truly decadent treat fast, whether it’s for a last-minute bake sale or just a terribly necessary Tuesday moment. I baked this recipe dozens of times across different types of stovetops and different brands of chocolate chips just to ensure the texture is absolutely flawless every time you try it. Say hello to your new favorite no-bake dessert!
- Why This is the Best Homemade Fudge Instructions for You
- Gathering Ingredients for Your Chocolate Peanut Butter Fudge Recipe
- How to Prepare Your Easy Chocolate Peanut Butter Fudge
- Tips for Success with Your Chocolate Peanut Butter Fudge Recipe
- Storing Your Creamy Chocolate Fudge Recipe Leftovers
- Variations on the Classic Chocolate Peanut Butter Fudge Recipe
- Frequently Asked Questions About This Chocolate Peanut Butter Fudge Recipe
- Estimated Nutritional Data for This Simple Stovetop Fudge
- Share Your Homemade Chocolate Peanut Butter Fudge Creation
Why This is the Best Homemade Fudge Instructions for You
Honestly, as someone who aims to bring you reliable recipes, I get why folks avoid fudge. It sounds fussy, right? But I promise you, this is the definition of **easy chocolate peanut butter fudge**. We keep the required steps minimal so you can get that glorious flavor without all the fuss.
When you follow these **perfect fudge texture secrets**, you get something truly wonderful. Look:
- It’s completely grab-and-go friendly since it’s a **no bake peanut butter fudge** once the melting is done!
- You need just five simple ingredients—no specialty candy thermometer required, ever.
- The result? A decadent square that is impossibly creamy but still sets up firm enough to cut cleanly.
Quick Preparation and Simple Stovetop Fudge Method
This recipe is brilliant for busy days. Seriously, your active time here is nothing! We’re looking at a total prep time of just 10 minutes, and the actual stovetop time is only about 5 minutes. It’s the ultimate **simple stovetop fudge** technique. Once it sets up in the fridge, you are golden. If you want more creamy inspiration, I have a fantastic pure peanut butter fudge recipe too!
Gathering Ingredients for Your Chocolate Peanut Butter Fudge Recipe
Okay, gathering supplies for this **chocolate peanut butter fudge recipe** is the absolute easiest part, which is part of why I love it so much. We are using pantry-stable staples here, things you probably already have on hand for treats. When you see that list below, notice how specific I am—that’s my promise to you for great results; no funny business!
This recipe delivers that **rich chocolate peanut butter dessert** flavor without needing you to run to a specialty store. Precision matters when we’re cooking with chocolate and condensed milk, so please grab exactly what the list calls for when you measure out your portions!
You can check out my recipe for easy Oreo fudge if you want another simple spin on this dessert idea!
Ingredient Notes and Substitutions for Rich Chocolate Peanut Butter Dessert
A few quick notes on making sure this turns out exactly how you want it. Since we aren’t baking, the quality and type of your ingredients make a huge difference in that final texture we talked about earlier.
If you want that fun, professional-looking **peanut butter swirl fudge**, here’s what you do: Before you pour the chocolate mixture into the pan, take just a quarter cup of your creamy peanut butter and warm it up in the microwave for maybe 15 seconds until it’s runny. Drizzle that over the top and use a knife to gently pull lines through the chocolate. It looks fancy but takes two seconds!
Also, if semi-sweet chocolate isn’t your favorite, you can absolutely use milk chocolate chips for a sweeter result, making it a lovely **milk chocolate peanut butter fudge guide** entry. Just remember, the milk chocolate might be slightly softer when fully set compared to the semi-sweet version.
How to Prepare Your Easy Chocolate Peanut Butter Fudge
Alright, let’s get down to business! While this is a **no bake peanut butter fudge**, the preparation step (melting everything nicely) is where we guarantee that perfect texture. Grab a square 8×8 inch baking pan first. I want you to line it with parchment paper, making sure you leave some decent overhang on two sides. This is crucial, trust me! It acts like built-in handles so you can lift the whole delicate slab out later without stressing about breaking it.
Next, grab your medium saucepan—make sure it’s heavy-bottomed so the heat spreads evenly. Pop in the sweetened condensed milk and your chocolate chips. Now, keep the heat on low. This is so important when working with chocolate! You need to stir constantly until those chips are totally gone and the mixture is gorgeous and smooth. If it boils, you risk seizing or scorching the chocolate, and oops, that ruins the texture we worked so hard to achieve!
Once smooth, pull that pan right off the burner immediately. Now we fold in the peanut butter, vanilla, and that tiny pinch of salt. Stir until everything vanishes into that rich base. If you want to see this process in action, I have a great tutorial on easy fudge brownies that uses a similar melting technique!
Achieving Perfect Fudge Texture Secrets: Melting and Mixing
The success of this recipe hinges on how smoothly you melt the chocolate. Low and slow is the mantra here. Never rush the chocolate; it gets grumpy when it’s overheated! Once the chocolate is liquid, integrating the peanut butter is the next critical checkmark for those **perfect fudge texture secrets**. You need to keep stirring until you see zero streaks of peanut butter remaining. I mean zero! If you pour it in while it’s streaky, you’ll end up with patches of hard peanut butter instead of that uniformly creamy goodness.
Setting and Cutting the Decadent Chocolate Peanut Butter Squares
Once you’ve poured that beautiful **rich chocolate peanut butter dessert** mixture into your prepared pan and spread it flat, it’s time for patience. Put the pan into the refrigerator and let it chill for at least two hours. This chilling process is what firms up the fudge so nicely! When it’s ready, remember those parchment paper handles we made? Use them to lift the entire block onto a cutting board. This is how we turn it into those lovely **decadent chocolate peanut butter squares** without smashing the edges.
Tips for Success with Your Chocolate Peanut Butter Fudge Recipe
Even though this is the most straightforward **chocolate peanut butter fudge recipe** out there, sometimes things just happen in the kitchen, right? Don’t panic if yours looks a little wonky when you pull it out of the fridge. I’ve got a few little secrets here that will help you troubleshoot and ensure this turns out perfectly luxurious every time.
If you find your fudge isn’t setting up quite as firmly as you’d like—maybe it feels a little too soft or tacky—it usually just needs more time in the cold. Pop it back in the fridge for an extra hour, or even transfer it to the freezer for 20 minutes. Since this is a **simple stovetop fudge** made without the complicated sugar heating process, chilling is exactly what gives us that structure!
Here are a few extra pointers that have helped me over the years, especially when I’m making large batches for holiday gifting. You can find even more handy ideas in my post about holiday fudge making tips!
- Cutting Precision: For the cleanest edges on your **decadent chocolate peanut butter squares**, try heating your knife blade under hot water between cuts. Wipe it dry before slicing. The slightly warmed edge glides through the creamy fudge without dragging or sticking.
- Storage Lifespan: Don’t worry about making too much! This kind of fudge keeps beautifully. Store it in an airtight container at room temperature (cool spot preferred) for up to a week. If your kitchen runs warm, the fridge is your friend to keep it firm.
- The Salt Factor: That touch of salt I listed in the ingredients might seem small, but it’s vital. It cuts through the intense sweetness of the condensed milk and chocolate, making the peanut butter flavor actually *pop*. Don’t skip it, especially if you want a truly **rich chocolate peanut butter dessert** experience!
Storing Your Creamy Chocolate Fudge Recipe Leftovers
Phew! If you managed not to eat the entire batch of this **chocolate peanut butter fudge recipe** right after cutting it, that’s impressive! Now, we have to talk about storage, because nobody wants semi-soft fudge sticking to everything in their Tupperware drawer.
The good news is, since we used shelf-stable ingredients like the sweetened condensed milk and chocolate chips—and because we aren’t dealing with fresh cream like some fancier fudge recipes—this keeps so well. You have two great options depending on what you prefer!
For keeping it fresh for up to a week, you can store your **creamy chocolate fudge recipe** squares in a completely airtight container right on the counter. I prefer a cool, dark pantry shelf if possible. It stays soft enough this way, which is lovely for snacking.
However, if your kitchen runs warm, or if you made a huge batch and need it to last longer than a week, the refrigerator is the place to be. Just pop those squares into a sealed container. They will firm up a bit more due to the cold, which some people actually prefer! If you store it cold, it easily lasts two weeks, sometimes even longer, as long as it stays sealed up tight.
Variations on the Classic Chocolate Peanut Butter Fudge Recipe
While I truly believe this basic **chocolate peanut butter fudge recipe** is perfection as written—it hits that creamy, salty-sweet balance we all crave—I know you folks love to play around in the kitchen! And that’s fantastic! Customizing recipes is where the real joy of cooking comes in. Think of this foundation as your launchpad for endless decadent creations.
The absolute easiest way to switch things up is by playing with the chocolate base. If you are more of a dark chocolate enthusiast, swapping the semi-sweet chips for a good quality dark chip (aiming for 60% to 70% cacao) gives you a much deeper, less sweet **rich chocolate peanut butter dessert**. That bitterness really makes the peanut butter sing, which I love on a cold evening!
And speaking of peanut butter—we already talked about how to create that gorgeous **peanut butter swirl fudge** effect during the pouring stage, didn’t we? If you prefer a thicker peanut butter layer rather than a swirl, you can layer it! Pour half the chocolate mixture, top with warmed peanut butter, pour the rest of the chocolate on top, and then swirl quickly before chilling. It gives you that spectacular visual contrast when you finally slice into those **decadent chocolate peanut butter squares**.
If you want to try making amazing peanut butter cookies soon, check out my favorite peanut butter cookies recipe for a baking project!
For those who like a little texture crunch in their sweets, don’t be afraid to fold in some extras right before you pour it into the pan, treating it just like a **simple stovetop fudge**. About a half cup of chopped roasted peanuts or mini chocolate chips works wonders. Just remember, too many additions can sometimes make the fudge slightly less smooth, so keep your add-ins minimal!
Frequently Asked Questions About This Chocolate Peanut Butter Fudge Recipe
I know when you’re trying a new **chocolate peanut butter fudge recipe**, you might have a few lingering questions about ingredients or texture. That’s totally normal! Cooking should feel empowering, not scary, so I’ve gathered up the most common things I hear so we can tackle them together right here. I want you to feel 100% confident before you even turn on the stove!
If you’re really committed to avoiding the condensed milk for some reason, I actually have a whole guide on a quick fudge recipe no condensed milk version, but honestly, for this specific ease and texture, this recipe is the champion.
Is this a true no bake peanut butter fudge?
Yes, that’s one of the best parts! When people ask me for an **easy chocolate peanut butter fudge**, this is what I direct them to. You are not doing any temperature management that requires a candy thermometer. We use the stovetop just long enough to gently melt the chocolate chips until they combine smoothly with the condensed milk. After that point, it’s all about stirring, pouring, and waiting for the refrigerator to work its magic. It’s truly a **no bake peanut butter fudge** in execution, even though you use heat for the initial melt!
What is the best way to store this rich chocolate peanut butter dessert?
Keeping your squares perfect is easy! Since this is a dense, cooked and chilled fudge (not like a super soft, melt-on-your-counter truffle), it holds up beautifully. For short-term enjoyment—say, within a week—I just stack the squares between layers of wax paper in an airtight container and keep it somewhere cool, like a pantry. If your kitchen tends to get warm, or if you want to preserve that **creamy chocolate fudge recipe** texture for longer, definitely store it in the refrigerator. It’ll be extra firm there, but still delicious when allowed to sit out for about 15 minutes before serving!
My homemade fudge seems too soft after chilling. What did I do wrong?
Don’t lose heart! This is a super common issue, though rare with this fool-proof formula. Usually, if your **creamy chocolate fudge recipe** or **rich chocolate peanut butter dessert** is too soft, it means one of two things happened: either the ratio of milk to chocolate was slightly off, or it simply didn’t chill long enough. If it’s only slightly soft, just pop it back into the fridge for a few more hours! If it seems quite sticky, next time you want **perfect fudge texture secrets**, make sure you are using the exact size can of condensed milk listed. Every little bit matters in fudge!
Estimated Nutritional Data for This Simple Stovetop Fudge
Now, let’s talk numbers for a moment. I always try to keep you informed, but please take this information with a grain of salt—or maybe a sprinkle of salt for flavor, since we definitely need that in this fudge!
Since this is a rich, sweet treat, it’s best enjoyed in moderation, but seeing the breakdown can sometimes help when planning out your week. These figures are estimates based on the standard ingredients listed in our **chocolate peanut butter fudge recipe**, assuming we cut the batch into 36 squares:
- Serving Size: 1 square
- Calories: 135
- Fat: 8g
- Carbohydrates: 15g
- Protein: 3g
- Sugar: 15g (Yes, that’s fudge for you, but it’s worth every bite!)
We’re looking at 3g of protein from the peanut butter, which is nice, but these are definitely designed for satisfying that sweet craving! This data applies to our standard batch of **creamy chocolate fudge recipe**. Remember, if you deviate wildly by adding extra drizzles or extra toppings, your counts will change!
Share Your Homemade Chocolate Peanut Butter Fudge Creation
I genuinely hope you enjoyed making this incredible, foolproof **chocolate peanut butter fudge recipe**! Seeing your successes is honestly the best part of running Kings Cook. I put my heart into testing this so you wouldn’t have to worry, and now I can’t wait to hear how your **decadent chocolate peanut butter squares** turned out!
When you finish slicing and taste-testing, please take a moment to leave a quick rating right down in the comments section below. Five stars means I succeeded in my mission to bring you the best! Tell me if you tried the peanut butter swirl variation, or if you stuck to that classic, uniform look.
I’m always curious how you serve up these rich treats! Did you eat them all on their own, or did you pair them with something? Maybe you served them alongside my collection of best dessert recipes for a truly epic spread? Let me know! Your experience helps the next person feel confident trying this out.
Happy cooking, and I’ll see you in the comments section!
PrintEasy Chocolate Peanut Butter Fudge Recipe
Learn how to make rich, creamy chocolate peanut butter fudge with this simple, no-bake recipe. This guide gives you the best homemade fudge instructions for perfect texture every time.
- Prep Time: 10 min
- Cook Time: 5 min
- Total Time: 15 min
- Yield: 36 servings 1x
- Category: Dessert
- Method: Stovetop
- Cuisine: American
- Diet: Vegetarian
Ingredients
- 1 (14 ounce) can sweetened condensed milk
- 1 (12 ounce) package semi-sweet chocolate chips
- 1 cup creamy peanut butter
- 1 teaspoon vanilla extract
- 1/2 teaspoon salt
Instructions
- Line an 8×8 inch baking pan with parchment paper, leaving an overhang on two sides for easy removal. Lightly grease the paper.
- In a medium, heavy-bottomed saucepan, combine the sweetened condensed milk and chocolate chips.
- Heat the mixture over low heat, stirring constantly until the chocolate chips are completely melted and the mixture is smooth. Do not let it boil.
- Remove the saucepan from the heat. Stir in the peanut butter, vanilla extract, and salt until fully combined and smooth. This is your rich chocolate peanut butter dessert base.
- Pour the fudge mixture into the prepared pan. Spread it evenly using an offset spatula.
- Refrigerate for at least 2 hours, or until the fudge is firm enough to cut.
- Use the parchment paper overhang to lift the fudge out of the pan. Place it on a cutting board.
- Cut the fudge into 1-inch squares. Store leftovers in an airtight container at room temperature or in the refrigerator.
Notes
- For a peanut butter swirl fudge effect, reserve 1/4 cup of creamy peanut butter. After spreading the chocolate mixture in the pan, warm the reserved peanut butter slightly (about 15 seconds in the microwave) and drizzle it over the top. Use a knife to gently swirl the peanut butter into the chocolate layer.
- If you prefer a milk chocolate peanut butter fudge, substitute milk chocolate chips for the semi-sweet chips.
- This recipe creates a classic two layer fudge look if you layer the peanut butter mixture on top of the chocolate layer, but for simplicity, this recipe combines them for a uniform flavor.
Nutrition
- Serving Size: 1 square
- Calories: 135
- Sugar: 15
- Sodium: 65
- Fat: 8
- Saturated Fat: 3
- Unsaturated Fat: 5
- Trans Fat: 0
- Carbohydrates: 15
- Fiber: 1
- Protein: 3
- Cholesterol: 5