
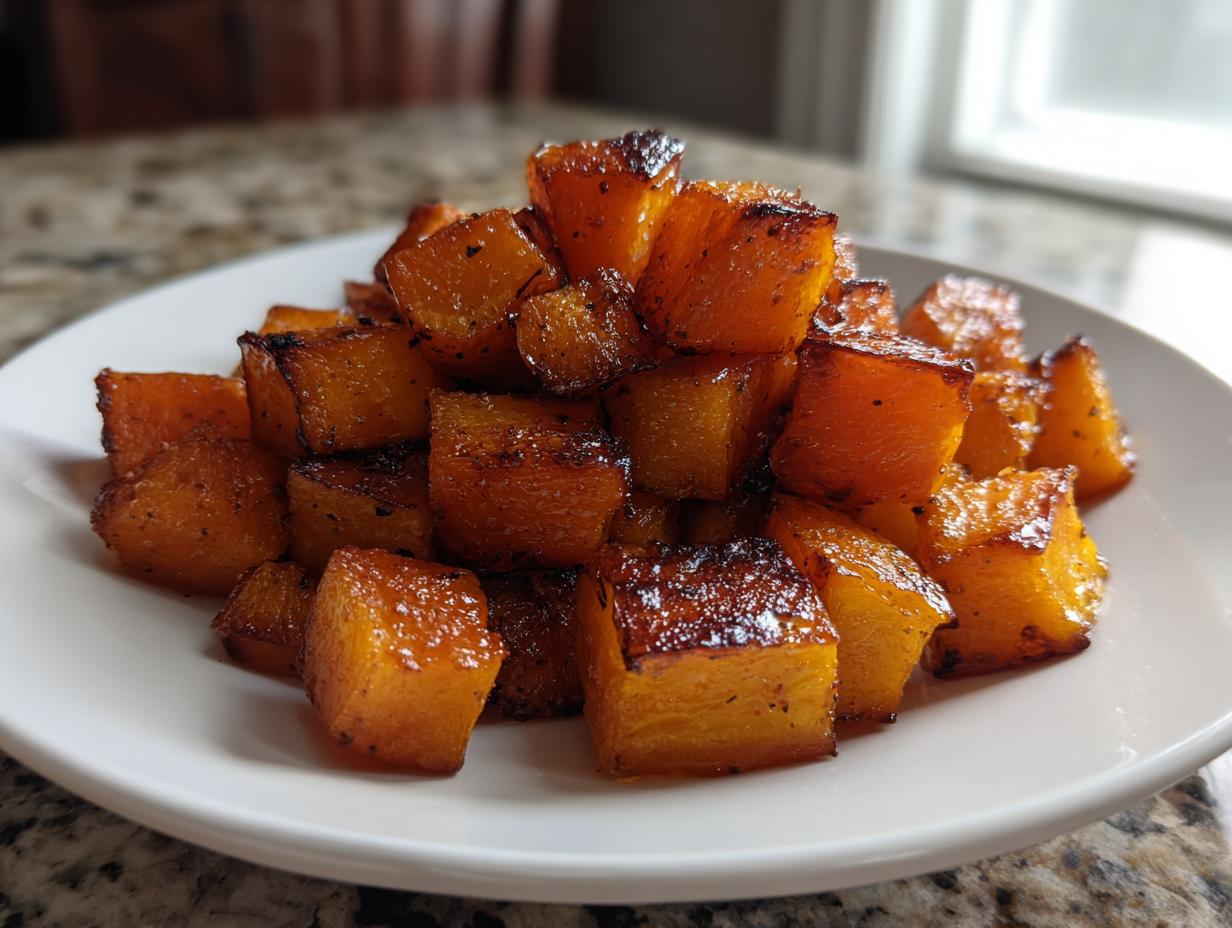
It’s so easy to get stuck serving the same tired steamed carrots or plain green beans when you need a quick side dish. But trust me, when fall hits, you deserve something that feels both incredibly easy and totally spectacular! That’s why I perfected this ultimate easy oven roasted butternut squash method. We’re talking tender cubes with those amazing, dark, caramelized edges—and the best part? It’s ready in about 30 glorious minutes. I’ve tested this specific roasted butternut squash recipe dozens of times to make sure it’s foolproof for your busy schedule. This isn’t just some random recipe; this roasted veggie is my absolute go-to for weeknight dinners that feel special.
- Why This Roasted Butternut Squash Recipe Delivers (EEAT Focus)
- Ingredients for the Ultimate Roasted Butternut Squash
- How to Prepare Roasted Butternut Squash: Step-by-Step Instructions
- Flavor Variations for Your Roasted Butternut Squash Recipe
- Tips for Perfect Caramelized Butternut Squash Cubes
- Serving Suggestions for Your Butternut Squash Dinner Side
- Storage and Reheating Instructions for Roasted Butternut Squash
- Frequently Asked Questions About Roasted Butternut Squash
- Nutritional Snapshot of This Simple Butternut Squash Side Dish
Why This Roasted Butternut Squash Recipe Delivers (EEAT Focus)
I know you’ve tried roasting squash before, and maybe it turned out a little mushy or unevenly cooked. I promise you, this method is different because I focused purely on what makes roasted butternut squash the ultimate side dish: texture and speed. I’ve worked out the kinks so you don’t have to!
- It’s one of those delicious side dishes that looks elegant but takes almost no effort.
- It consistently produces that beautiful sweet and savory squash flavor everyone loves.
- This recipe is built for success, meaning you get perfectly roasted vegetables almost every single time.
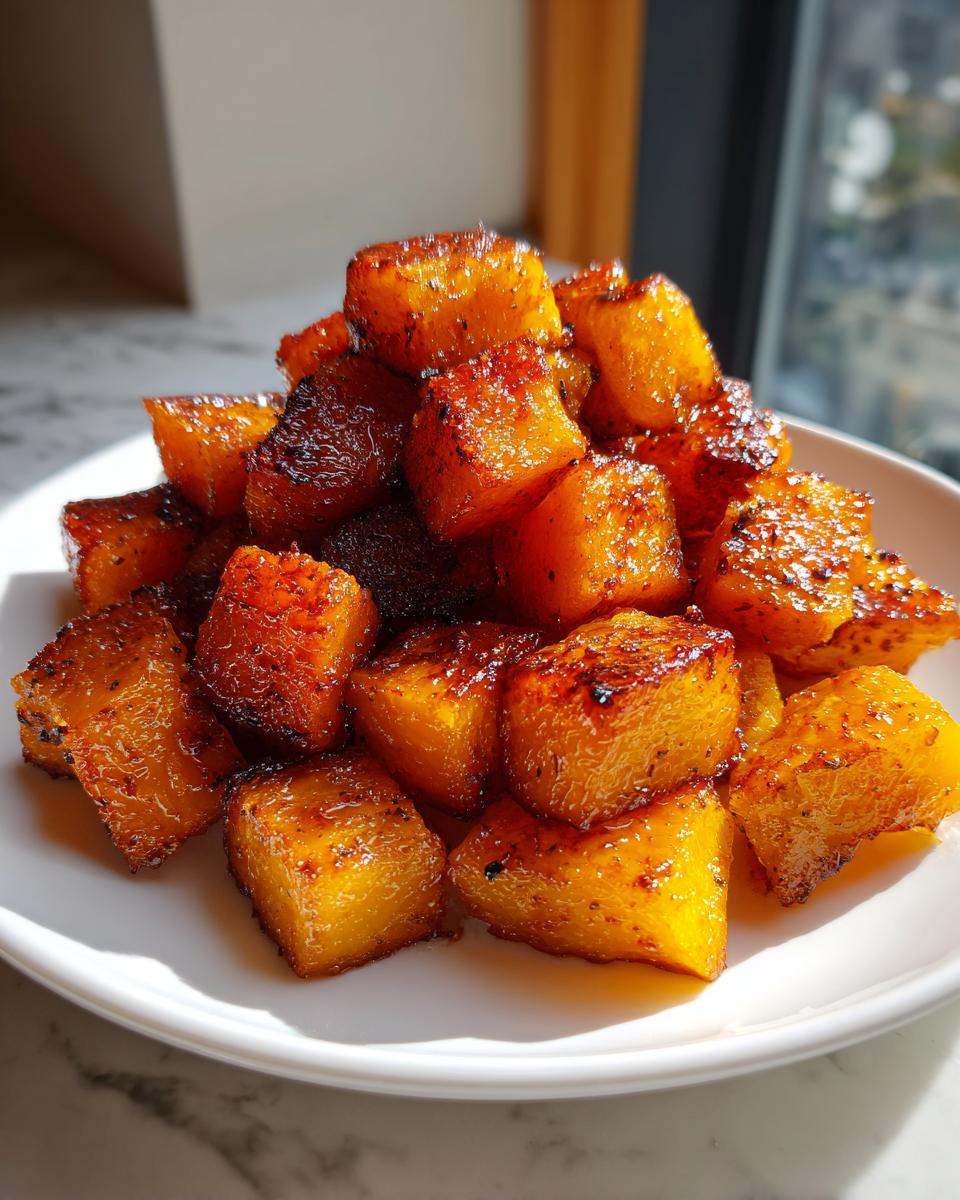
Achieving Caramelized Butternut Squash Cubes
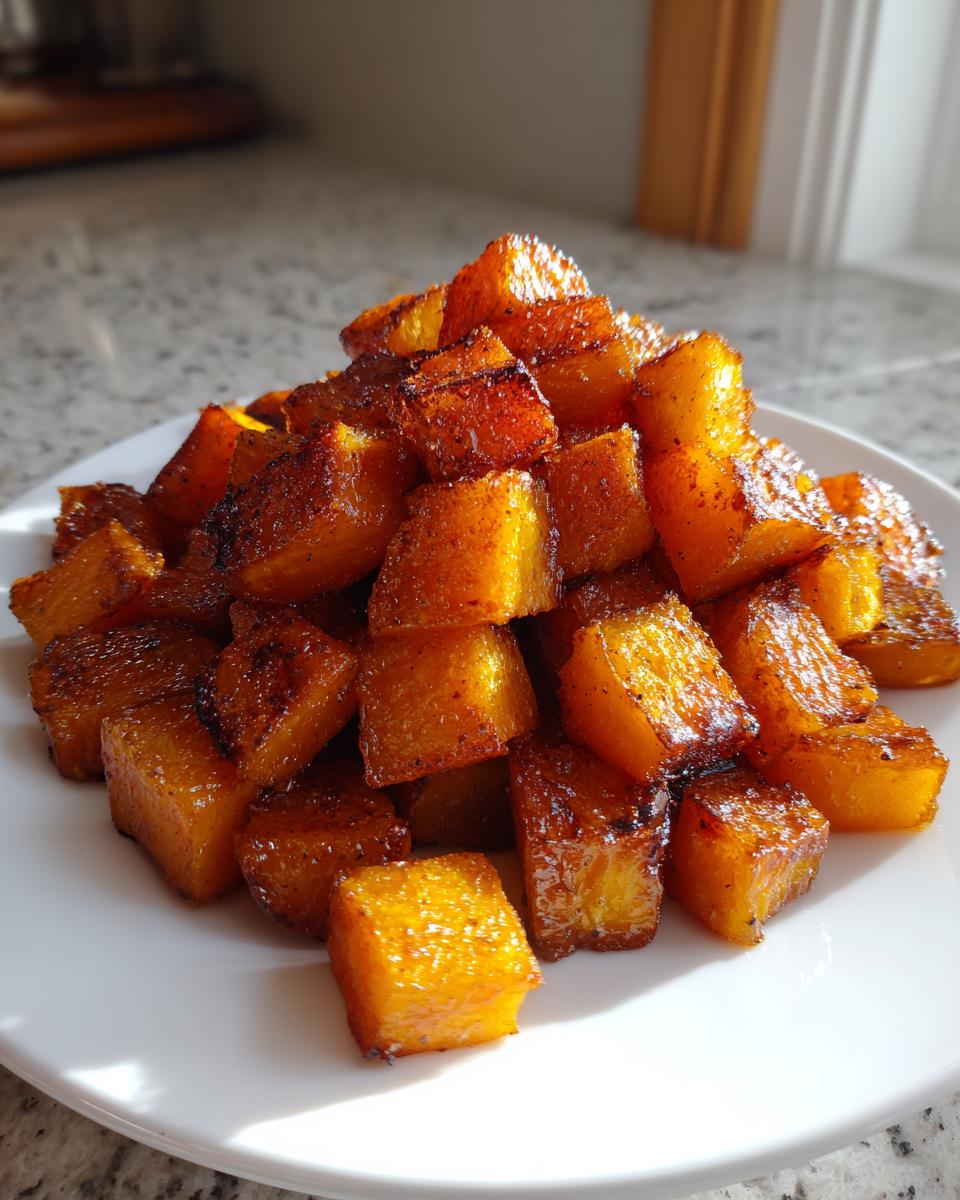
The secret to getting those amazing dark, slightly chewy edges is high heat, plain and simple. We ramp the oven way up to 400°F! This high temperature evaporates the surface moisture super fast, letting the natural sugars in the squash really toast and brown. Honestly, this is the best way to roast butternut squash for that addictive, caramelized crunch on the outside while keeping the middle wonderfully soft.
Quick Vegetable Side Dish Ready in Under 40 Minutes
Time is everything, right? That’s why I love this as a go-to for butternut squash for weeknight meals. Your prep time is only about 10 minutes—just chopping and tossing! Then, into the oven it goes for just 30 minutes. Forty minutes total for the entire process! It’s truly a quick vegetable side dish that beats anything microwaved, hands down.
Ingredients for the Ultimate Roasted Butternut Squash
When I say simple, I mean SIMPLE! You don’t need a long list of fancy herbs or obscure spices to make amazing roasted butternut squash. I wanted this recipe, your new favorite easy oven roasted butternut squash staple, to use ingredients you probably already have on hand. Check your pantry—we’re getting started fast!
The foundation of this recipe relies on just four core components. Remember, we are aiming for that lovely, rich roast here, not a heavy sauce or complicated glaze.
Simple Seasoning Roasted Squash Base
For our mix, you’ll need the following, and make sure you have the salt measurement right! It makes a huge difference when roasting vegetables.
You are gathering 1 medium butternut squash, which should weigh about 3 pounds—that’s the perfect amount for a beautiful single layer on your baking sheet. Then, grab 2 tablespoons of rich olive oil. For seasoning, we keep it classic: 1 teaspoon of kosher salt and 1/2 teaspoon of freshly cracked black pepper. That’s it! That perfectly seasoned blend is the beginning of your fantastic simple seasoning roasted squash.
How to Prepare Roasted Butternut Squash: Step-by-Step Instructions
Okay, let’s get down to business! This is where we tackle how to roast butternut squash so you get that restaurant-quality texture without the fuss. Because this recipe is all about maximizing flavor in minimal time, the prep needs to be quick and organized.
First thing’s first: crank that oven up! You absolutely must preheat to 400 degrees Fahrenheit (that’s 200 Celsius for my international friends). Pop some parchment paper on a big baking sheet—that’s my trick for zero scrubbing later. Now, for the peeling; stick the squash cut-side down on your board, slice off the ends, halve it, and scoop out all those nasty seeds and strings. Don’t let that pulp scare you!
Next, slice the squash halves into 1-inch thick pieces, then turn those into 1-inch cubes. I tried bigger chunks once, and they never got crispy! Toss these cubes immediately in a big bowl with your 2 tablespoons of olive oil, salt, and pepper. Make sure every piece is shiny and coated. Here’s the crucial step for perfect roasted sweet potato-like edges: spread them out on that lined sheet in a single layer. Seriously, don’t overcrowd them! If they are piled up, they steam instead of roast, and we want that gorgeous caramelization!
Butternut Squash Prep and Cook Time Management
Once that oven is screaming hot at 400°F, slide that tray in. The total roasting time is usually 25 to 30 minutes. Set a timer for 25, and then give it a good stir about halfway through so all sides get golden. You’re aiming for that perfect sign of doneness: the edges should be deeply browned, and when you poke a cube with a fork, it should feel completely tender inside. That tender center is the hallmark of a perfect creamy interior squash recipe!
If you are looking for an awesome filmed example of this process, I found a great one that walks you through the exact prep I just described: Watch how simple this is done in the oven here. Then, pull them out and serve immediately!
Flavor Variations for Your Roasted Butternut Squash Recipe
The base recipe I gave you is my favorite—it’s pure, clean flavor, perfect for letting that naturally sweet squash shine. But hey, sometimes you want to mix things up, especially when you’re planning a big spread for the holidays! My philosophy is always to start simple, but that doesn’t mean we can’t dress it up a little later. I’ve tested these swaps lots of times, usually because I realized half my spices were missing when I went to make the standard batch!
These variations are fantastic because they still respect that short cook time. We aren’t adding anything that needs extra moisture or causes burning too quickly. In fact, adapting this recipe is how I figured out some of my best butternut squash recipes!
Making Sweet and Savory Squash
If you are looking to lean into that natural sweetness, especially if you’re serving this up near Thanksgiving or Christmas, you absolutely have to try adding a touch of maple syrup. Just before tossing your caramelized butternut squash cubes with the oil, add about 1 tablespoon of real maple syrup or dark brown sugar right into the bowl. It melts down beautifully in that hot oven and gives the squash this incredible glossy sheen and an extra layer of warmth. It complements the savory notes from the salt perfectly. Find more ideas for sweet and savory squash inspiration over here!
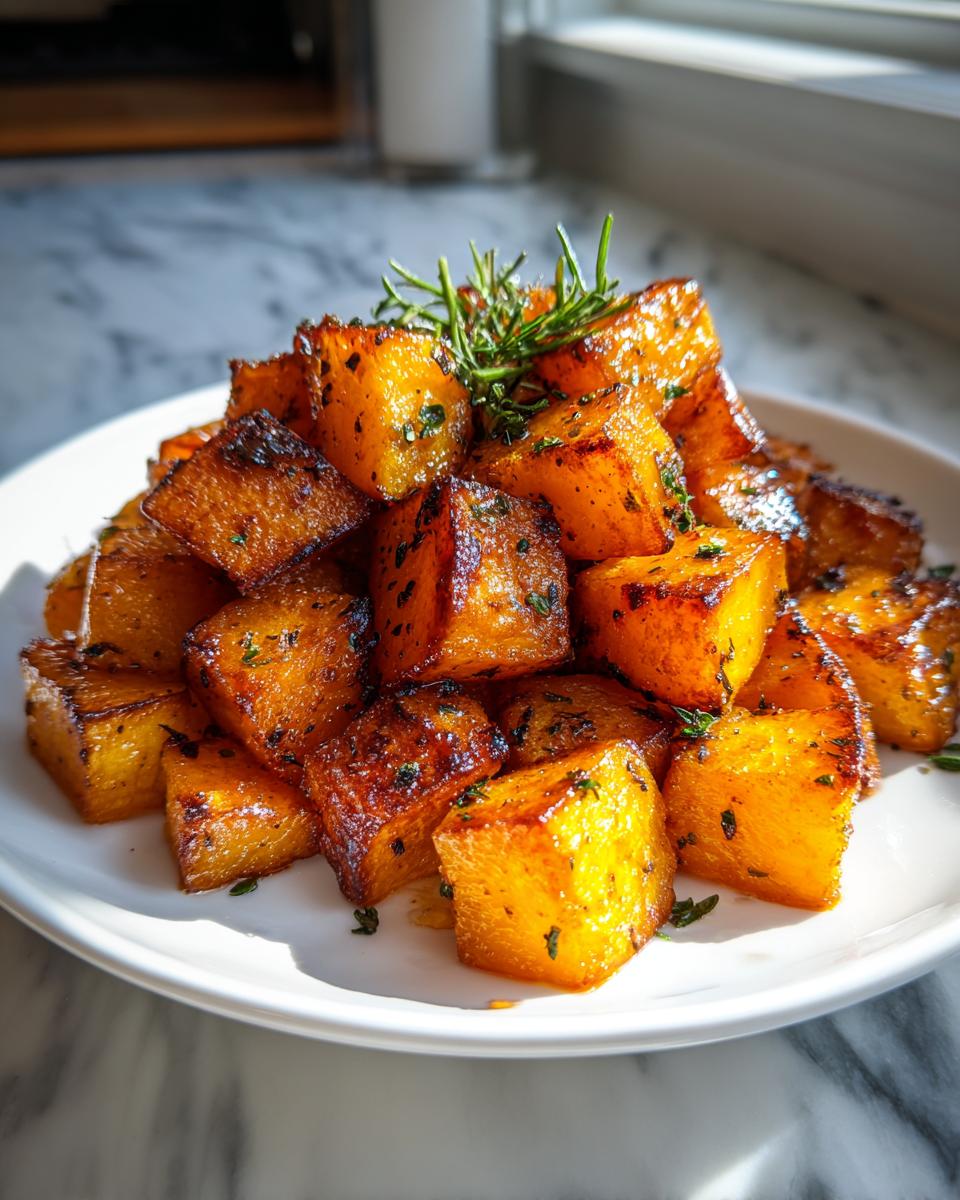
Savory Roasted Butternut Squash Seasoning Swap
Now, if you’re looking for something that feels a little more herbaceous and savory—maybe you’re pairing it with a slow-roasted pork tenderloin—ditch the salt and pepper for a moment and go for aromatics. I find that swapping in 1 teaspoon of garlic powder and about 1/2 teaspoon of dried thyme makes this an incredible gourmet roasted squash side. The thyme holds up beautifully to the high heat, and the garlic powder coats everything so evenly. It makes your whole kitchen smell like a cozy autumn evening!
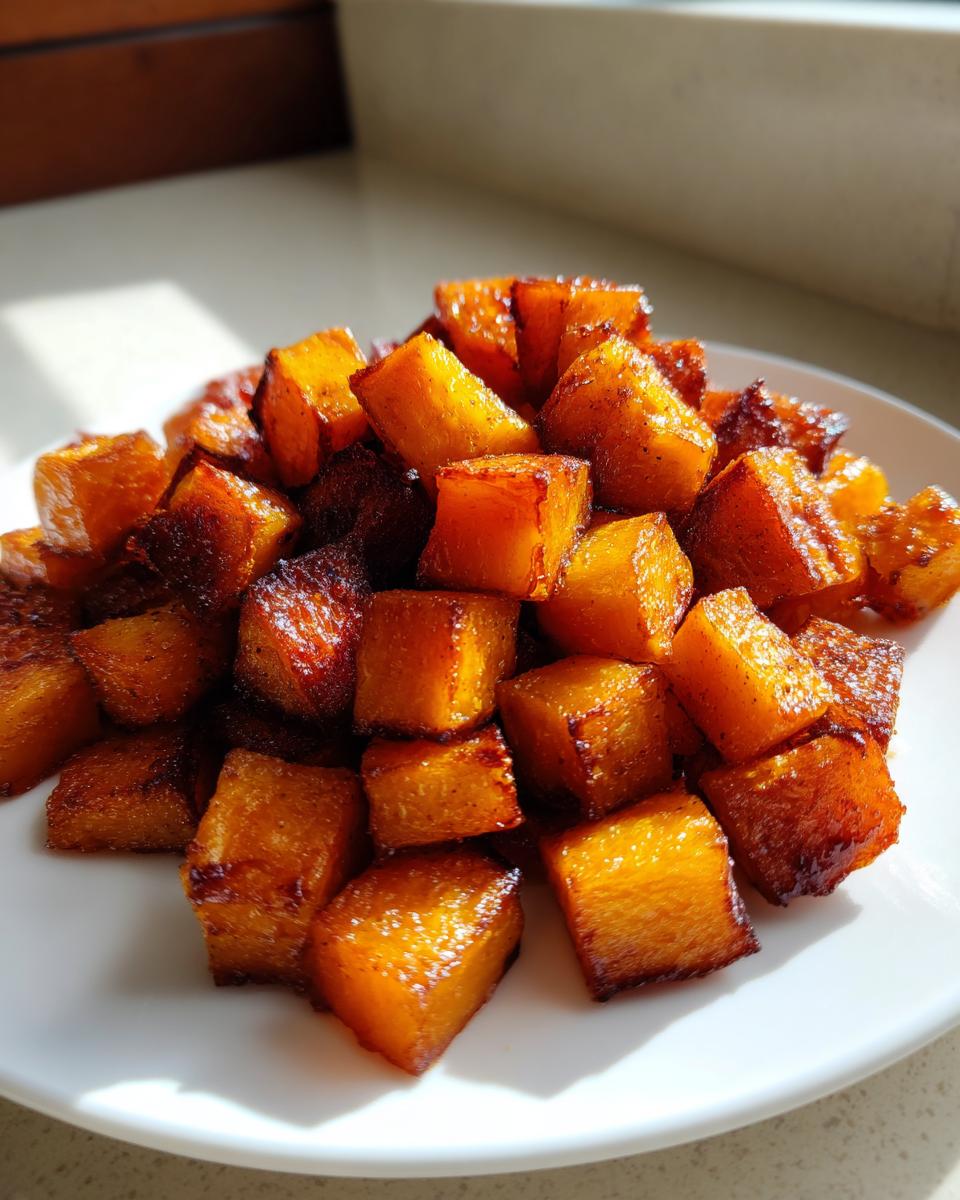
Tips for Perfect Caramelized Butternut Squash Cubes
So, you’ve got your squash cubed up and tossed in oil, but how do we guarantee those edges are crispy and the interior is creamy? Even with a great recipe, technique matters hugely, especially when roasting at high heat for that perfect texture. These little expert tweaks are what separates an okay side dish from the one everyone asks for at parties!
My biggest lesson learned while learning how to roast butternut squash was this: the pan matters more than you think! If you love those deep, dark, sugary spots, you have to give those cubes some space to breathe. If you pile them up, they trap steam, and steam means mushy squash, not caramelized goodness. Spread them out wide—use two baking sheets if you have to! If you don’t have two sheets, just roast in two batches. Trust me, it’s worth the extra bit of time.
Also, don’t wiggle on that oven temperature! We need 400°F to properly start the caramelization process quickly. If your oven runs cool, you might accidentally end up steaming them before they ever get a chance to roast properly. I always check my dial thermometer to make sure it’s truly ready before those beauties ever go in. If you want more inspiration on maximizing flavor with simple ingredients, check out my tips for garlic parmesan roasted carrots—the principles of high-heat roasting are the same!
I found a great visual guide that really hammers home the pan overcrowding point, showing exactly how much space to give your roasted butternut squash for the best results. You want them laid out like they’re enjoying a sunbath, not crammed into a crowded elevator!
Serving Suggestions for Your Butternut Squash Dinner Side
Now that you have these perfect, deeply flavorful, caramelized butternut squash cubes, the fun part begins: figuring out what to eat them with! What I love about this vegetable is how versatile it is. It’s fantastic as a healthy side dish for a quick Tuesday night meal, but it’s honestly fancy enough to take center stage on your Thanksgiving side dishes vegetables spread. It hits that sweet spot!
For weeknight meals, keep it simple. Roasted squash pairs beautifully with something straightforward. Try serving it alongside a simple roasted chicken and vegetable medley—I have my favorite foolproof version right here if you need a full meal plan! Check out that roast chicken recipe, and just toss these squash cubes onto the pan during the last 15 minutes of cooking. Easy peasy!
If you’re aiming for something a bit more robust, this sweet and savory squash is the perfect foil for richer meats. I often make a lovely herb-crusted pork tenderloin, which offers a lovely savory contrast to the squash’s natural sweetness. My go-to is my classic pork tenderloin with garlic and herbs—the juices from the pork mingle with any leftover seasoning on the squash, and honestly, it’s divine luck on a plate. It makes any meal feel like you spent hours in the kitchen when really, most of the time was hands-off!
Storage and Reheating Instructions for Roasted Butternut Squash
One of the things I absolutely appreciate about this recipe is how well the leftovers keep! Sometimes when I’m meal prepping a batch of these healthy roasted vegetables, I make double because I know they taste almost as good the next day. Store any leftover roasted butternut squash in a sturdy, airtight container.
You want to keep them refrigerated promptly, and they should be perfectly good for about four to five days. I haven’t tried freezing them, honestly, because I usually eat them all within the first few days—they disappear too fast here! But because they have a good amount of natural sugar and fat coating them, they should freeze okay if you lay them flat on a tray first before bagging them up.
Now, when it comes to reheating, this is where you want to treat them gently to maintain the texture. If you just blast them in the microwave, you’re going to lose all those lovely crispy edges we worked so hard to achieve. They’ll get uniformly soft and steamy, and trust me, that’s just sad.
The best way to reheat your roasted butternut squash and keep that outside slightly crisp is to use the oven or an air fryer again, even if it’s just for a quick blast. Spread the cooled cubes back out on a clean baking sheet. Pop them into a 350°F oven for about 8 to 10 minutes. Just long enough to heat them through and dry the surface out a tiny bit. If you’re in a rush, the air fryer works in about 4 minutes at the same temperature. That little bit of dry heat brings back just enough structure to make them taste almost freshly roasted. It keeps them tasting like a gourmet side dish, not repurposed leftovers!
Frequently Asked Questions About Roasted Butternut Squash
I get so many questions about this recipe because everyone wants that perfect tender inside and crispy edge! Here are a few things I hear most often about getting the best texture and managing the timing for this wonderful fall vegetable recipe.
Can I roast butternut squash ahead of time for Thanksgiving side dishes?
Oh yeah, you totally can get a jump start! For major holidays, I always recommend roasting the squash the day before. The key is how you reheat it. Don’t microwave it if you want that nice texture! Cool the cubes completely, store them in the fridge, and then reheat them spread out on a baking sheet at 350°F for about 10 minutes. That little refresh in the oven helps crisp those edges right back up!
What is the ideal temperature for oven baked butternut squash?
My answer is always 400°F (or 200°C), and I’m not budging on that! If you drop the temperature lower, you risk steaming your squash before it has a chance to caramelize. We need that high heat right away to start browning the natural sugars quickly, which develops that deep, yummy roasted flavor. That intense heat is crucial for achieving the best result.
How do I ensure my roasted butternut squash has a creamy interior?
This comes down to two things we talked about in the main instructions! First, make sure your cubes are uniform—aim for that 1-inch size so they cook evenly. Second, and this is a big one: do not overcrowd your pan! If the pieces are touching too much, they steam. Give them space so the hot air can circulate all around each cube. That’s how you get that beautifully soft, creamy interior squash profile!
Nutritional Snapshot of This Simple Butternut Squash Side Dish
I know so many of you, just like me, really pay attention to what goes onto our plates, especially when trying to keep things bright and healthy. This recipe makes eating your veggies easy, and I wanted to give you a quick look at what’s packed into this incredible butternut squash healthy eating side dish. Since we are just using olive oil, salt, and pepper for the base, it keeps things wonderfully light!
Keep in mind that these numbers are an estimate based on the 4 servings specified in the recipe. When you’re making roasted butternut squash for the holidays, you might be adding maple syrup or other additions, which will change these figures, of course! But for our basic four-ingredient preparation, here is the breakdown per serving:
- Serving Size: 1 cup cooked
- Calories: 150
- Fat: 6g (with 1g Saturated Fat)
- Carbohydrates: 24g (with 5g Fiber)
- Protein: 2g
- Sugar: 7g
- Sodium: 300mg
It’s loaded with Vitamin A, as you’d expect from that gorgeous orange color! I always feel great serving this up because it’s packed with fiber and very low in cholesterol and sodium (before you add any fancy finishing salts, that is). It’s a wonderfully healthy roasted vegetable that proves simple is often the most delicious and nourishing route to take. Enjoy knowing you’re feeding your family something great!
PrintPerfect Roasted Butternut Squash: Easy Caramelized Cubes in 30 Minutes
You need a reliable, simple recipe for roasted butternut squash that delivers crispy edges and a creamy interior every time. This easy oven method is perfect for a quick weeknight side dish or a staple for holiday meals like Thanksgiving.
- Prep Time: 10 min
- Cook Time: 30 min
- Total Time: 40 min
- Yield: 4 servings 1x
- Category: Side Dish
- Method: Oven Baking
- Cuisine: American
- Diet: Vegetarian
Ingredients
- 1 medium butternut squash (about 3 lbs)
- 2 tablespoons olive oil
- 1 teaspoon kosher salt
- 1/2 teaspoon black pepper
Instructions
- Preheat your oven to 400 degrees Fahrenheit (200 Celsius). Line a large baking sheet with parchment paper for simple cleanup.
- Peel the butternut squash. Cut off the stem and the base. Slice the squash in half lengthwise. Scoop out the seeds and stringy pulp using a spoon.
- Place the squash halves cut-side down on a cutting board. Carefully slice the squash into 1-inch thick pieces, then cut those pieces into 1-inch cubes.
- Place the squash cubes in a large bowl. Drizzle with the olive oil. Sprinkle with kosher salt and black pepper. Toss everything together until the squash pieces are evenly coated.
- Spread the seasoned squash cubes in a single layer on the prepared baking sheet. Do not overcrowd the pan; use two sheets if necessary to promote caramelization.
- Roast for 25 to 30 minutes, stirring halfway through the cooking time. The squash is done when the edges are golden brown and caramelized, and the inside is tender when pierced with a fork.
- Remove from the oven and serve immediately as your simple butternut squash side dish.
Notes
- For a sweet and savory flavor, add 1 tablespoon of maple syrup or brown sugar along with the oil before roasting.
- If you prefer a more savory profile, substitute the salt and pepper with 1 teaspoon garlic powder and 1/2 teaspoon dried thyme.
- To achieve the best creamy interior squash recipe results, make sure your oven is fully preheated to 400°F before the squash goes in.
Nutrition
- Serving Size: 1 cup cooked
- Calories: 150
- Sugar: 7
- Sodium: 300
- Fat: 6
- Saturated Fat: 1
- Unsaturated Fat: 5
- Trans Fat: 0
- Carbohydrates: 24
- Fiber: 5
- Protein: 2
- Cholesterol: 0