
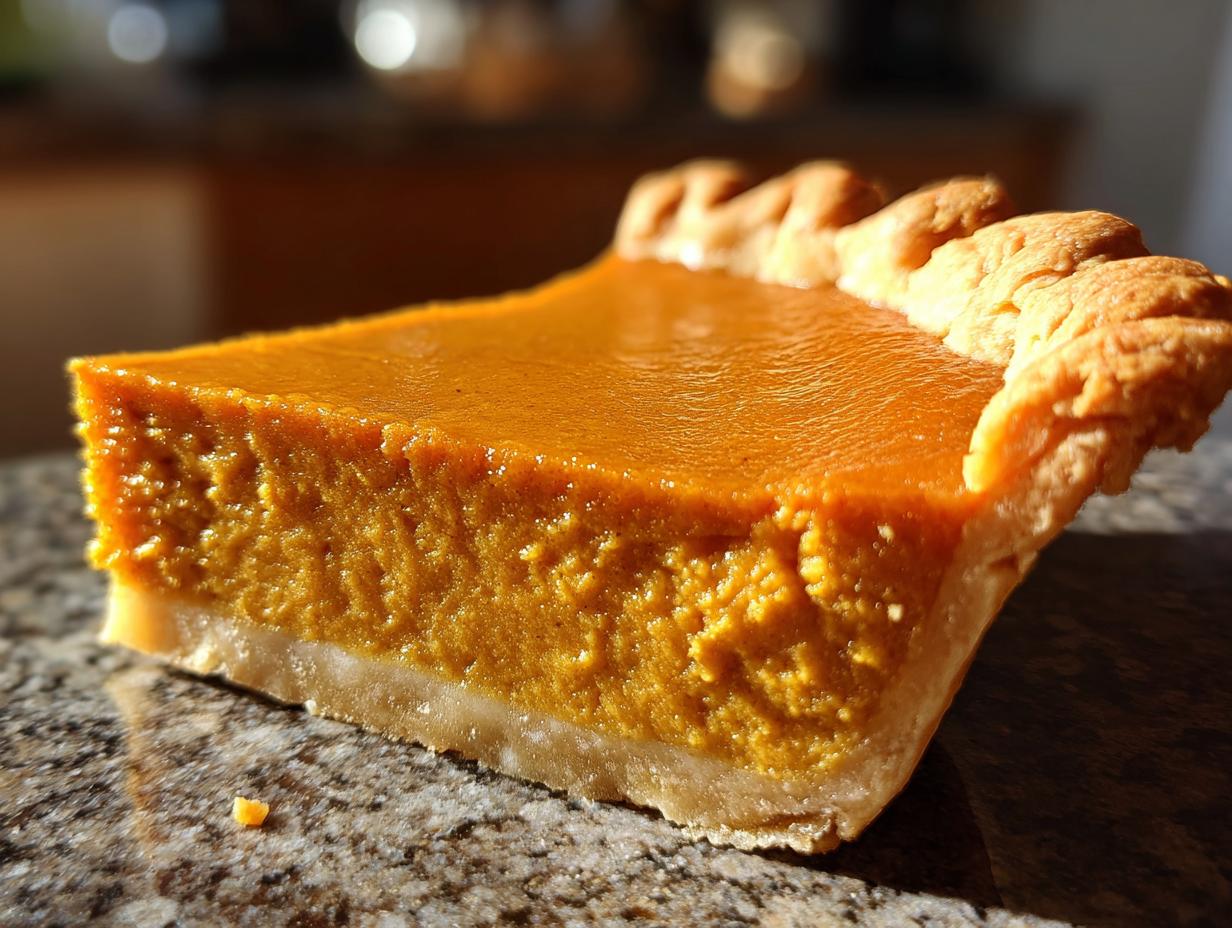
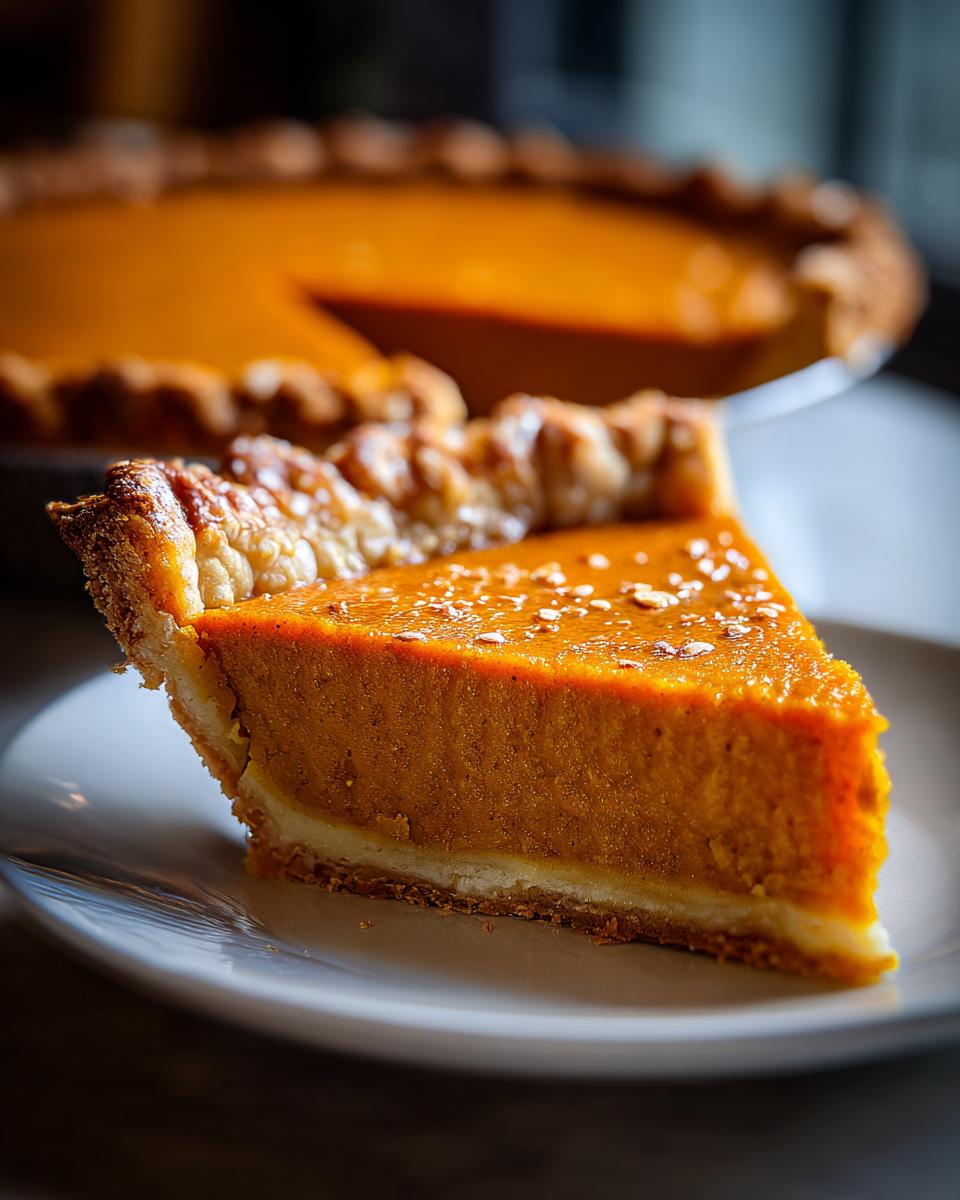
Oh, that incredible smell! There’s just something about the warm, comforting aroma of a freshly baked pumpkin pie that screams fall and the holidays, isn’t there? It’s like a cozy hug for your taste buds. And this classic pumpkin pie recipe? Trust me, it’s the foolproof way to get that perfectly smooth, spiced pumpkin custard nestled snugly in a flaky crust. It’s practically the star of any Thanksgiving or autumn get-together. As someone who grew up in the Midwest with a serious love for comfort food and later studied nutrition, I’m all about making those truly delicious, classic desserts accessible for everyone. This recipe is my little slice of home, perfected so you can create that magic too!
- Why You'll Love This Classic Pumpkin Pie Recipe
- Ingredients for the Perfect Pumpkin Pie
- Tips for a Flawless Pumpkin Pie Crust
- How to Make This Spiced Pumpkin Custard Pie
- Tips for Preventing Cracks in Your Pumpkin Pie
- Serving and Storing Your Thanksgiving Pie Dessert
- Frequently Asked Questions about Pumpkin Pie
- Estimated Nutritional Information
- Share Your Holiday Baking Must-Have!
Why You’ll Love This Classic Pumpkin Pie Recipe
What’s not to adore about this recipe? It’s designed to be your go-to for that wonderful autumn flavor:
- Super Simple: Seriously, it’s so easy you’ll want to make it all the time.
- Amazing Flavor: That perfect blend of sweet pumpkin and warm spices? Chef’s kiss!
- Foolproof Crust: We’ve got tips to keep it from getting soggy, so it’s flaky every single time.
- Holiday Ready: It’s the ultimate Thanksgiving pie dessert that everyone expects and adores.
Ingredients for the Perfect Pumpkin Pie
Alright, let’s gather our goodies! This is what you’ll need for a truly fantastic pumpkin pie. Nothing too fussy, just good stuff that comes together beautifully. Trust me, having everything measured out makes the whole process so much smoother:
- 1 unbaked 9-inch pie crust: You can totally use your favorite homemade recipe, or grab a good quality store-bought one. Just make sure it fits a standard 9-inch pie plate!
- 1 (15 ounce) can pumpkin purée: Make sure you get *purée*, not pumpkin pie filling. That’s a whole different ballgame!
- 3/4 cup granulated sugar: This gives it just the right amount of sweetness.
- 1/2 teaspoon salt: Don’t skip this! It really wakes up all those wonderful flavors.
- 1/2 teaspoon ground cinnamon: The warm hug of the pie!
- 1/4 teaspoon ground ginger: Adds a little zing.
- 1/8 teaspoon ground cloves: Just a pinch is all you need for that classic spiced flavor.
- 2 large eggs, lightly beaten: These help make the filling nice and custardy.
- 1 (12 ounce) can evaporated milk: This is key for that super smooth texture!
Tips for a Flawless Pumpkin Pie Crust
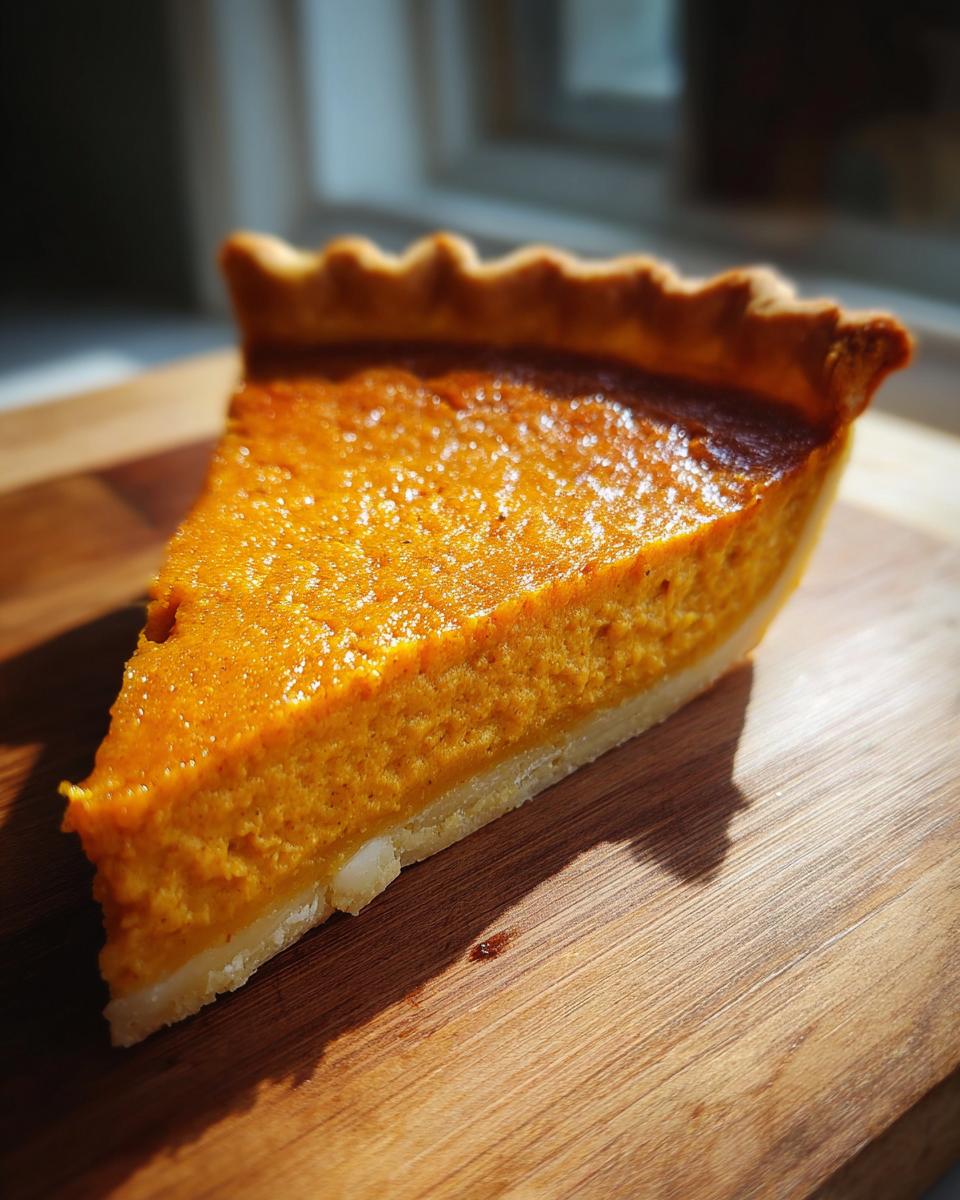
Listen, the crust is *so* important! It’s the foundation for that beautiful pumpkin filling. My biggest pet peeve? A soggy bottom crust. Youch! My grandma always said the secret is to keep it cold. Cold butter, cold water, and don’t overwork the dough – that makes it tough as leather. If you’re using a store-bought crust, that’s totally fine! Just make sure it’s properly thawed and fits nicely in your pie plate. For an extra layer of defense against sogginess, I love to brush the bottom of my unbaked crust with a little bit of egg wash before pouring in the filling. It creates a tiny barrier that holds up wonderfully. You want that flaky, golden-brown goodness holding all that delicious spiced custard!
How to Make This Spiced Pumpkin Custard Pie
Alright, bakers, let’s dive into making this gorgeous spiced pumpkin custard pie! It’s actually way simpler than you might think, and the results are just divine. Follow these steps, and you’ll be smelling that amazing aroma filling your kitchen in no time!
Step 1: Prepare the Oven and Crust
First things first, let’s get that oven roaring! Preheat it to a nice, hot 425 degrees F (220 degrees C). While it’s heating up, make sure your 9-inch pie crust is ready to go in your pie plate. If you’re using a homemade one, this is where you’d make sure it’s all prepped and ready. Just pop it right into the pie plate and set it aside for a sec.
Step 2: Mix the Pumpkin Filling
Now for the heart of our pie! Grab your biggest bowl. We’re going to toss in the pumpkin purée, the sugar, that pinch of salt, and all those lovely spices – the cinnamon, ginger, and cloves. Give it a good stir until everything looks nice and combined. Then, whisk in those lightly beaten eggs and the evaporated milk until the whole mixture is super smooth and beautifully creamy. No lumps allowed here!
Step 3: Pour and Bake the Pumpkin Pie
Time for the magic to start happening! Carefully pour that luscious pumpkin filling right into your unbaked pie crust. Spread it out evenly. Now, pop that into your preheated 425°F (220°C) oven. We’re going to bake it at this higher temperature for about 15 minutes. This helps set the crust a little bit and gives the filling a head start.
Step 4: Finish Baking and Cool
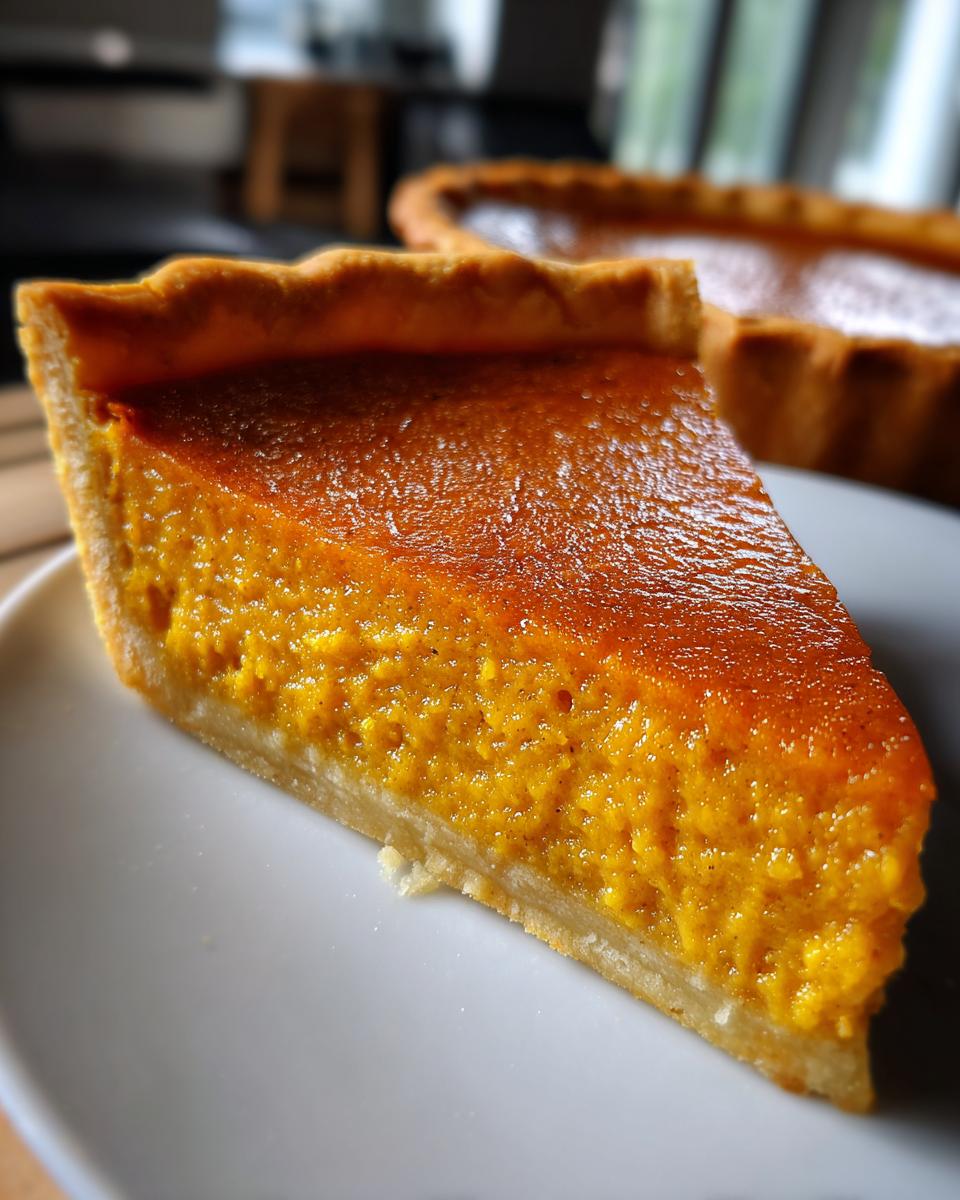
After that initial 15-minute blast, it’s time to turn the heat down. Reduce your oven to 350 degrees F (175 degrees C). Let the pie bake for another 40 to 50 minutes. You’ll know it’s done when a knife inserted near the center comes out clean. It should look mostly set, maybe with a tiny wobble right in the middle. Be patient! Let it cool completely on a wire rack before you even think about slicing it. This cooling part is super important for that perfect custard texture!
Tips for Preventing Cracks in Your Pumpkin Pie
Oh, the dreaded crack! It’s like the pie is trying to escape its own deliciousness. Don’t you worry, though! I’ve learned a few tricks over the years to keep my pumpkin pie smooth and crack-free, looking gorgeous on the dessert table. The biggest culprit is usually overbaking, which causes the edges to set while the center expands and then collapses as it cools. Another sneaky cause? Oven temperature fluctuations! My grandma always told me to think of the oven as a gentle hug, not a wild rollercoaster. So, we’ll bake it just long enough, and then let it cool down slowly.
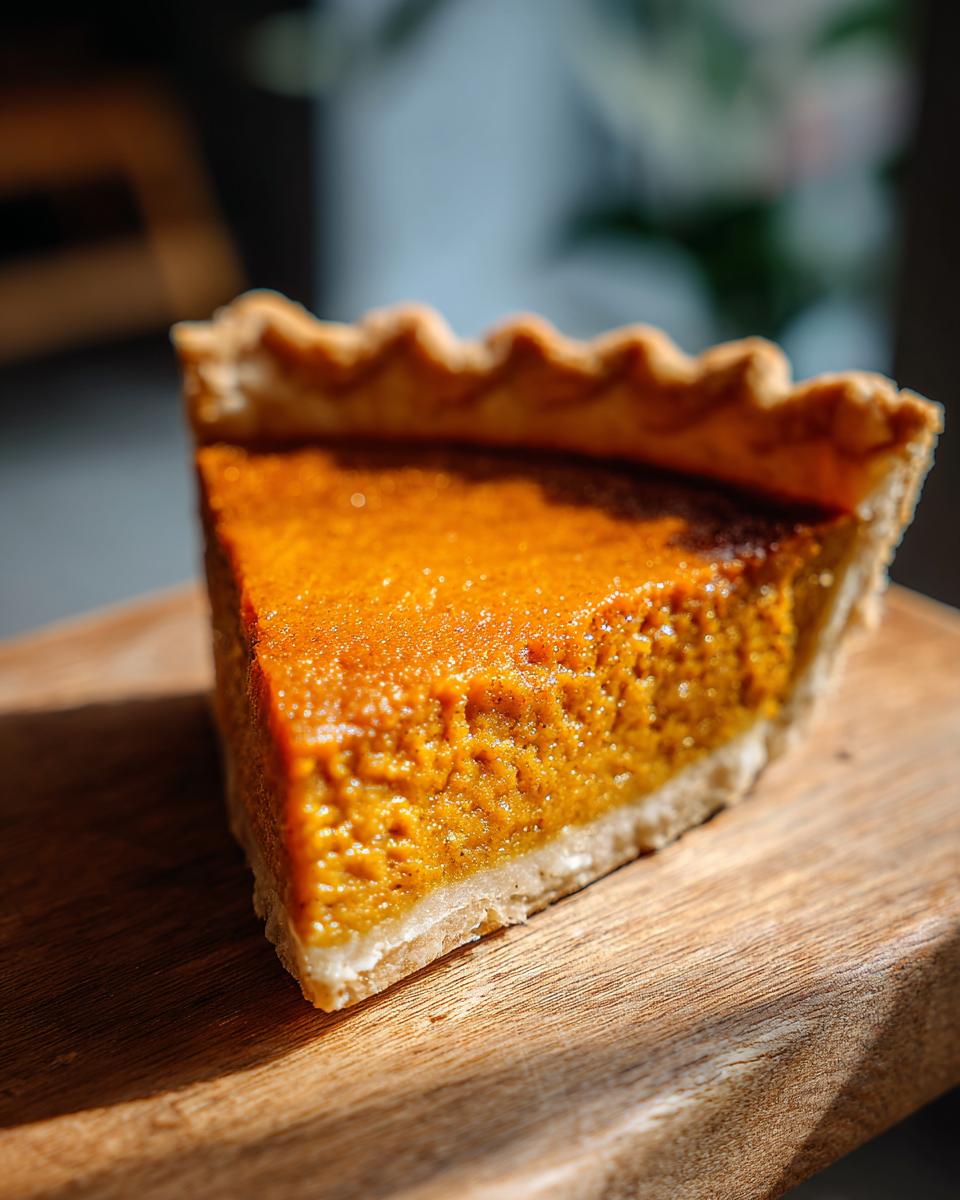
Serving and Storing Your Thanksgiving Pie Dessert
Once your beautiful pumpkin pie has cooled completely, it’s ready to be savored! It’s absolutely divine on its own, but a dollop of freshly whipped cream or a scoop of creamy vanilla ice cream takes it to the next level. We also love it alongside something rich and decadent like caramel apple cheesecake, or even a light and airy no-bake banana pudding. As for leftovers? Just cover the pie loosely with plastic wrap or foil and pop it in the refrigerator. It’s perfectly good for about 3-4 days. Reheating isn’t usually necessary since it’s delicious cold or at room temp, but if you like it warm, a few minutes in a low oven should do the trick!
Frequently Asked Questions about Pumpkin Pie
Got questions about this classic pumpkin pie recipe? I’ve got answers! Baking should be fun, and no one wants a pie emergency, especially during the holidays. Here are a few things people often wonder about, but if you’re looking for even MORE pumpkin goodness, check out my pumpkin pie overnight oats or my super-easy pumpkin French toast bake!
Can I use fresh pumpkin purée instead of canned?
You absolutely can! Just make sure to roast a sugar pie pumpkin (the small, sweet kind), scoop out the seeds, and then scoop the flesh, and blend it until it’s super smooth. Keep in mind fresh pumpkin can sometimes be a bit more watery than canned, so you might need to drain it a bit. It’ll still be delicious, just a slightly different vibe!
What is the best way to tell if my pumpkin pie is done?
The tell-tale sign is the knife test! Insert a clean knife near the center of the pie. If it comes out mostly clean, with maybe just a few moist crumbs (no wet batter!), then you’re good to go. The center might still have a tiny bit of a jiggle, but it will set up beautifully as it cools. Overbaking is the enemy of a smooth custard!
Why is my pumpkin pie filling watery?
A watery filling usually means one of two things: either the pie wasn’t baked long enough, or maybe your pumpkin purée was a bit too watery to start with. If you used fresh pumpkin, make sure to drain off any excess liquid. If you used canned, double-check that knife test! It’s amazing how much that little bit of extra baking time can make a difference to get that perfect, creamy texture.
Estimated Nutritional Information
Now, let’s talk about the numbers. Keep in mind these are just estimates, folks! The exact nutritional info can wiggle around a bit depending on the specific brands you use and those little tweaks you might make. But, for a typical slice of this classic pumpkin pie, you’re looking at roughly:
- Serving Size: 1 slice
- Calories: Around 250
- Sugar: About 25g
- Sodium: Roughly 200mg
- Fat: Around 10g (with about 4g saturated)
- Carbohydrates: About 35g
- Protein: Close to 5g
It’s always good to know, but honestly, that slice of pie tastes like pure joy, no matter the numbers!
Share Your Holiday Baking Must-Have!
Okay, now it’s YOUR turn! Did this classic pumpkin pie recipe become your new holiday baking must-have? I’d absolutely love to hear what you think! Drop a comment below with your thoughts, your rating, or any clever tips you discovered along the way. If you have any questions or want to share how it turned out, feel free to reach out! Sharing our kitchen successes is what makes cooking so much fun!
PrintClassic Pumpkin Pie Recipe
A quintessential pumpkin pie recipe with a smooth, spiced pumpkin filling in a flaky crust, perfect for fall gatherings and holidays.
- Prep Time: 15 min
- Cook Time: 55 min
- Total Time: 70 min
- Yield: 8 servings 1x
- Category: Dessert
- Method: Baking
- Cuisine: American
- Diet: Vegetarian
Ingredients
- 1 unbaked 9-inch pie crust
- 1 (15 ounce) can pumpkin purée
- 3/4 cup granulated sugar
- 1/2 teaspoon salt
- 1/2 teaspoon ground cinnamon
- 1/4 teaspoon ground ginger
- 1/8 teaspoon ground cloves
- 2 large eggs, lightly beaten
- 1 (12 ounce) can evaporated milk
Instructions
- Preheat your oven to 425 degrees F (220 degrees C).
- In a large bowl, combine pumpkin purée, sugar, salt, cinnamon, ginger, and cloves. Mix well.
- Stir in the beaten eggs and evaporated milk until smooth.
- Pour the filling into the unbaked pie crust.
- Bake for 15 minutes at 425 degrees F (220 degrees C).
- Reduce oven temperature to 350 degrees F (175 degrees C) and continue baking for 40-50 minutes, or until a knife inserted near the center comes out clean.
- Let the pie cool completely on a wire rack before serving.
Notes
- For a homemade crust, prepare your favorite recipe and blind bake it according to its instructions before adding the filling.
- If you prefer a less sweet pie, reduce the sugar to 1/2 cup.
- Serve with whipped cream or vanilla ice cream.
Nutrition
- Serving Size: 1 slice
- Calories: 250
- Sugar: 25g
- Sodium: 200mg
- Fat: 10g
- Saturated Fat: 4g
- Unsaturated Fat: 6g
- Trans Fat: 0g
- Carbohydrates: 35g
- Fiber: 2g
- Protein: 5g
- Cholesterol: 50mg