
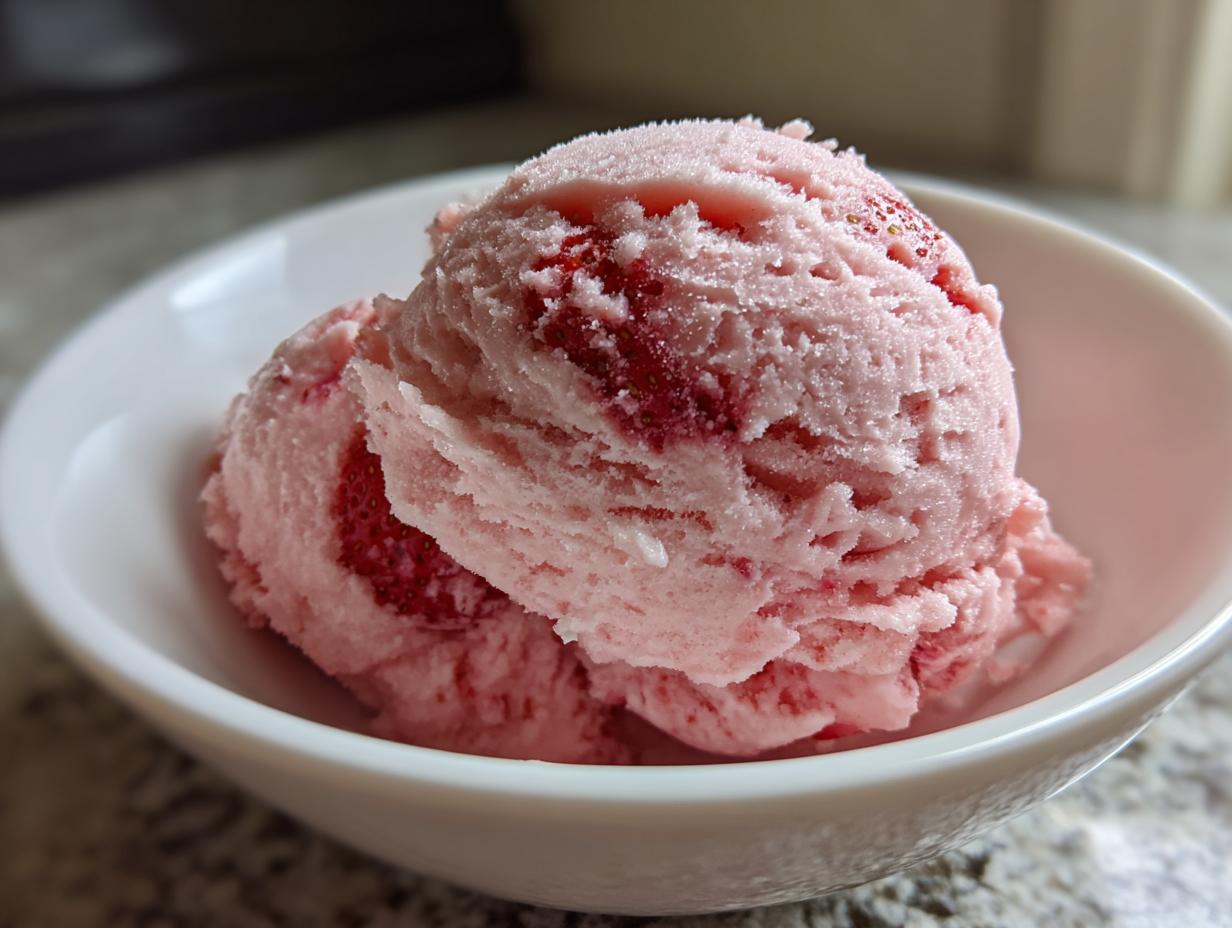
Oh, listen up, because if you’re dreaming of that perfect scoop that tastes like sunshine and tastes exactly like the best strawberries you’ve ever picked, you’ve come to the absolute right place. Forget those watery, artificial cones! This creamy homemade strawberry ice cream recipe, made with tons of fresh berries and designed for your ice cream maker, is the ultimate summer dessert. I’m Kate Connolly, and I promise you, every recipe here at Kings Cook is rigorously tested so you can feel totally confident making incredible things right in your own kitchen—just like this dreamy one!
- Why This Homemade Strawberry Ice Cream Recipe Works
- Gathering Ingredients for Your Strawberry Ice Cream
- Step-by-Step Instructions for Creamy Strawberry Ice Cream
- Tips for the Best Homemade Strawberry Ice Cream
- Storing and Serving Your Fresh Strawberry Ice Cream
- Frequently Asked Questions About Strawberry Ice Cream
- Nutritional Estimates for Creamy Strawberry Ice Cream
- Share Your Summer Ice Cream Recipes
Why This Homemade Strawberry Ice Cream Recipe Works
I can’t tell you how many weak, icy strawberry desserts I’ve tried over the years! But trust me, the reason this homemade strawberry ice cream recipe is so popular is that it focuses on real texture and real flavor. We’re aiming for that classic, comforting American ice cream parlor feel, not something thin and disappointing. When you use fresh fruit and follow these steps, you get something truly special.
- It captures the true, vibrant taste of fresh strawberries—none of that imitation flavor we grew up with.
- The balance of heavy cream to milk delivers that rich, velvety mouthfeel you crave in the best homemade ice cream.
- We skip unnecessary stabilizers, relying instead on simple technique to build flavor and structure.
If you’re looking for more easy-to-master desserts that impress, you should definitely check out my main dessert recipes page!
Achieving the Ultimate Creamy Strawberry Ice Cream Texture
The secret to creamy strawberry ice cream isn’t complicated; it’s all about balance and temperature! I use a slightly higher percentage of heavy cream than some recipes call for, which lowers the water content just enough to prevent those nasty ice crystals from forming. Also, you absolutely must chill the base until it’s refrigerator cold—like, almost painfully cold—before it ever sees the ice cream maker. That deep chill means less time churning, which equals smaller ice crystals!
The Secret to Intense Fresh Strawberry Ice Cream Flavor
This is the step everyone skips, and it’s why their ice cream tastes bland! Before we blend anything, we macerate the berries with a little sugar and add a splash of lemon juice. Macerating means we’re drawing out all that concentrated berry juice and softening the fruit before blending it into the base. The lemon brightens the whole flavor profile so you get a huge burst of fresh strawberry ice cream taste instead of just sweet cream.
Gathering Ingredients for Your Strawberry Ice Cream
Okay, ready to talk about what goes into this masterpiece? Since we are focusing on the pure, sweet taste of summer, the ingredients really need to be top-notch. Don’t just grab any old carton! You’ll notice we need sugar twice, and that’s on purpose. The first half is just to coax the sweetness out of our lovely berries, and the second half is for the base itself.
Make sure you get fresh strawberries—the juicier the better! While the heavy cream and whole milk are non-negotiable for that supreme creamy texture, don’t forget the lemon juice. Seriously, that tiny splash of lemon is crucial; it acts like a little conductor, making all those strawberry flavors pop right out at you. It’s magic, I promise!
Step-by-Step Instructions for Creamy Strawberry Ice Cream
Now we get to the fun part—making the actual liquid gold! This process is super straightforward, but timing matters, especially when we want that perfect smooth result. Don’t rush the chilling step; it really is the secret sauce for the best homemade strawberry ice cream. This sequence ensures we capture all the intensity from those fresh berries before they go into the machine.
Preparing the Fresh Strawberry Puree
First things first: we need to wake up those strawberries! Take your hulled and sliced berries and toss them with that first half-cup of sugar. Just a gentle stir will do. Then, walk away! You have to let them sit for at least 30 minutes; I usually give mine closer to 45 minutes if I’m busy cleaning up the counter. You’ll see they start sweating out all their gorgeous, deep red juices. That’s exactly what we want!
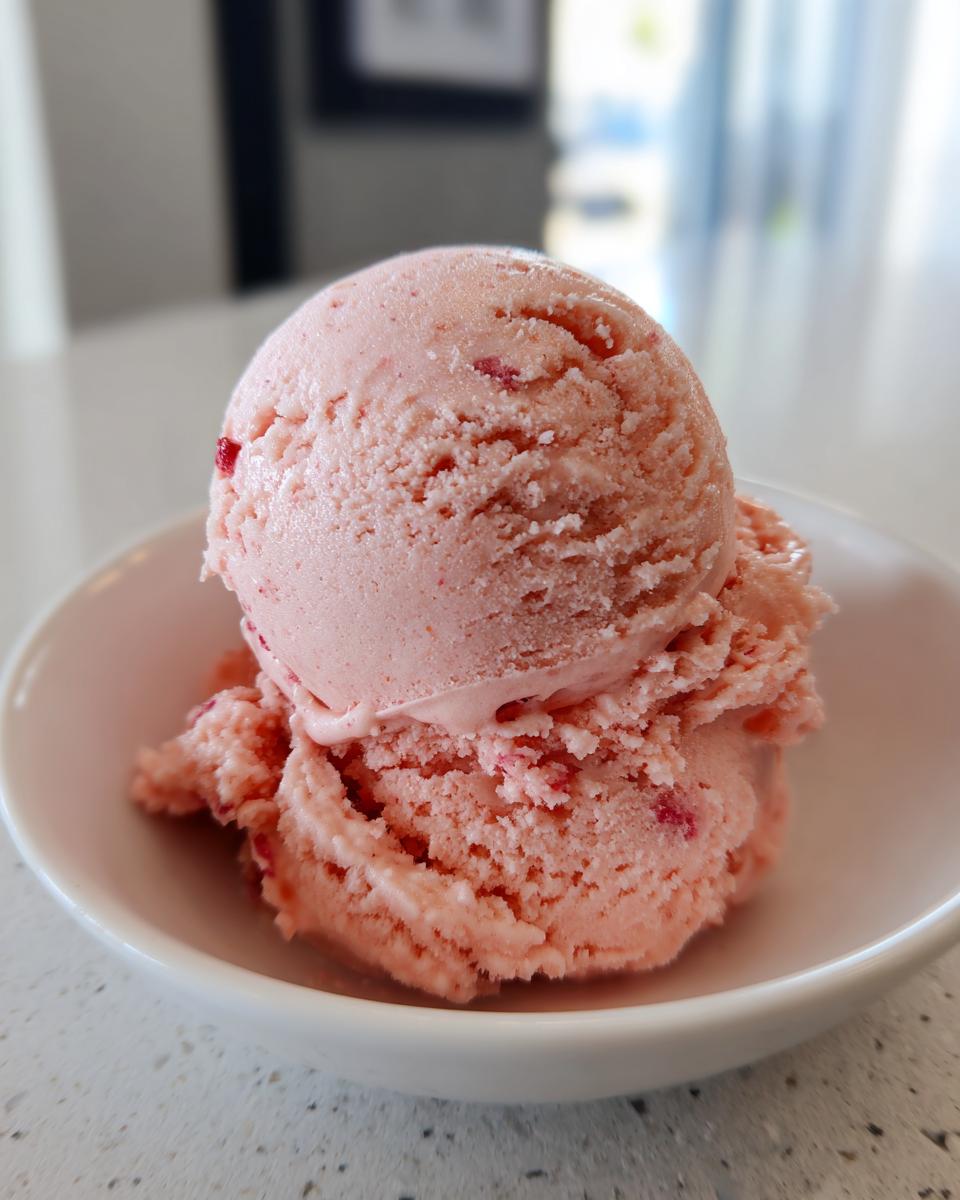
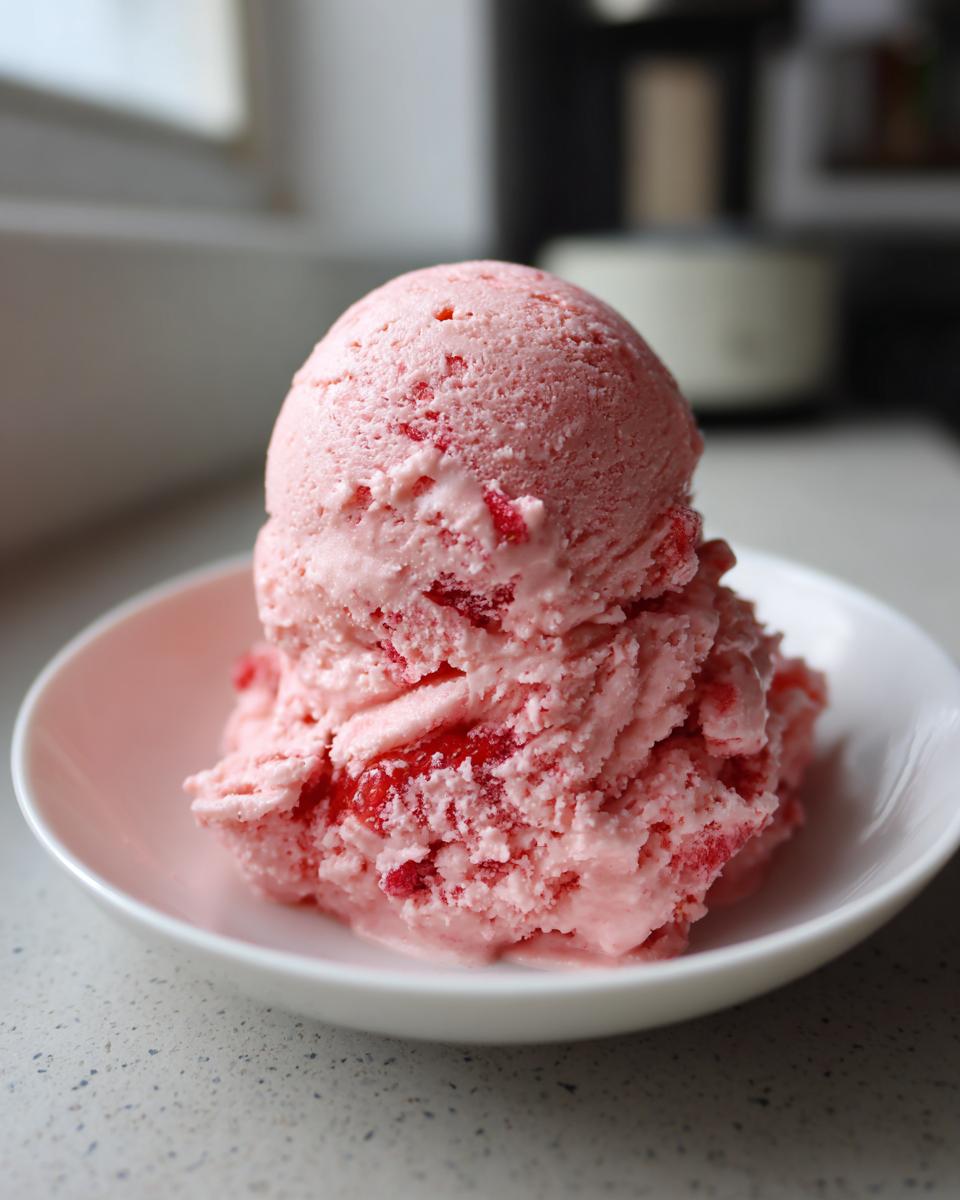
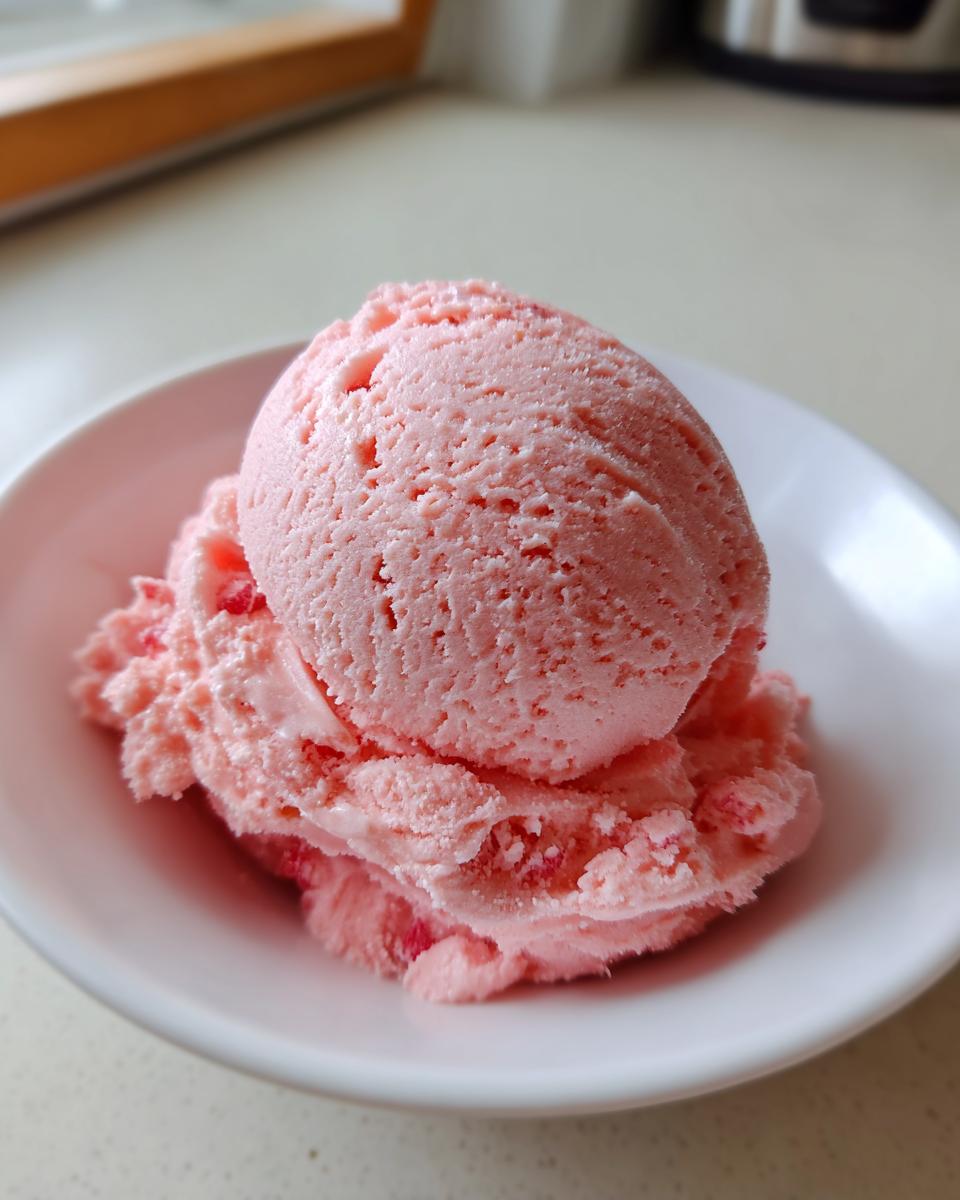
Once they’re juicy, transfer the fruit and all those lovely juices into your blender. Pulse it until it’s mostly smooth. I like to leave just a few tiny pieces—they turn into delicious little frozen pockets of flavor later on! If you’re making this for someone who absolutely hates fruit bits, blend it until it’s silky smooth, but I really think those small chunks elevate the whole strawberry ice cream experience.
Mixing and Chilling the Strawberry Ice Cream Base
While the berries were having their sugar bath, you should have mixed your heavy cream, milk, the rest of the sugar, vanilla, lemon juice, and salt. Now, whisk that mixture really well until you absolutely cannot feel any sugar gritty texture when you rub a spoonful between your fingers. Seriously, dissolve that sugar completely!
Once the sugar is happy, whisk in your strawberry puree until the whole base is a lovely, uniform pink color. Your creamy strawberry ice cream base is ready for its nap. Pour it into an airtight container—I use a large Tupperware—and put it in the fridge. It needs a minimum of two hours chilling time, but honestly, overnight is even better. The colder the base is when it hits the churner, the better your homemade strawberry ice cream texture will be. You can check out someone else’s great technique for inspiration over at this recipe, but then come right back here for the churning!
Churning and Freezing Your Strawberry Ice Cream
Time to use the machine! Pour that deeply chilled base into your ice cream maker, making sure you’ve remembered to freeze the bowl if necessary. Churn it according to your specific machine’s directions—usually about 20 to 30 minutes. You’re looking for that perfect soft-serve stage where it drops off the paddle in thick ribbons. It’s going to look a little soft, but that’s perfect!

Scoop that soft strawberry ice cream immediately into an airtight container destined for the freezer. Press a piece of parchment paper directly onto the surface before putting the lid on; this stops those annoying, crusty ice crystals from forming on top. Now it needs another vacation—about two to four hours in the deep freeze until it’s firm enough to scoop easily. Don’t forget to check out my favorite dessert recipes later!
Tips for the Best Homemade Strawberry Ice Cream
You’ve made the base, you’ve churned it, but hang on just a minute! Making amazing strawberry ice cream is about getting the details right. Since I test everything here at Kings Cook to make sure it truly works for your busy home life, I want to share a few ways to tweak this recipe or troubleshoot if things aren’t perfectly dreamy right out of the machine. Remember, using quality ingredients, especially those fresh berries, is half the battle won!
Addressing the No Churn Strawberry Ice Cream Variation
Okay, I know not everyone has an ice cream maker humming away in the garage, but you still deserve amazing strawberry ice cream! If you didn’t churn this base, don’t panic. This recipe works perfectly well in a shallow freezer-safe pan, though you need to be a little more hands-on. You must chill the base for a full two hours just like everyone else.
Once it looks slushy, take it out and aggressively beat it with a fork or a hand mixer. You’re breaking up the ice crystals that naturally form. Pop it back in the freezer. Then, repeat that scraping and beating process every 30 minutes for about three hours total. It’s totally worth the effort if you want that creamy strawberry ice cream texture without the machine!
Making Strawberry Ice Cream for Specific Machines
If you are using one of those newer, powerful frozen dessert makers, the base typically needs to be frozen rock solid first before you process it. Always check your specific machine’s manual, but generally, if the recipe calls for freezing the base solid and then blending, you can use this same delicious mixture!
The beauty of this fundamental recipe is its flexibility. Whether you are churning slowly or flash-freezing, the ratio of fat, sugar, and acid we built in helps stabilize the mix. You’ll find so many great ice cream maker recipes online, but they all rely on that same cold foundation we created here!
Storing and Serving Your Fresh Strawberry Ice Cream
Patience is hard after smelling all that amazing, fresh strawberry aroma, I know! But resisting that final freeze is key to getting perfectly scoopable homemade strawberry ice cream. Once your ice cream is firm enough after that 2 to 4-hour hardening time, you need to protect it. Store it in a truly airtight container—again, I cannot stress this enough! Air exposure introduces freezer burn and ruins that beautiful, creamy texture we worked so hard for.
If you’re using a shallow pan for the no-churn method or transferring from the ice cream maker bowl, make sure you smooth the top really well and press that parchment paper layer down tight against the surface before putting the lid on. This is your best defense against tiny, crunchy ice crystals!
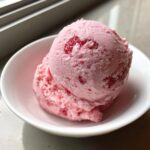
Now for the serving tip that people always forget: don’t try to scoop it straight from a deep freeze! If your ice cream has been sitting in the very back of the freezer for a few days, it will be rock hard. Pull that container out onto the counter about 10 to 15 minutes before anyone wants a scoop. This little bit of tempering time allows the sugars and fats to soften just enough so you can glide right through that creamy strawberry ice cream without breaking your wrist. Enjoy every sweet, cold bite!
Frequently Asked Questions About Strawberry Ice Cream
I get so many questions about tweaking this recipe, which totally proves how many of you are looking to make the *best* homemade strawberry ice cream! It’s all about making it work for your preferences, so let’s tackle some of the common concerns right here.
Can I use frozen strawberries to make this strawberry ice cream?
That’s a great question about swapping ingredients! While I absolutely preach using fresh strawberries for that intense flavor burst, you *can* use frozen ones in a pinch. However, frozen berries contain more water, and we already talked about how water ruins our creamy texture, right? If you use frozen, you must thaw them completely first, and then you really need to drain off as much liquid as possible before pureeing them. I’d even suggest macerating them a little bit with just a pinch of sugar to see if you can draw out any extra water before blending. Remember, the less excess liquid, the better your final scoop will be!
How can I make this Easy Strawberry Ice Cream recipe healthier?
If you’re looking to make this easy strawberry ice cream a little lighter, there are a couple of quick adjustments you can make without sacrificing all the flavor integrity. You can certainly try reducing the sugar in the base mix by maybe 15%—taste it after you stir it in to make sure you’re happy with the sweetness level! Also, for less fat, you could try swapping out about half of the heavy cream for a good quality, full-fat evaporated milk. It won’t be *quite* as rich, but it will still give you a beautiful texture because we have good sugar and fat ratios already established. This recipe is simple enough that these little tweaks won’t derail your success!
For more inspiration on mastering homemade desserts that truly rely on wonderful ingredients, make sure you explore my full collection of best dessert recipes!
Nutritional Estimates for Creamy Strawberry Ice Cream
I know some of you are keeping tabs on what goes into your delicious homemade strawberry ice cream, and that’s totally fair! While baking is an art, keeping track of the basics helps everyone manage things. Based on the ingredients listed for this recipe, I’ve pulled together some estimates for you.
Please remember this: these numbers are just a guide. Serving size is important here—this is based on a half-cup scoop, which is a pretty generous serving of this rich, creamy strawberry ice cream! The actual counts can shift depending on how sweet your fresh strawberries were or what brand of heavy cream you grabbed at the store. Think of this as a helpful baseline, not a hard-and-fast rule!
- Serving Size: 1/2 cup
- Calories: about 280
- Sugar: 28g
- Fat: 17g (That’s where the creaminess comes from!)
- Protein: 3g
- Carbohydrates: 29g
- Sodium: 35mg
We are definitely leaning into indulgent territory here—that’s the joy of homemade ice cream! But honestly, knowing it’s made with real cream and actual berries makes it taste so much better than anything store-bought. Enjoy responsibly!
Share Your Summer Ice Cream Recipes
Whew! We made it! Now that your freezer is stuffed with the most unbelievably creamy homemade strawberry ice cream, I just have one tiny favor to ask: tell me how it went!
Did the maceration step really make a difference in your strawberry ice cream flavor? Did you manage to keep your hands out of the container while it was freezing? Drop a comment below and let me know! I truly live for hearing about your kitchen wins.
And please, please, please, share photos! Tag me on social media so I can see your beautiful, vibrant scoops sitting there, ready for a summer afternoon. I love seeing how you enjoy these recipes. If you want to learn a bit more about my mission to bring confidence to your kitchen, you can read all about me over on my About Page. Happy scooping!
PrintCreamy Homemade Strawberry Ice Cream (Using an Ice Cream Maker)
Make rich, creamy strawberry ice cream packed with fresh berries using this straightforward recipe designed for an ice cream maker. This dessert captures the taste of summer.
- Prep Time: 20 min
- Cook Time: 0 min
- Total Time: 2 hr 20 min
- Yield: About 1 quart 1x
- Category: Dessert
- Method: Churning
- Cuisine: American
- Diet: Vegetarian
Ingredients
- 2 cups fresh strawberries, hulled and sliced
- 1/2 cup granulated sugar (for macerating berries)
- 1 1/2 cups heavy cream
- 1 cup whole milk
- 3/4 cup granulated sugar (for base)
- 1 teaspoon vanilla extract
- 1 tablespoon fresh lemon juice
- Pinch of salt
Instructions
- Combine the sliced strawberries and 1/2 cup sugar in a bowl. Gently mix and let the strawberries macerate for at least 30 minutes, or until the juices release.
- Puree the macerated strawberries and their juices using a blender or food processor until mostly smooth. You can leave a few small chunks for texture if you prefer.
- In a separate large bowl, whisk together the heavy cream, 3/4 cup sugar, whole milk, vanilla extract, lemon juice, and salt until the sugar dissolves completely.
- Stir the strawberry puree into the cream mixture until fully combined. This is your ice cream base.
- Chill the base in the refrigerator for at least 2 hours, or until very cold.
- Pour the chilled base into your ice cream maker and churn according to the manufacturer’s directions until it reaches a soft-serve consistency.
- Transfer the churned ice cream to an airtight container. Freeze for 2 to 4 hours to allow it to firm up to a scoopable consistency.
Notes
- For an optional vibrant color, add 1-2 drops of red food coloring when mixing the base.
- If you do not have an ice cream maker, chill the base thoroughly, then pour it into a shallow freezer-safe pan. Freeze for 45 minutes, then scrape and beat with a fork. Repeat this scraping process every 30 minutes for about 3 hours until firm.
- This recipe focuses on fresh strawberry flavor; adjust sugar slightly based on the sweetness of your berries.
Nutrition
- Serving Size: 1/2 cup
- Calories: 280
- Sugar: 28g
- Sodium: 35mg
- Fat: 17g
- Saturated Fat: 10g
- Unsaturated Fat: 7g
- Trans Fat: 0.5g
- Carbohydrates: 29g
- Fiber: 1g
- Protein: 3g
- Cholesterol: 65mg