
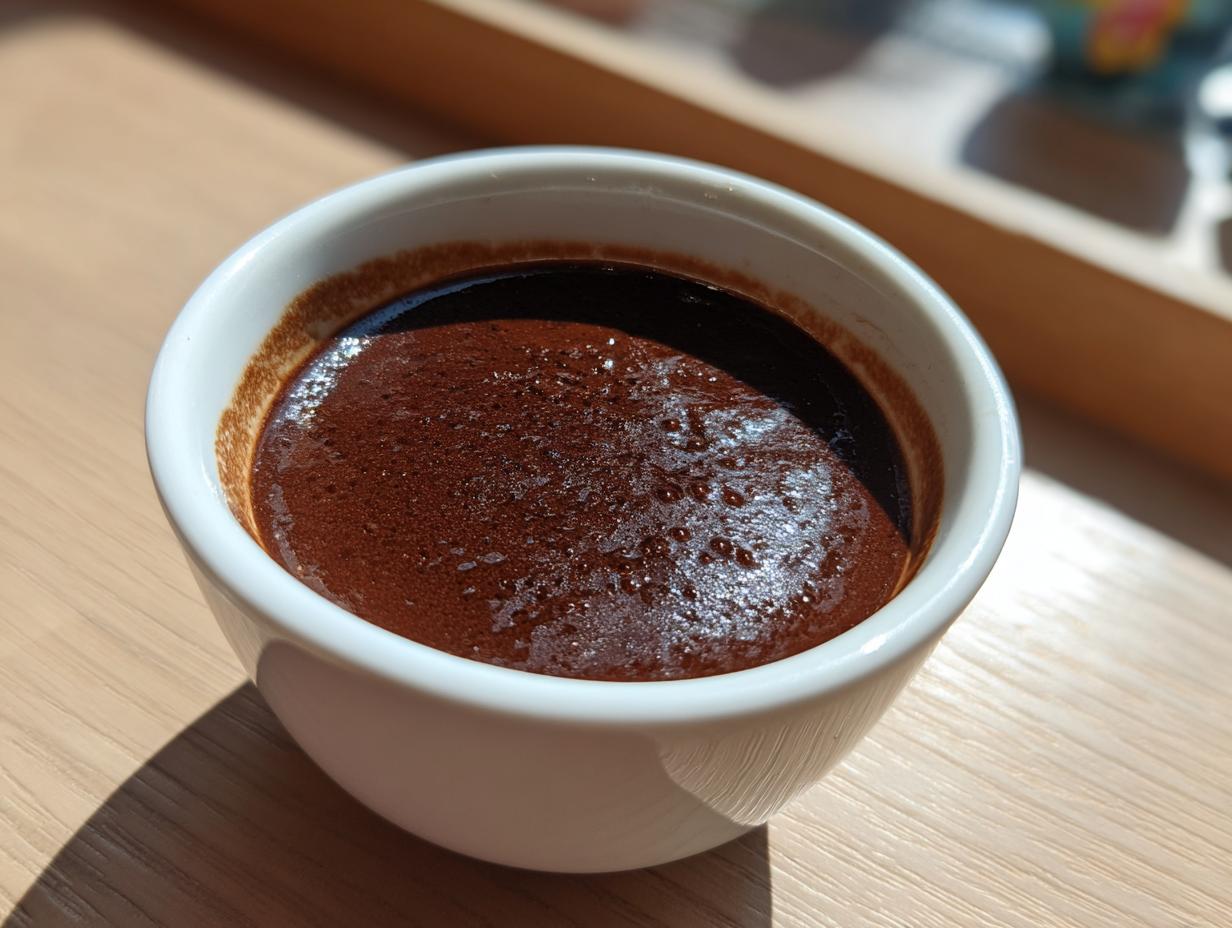
Oh, I know that feeling! You’re having one of those days where you absolutely need something rich, comforting, and deeply chocolatey, but you don’t want to spend half the night baking. We totally deserve a break, right? That’s why I’m sharing my absolute favorite chocolate pudding recipe with you today. Seriously, toss out those dusty boxes! This is how you make a truly velvety smooth, easy homemade pudding from scratch that tastes like pure heaven. On Kings Cook, I promise reliable recipes that work time after time, and this one is the definition of a quick, satisfying comfort food dessert. Trust me, once you try this simple stovetop method, you won’t ever go back.
- Why This Is the Best Homemade Chocolate Pudding Recipe
- Ingredients for Your Velvety Chocolate Pudding
- How to Make Chocolate Pudding From Scratch Using the Stovetop Pudding Recipe
- Tips for Success with Your Simple Pudding Recipe
- Serving Suggestions for This Indulgent Chocolate Dessert
- Storage and Reheating Instructions for Leftover Chocolate Pudding
- Troubleshooting Common Issues with Chocolate Pudding
- Frequently Asked Questions About Making Chocolate Pudding at Home
- Estimated Nutritional Data for This Classic Chocolate Dessert
Why This Is the Best Homemade Chocolate Pudding Recipe
Look, I test a lot of recipes, and I can tell you making chocolate pudding from scratch doesn’t have to be complicated or stressful. This recipe is my go-to comfort food dessert because it hits all the right spots in under 20 minutes of hands-on time. It delivers that deep, satisfying chocolate flavor we all crave without any weird stabilizers from a mix.
- It creates an incredibly rich chocolate dessert that tastes like you worked hours on it.
- It uses simple pantry staples—no need to run to a specialty store!
- It’s the ultimate reliable recipe for when you need that sweet fix fast.
If you love making rich desserts, you should definitely check out my fudge brownie recipe next, but first, let’s talk texture!
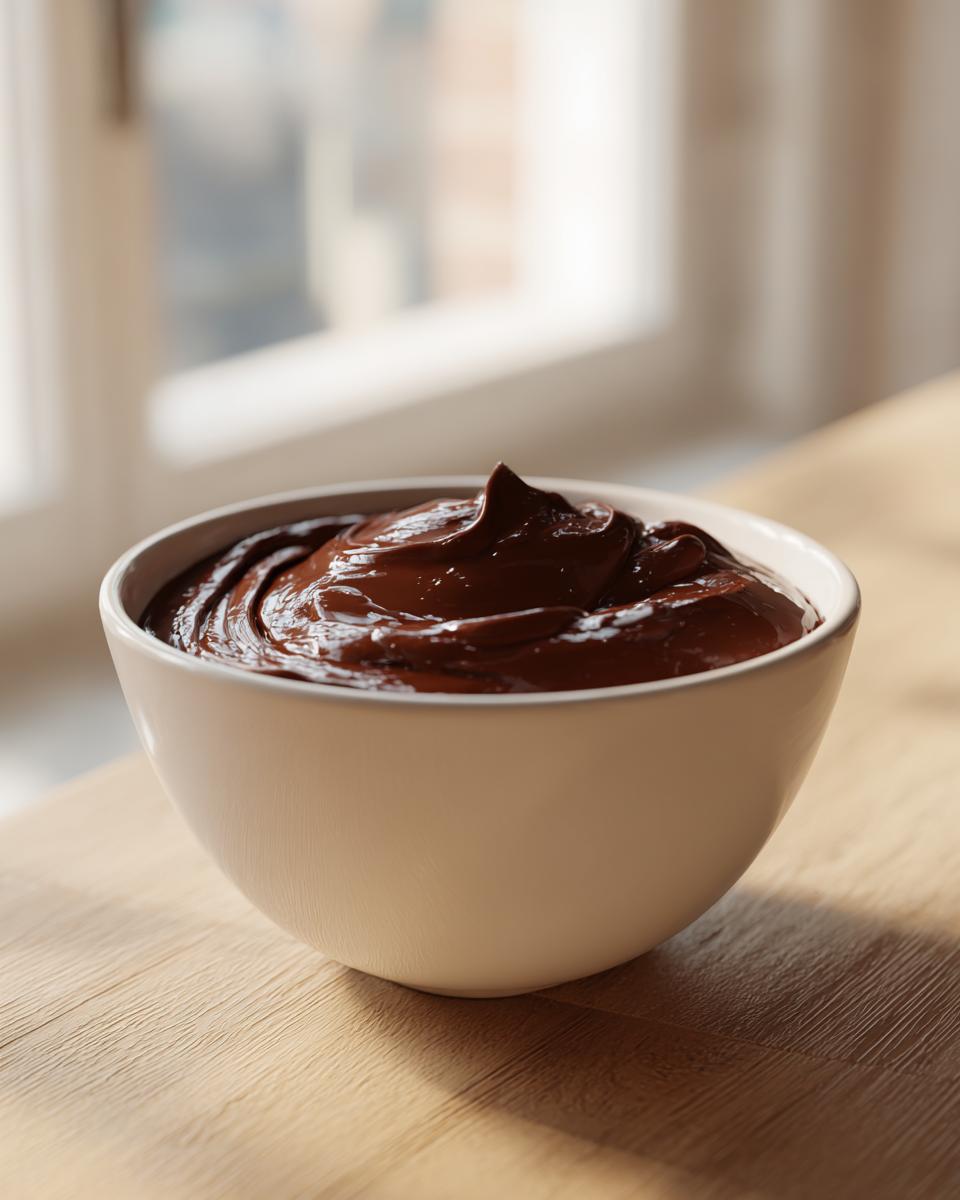
Achieving That Silky Smooth Dessert Texture
This is all about science, folks—and it’s totally easy science! The magic ingredient here is cornstarch. When you whisk it properly into the cold milk before heating, it acts as a perfect thickener. We are careful to cook it until it’s bubbling and then whisk in that cold cream and butter right at the end. That gentle mixing after taking it off the heat is what guarantees you end up with a true silky smooth dessert instead of something grainy.
Quick Chocolate Treat Preparation Time
What I love for a weeknight emergency chocolate craving is the speed. Prep time is about 10 minutes, and the cook time is another 10 minutes max. Yes, you still have to chill it, but that’s hands-off time! You can whip this up while the kids are finishing homework and have it ready to go into the fridge for dessert later. It truly is the perfect quick chocolate treat.
Ingredients for Your Velvety Chocolate Pudding
Okay, gathering the ingredients is the easiest part of this whole process, but don’t rush it! We want quality where it counts. You’ll need just a handful of things you likely already have, whisked together for that perfect consistency we talked about. We’re looking for something deeply satisfying, so make sure you grab good quality, unsweetened cocoa powder—it makes a huge difference in the final look of your chocolate pudding.
For the dairy, I insist on using whole milk and heavy cream here. That combination is what helps us achieve that signature velvety texture without needing extra fats later on. And for sweetness, we stick to simple granulated sugar; it dissolves cleanly and lets that cocoa shine through.
Ingredient Notes and Substitutions for Rich Chocolate Dessert
Now, if you’re like me and sometimes just need that extra layer of decadence, listen up! For a truly rich chocolate dessert experience, I’ve added a note in the recipe to substitute about a quarter cup of the milk with two ounces of finely chopped bittersweet chocolate. Add that right after you take the pan off the heat, stirring until it melts seamlessly in. That truly ups the indulgence factor!
And if you taste it and think, “Kate, I want this to stand up tall in my parfait dish,” you can adjust the cornstarch slightly. Increasing that to 3 tablespoons (instead of the 2 tablespoons listed) will give you a much thicker set. But if you’re aiming for that soft, spoonable, classic texture, stick to the original amount!
How to Make Chocolate Pudding From Scratch Using the Stovetop Pudding Recipe
Alright, time to get serious! While the ingredient list is short, the technique on the stovetop is where we build that incredible, luxurious texture. Don’t be intimidated by the whisk; this stovetop pudding recipe is honestly faster than waiting for water to boil for pasta. We are building flavor and thickness layer by layer, very deliberately, so keep your whisk handy and stay close to the stove for these few minutes!
First things first: you need to make sure the dry ingredients are totally incorporated before they even see the milk. I always start by whisking the sugar, cocoa, cornstarch, and salt in that saucepan until it looks like one homogenous brown powder. If your cocoa lumps up here, it’s going to stubbornly stay lumpy later, so beat those lumps out! If you need a quick chocolate sauce sometime, I have a great sauce recipe, but for pudding, we stick to the powder first.
Then, you slowly introduce the cold milk. Whisk constantly as you pour. Once it’s smooth as silk, then we turn on the heat. Remember, this initial whisking step is key to avoiding lumps later when we’re trying to make our chocolate pudding!
The Crucial Step: Cooking the Homemade Chocolate Pudding Recipe
This is where consistency counts. Place that pan over medium heat and you absolutely cannot walk away or stop stirring. You are looking for the mixture to start clinging heavily to the back of your whisk. It will suddenly change from thin liquid to something that coats your spoon heavily, and shortly after that, it will start bubbling. When it starts to bubble—that’s Step 3 finishing up—you need to immediately keep it boiling, stirring constantly, for exactly one full minute. That minute is super important! It cooks out that raw, starchy taste that can sometimes plague a homemade chocolate pudding recipe. Don’t skip it, or your pudding won’t taste as deep as it should! Seriously, check out this indulgent recipe for double chocolate pudding for inspiration, but stick to my instructions for that perfect stovetop result.
Chilling Your Easy Creamy Pudding Perfectly
Once that minute is up, pull the pan straight off the heat. Now we fold in the flavor boosters—the heavy cream, vanilla, and butter. Stir until that butter melts completely and everything is glossy. Now, here’s the trick for that perfect chilled texture: pour the pudding into your serving dishes right away. Then, take a sheet of plastic wrap—and this is crucial—lay it *directly* onto the surface of the pudding. No air pockets allowed! This stops the dreaded skin from forming. Let it cool on the counter for about 20 minutes, then cover the dishes loosely and move them to the fridge. It needs at least two hours to transform into the perfect easy creamy pudding.
Tips for Success with Your Simple Pudding Recipe
Even though this is a straightforward simple pudding recipe, a few little expert touches will elevate it from good to absolutely incredible. My biggest tip, which I tell everyone about when making any stovetop custard or pudding, is the whisk. You think any old utensil will do, right? Not quite! I highly recommend using a flat-edged whisk, often called a “sauce whisk.” Those flatter wires scrape the bottom and corners of the pan better than the balloon style, which is essential for stopping scorch marks from forming right where the heat hits the metal.
Next up: heat control. Medium heat sounds simple, but every stove is different. If you see little bits starting to stick and darken on the bottom before the mixture even thickens, turn the heat down! Scorching the bottom will give your pudding a slightly burnt flavor, and that’s one thing we just can’t fix later. If you want to practice your baking skills while you wait for the pudding to chill, I have a fantastic chocolate chip cookie recipe that’s also a home run!
Remember, constant stirring while cooking is non-negotiable! Keep that beautiful brown mixture moving until it’s steaming hot and bubbling vigorously for that full minute.
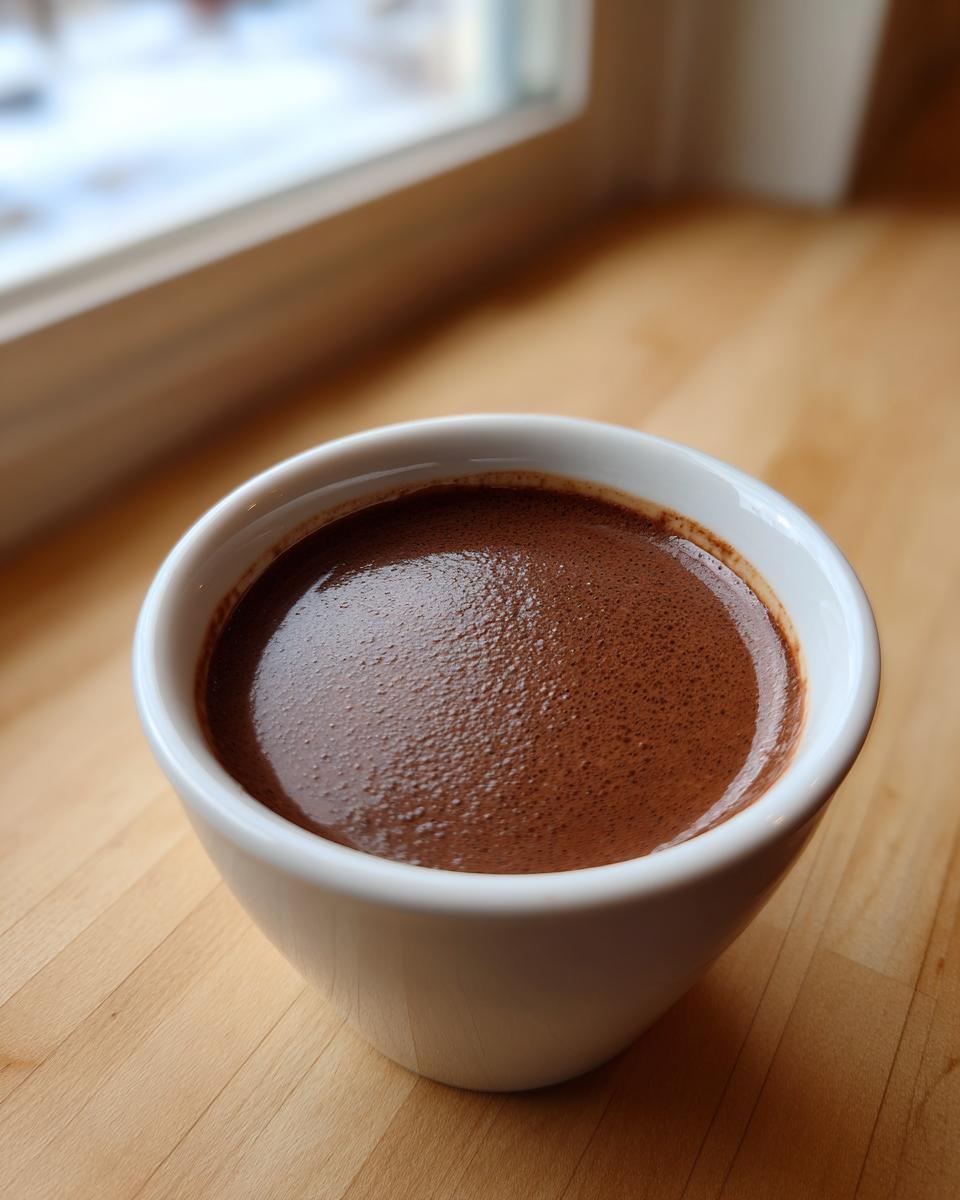
Serving Suggestions for This Indulgent Chocolate Dessert
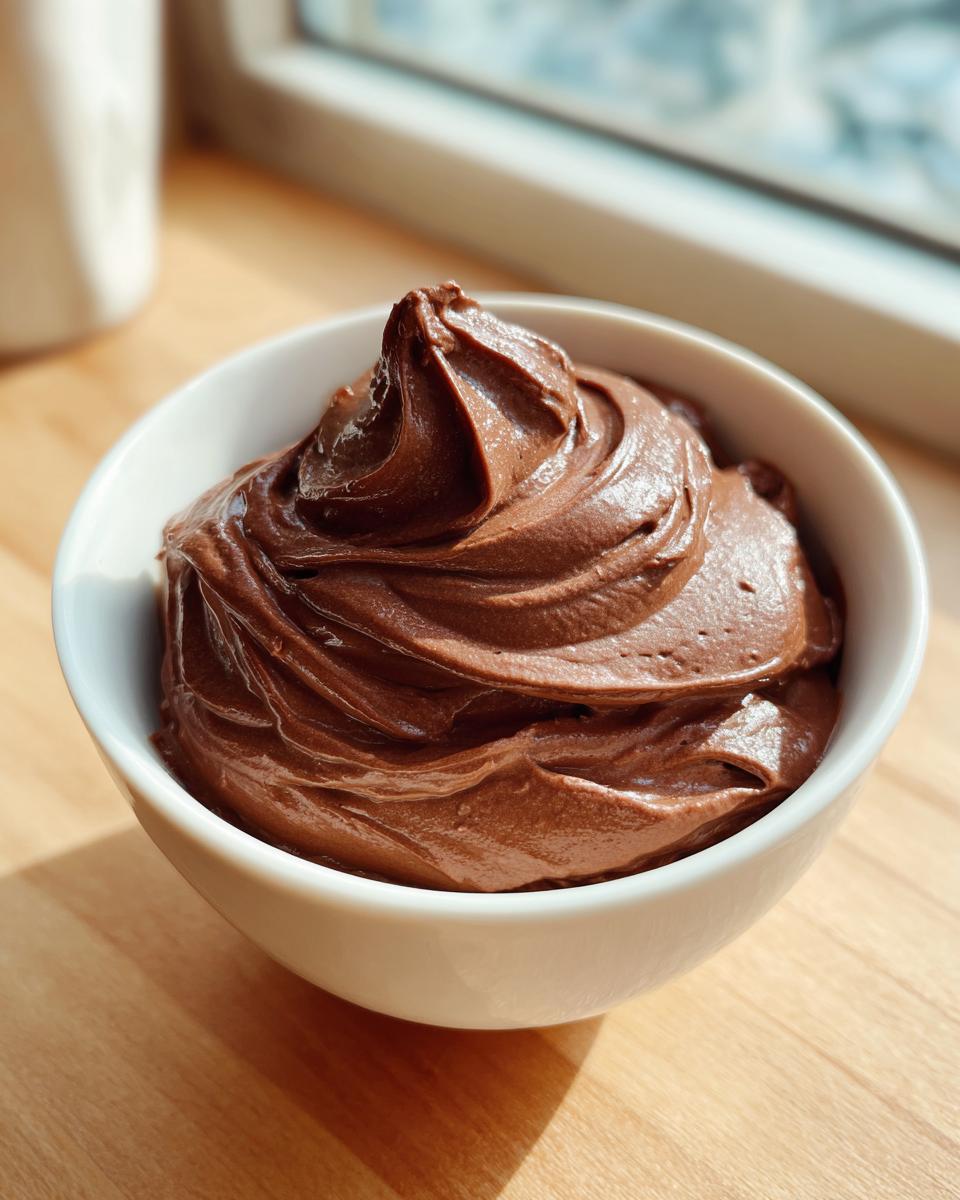
Now that your chocolate pudding is perfectly chilled—smooth, dark, and cool—it’s time for the fun part: dressing it up! This rich, creamy creation is an indulgent chocolate dessert all by itself, but a few simple additions make it spectacular. I usually serve it in clear little glasses so you can appreciate the texture!
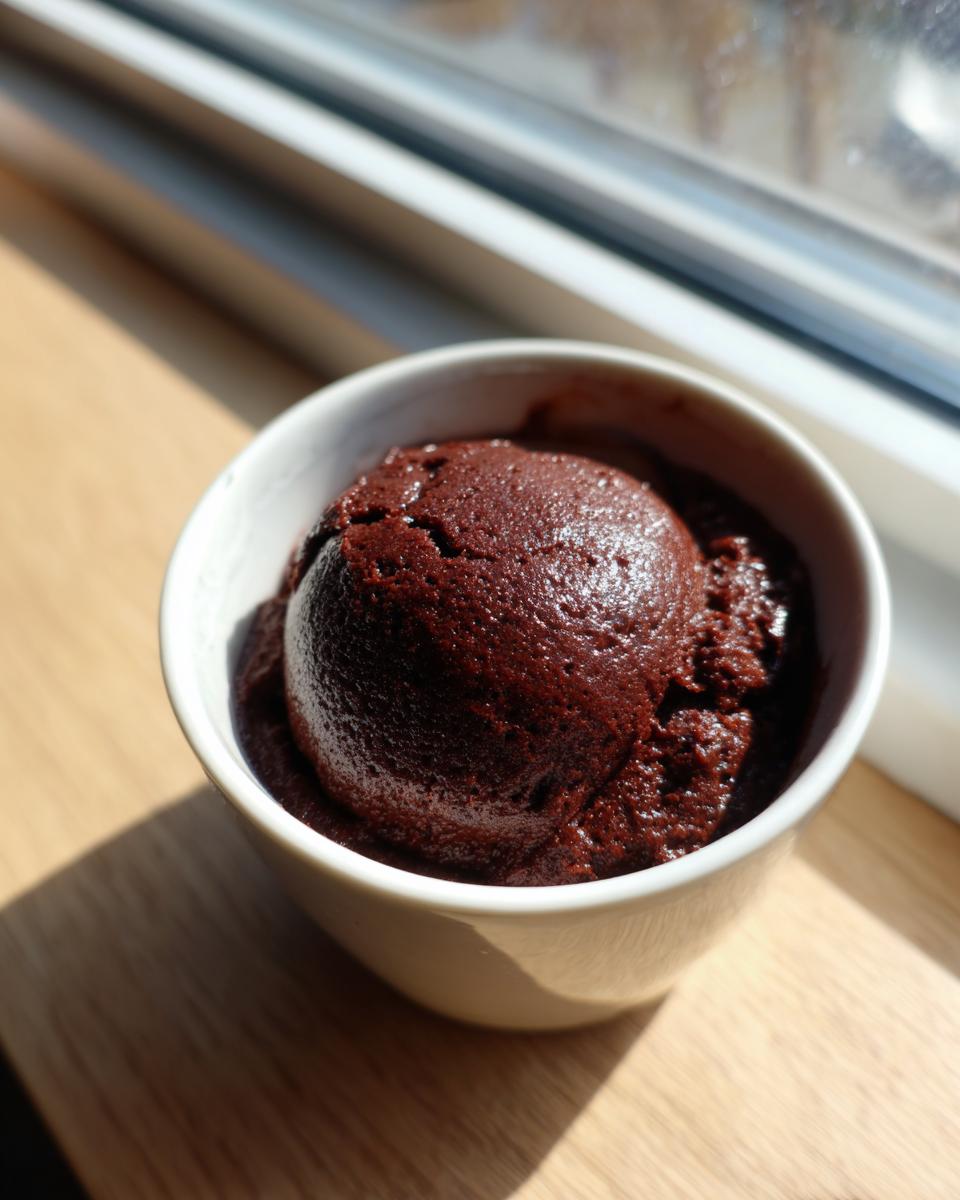
If you want classic comfort, a giant dollop of freshly whipped cream is the way to go. Seriously, homemade whipped cream tastes miles better than the canned stuff. Shaved dark chocolate sprinkled over the top adds a nice textural crunch. If you’re feeling fruity, a few fresh raspberries or sliced strawberries cut through the richness beautifully. Or, if you’re feeling ambitious and want to get fancy, you could always try spreading a little vanilla buttercream on top instead of cream!
Storage and Reheating Instructions for Leftover Chocolate Pudding
The best part about making a batch of this rich chocolate dessert is knowing that instant gratification is waiting for you later! Since this is a fresh, stovetop pudding recipe, storage is pretty straightforward, but paying attention to the surface is key if you want that same silky smooth texture tomorrow.
To store it, you must use plastic wrap—and I mean *must*. Press that plastic wrap directly against the surface of the pudding. Don’t just drape it loosely over the bowl. If you leave an air gap, you’re inviting that rubbery skin to form, and we worked so hard to avoid that earlier in the process! Pop the container into the refrigerator. This homemade chocolate pudding recipe will keep beautifully for about three to four days tucked away in the back of the fridge.
Now, about reheating: I really don’t recommend blasting this in the microwave. Microwaving stovetop puddings, especially those set with cornstarch, can sometimes make them unevenly hot or slightly gritty. Instead, take the dish out of the fridge about 20 to 30 minutes before you plan to serve it. Letting it gradually come up closer to room temperature mellows the texture beautifully and brings back some of that velvety mouthfeel.
If you absolutely need it warm—maybe you’re serving it over a piece of warm cake—gently warm it in a saucepan over very low heat, whisking softly the entire time. You are just aiming for warmth, never a boil. A gentle stir is all this classic chocolate dessert needs to be perfect again!
Troubleshooting Common Issues with Chocolate Pudding
Even with the best simple pudding recipe, sometimes things don’t go exactly as planned on the stovetop, right? Don’t panic if you run into trouble! We’re talking troubleshooting here—which means having a backup plan to save that rich, creamy chocolate dessert. Since this is a homemade chocolate pudding recipe, we control the ingredients, which means we can usually fix any small culinary hiccups!
The three big things people worry about are that grainy texture, the pudding refusing to thicken, or worse, finding burnt bits stuck to the bottom. Let’s tackle them one by one so you can still serve up that perfect, silky smooth dessert.
My Pudding is Grainy or Lumpy!
This usually happens for one of two reasons. If it’s lumpy right from the start before you even turn the heat on, that means your dry ingredients (especially the cocoa powder) didn’t fully incorporate when you whisked them dry. The fix there is sad but true: you might have to strain it. Use a fine-mesh sieve right over your serving bowls to catch those stubborn dry bits. If it’s slightly gritty *after* cooking, that means the cornstarch didn’t fully dissolve or cook out. A quick re-whisking over *very* low heat might help, but honestly, straining is often your best bet for salvaging that velvety chocolate recipe.
It Still Isn’t Thickening Up
If your mixture is steaming but it’s still watery and won’t coat the back of a spoon, you probably need a little more insurance! Remember how I mentioned you could add an extra tablespoon of cornstarch if you wanted a stiffer pudding? If yours hasn’t thickened after that one-minute boil, it needs more setting agent. You’ll want to mix one extra teaspoon of cornstarch with one teaspoon of cold milk until smooth in a separate small dish—make sure it’s perfectly smooth, no lumps! Then, while whisking the main simmering saucepan constantly, slowly drizzle in that slurry. Bring it back to a full boil for one minute more, and watch the magic happen! This little trick is how you save a batch that just isn’t cooperating with the recipe’s ratios.
I Think I Scorched the Bottom!
Oh man, I hate when that happens! It happens when the heat is too high and you stop stirring for just five seconds too long. If you taste a hint of burnt flavor, you have to act fast. Immediately strain the pudding, just like we talked about for the lumps, discarding whatever sticky, dark stuff is glued to the bottom of your saucepan. You might lose a tiny bit of volume, but you’ll save the flavor! If the scorch is really bad, it might be time to start over, but usually, straining works wonders. If you suspect your stovetop runs hot, check out this guide for easy recipe tips—they often have great advice on temperature control!
Frequently Asked Questions About Making Chocolate Pudding at Home
I totally get it—when you’re trying out a new recipe, especially a classic like this, you always have a few little questions buzzing around in your head. That’s why I put together this little FAQ section. We want your experience making this chocolate pudding to be totally stress-free so you get that perfect bowl of creamy goodness every single time. It’s all about confidence in the kitchen!
Can I substitute the whole milk in this chocolate pudding recipe?
That’s a great question about flexibility! You certainly *can* use lower-fat milk, like 2% or skim, but honestly, you’re sacrificing just a tiny bit of that luxurious quality we are aiming for when we try to achieve a velvety chocolate recipe. Remember, the whole milk and heavy cream work together to give the final product its richness and body. If you use skim milk, the pudding might set a little thinner. If you have to use 2%, it will be totally fine! Just know that the richer the dairy, the closer you get to that decadent, restaurant-quality texture.
How long does this homemade chocolate pudding recipe last?
Since this is a wonderful from scratch pudding made with real dairy and no heavy preservatives like the box stuff, it lasts best when stored tightly sealed in the fridge. I find that it’s absolutely perfect for the first 24 hours—that’s when it’s at its absolute silkiest peak! However, it stays delicious and perfectly fine for eating for about 3 to 4 days after you make it. Just make sure you use that plastic wrap trick and press it right onto the surface so it stays creamy and doesn’t develop that odd film on top.
If you’re interested in other fantastic make-ahead treats without turning on the stove, I have a killer recipe for no-bake chocolate lasagna that is perfect for when you just can’t face the stovetop!
Estimated Nutritional Data for This Classic Chocolate Dessert
I always try to offer full transparency, even though I know nobody actually makes dessert for the nutrition facts, right? But since this is a homemade chocolate pudding recipe, knowing what’s in it is helpful! This data is calculated based *exactly* on the ingredients listed for our recipe—the sugar, the whole milk, the butter, everything. Think of this as a good baseline for enjoying your perfect bowl of classic chocolate dessert!
Remember, these numbers are just estimates, and they really change based on the fancy toppings you add (like if you go heavy on the whipped cream or extra chocolate shavings!). This data covers one serving, yielding 4 total servings.
- Serving Size: 1 serving
- Calories: About 285 per serving
- Sugar: 28g (This is where the deliciousness comes from!)
- Fat: 16g (That fat content is what makes it so rich!)
- Saturated Fat: 10g
- Carbohydrates: 32g
- Protein: 5g
It’s a satisfying treat, for sure, but balanced enough for a weeknight indulgence. If you’re looking for a full list of all my go-to reliable sweets, check out my page for the best dessert recipes! Enjoy that silky smooth dessert guilt-free!
PrintVelvety Smooth, Easy Homemade Chocolate Pudding From Scratch
Make rich, creamy chocolate pudding on the stovetop without any box mixes. This simple recipe delivers a velvety smooth texture perfect for a quick, indulgent dessert.
- Prep Time: 10 min
- Cook Time: 10 min
- Total Time: 2 hours 20 min
- Yield: 4 servings 1x
- Category: Dessert
- Method: Stovetop
- Cuisine: American
- Diet: Vegetarian
Ingredients
- 1/4 cup granulated sugar
- 1/4 cup unsweetened cocoa powder
- 2 tablespoons cornstarch
- 1/4 teaspoon salt
- 1 1/2 cups whole milk
- 1/2 cup heavy cream
- 1 teaspoon vanilla extract
- 2 tablespoons unsalted butter
Instructions
- In a medium saucepan, whisk together the sugar, cocoa powder, cornstarch, and salt until no lumps remain.
- Gradually whisk in the whole milk until the mixture is smooth.
- Place the saucepan over medium heat. Cook, stirring constantly with a whisk, until the mixture thickens significantly and begins to bubble. This takes about 6 to 8 minutes.
- Once boiling, continue to cook and whisk for 1 minute to cook out the cornstarch taste.
- Remove the saucepan from the heat. Stir in the heavy cream, vanilla extract, and unsalted butter until the butter is fully melted and incorporated.
- Pour the pudding into individual serving dishes or a single bowl.
- Press plastic wrap directly onto the surface of the pudding to prevent a skin from forming.
- Chill in the refrigerator for at least 2 hours, or until completely cold and set.
Notes
- For an extra rich chocolate dessert, substitute 1/4 cup of the milk with 2 ounces of finely chopped bittersweet chocolate, added after removing the mixture from the heat.
- If you prefer a thicker pudding, increase the cornstarch to 3 tablespoons.
- Serve this silky smooth dessert topped with fresh whipped cream or berries.
Nutrition
- Serving Size: 1 serving
- Calories: 285
- Sugar: 28
- Sodium: 150
- Fat: 16
- Saturated Fat: 10
- Unsaturated Fat: 6
- Trans Fat: 0.5
- Carbohydrates: 32
- Fiber: 2
- Protein: 5
- Cholesterol: 45