
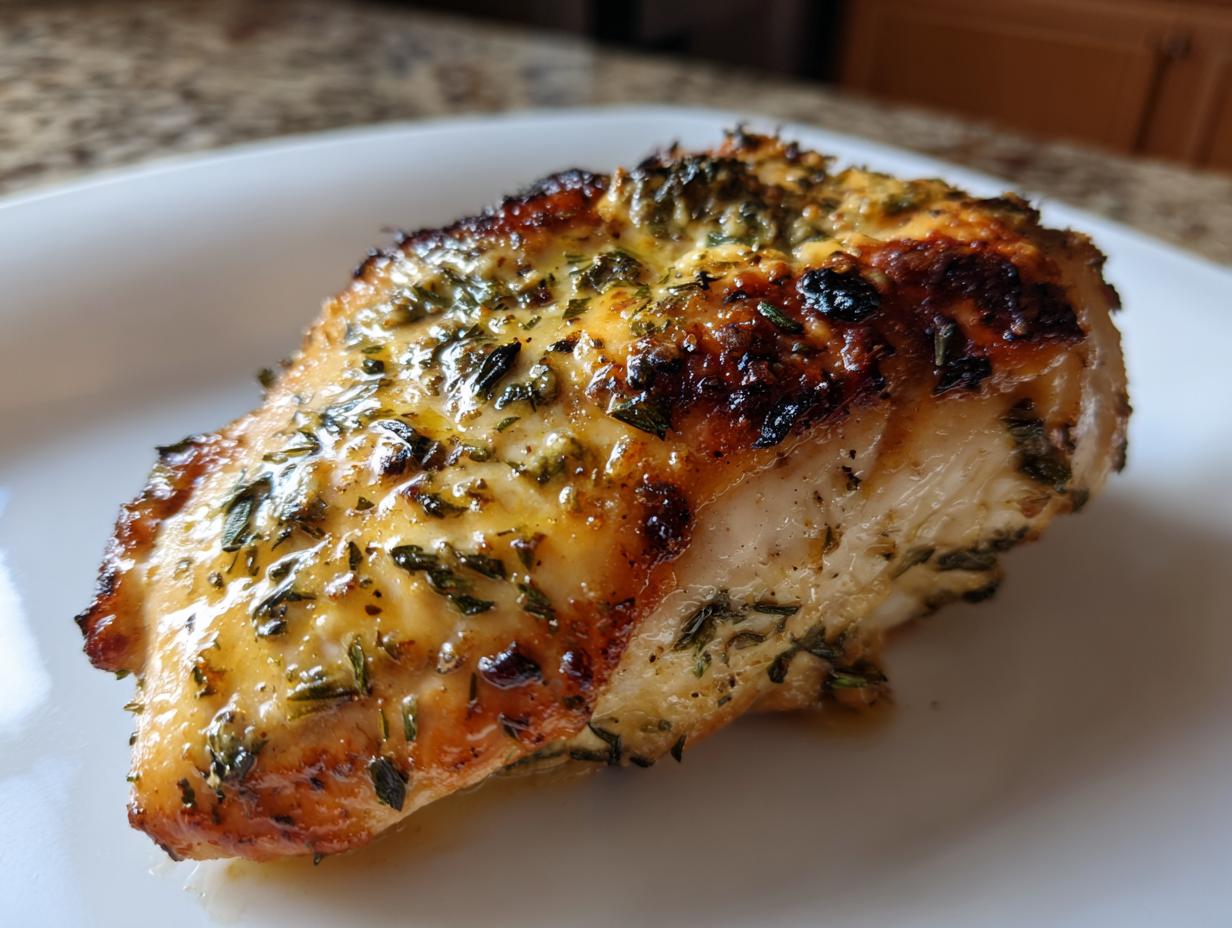
Are you tired of staring into the fridge at 5 PM wondering how you’re going to pull off a dinner that everyone actually wants to eat? I totally get it. Weeknight meals can feel like a losing battle, but they don’t have to! That’s why I’m sharing my absolute go-to recipe for the best caesar chicken you’ll ever make: creamy, cheesy, and unbelievably tender. Here at Kings Cook, I promise to give you reliable, simple recipes that work every single time for the busy American home cook. If you want comfort food fast, this oven-baked dish is your ticket out of that dinner rut! Check out the story behind why I love making home-cooking accessible.
- Why This Baked Caesar Chicken is Your New Weeknight Favorite
- Ingredients for the Creamy Parmesan Caesar Chicken
- Step-by-Step Instructions for Oven Baked Caesar Chicken
- Tips for the Best Caesar Chicken Every Time
- Serving Suggestions for Your Caesar Chicken Dinner
- Storing and Reheating Leftover Caesar Chicken
- Frequently Asked Questions About This Caesar Chicken Recipe
- Nutritional Snapshot for This High Protein Dinner
- Share Your Experience Making This Caesar Chicken
Why This Baked Caesar Chicken is Your New Weeknight Favorite
Honestly, I perfected this caesar chicken recipe after way too many nights staring at boring chicken breasts. We all deserve a dinner that feels indulgent but takes almost no effort, right? That’s why I’m calling this my new favorite quick weeknight chicken solution. We are talking about a sauce so luxurious, it makes the chicken truly feel like melt in your mouth chicken. I tested different cooking times obsessively to make sure the interior stayed ultra-juicy while the topping got beautifully golden brown.
It’s totally comforting, but it doesn’t weigh you down, and the clean-up is minimal. You can find more easy meals like this over on my weeknight recipes page!
Quick Prep and Total Time for Caesar Chicken
This is the part I love most. Seriously, you cannot beat these timings for a homemade dinner! Prep time is only about 10 minutes—just whisking sauce ingredients together. Then, pop it in the oven for 35 minutes while you set the table and maybe catch up on emails. So when I talk about a 30 minute chicken dinner, I mean business! It’s fast enough for Tuesday but tastes fancy enough for Friday night. It’s a dinner win-win, every time.
Ingredients for the Creamy Parmesan Caesar Chicken
When you look at this list, you’ll see why this Creamy Parmesan Chicken recipe is so easy! It uses mostly pantry staples, which is exactly how I like to keep things simple for you. We are aiming for that amazing, savory depth that only good Parmesan can give you, making this a naturally Gluten Free Caesar Chicken option right out of the oven. Remember, the quality of that Caesar dressing really sets the tone here, so choose one you actually like eating straight off the spoon!
- 4 boneless, skinless chicken breasts
- 1/2 cup creamy Caesar dressing
- 1/2 cup sour cream or Greek yogurt
- 1/2 cup freshly grated Parmesan cheese, plus extra for topping
- 1 teaspoon garlic powder
- 1 teaspoon black pepper
- 1 tablespoon olive oil
- 2 tablespoons chopped fresh parsley, for garnish
Ingredient Notes and Substitution Tips
Okay, let’s talk specifics so you get the best texture! First, that Caesar dressing? It needs to be the thick, creamy kind—not the watery vinaigrette style that separates the second you look at it. That creaminess is key for the sauce to hold up.
Second, for the body of the sauce, I listed sour cream, which is divine, but if you want to keep it a bit lighter, feel free to swap in plain Greek yogurt cup-for-cup. It gives you almost the same tangy richness but boosts that protein factor even more. Always use freshly grated Parmesan if you can; the pre-shredded stuff just doesn’t melt the same way, and we need that beautiful, bubbly crust!
Step-by-Step Instructions for Oven Baked Caesar Chicken
Okay, putting this amazing caesar chicken together is genuinely the easiest part of your day. We’re working quickly here, so have your baking dish ready! First up is preheating the oven to 375°F (190°C) and giving that dish a quick swipe of oil so nothing sticks. Then, grab your chicken breasts. It is crucial that you pat them completely dry with paper towels. Wet chicken steams instead of bakes, and we want *juicy*, not soggy!
Once they are dry, hit them quickly with the garlic powder and pepper right on both sides. Now it’s time to build that wonderful creamy layer. This is truly where the magic happens that ensures your final product is that satisfyingly tender, melt in your mouth chicken we are aiming for. If you ever need another comfort dish using creamy sauces, don’t forget to check out my recipe for creamy chicken alfredo later!
Creating the Signature Caesar Chicken Sauce
In a separate bowl, mix up the Caesar dressing, sour cream (or yogurt—your call!), and that half-cup of Parmesan. Don’t over-whisk it! You just want everything incorporated smoothly. Because we are using a combination of stabilized dairy (sour cream) and the emulsifiers already in the thick dressing, this mix creates a robust little blanket for the chicken. This ensures the sauce stays attached and creamy while baking, rather than separating into oil and herbs.
Baking Tips for Juicy Baked Chicken
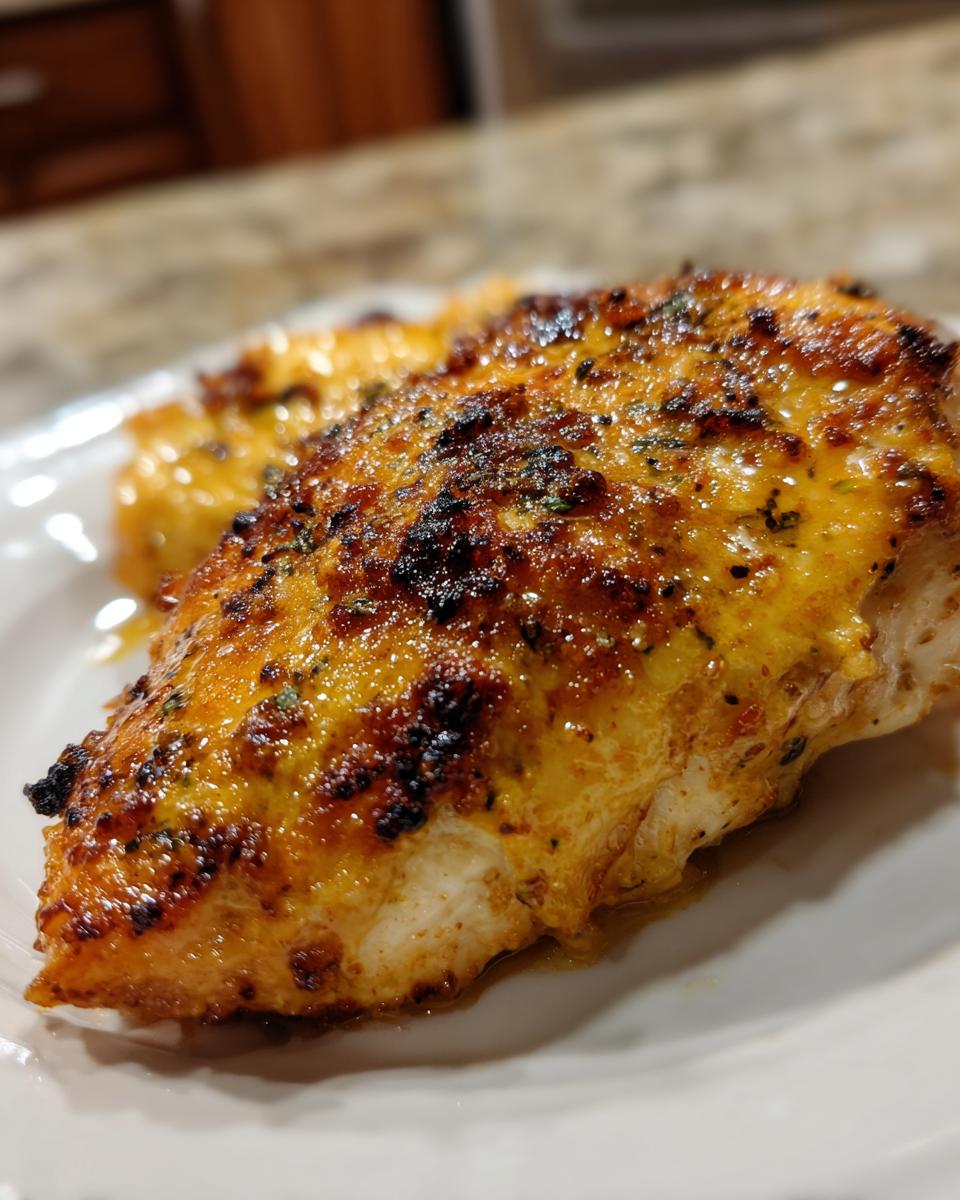
Spread that creamy mixture generously over the tops of the seasoned chicken breasts in the pan and sprinkle on that extra Parmesan. Into the oven they go for 30 to 35 minutes at 375°F. Always check the internal temperature—it needs to hit 165°F (74°C) to be safe, but once it’s there, pull it out! If you are feeling extra brave and want that truly restaurant-quality browned top, stick it under the broiler for just one or two minutes, but seriously, watch it like a hawk! It goes from golden to burned in like ten seconds, trust me.
Tips for the Best Caesar Chicken Every Time
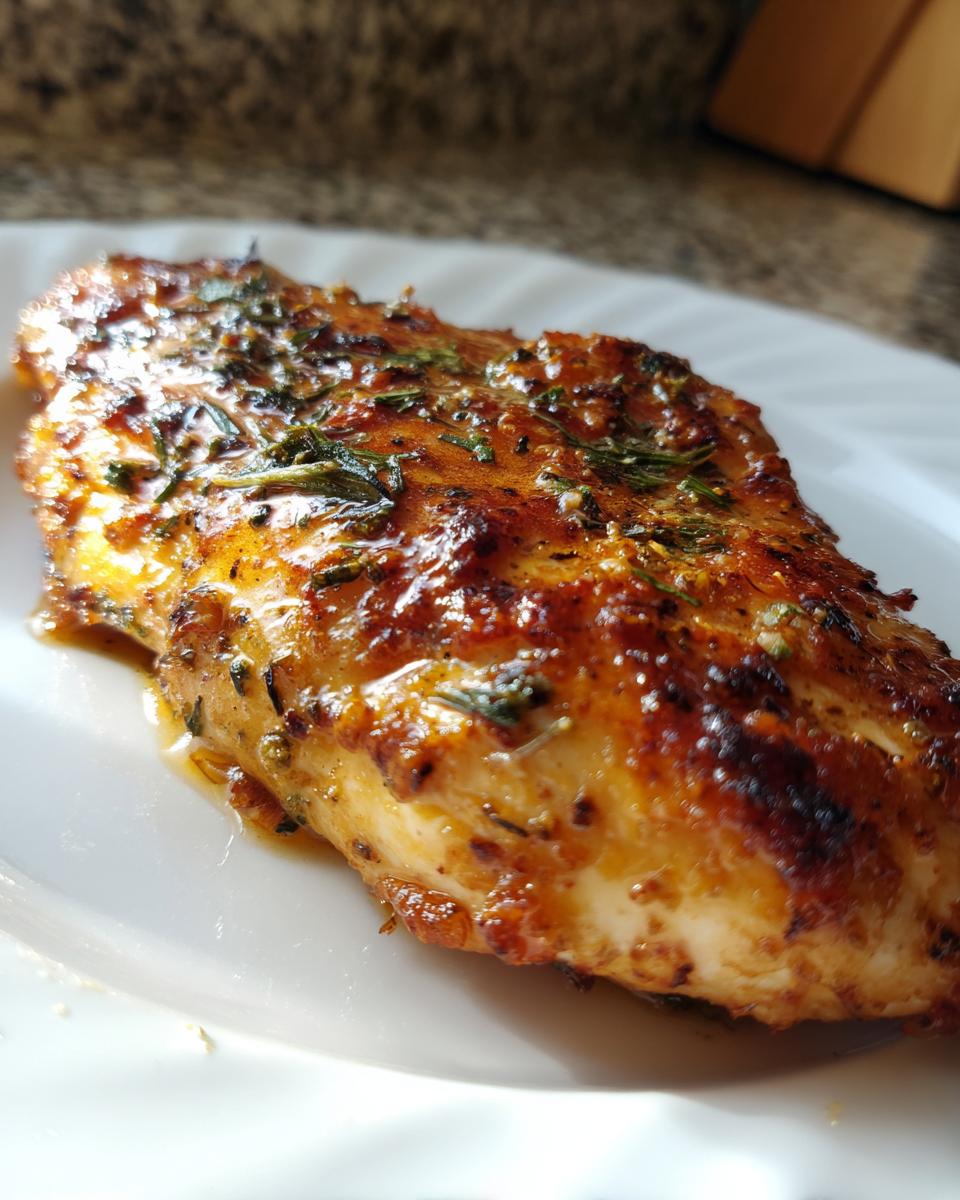
Even with a perfect recipe, sometimes things go a little sideways in the oven, right? I’ve been there! The goal here is always that beautiful, juicy baked chicken that melts in your mouth, not something dry and sad. Proper preparation makes all the difference here.
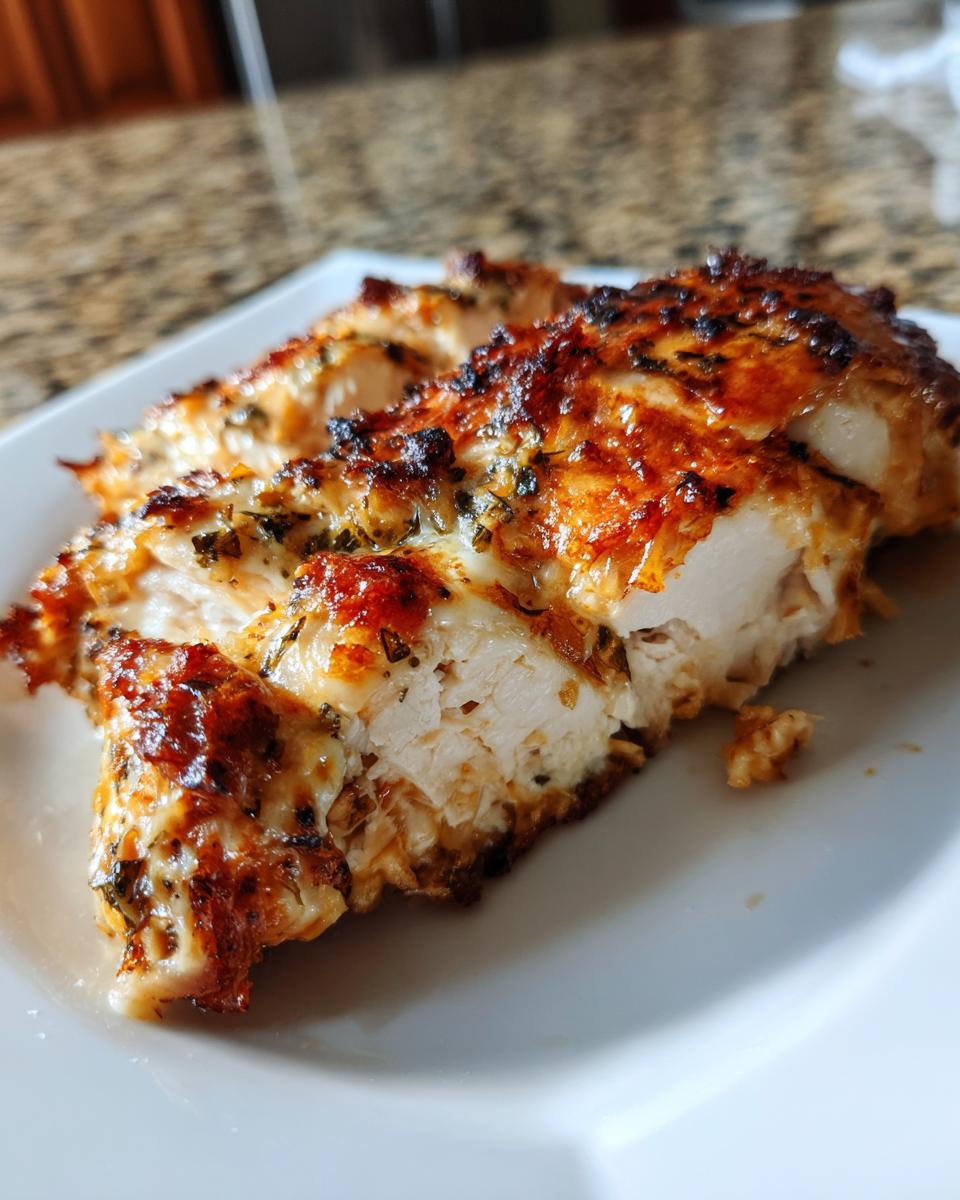
First tip for success: thickness matters when you’re making these cheesy chicken breast ideas. If your chicken breasts are super thick—like bowling balls—they’ll take forever to cook through, and the topping will burn before the inside is done. I always suggest slicing those monster breasts in half horizontally so you have four thinner cutlets. This helps them stay juicey and cook evenly fast.
Also, don’t skip resting the chicken! Even five minutes tented under foil lets those juices redistribute. It really keeps everything moist, which is the hallmark of a fantastic caesar chicken bake.
Serving Suggestions for Your Caesar Chicken Dinner
Now that you have this unbelievably rich and creamy caesar chicken situation going on, the last thing you want to do is serve it with something boring! This is classic comfort food dressed up nicely, so it needs simple sides that can soak up those extra pan juices. It’s a meal that feels special, but since prep was only 10 minutes, you still have oomph left for the side dishes!
I always lean toward something green and something starchy to balance out all that glorious Parmesan and dressing. It makes for a wonderful, well-rounded family friendly chicken meal.
- Roasted Green Veggies: You can’t skip the greens! Roasted broccoli or simple asparagus spears tossed with salt and garlic disappear fast. They get a little charred crispness that cuts through the richness beautifully.
- Creamy Potatoes: Nothing beats scooping up that extra creamy sauce with something soft. My garlic herb roasted potatoes are a perfect match because they are savory but don’t compete with the Caesar flavor.
- Simple Pasta or Rice: If you’re feeding hungry kids or craving real comfort, buttered egg noodles or a plain helping of rice works perfectly as a base to catch all that incredible sauce. This keeps the meal firmly in the realm of simple dinner recipes.
Honestly, leftovers are even great tucked into a sturdy salad the next day if you want to eat it cold for lunch!
Storing and Reheating Leftover Caesar Chicken
The best part about making a reliable dish like this caesar chicken is that you usually have leftovers, which makes the next day’s lunch a breeze! Since this recipe is so rich and creamy, proper storage is important so you don’t end up with dry chicken the next day.
Here’s what I do: once the chicken has cooled down completely—never store hot food in the fridge, it messes up the temperature for everything else—I treat it like gold. Transfer the chicken pieces and any leftover sauce from the pan into a truly airtight container. I mean, seal it tight! You can keep this in the refrigerator for about three to four days max, but trust me, it won’t last that long.
When you’re ready to eat those leftovers, oven reheating is always my first choice to bring back that baked texture. Set your oven to a low temperature, say 300°F (150°C). Place the chicken in a small, oven-safe dish and sprinkle maybe a teaspoon of water or broth right in the bottom of the dish—this creates a little steam bath and keeps things moist under the heat.
If the sauce on top looks a bit thick or congealed after chilling, don’t panic! That’s just the Parmesan and sour cream settling in. Before you reheat, just stir a tiny splash of milk or maybe a drop more Caesar dressing right into the topping on the portion you plan to eat. It helps loosen everything up and brings back that creamy feeling. Heat it until center is warm, and boom—you’ve got melt in your mouth chicken again without sacrificing any flavor!
Frequently Asked Questions About This Caesar Chicken Recipe
I always get so many great questions when someone tries this caesar chicken for the first time, and that’s fantastic! It just proves how much you’re invested in making a perfect high protein dinner. I’ve pulled together the top things my readers ask me about this oven baked chicken recipe so you can feel totally confident before you even turn on the oven.
Is this Easy Caesar Chicken Recipe safe for a gluten-free diet?
This is a great question, especially since we’re coating the chicken in sauce! The good news is that the core components—chicken, sour cream, Parmesan, garlic powder, pepper—are naturally gluten-free. So yes, this recipe is built to be a wonderful Gluten Free Caesar Chicken option for you!
However, you have to check your bottle of Caesar dressing! Some dressings use wheat or flour as thickeners—which we absolutely cannot have. Just give the ingredient list a quick peek to make sure your favorite brand doesn’t have any hidden gluten in it. If you choose your dressing wisely, you are good to go for a fantastic, safe meal.
How do I prevent the sauce from separating when baking my caesar chicken?
This is the secret to getting that beautiful, creamy coating instead of an oily mess! The texture we are aiming for, that melt in your mouth chicken experience, relies on stable fats in the sauce. That’s why I insist on using sour cream, or as an alternative, thick Greek yogurt. Those ingredients are fantastic at helping emulsify or hold together the dressing when it heats up.
Make sure you mix that sauce really well before spooning it on top. Once it’s in the oven, keep the temperature steady at 375°F. If the oven is fluctuating wildly, that can sometimes encourage the fats to separate. Stick to the suggested time and temperature, and that creamy layer should stay perfectly put, giving you the best caesar chicken topping!
If you’ve ever wondered how to make a great salad to go with this, you might want to check out my Classic Caesar Salad guide for the ultimate pairing!
Nutritional Snapshot for This High Protein Dinner
I know many of you are counting macros or just trying to make sure your meal is a solid, filling high protein dinner, so I put together the estimated nutrition for one serving of this caesar chicken bake. Isn’t it great that a cheesy, comforting weeknight meal can actually be pretty good for you?
Keep in mind, because I use real-world ingredients that change based on what’s on sale or what brand of Caesar dressing I grab, these numbers are my best educated guess. If you swap the sour cream for Greek yogurt, for example, you’ll see the fat content drop a bit and the protein tick up slightly, so always adjust based on what you use!
- Calories: Approximately 350 per serving
- Protein: Roughly 38 grams
- Fat: Around 20 grams
- Carbohydrates: About 5 grams
That high protein count means this baked chicken dinner will keep you feeling satisfied well past dinnertime, which is exactly what I want in my simple dinner recipes!
Share Your Experience Making This Caesar Chicken
I am so excited for you to try this caesar chicken! Seriously, once you see how simple it is, I bet it climbs right up to the top of your weekly rotation. I spend so much time testing and tweaking things in my kitchen so you don’t have to worry about disappointing results, and I truly hope this becomes one of your favorite easy caesar chicken recipes.
Did it come out perfectly melt in your mouth tender? Was the Parmesan topping just cheesy enough? I absolutely want to hear about it! The best part of sharing recipes like this is knowing they are making someone else’s weeknights just a little bit happier and easier.
If you loved this healthy dinner idea, please do me a huge favor and come back here to rate it! Giving it five stars helps other busy folks find this reliable recipe when they need some dinner inspiration.
Also, if you snapped a picture of your perfectly baked, creamy chicken, tag me on social media! Or, if you have any lingering questions about the sauce or the baking time, shoot me a message through my contact page. I’m always happy to troubleshoot or just chat about food. Now go enjoy that delicious dinner!
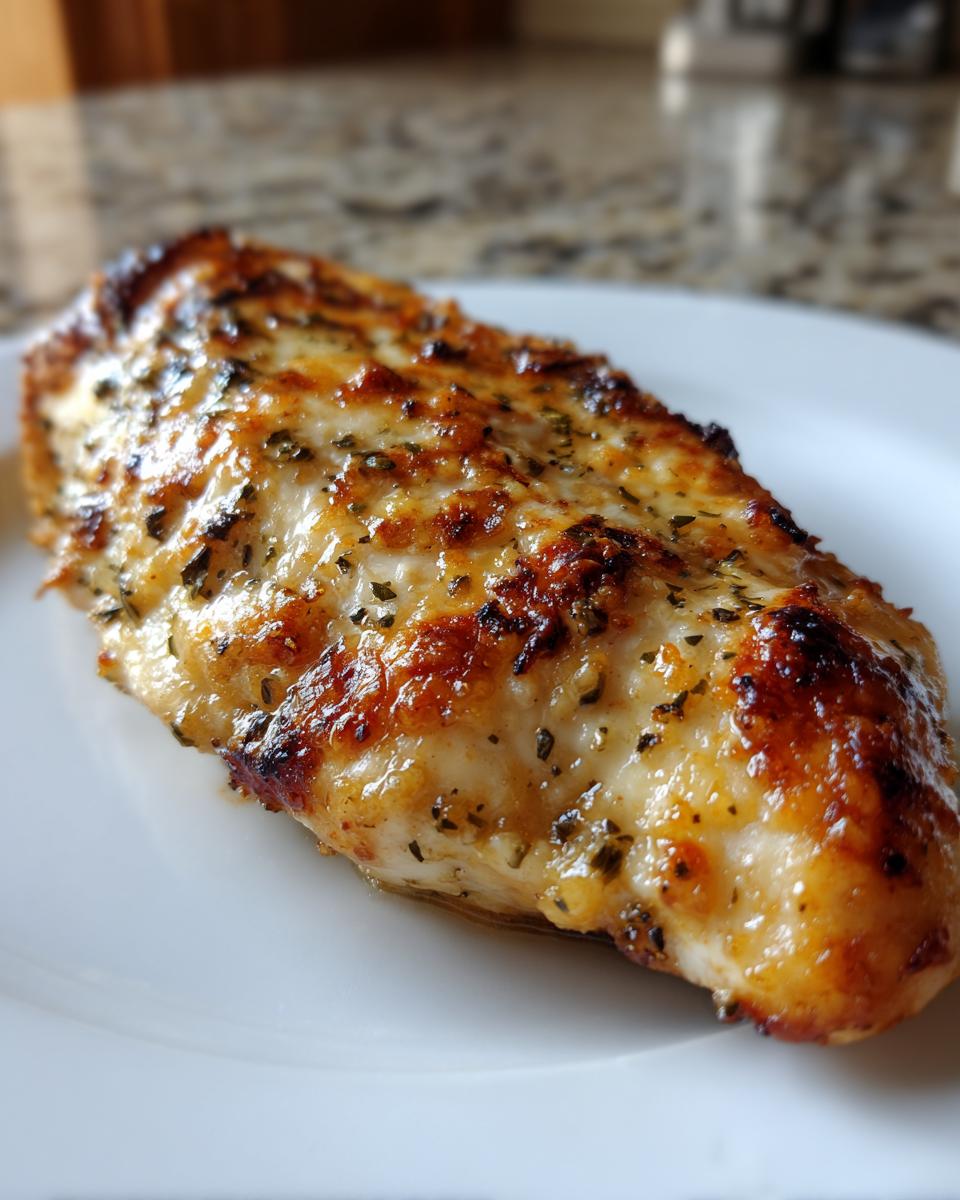
PrintMelt-in-Your-Mouth Baked Caesar Chicken

Make this easy, creamy Baked Caesar Chicken for a quick weeknight dinner. It features tender chicken breasts coated in a rich Caesar and Parmesan sauce, baked until juicy.
- Prep Time: 10 min
- Cook Time: 35 min
- Total Time: 45 min
- Yield: 4 servings 1x
- Category: Dinner
- Method: Baking
- Cuisine: American
- Diet: Gluten Free
Ingredients
- 4 boneless, skinless chicken breasts
- 1/2 cup creamy Caesar dressing
- 1/2 cup sour cream or Greek yogurt
- 1/2 cup freshly grated Parmesan cheese, plus extra for topping
- 1 teaspoon garlic powder
- 1 teaspoon black pepper
- 1 tablespoon olive oil
- 2 tablespoons chopped fresh parsley, for garnish
Instructions
- Preheat your oven to 375°F (190°C). Lightly grease a baking dish with olive oil or nonstick spray.
- Pat the chicken breasts dry with paper towels. Season both sides with garlic powder and black pepper.
- In a small bowl, mix together the Caesar dressing, sour cream (or Greek yogurt), and 1/2 cup of grated Parmesan cheese until you have a smooth, creamy sauce.
- Place the seasoned chicken breasts in the prepared baking dish. Spread the creamy Caesar-Parmesan mixture evenly over the top of each chicken breast, coating them completely.
- Sprinkle a little extra Parmesan cheese over the top of the sauce layer.
- Bake for 30 to 35 minutes, or until the chicken reaches an internal temperature of 165°F (74°C) and the topping is golden brown.
- Remove the chicken from the oven and let it rest for 5 minutes before serving.
- Garnish with chopped fresh parsley. Spoon any pan sauce over the chicken when serving.
Notes
- For an extra crispy, golden top, you can place the dish under the broiler for the last 2 to 3 minutes of baking, watching closely to prevent burning.
- This dish pairs well with roasted vegetables or mashed potatoes for a complete meal.
- If you prefer a lighter sauce, substitute sour cream with plain Greek yogurt.
Nutrition
- Serving Size: 1 breast
- Calories: 350
- Sugar: 3
- Sodium: 550
- Fat: 20
- Saturated Fat: 7
- Unsaturated Fat: 13
- Trans Fat: 0
- Carbohydrates: 5
- Fiber: 0
- Protein: 38
- Cholesterol: 110