
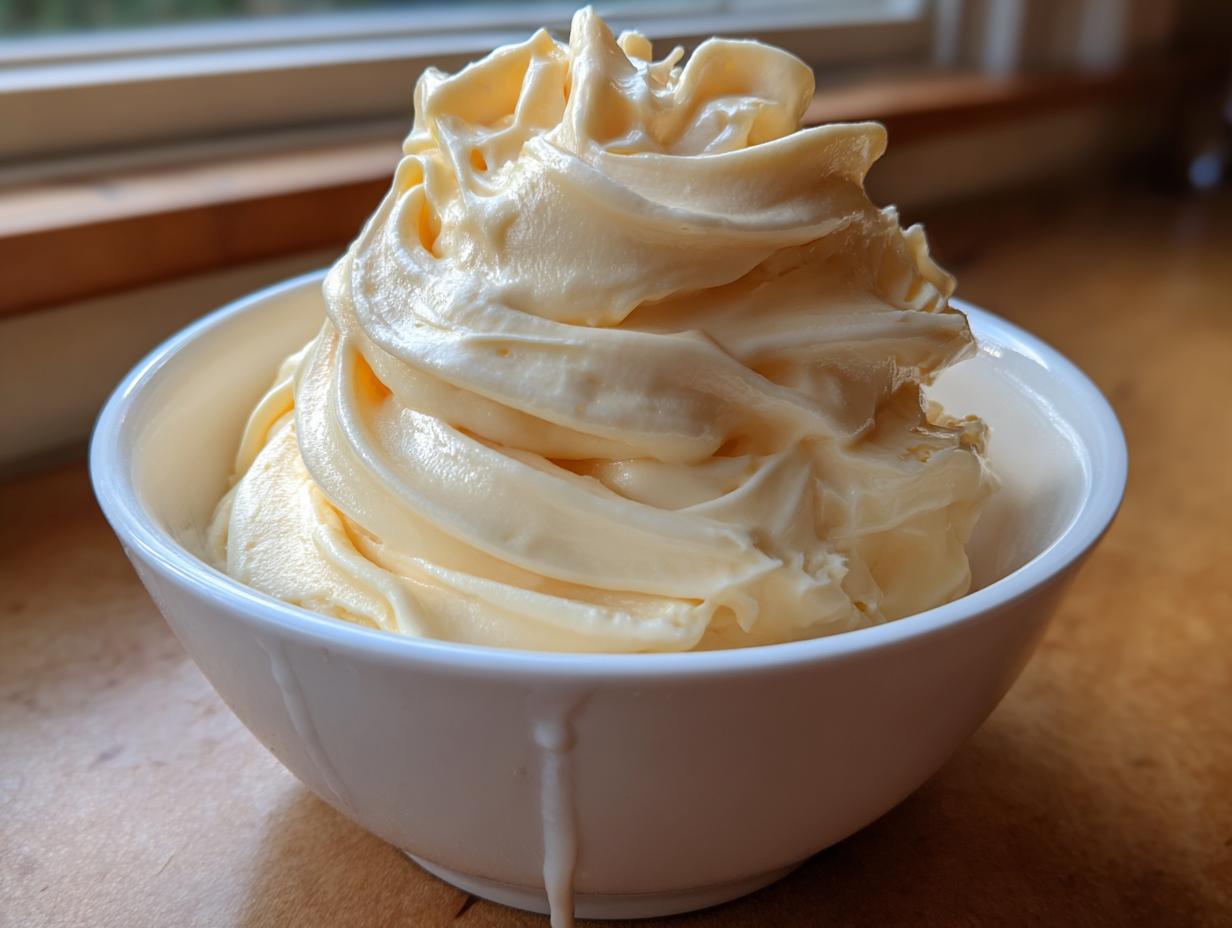
If you ever feel like you deserve a rich, creamy dessert but you don’t want the guilt, or worse—you don’t have time for anything complicated—I have a game-changer for you! Seriously, I’m pulling out one of my most reliable secrets today: a super amazing, **banana ice cream** that needs just three things from your freezer and pantry. It’s exactly what I whip up when I want that smooth, delightful texture of soft serve without churning or adding heavy dairy.
Here at Kings Cook, my mission is to make sure you, the busy home cook, feel like royalty when you create something delicious. This recipe perfectly fits that promise because it’s reliable, incredibly fast, and uses ingredients you probably already have lurking in the fruit bowl. You are going to love this **easy banana nice cream** because it proves you don’t need a fancy machine to get a phenomenal **healthy frozen banana dessert**.
Forget complicated steps; we’re aiming for pure satisfaction in minutes. This isn’t just a recipe; it’s my go-to solution for those hot summer afternoons or when that sneaky 3 PM sugar craving hits. Trust me, once you see how simple this is, you’ll never look at slightly spotty bananas the same way again!
- Why This Easy Banana Nice Cream is Your New Favorite Banana Ice Cream
- Gathering Ingredients for Your Vegan Banana Ice Cream Recipe
- Step-by-Step Guide to Making Easy Banana Nice Cream
- Tips for Success with Homemade Banana Dessert
- Storage and Reheating Instructions for Banana Ice Cream
- Serving Suggestions for This Dairy Free Banana Dessert
- Frequently Asked Questions About Banana Ice Cream
- Estimated Nutritional Data for This Guilt Free Ice Cream Alternative
- Share Your Homemade Banana Ice Cream Creations
Why This Easy Banana Nice Cream is Your New Favorite Banana Ice Cream
I know what you’re thinking: Can something this fast truly taste decadent? The answer is a resounding yes! This recipe is designed specifically for the person who needs something amazing *right now*. We’re cutting all the nonsense—no eggs, no added dairy, and certainly no waiting around for an ice cream maker to chill. It’s the ultimate **guilt free ice cream alternative**!
This recipe hits all the marks for a busy home cook like you. See why it’s become absolutely essential in my summer rotation:
Speed and Simplicity: The 3 Ingredient Nice Cream Promise
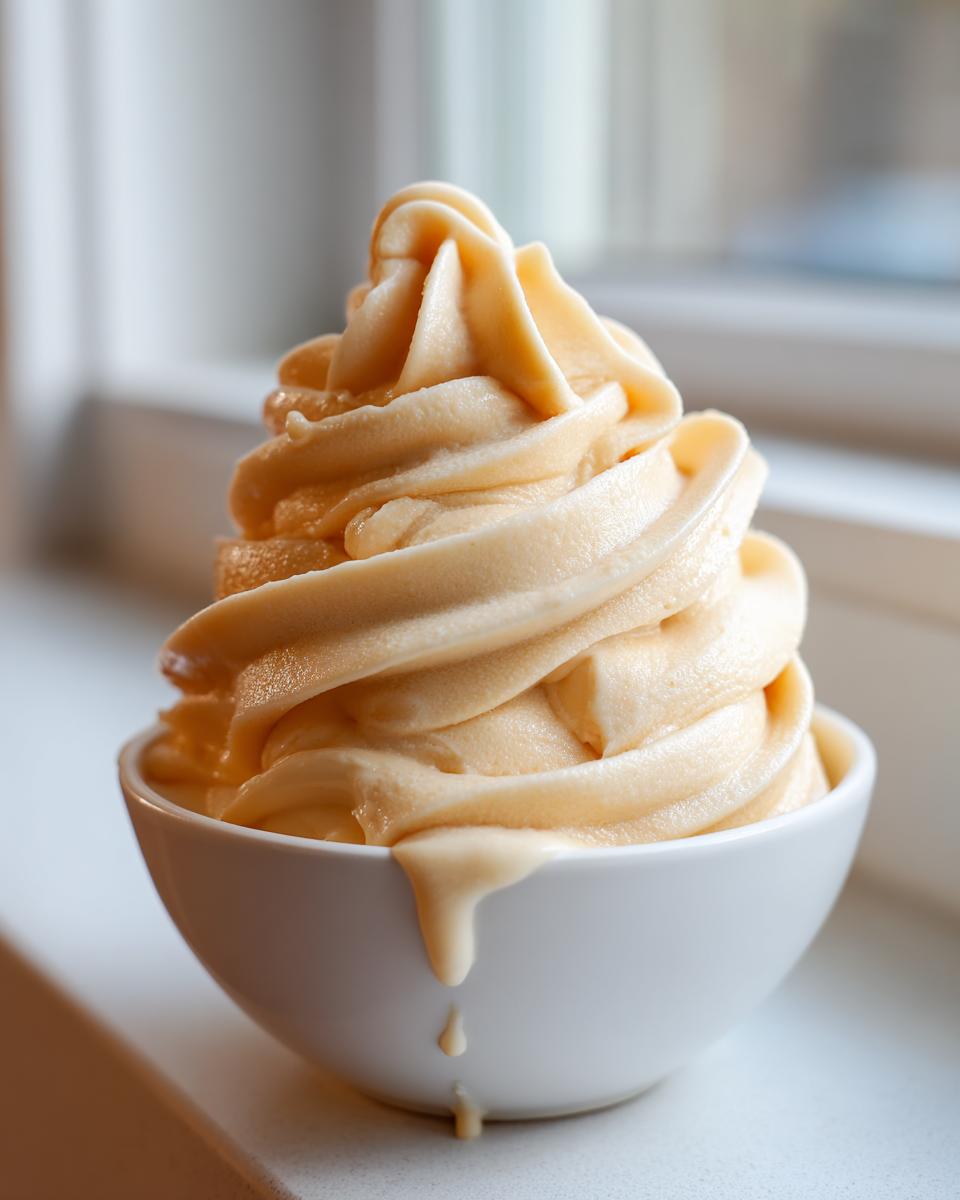
Honestly, you can’t beat this deal. This is my official **3 ingredient nice cream**—bananas, milk, vanilla. That’s it! After you prep your fruit (which is just slicing and freezing the night before), the active blending time nets you a gorgeous **quick banana soft serve** in about five minutes flat. It’s faster than running to the store!
Achieving Creamy Banana Ice Cream Texture Without Churning
The secret here isn’t just the low ingredient count, it’s how those frozen bananas behave when they hit the high-powered blade. They break down perfectly into millions of tiny little ice crystals that mimic the texture of premium, churned ice cream. This is the magic of **no churn banana ice cream**—the fruit does all the heavy lifting to create that incredible **creamy banana ice cream** you crave.
Gathering Ingredients for Your Vegan Banana Ice Cream Recipe
Okay, let’s talk about what you need to pull this masterpiece together! Since this is such a simple **vegan banana ice cream recipe**, the quality of what you use really matters. If you want that incredible, rich flavor that keeps this tasting like real indulgence—and not just frozen mush—you need to pay attention to the bananas. The riper they are, the sweeter and creamier your final **healthy frozen banana dessert** will be. Don’t be shy grabbing the ones that have those tell-tale brown spots!
We are keeping things pure and simple here, focusing on what gives you the best flavor base, which is why we stick to only three core items. You can see the detailed instructions over at another great source if you want another view on this style of dessert, but I truly think my ratios are perfected for the best result!
Essential Components for Creamy Banana Ice Cream
Here is everything you need. Make sure those bananas are rock solid before you even think about blending them!
- 4 large ripe bananas, peeled, sliced, and frozen solid
- 1/4 cup unsweetened almond milk (or other plant-based milk)
- 1 teaspoon pure vanilla extract
Step-by-Step Guide to Making Easy Banana Nice Cream
Alright, here is where the magic happens! Don’t be intimidated by the frozen fruit; your food processor or strong blender is about to turn those hard chunks into the most wonderfully smooth **blended banana ice cream** you’ve ever had.
This process requires some patience, but remember, the active work time is incredibly short. If I’m using my regular blender, I always have a spatula handy. I’ve learned the hard way that you *must* stop and scrape down the sides often, otherwise, the bottom keeps spinning and nothing happens at the top. It’s a little messy, but totally worth the effort for that ultra-creamy result! If you need tips on making other smooth, comforting recipes, my guide to moist banana bread has similar mixing techniques!
The Blending Process for Perfect Banana Ice Cream
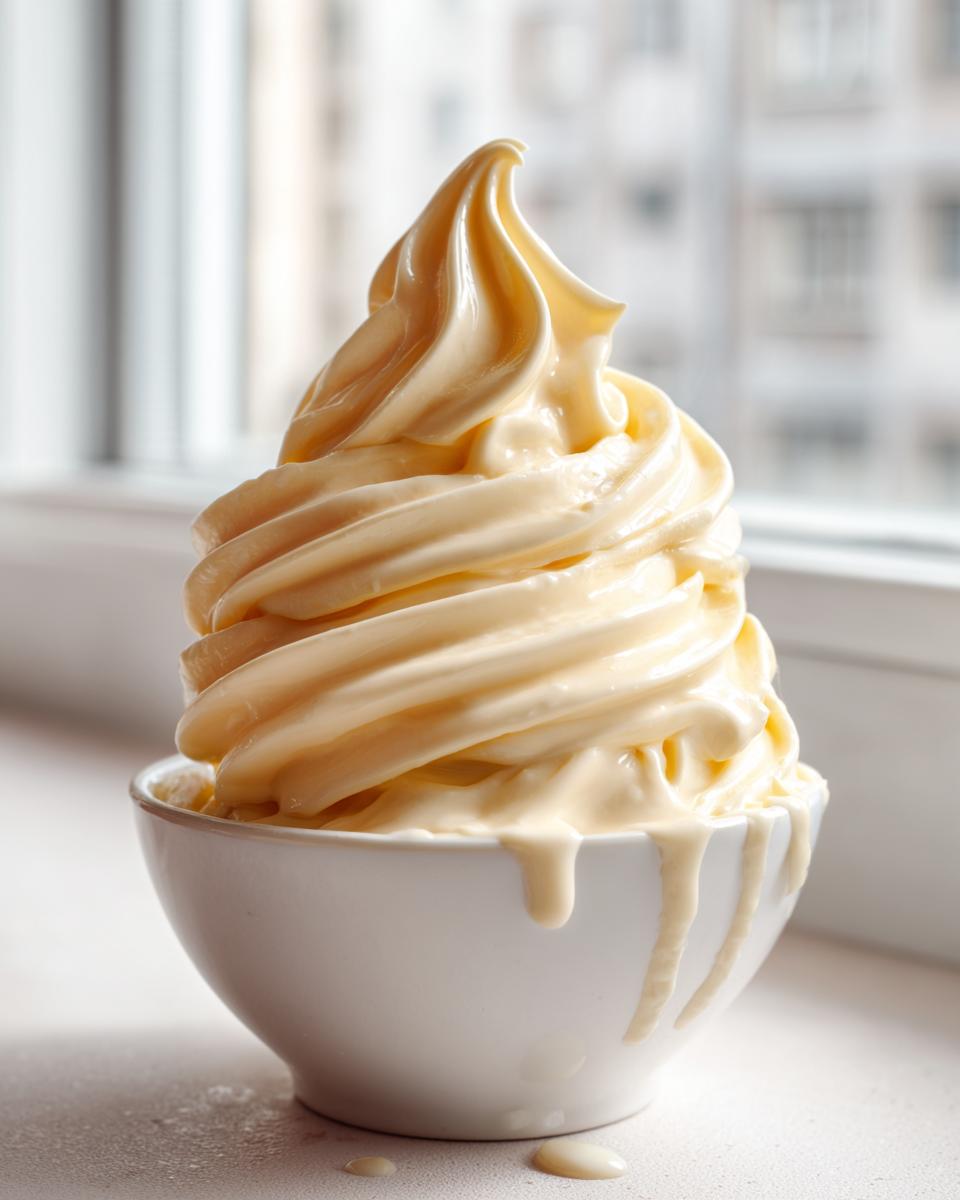
First things first: get those frozen banana slices into your high-powered machine. Then, drizzle in your plant milk and vanilla extract. Start blending! I always advise readers to hang onto those first minute or two because the mixture looks hopeless—it’s totally crumbly, like rough sand. Keep scraping, keep pulsing, and suddenly, things change. After about three to five minutes, depending on your machine’s strength, you’ll hit the sweet spot where it transforms into a thick, beautiful soft-serve consistency. It’s amazing!
Serving Textures: Soft Serve vs. Scoopable Banana Ice Cream
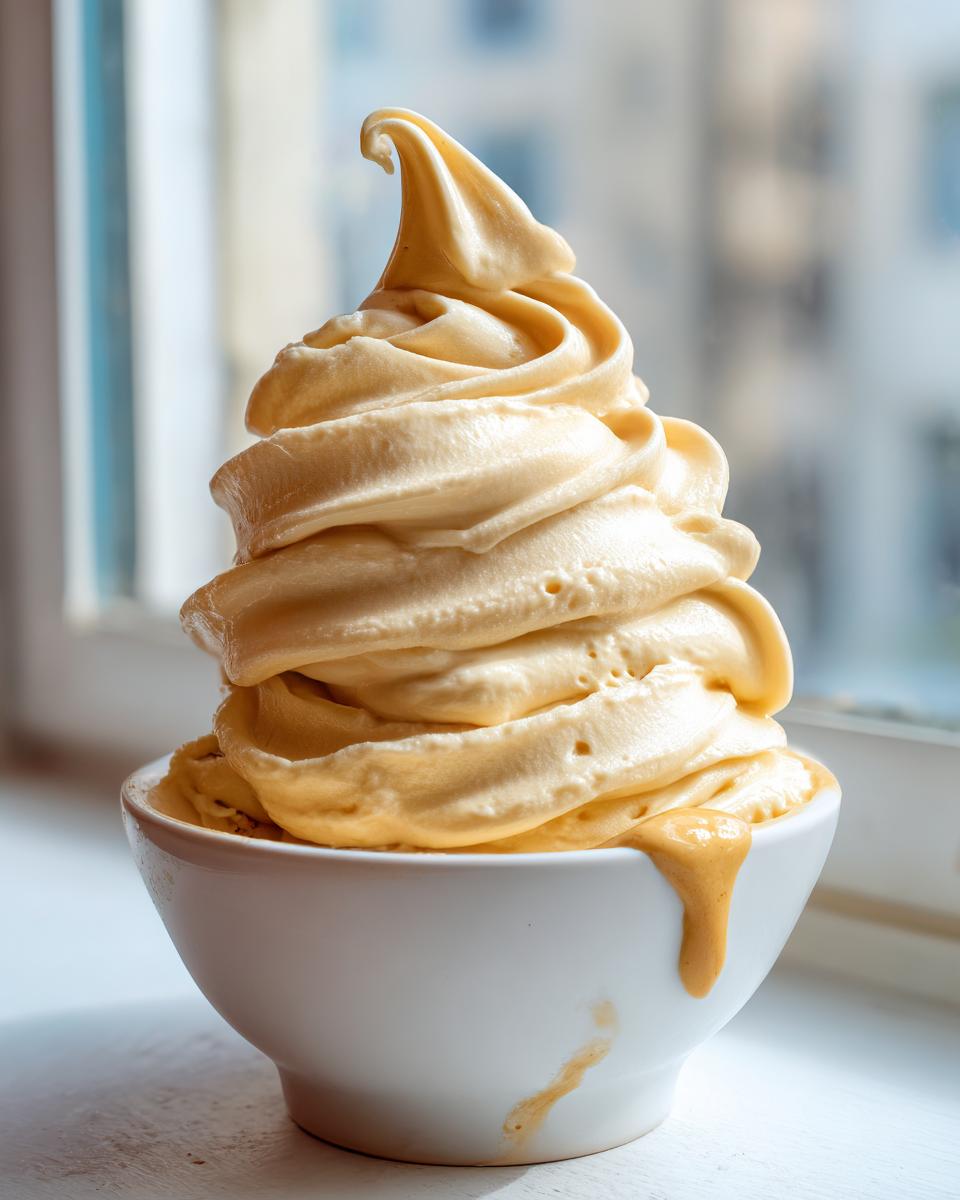
Now you have a choice, and it depends entirely on what you’re craving. If you want that light, airy **quick banana soft serve** texture, dish it out immediately! It’s heavenly right out of the machine.
But if you absolutely must have a firmer, scoopable **banana ice cream** that holds its shape on a cone or in a bowl, pop that mixture into a freezer-safe container. You only need about an hour or two in the deep freeze. Just remember, if you freeze it solid, you’ll need to let it sit on the counter for five minutes before scooping again!
Tips for Success with Homemade Banana Dessert
It’s one thing to follow instructions, and another thing entirely to know the little tricks that elevate a good recipe into a *great* one. Since this **healthy frozen banana dessert** relies so much on the quality of the fruit, let’s chat about the crucial decisions that make the difference between okay banana ice cream and absolutely show-stopping creamy perfection.
I’ve done countless batches checking for the perfect consistency, and these little nudges are what I always share with my friends. Remember, we want flavor payoff without messing up that beautiful smooth texture we worked so hard to achieve in the blender!
Ingredient Selection: Ripe Bananas for Sweet Banana Ice Cream
Seriously, if you take only one thing away from this post, make it this: use the freckliest, browsiest bananas you can find. Don’t throw out those bananas just because they look tired! When bananas get those dark spots, their starches have converted into natural sugars. Since this is a **minimal ingredient frozen treat**, those sugars are doing all the heavy lifting for sweetness.
If you use bananas that are still yellow, you’ll find your **banana ice cream** tastes a little bland and you might be tempted to add sugar, which defeats the whole purpose of this healthy recipe. Let those spotty guys shine; they are your natural sweetener!
Simple Flavor Variations for Banana Nice Cream
The base recipe I gave you is pure, but sometimes you want something a little richer or perhaps more chocolatey. This **easy banana nice cream** base is fantastic for handling mix-ins! If you are feeling like you need a little something extra decadent, try adding a tablespoon of natural peanut butter right in with your bananas. It swirls beautifully and makes it taste almost like a milkshake!
For the chocolate lovers among us—and you know who you are—toss in one tablespoon of unsweetened cocoa powder along with the almond milk. It turns instantly into a rich chocolate version of this dessert. You can see some neat flavor ideas over at Granny’s Kitchen too, which always inspires me to try new things!
Storage and Reheating Instructions for Banana Ice Cream
So many times, I make a double batch because I know I’ll be craving leftovers the next day, and luckily, storing this **banana ice cream** is super simple. If you served it immediately as soft serve, you just need to transfer any extras into an airtight, freezer-safe container, aiming for a shallow one if you can. This helps it freeze faster and more evenly.
Now, here’s the key tip: if you freeze it overnight, it’s going to get *hard*. That’s the moisture freezing solid, and it won’t scoop easily like traditional ice cream. Don’t panic! That just means it’s chilling effectively.
To bring it back to that perfect **creamy banana ice cream** texture, just let it sit on your counter for 10 to 15 minutes before you plan to serve it. If you are in a real rush, you can pulse the hardened block back in the food processor for about 30 seconds until it smooths right out. Easy peasy!
Serving Suggestions for This Dairy Free Banana Dessert
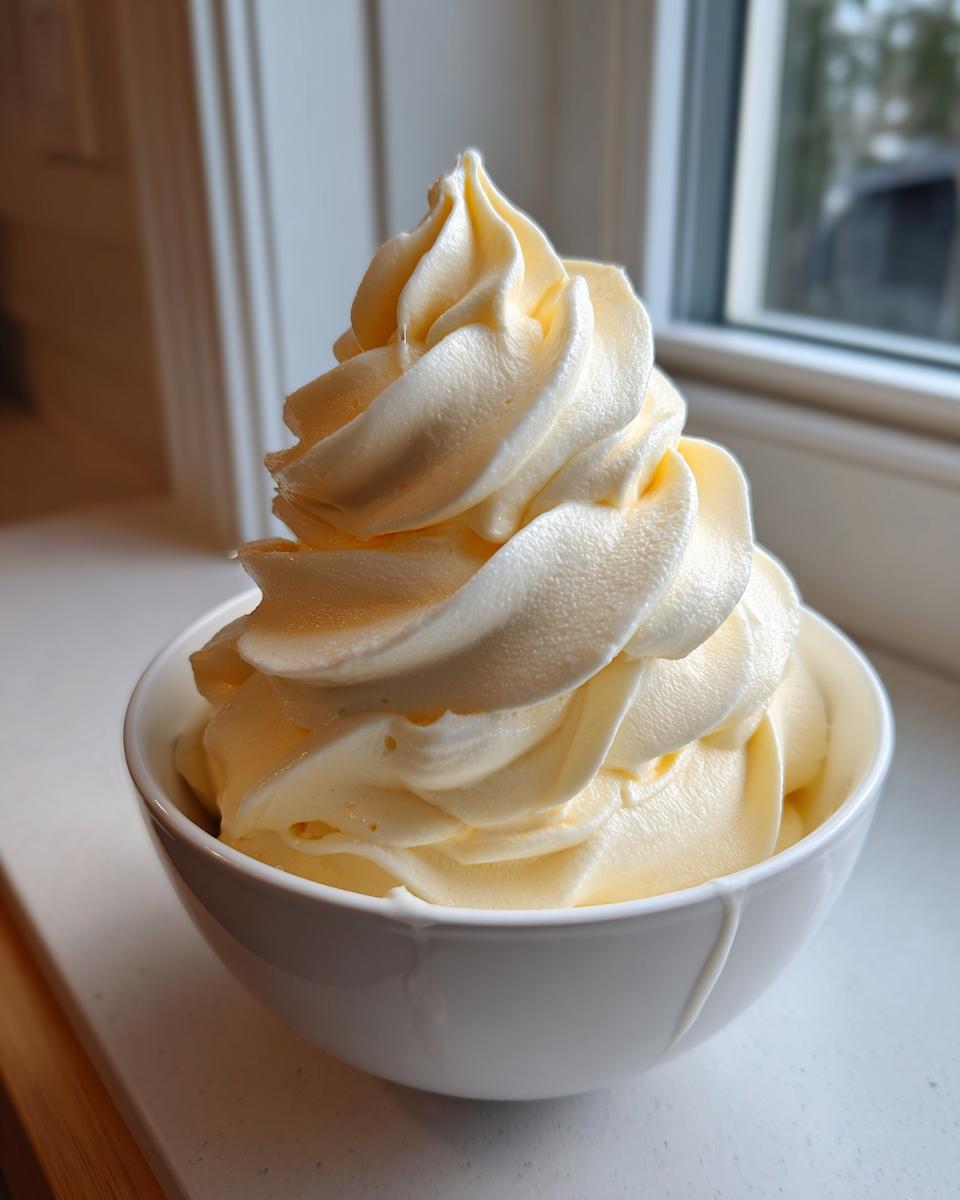
One of the best parts about having a **dairy free banana dessert** base that is naturally sweet is how beautifully it accepts toppings and mix-ins. We love eating it straight out of the bowl when it’s freshly soft-serve smooth, but it really shines when you dress it up a little bit!
Think of this as the perfect canvas for your **summer banana dessert ideas**. If you have some of my chewy chocolate chip cookies lying around, crushing one on top adds such a satisfying crunch. And if you’re feeling inspired, adding chopped nuts—like those crunchy pecans suggested in some recipes—is a fantastic texture contrast!
For a bit of extra richness without the dairy, try a drizzle of melted dark chocolate or a swirl of nut butter. If you want to explore nutty additions without having to mix them in beforehand, check out these great ideas for banana ice cream with nuts. Seriously, presentation is half the fun when dessert is this healthy!
Frequently Asked Questions About Banana Ice Cream
I get so many questions about this recipe—and that’s a wonderful sign that you all are just as eager to make this **easy banana nice cream** as I am to share it! It’s low-effort, but I want to make sure you nail that perfect texture every single time. Here are a few things folks often ask when they are diving into the world of **minimal ingredient frozen treat** making.
Can I make this banana ice cream recipe without a high-powered blender?
That’s a super common concern. While I highly recommend a strong blender or a food processor—because they handle the frozen fruit much better—you *can* still do this with a regular, less powerful blender. The most important thing here is patience! You will need to stop much more frequently, maybe every 15 or 20 seconds, to scrape down the sides and break up any chunks near the blade. It’s going to take longer than the 3 to 5 minutes I mentioned, and you might need to add just a *tiny* splash more milk, but you will get there. Remember, this is **no churn banana ice cream**, so we aren’t relying on air pumped in; we rely on sheer blending power to create that smooth texture!
Is this truly a healthy frozen banana dessert?
Absolutely! That’s one of the main reasons I love this so much. Since we are skipping all added sugars and dairy cream, what you’re eating is basically just pure, blended fruit. The sugar you see in the nutrition breakdown comes naturally from the ripe bananas themselves, which also provide fiber. It’s a fantastic way to satisfy those dessert cravings guilt-free. If you’re monitoring things closely, you can check out the full estimated breakdown at the bottom of this post for all the stats on this **guilt free ice cream alternative**!
What is the best way to freeze bananas for banana ice cream?
This step is non-negotiable for achieving that ultra-smooth **creamy banana ice cream**! You need fully ripe bananas (the spotty ones are the best!), but you must prep them *before* they go in the freezer. Never freeze a whole, unpeeled banana and try to hack at it later—that will destroy your food processor blade! Peel them first, slice them into roughly one-inch thick coins, and then lay those slices flat on a baking sheet lined with parchment paper. This prevents them from freezing into one giant, impenetrable clump. Once they are rock solid (give them at least six hours), you can transfer them to a sealed bag for storage!
Estimated Nutritional Data for This Guilt Free Ice Cream Alternative
I always get asked if this wonderfully easy **banana ice cream** is actually good for you, especially since it tastes so much like a splurge! Since this recipe is naturally vegan and has no added refined sugars, it’s really a fantastic option for a healthier snack.
Please keep in mind that these numbers reflect the base recipe—just the four bananas, almond milk, and vanilla—so they are estimates. If you add peanut butter or cocoa powder, your macros will certainly change!
But for the pure, **3 ingredient nice cream** version, here is what you can expect:
| Nutrient | Amount (Per Serving) |
|---|---|
| Serving Size | 1 serving |
| Calories | 180 |
| Fat | 0.5g |
| Sodium | 5mg |
| Carbohydrates | 46g |
| Fiber | 4g |
| Sugar (Natural) | 18g |
| Protein | 1.5g |
| Cholesterol | 0mg |
See? That really is incredibly wholesome! When you’re looking for that perfect **guilt free ice cream alternative**, knowing where your calories are coming from helps put your mind at ease. Enjoy every spoonful!
Share Your Homemade Banana Ice Cream Creations
This, my friends, is where our journey really comes full circle. You’ve mastered the incredibly fast, **vegan banana ice cream recipe**, and now I want to hear all about it! When you make this **homemade banana dessert**, it becomes uniquely yours based on how ripe your fruit was and what little extras you decided to throw in.
Did you go for the peanut butter swirl? Did you add a pinch of cinnamon? I absolutely live for those little details. Please, jump down into the comments below and let me know! Did you think it tasted just like real **banana ice cream**, or was it surprisingly better?
If you loved how easy this was—and I know you did—take a moment to give the recipe a quick star rating at the top of the page. Your feedback helps me keep testing and proving that good food doesn’t have to be complicated. And if you are looking for more ways to keep your sweet tooth happy the effortless way, I have a whole collection of simple vegan dessert ideas waiting for you!
PrintEasy 3-Ingredient Vegan Banana Nice Cream (No Churn)
You can make this creamy, healthy banana ice cream in minutes using only three simple ingredients. This no-churn recipe delivers a guilt-free frozen dessert that tastes like soft serve.
- Prep Time: 5 min
- Cook Time: 0 min
- Total Time: 5 min
- Yield: 2 servings 1x
- Category: Dessert
- Method: Blending (No Churn)
- Cuisine: American
- Diet: Vegan
Ingredients
- 4 large ripe bananas, peeled, sliced, and frozen solid
- 1/4 cup unsweetened almond milk (or other plant-based milk)
- 1 teaspoon pure vanilla extract
Instructions
- Place your frozen banana slices into a high-powered food processor or a strong blender.
- Add the almond milk and vanilla extract to the food processor or blender.
- Begin processing. You will need to stop frequently to scrape down the sides. The mixture will go from crumbly to thick and finally to a smooth, creamy soft-serve consistency. This may take 3 to 5 minutes depending on your machine.
- Serve immediately for a soft-serve texture.
- For a firmer, scoopable banana ice cream, transfer the mixture to a freezer-safe container and freeze for 1 to 2 hours before serving.
Notes
- Use very ripe bananas for the best natural sweetness. The riper they are (with brown spots), the better your nice cream will taste.
- If you want to add peanut butter for a richer flavor, substitute 1 tablespoon of the almond milk with 1 tablespoon of natural peanut butter.
- For a chocolate version, add 1 tablespoon of unsweetened cocoa powder during the blending step.
Nutrition
- Serving Size: 1 serving
- Calories: 180
- Sugar: 18g
- Sodium: 5mg
- Fat: 0.5g
- Saturated Fat: 0.1g
- Unsaturated Fat: 0.4g
- Trans Fat: 0g
- Carbohydrates: 46g
- Fiber: 4g
- Protein: 1.5g
- Cholesterol: 0mg