
When life gets hectic—and let’s be honest, when isn’t it hectic?—reaching for a sugary bar feels like the only solution. Not anymore! I’m Kate, and thanks to my background studying nutrition science, I believe healthy should never mean hard. That’s why I developed these Easy 5-Ingredient No-Bake Peanut Butter Protein Balls. Seriously, they come together in under 10 minutes, and they deliver a huge punch of clean fuel. Forget complicated baking; these are the most reliable protein balls you’ll ever mix up, perfect for tossing into your gym bag or grabbing for a quick breakfast.
- Why These No-Bake Protein Balls Are Your New Favorite Quick Healthy Treats
- Essential Ingredients for Perfect Peanut Butter Protein Balls
- Step-by-Step Instructions for Making Easy Energy Balls
- Tips for Success When Making High Protein Snacks
- Customizing Your Protein Balls for Flavor Variations
- Storage and Make Ahead Tips for Your Protein Balls
- Serving Suggestions for These Post Workout Fuel Bites
- Frequently Asked Questions About Protein Balls
- Estimated Nutrition for These Protein Packed Snacks
- Share Your Homemade Protein Balls Creations
Why These No-Bake Protein Balls Are Your New Favorite Quick Healthy Treats
I love recipes that save me time without making me compromise on nutrition, and these bites are the poster child for that philosophy. If you’ve been searching for no bake snacks that actually taste good, you’ve found your winner. They are genuinely amazing when time is tight!
- Zero Bake Time: We are skipping the oven entirely! This makes them excellent quick healthy treats when you need fuel fast.
- Lightning Fast Prep: You mix them up in about 10 minutes flat, which is faster than making instant oatmeal!
- Powerhouse Protein: With 7 grams per bite, they are the perfect post-workout fuel or afternoon bridge snack.
- Meal Prep Magic: They hold up beautifully in the fridge, making them ideal for healthy food prep Sundays.
- Totally Versatile: We are talking about a fantastic base recipe that you can customize endlessly—check out how we tweak them later on!
Honestly, these are so easy, I even have my college-age nephew making them now. You can see how quick these energy bites are!
Essential Ingredients for Perfect Peanut Butter Protein Balls
When I say this recipe is simple, I mean it! We are sticking to five core ingredients—that’s it! If you have these pantry staples, you are ready to go. Think of this as the ultimate foundation for the best protein balls. You’ll need 1 cup of rolled oats; make sure they are the standard old-fashioned kind, not instant, because the texture matters here. Then, grab 1/2 cup of your favorite protein powder—I usually go for vanilla. The binder is key: 1/2 cup of that good, creamy peanut butter, which keeps things rich and helps them hold their shape perfectly. Finally, we balance the sweetness with 1/4 cup of honey or maple syrup, depending on what you have on hand.
Don’t forget rule number one: you need 1/4 cup of mix-ins! This is where you make the recipe your own, whether dark chocolate chips or chia seeds call your name. We talk more about customizing later, but for now, just measure these five things out. If you want the softest bites, make sure your peanut butter isn’t too stiff right out of the jar.
Ingredient Notes and Substitutions for Your Protein Balls
Since I’m all about making sure everyone can enjoy this snack, let’s talk swaps. If you need gluten free protein balls, simply swap your regular rolled oats for certified gluten-free rolled oats. That’s a super easy fix! And if you can’t do peanuts? Don’t worry about it. You can easily substitute the peanut butter with almond butter—which gives a slightly nuttier flavor—or sunflower seed butter if you have a major nut allergy. Trust me, these substitutions work wonderfully and maintain that essential chewy texture we’re after. For more ideas on chewy baked goods, you might want to check out my tips on chewy oatmeal treats.
Step-by-Step Instructions for Making Easy Energy Balls
Okay class, listen up! This is where the magic happens, and I promise, it’s faster than ordering takeout. Since we aren’t turning on the oven, these are the fastest no bake snacks you’ll ever create for your weekly fuel stash. First things first: grab a good, sturdy mixing bowl. Pour in your dry stuff—the oats and the protein powder—and give those a quick swish with a fork just to wake them up.
Next, you add the wet ingredients: the creamy peanut butter and your choice of sweetener. Now, here’s where you need some elbow grease. You’ll mix this with a strong spoon at first, but I usually ditch the spoon when it gets too thick, because that’s when you can truly feel the mix coming together. You want everything incorporated until it looks like a very thick, uniform cookie dough. If you’re finding it’s too stiff, don’t panic; just add a teaspoon of water or milk at a time until the dough starts holding its shape easily. That texture check is my little secret to perfect protein balls every time! For general guidance on handling sticky doughs, you can look at my tips on no-bake cookie recipes.
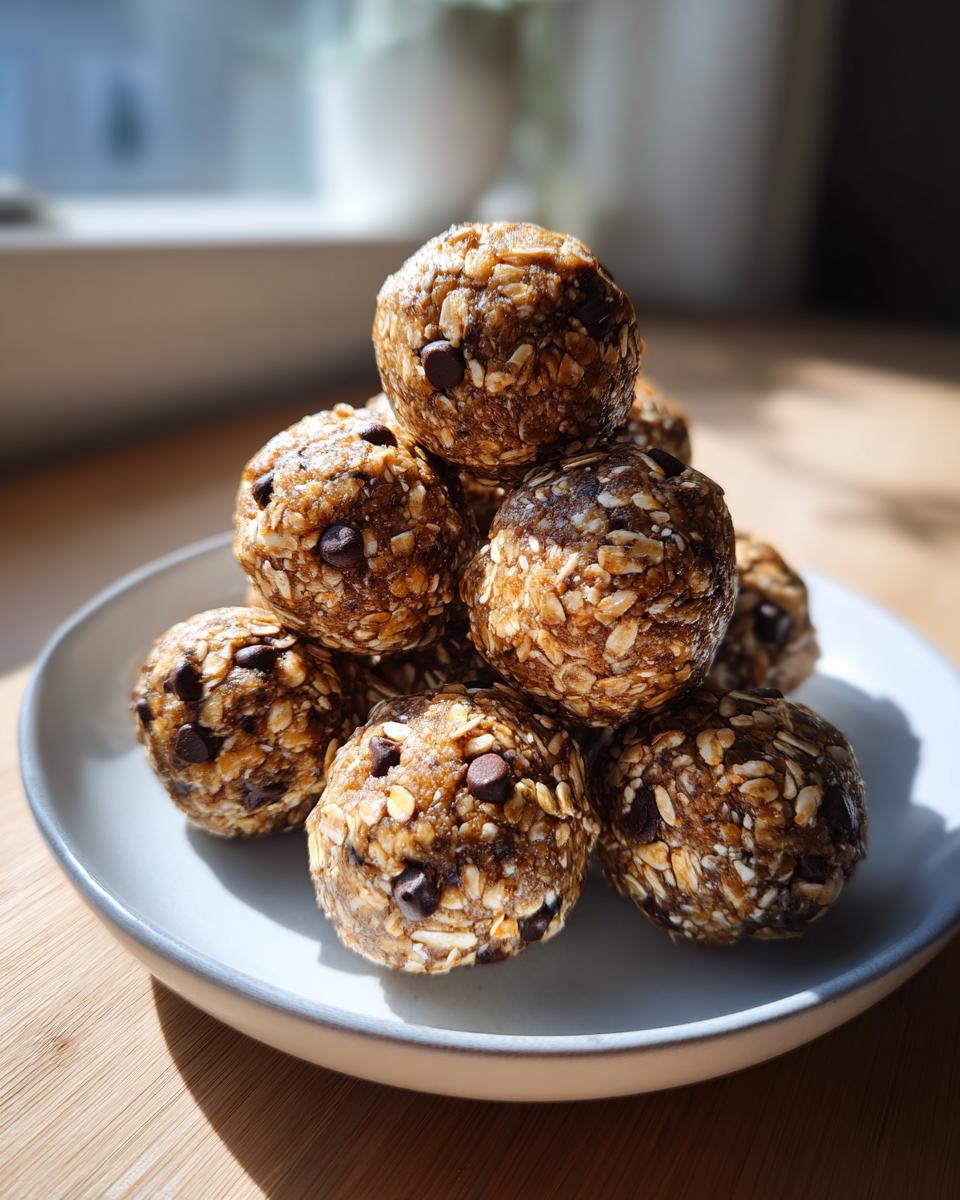
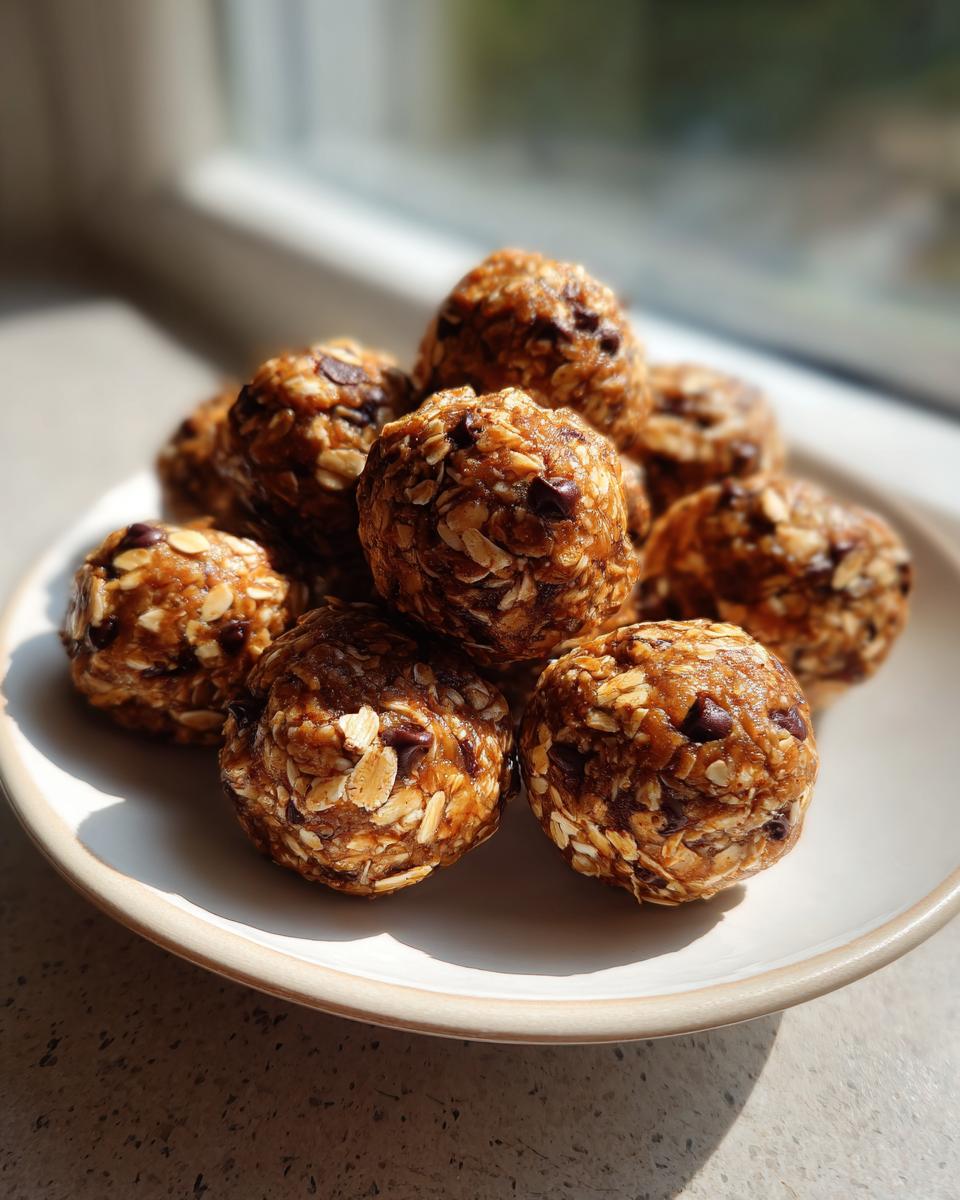
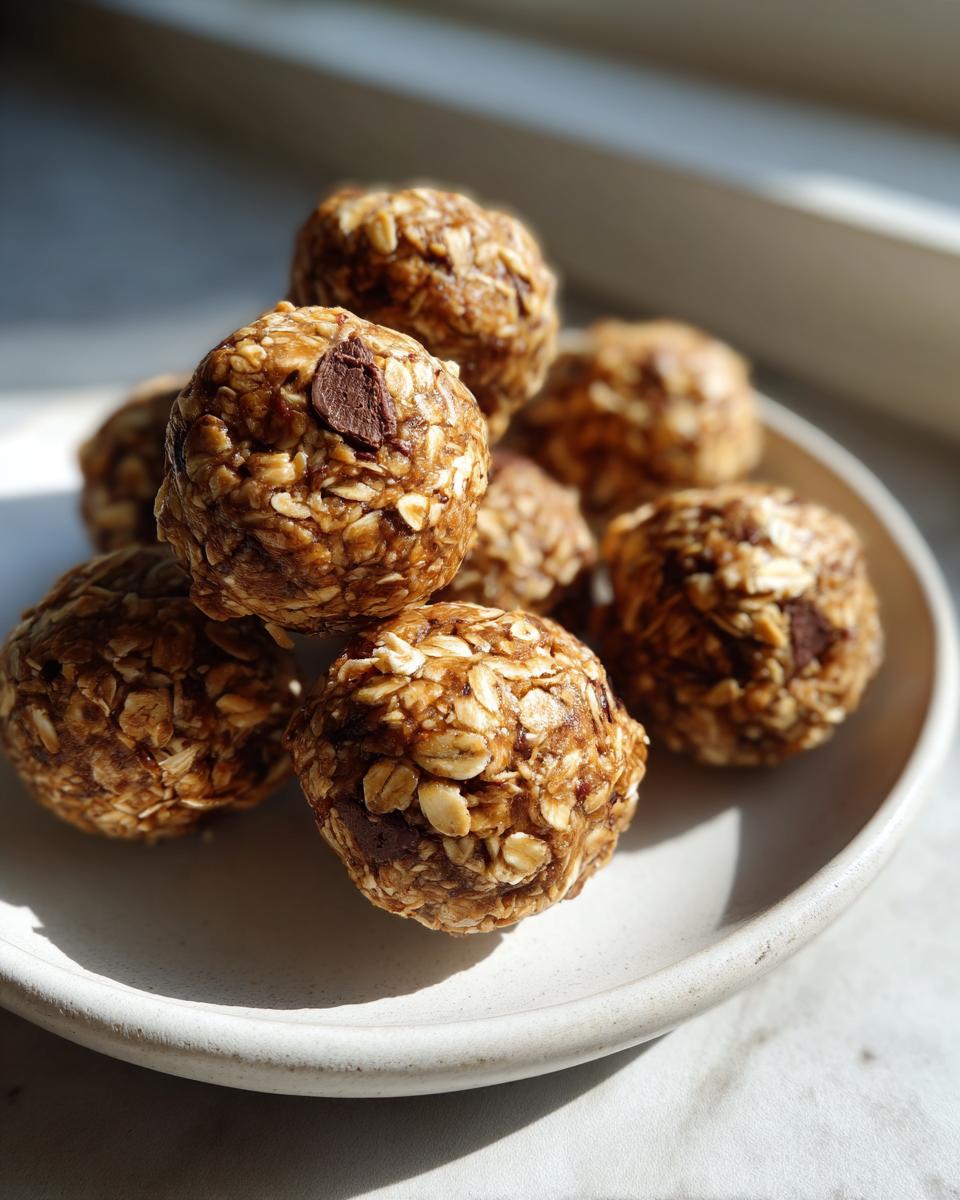
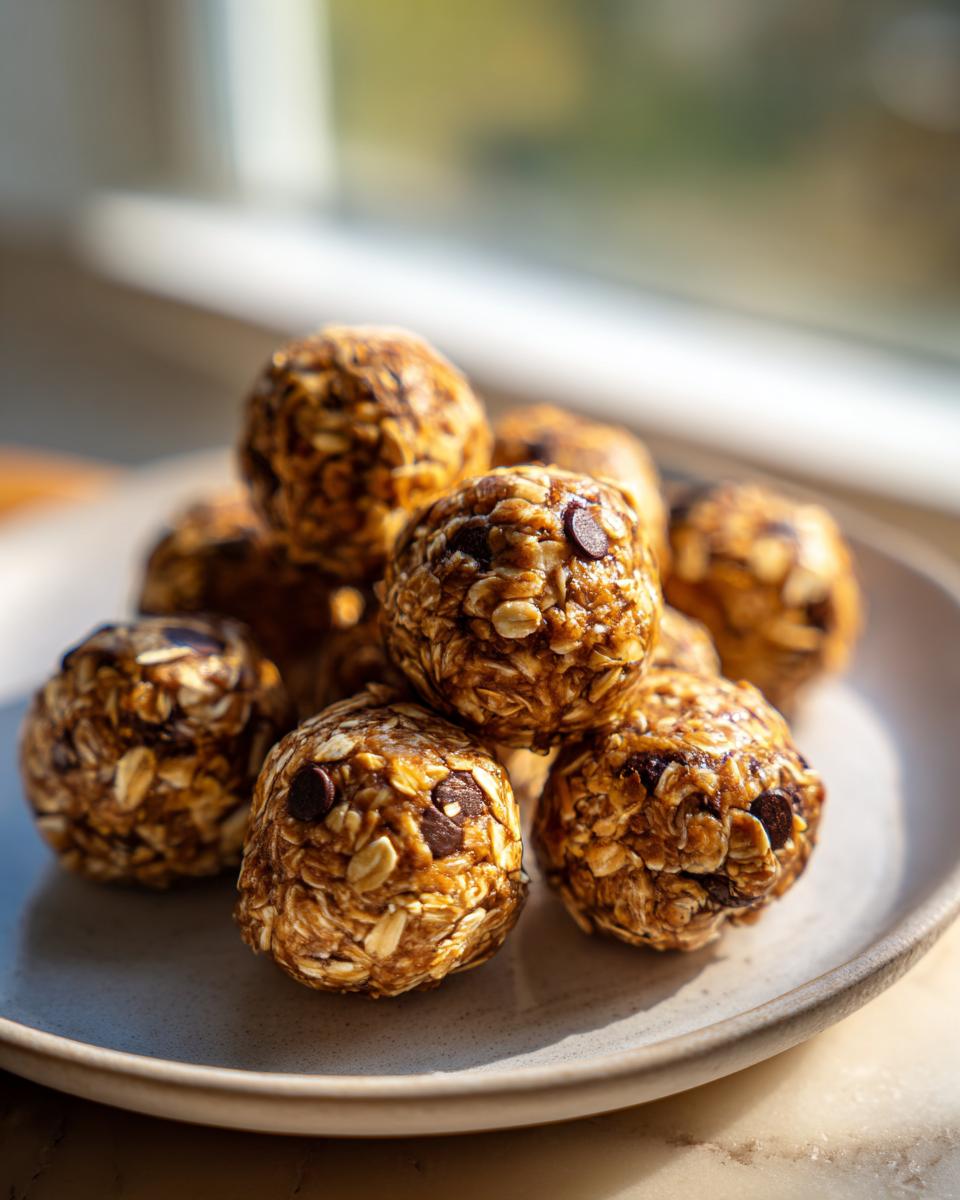
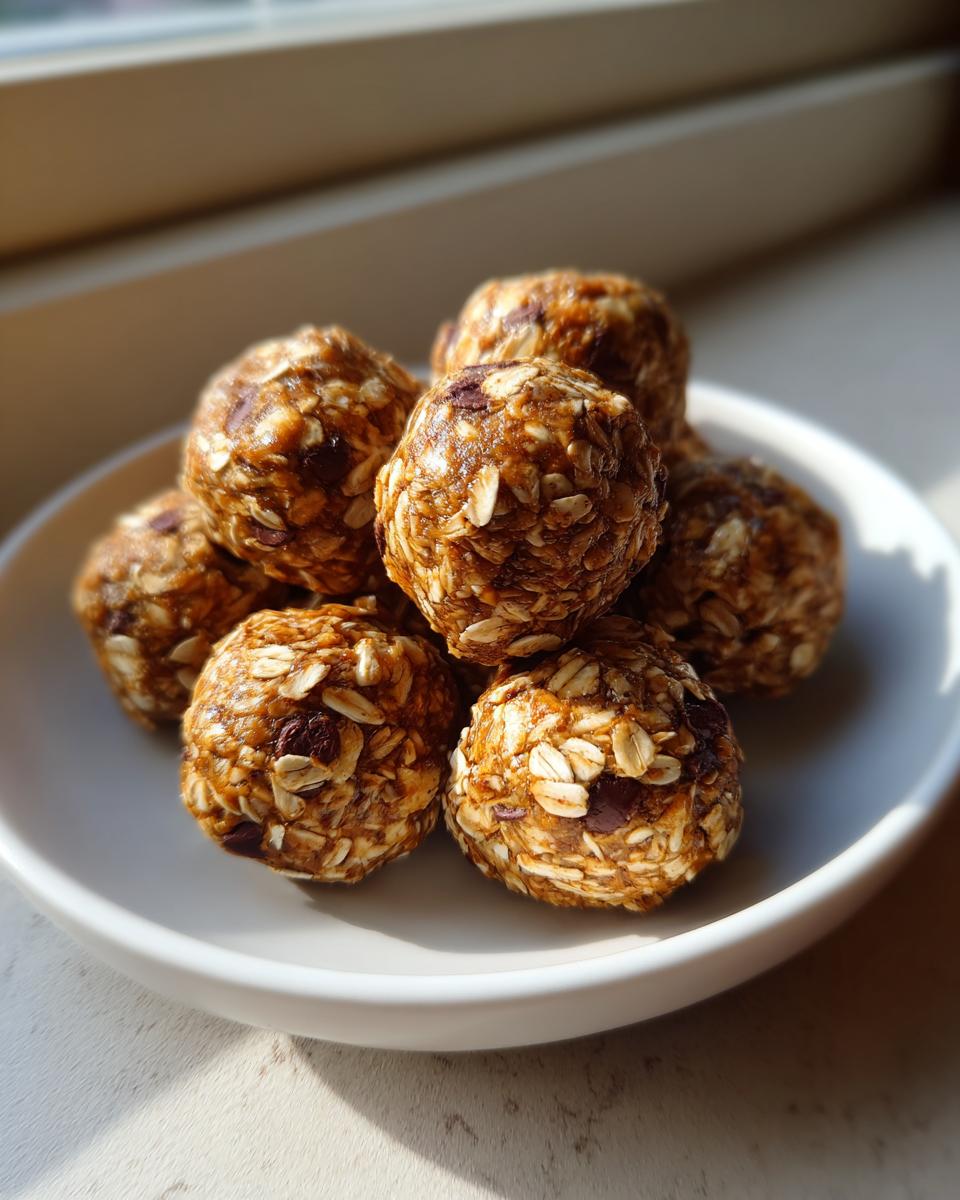
Once you’ve added your mix-ins, like chocolate chips or seeds, it’s time to roll. I aim for little spheres about an inch wide—you usually get about 12 to 15 total. Place those handsome little bites onto a parchment-lined sheet. Now comes the hardest part: waiting. You must let them firm up in the fridge for at least 30 minutes before you try to eat them. You can see a video of the rolling process on this great resource while you wait!
Mixing and Forming Your Protein Balls
When you’re mixing, remember that moisture content can change depending on your protein powder or how oily your peanut butter is. If your dough is too crumbly after the initial mix, that usually means it’s a tiny bit dry. Resist the urge to dump in more honey! Instead, wet your hands slightly just before you start rolling. That little bit of moisture helps the fats bind everything together perfectly and stops the mix from sticking to your palms. Keep pressing and rolling until the surface feels slightly tacky but not wet.
Chilling Time: Key to Perfect Protein Balls
Why does chilling matter so much? Well, since these are no oven recipes, we need the cold to set the structure, especially the fats from the peanut butter. If you try to eat them right after rolling, they’ll just fall apart in your hand or melt too quickly outside the fridge. Refrigerating them for at least 30 minutes solidifies the structure so they are nice and chewy, which is exactly the texture we want for these grab-and-go snacks. If you skip this step, you’ll end up with sticky puddles instead of beautiful little bites!
Tips for Success When Making High Protein Snacks
Getting these high protein snacks right is all about managing the texture during that initial mixing stage. Pay attention to your peanut butter temperature! If it’s rock hard straight from the fridge, it won’t incorporate easily, and you’ll be tempted to add extra sweetener, which makes them too soft later. Let the peanut butter sit out for maybe five minutes before starting.
When you start rolling, you want small, gentle hands. Don’t squeeze them like you’re trying to crack a walnut; just gentle pressure is enough to form a ball—that keeps the inside light and chewy! If you find the mix is too sticky after mixing, before you add more liquid, try chilling the entire bowl for 10 minutes; that often firms it up enough to roll easily. For more great tips on getting your easy energy balls perfect every time, check out my guide to making simple energy bites!
Customizing Your Protein Balls for Flavor Variations
Don’t feel locked into just chocolate chips with these basic protein balls! This recipe is honestly a dream for customization. Think of the 1/4 cup of mix-ins as your creative playground. If you love that deep, rich flavor, try stirring in one teaspoon of cocoa powder right along with your protein powder—it instantly transforms them into amazing chocolate peanut butter bites. For a little chew and extra fiber, chopped dried cherries or apricots work beautifully.
You can also adjust the spices! A tiny pinch of cardamom or even some fine orange zest blended in with the dry ingredients adds a sophisticated twist to these easy energy balls. For those who love texture, crunchy walnuts or pepitas (pumpkin seeds) add a wonderful bite that contrasts with the soft dough. If you want a recipe that focuses heavily on peanut butter flavor, you have to check out the creamy variation I detailed in my peanut butter cookie guide. Remember, whatever you add, make sure it’s dry or has been drained well so you don’t end up with mushy balls. You can get inspired by some incredible peanut butter variations over at this wonderful site!
Storage and Make Ahead Tips for Your Protein Balls
One of the absolute best things about these protein balls is that they are genius for healthy meal prep. You make one batch, and suddenly you have grab-and-go snacks ready for almost a week, or even longer if you’re smart about it and use the freezer!
For short-term keeping, just pop the finished, rolled balls into an airtight container. I usually store mine in the main part of the fridge, and they stay perfectly fresh and chewy for about seven days. If you are like me and you always forget to grab a healthy snack during the busy workday, keeping a container ready means you never have an excuse to hit the vending machine!
If you want to make a huge batch for later—which I highly recommend, especially if you’re gearing up for intense workout weeks—the freezer is your friend. These are fantastic make ahead snacks. Here is my trick: Lay the balls out on a parchment-lined baking sheet, making sure none of them are touching. Pop that sheet into the freezer for about an hour until they look solid. This flash freezing stops them from sticking together in one giant clump later. Once they are firm, toss them into a heavy-duty freezer bag. They keep wonderfully for up to three months this way.
When you need one for your post workout fuel, just pull out the number you need! They defrost incredibly fast at room temperature, usually within 15 minutes, or you can even run them under a tiny bit of cool water. This efficiency is why they are staples in my home, and you can see how they fit into my favorite plan for quick weeknight preparation!
When it comes to keeping them fresh, remember that using honey or maple syrup instead of something watery helps stabilize these no bake snacks. For tons of other great ideas on how to manage batches for the whole week, check out this site for more wonderful no bake inspiration!
Serving Suggestions for These Post Workout Fuel Bites
So, you’ve got your batch of perfect, chilled protein balls ready to go. Wonderful! The question now is: when do you eat them? For me, these are the ultimate fix for that 4 PM slump when my brain starts moving slower than molasses. Because they are packed with protein and complex carbs from the oats, they stop that blood sugar crash perfectly. Think of them as your ideal post workout fuel—quick to eat, easy to digest, and they tide you over until a full meal without feeling heavy.
But they aren’t just for after the gym! On mornings when I know I won’t have time for a big sit-down meal, I grab two or three of these healthy food prep staples right out of the fridge. They turn into a surprisingly satisfying quick breakfast idea or a great accompaniment to my coffee. They are soft and chewy, exactly what you want in a satisfying bite, and they truly fit into any clean eating snacks rotation.
Because we used creamy peanut butter and oats, the texture is wonderfully soft and satisfying—these are definitely some of the best chewy protein bites you’ll find. They feel indulgent, but since we controlled the sugar, they remain a guilt-free dessert option when you need that sweet fix but want to keep things clean. For more fantastic ideas on utilizing these for your morning routine, you should definitely look at my go-to recipes for breakfast and brunch!
When I need a serious energy lift before a long day of recipe testing, I always grab these. And for those times when you need some great ideas for fueling up before exercise, check out how this recipe lines up with great pre-workout fuel suggestions from this fueling blog! They really are the all-day energy solution!
Frequently Asked Questions About Protein Balls
Okay, now that you have the recipe mastered, I bet you have a few questions swirling around! That’s normal, especially with quick recipes like this because people always wonder how much they can tweak them. People ask me all the time about texture and swaps—you know I love talking kitchen science!
Can I make these protein balls without protein powder?
This is the biggest question I get! Short answer: Yes, you absolutely can, but you need to understand what you’re changing. The protein powder does two things here: it adds the protein punch, obviously, but structurally, it acts like an extra type of dry flour, helping absorb the peanut butter. If you leave it out, you will need to replace that volume with something else, or your mix will be too wet and sticky. I suggest replacing it with an extra 1/2 cup of rolled oats (or almond flour if you want to keep them low-carb-ish). Just be aware that without the powder, they become more like energy bites rather than true high protein snacks, and you’ll definitely need that chilling time to firm up!
What is the best protein powder to use for these no bake snacks?
For these specific no bake snacks, my favorite is a good quality whey isolate, usually vanilla, because it mixes incredibly smoothly and doesn’t make the dough gritty. However, if you use a plant-based powder—like pea or hemp—you might notice the dough thickens up faster. Plant proteins are more absorbent, so if you notice the mix seems crumbly right away, add just a tiny splash of milk or water initially to compensate. Don’t forget that the flavor of your powder really shines through, so if you use chocolate powder instead of vanilla, you won’t even need extra mix-ins!
Are these peanut butter energy balls considered low calorie snacks?
That’s a trickier question that depends entirely on your mix-ins and how big you roll them! Because we are using healthy fats from the peanut butter, they are definitely more calorie-dense than, say, a rice cake, but they are fantastic because they are nutrient-dense and packed with good energy. In the nutrition section at the bottom of this post, you’ll see that the core recipe estimates about 120 calories per ball—which is a perfect portion-controlled treat when you need clean fuel. If low calorie snacks are your main goal, make sure you measure the honey precisely and skip the chocolate chips!
If you want to look at all the breakdown numbers, I keep the full nutrition chart right below in the facts section. For more general ideas on quick appetizers and snacks, you can browse my collection over here!
Estimated Nutrition for These Protein Packed Snacks
I always include a nutrition estimate because I think it’s important to know what you’re fueling your body with, especially with something intended as post workout fuel! Now, please remember this is based on the core five ingredients and using a standard vanilla protein powder—if you load up on extra chocolate chunks or use a lot of maple syrup, those numbers will shift a bit. These estimates are just a baseline to show you how incredibly balanced these protein packed snacks are!
- Serving Size: 1 ball
- Calories: 120
- Sugar: 6g
- Fat: 7g
- Protein: 7g
For a full breakdown of the macro percentages, you can check out the chart at the very end of the post. If you are looking for more ideas that fit into a planned weekly menu, I have a ton of great recipes over at my easy lunch ideas page!
Share Your Homemade Protein Balls Creations
I absolutely love seeing what you all whip up in your own kitchens! Please come back and leave a quick rating and tell me which mix-ins you decided to use. Did you go classic chocolate chip, or did you try a wild spice combo? Knowing what works for your family helps me keep improving recipes right here at Kings Cook. I can’t wait to hear how these turned out for you!
In the meantime, if you want to learn more about my philosophy on simplifying cooking and feeling confident in the kitchen, feel free to read up on my story here. Happy snacking!
PrintEasy 5-Ingredient No-Bake Peanut Butter Protein Balls
Make these simple, no-bake protein balls in under 10 minutes. They are packed with protein and use pantry staples, making them perfect for quick healthy treats or meal prep.
- Prep Time: 10 min
- Cook Time: 0 min
- Total Time: 10 min
- Yield: 14 servings 1x
- Category: Snack
- Method: No Bake
- Cuisine: American
- Diet: Vegetarian
Ingredients
- 1 cup rolled oats
- 1/2 cup protein powder (vanilla or unflavored)
- 1/2 cup creamy peanut butter
- 1/4 cup honey or maple syrup
- 1/4 cup mix-ins (e.g., mini chocolate chips, flax seeds)
Instructions
- Place the rolled oats and protein powder into a medium mixing bowl. Stir them together until they combine well.
- Add the peanut butter and honey (or maple syrup) to the dry ingredients.
- Mix everything thoroughly using a sturdy spoon or your hands until a thick, uniform dough forms. If the mixture seems too dry, add one teaspoon of water or milk at a time until it holds together.
- Stir in your chosen mix-ins, like chocolate chips or seeds.
- Roll the dough into small, uniform balls, about 1 inch in diameter. You should get about 12 to 15 protein balls.
- Place the finished protein balls on a plate or baking sheet lined with parchment paper.
- Refrigerate the protein balls for at least 30 minutes to firm up before serving.
Notes
- For a gluten free protein balls option, use certified gluten-free rolled oats.
- You can substitute peanut butter with almond butter or sunflower seed butter for a different flavor profile.
- Store these make ahead snacks in an airtight container in the refrigerator for up to one week, or freeze them for up to three months.
- For a lower sugar option, reduce the honey slightly and use unsweetened protein powder.
Nutrition
- Serving Size: 1 ball
- Calories: 120
- Sugar: 6
- Sodium: 50
- Fat: 7
- Saturated Fat: 1.5
- Unsaturated Fat: 5.5
- Trans Fat: 0
- Carbohydrates: 11
- Fiber: 2
- Protein: 7
- Cholesterol: 0