
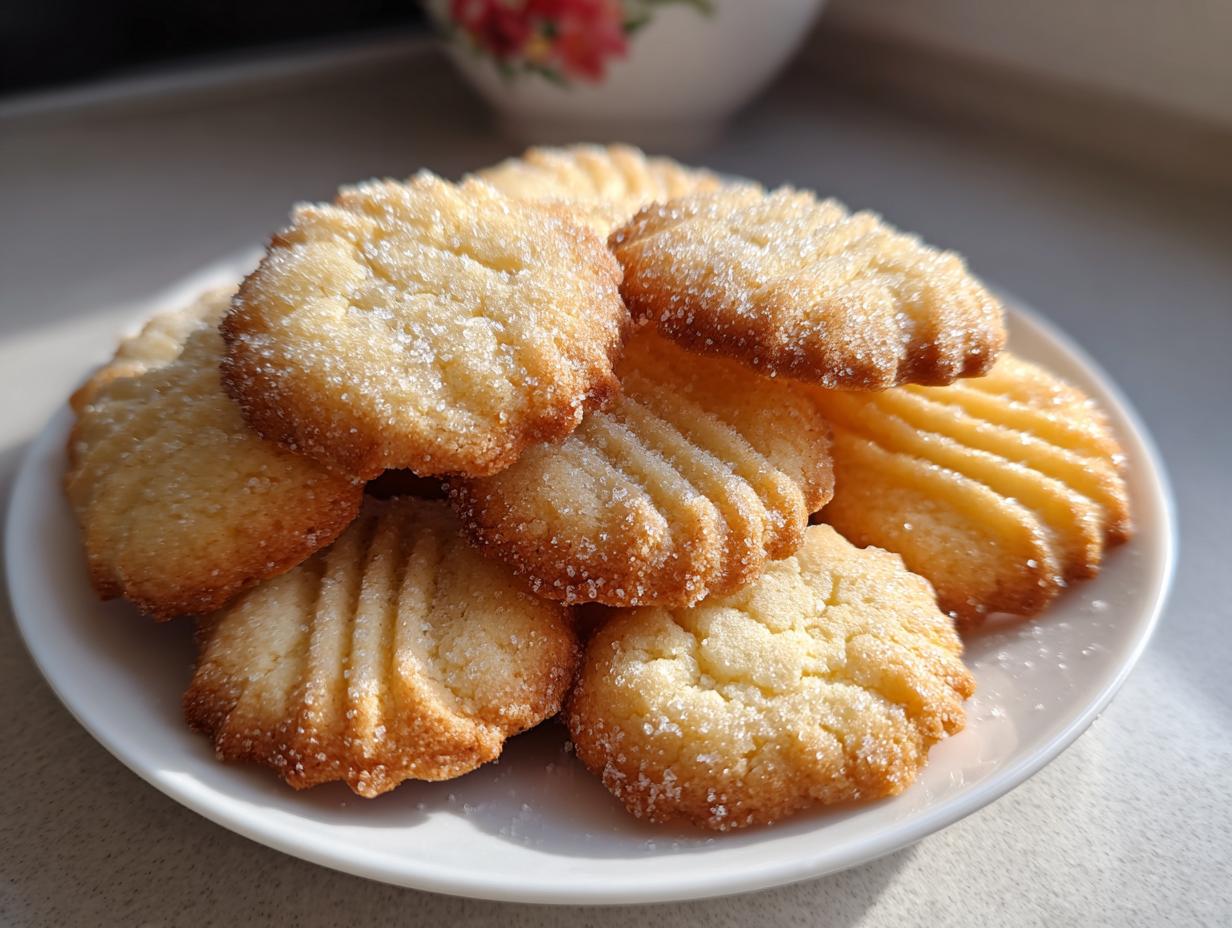
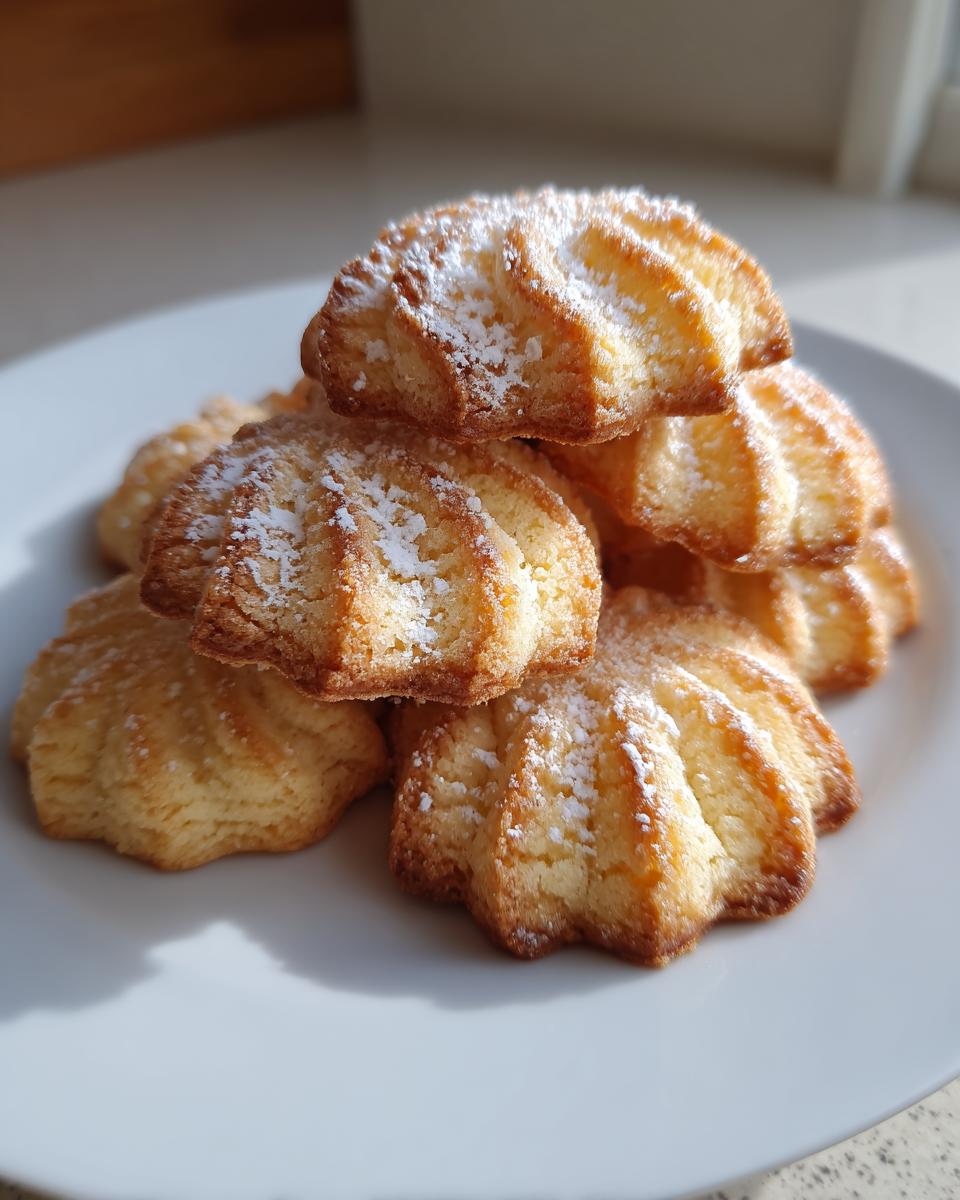
If you have ever scrolled through Pinterest wondering how people get those cookies to literally dissolve in your mouth, well, I have the secret for you! We are making the best butter cookie recipe today, hands down. These aren’t just good; they are that deeply satisfying, rich, and tender treat that defines comfort baking. Forget those dry, crumbly versions you’ve tried before. Here at Kings Cook, I rigorously test every single recipe—you can read a bit about my process over on my About page—to make sure what ends up on your baking sheet is the real deal.
This recipe focuses on that incredible, melt-in-your-mouth texture we all dream about. Trust me, you are going to want to print this one out!
- Why This Classic butter cookie Recipe Delivers Melt-in-Your-Mouth Perfection
- Gathering Your Basic Cookie Ingredients Dessert for the perfect butter cookie
- Simple 3 Ingredient Cookies Preparation: Making Your butter cookie Dough
- Baking the Classic butter cookie: Achieving Golden Edges
- Tips for Success: Mastering the butter cookie Every Time
- Storage & Reheating Instructions for Your Perfectly Buttery Dessert
- Frequently Asked Questions About Making butter cookie
- Estimated Nutritional Data for This butter cookie
- Share Your Homemade butter cookie Creations
Why This Classic butter cookie Recipe Delivers Melt-in-Your-Mouth Perfection
It all comes down to a few key things, and I promise you, once you nail these little details, you’ll be making these melt in your mouth cookies every week. The secret to getting that rich, deep flavor and that beautiful texture lies in the starting point: the butter and the sugar. You absolutely must cream them long enough until they are light and pale. I know it feels like forever, but this step is what creates those tiny air pockets that make the cookie literally melt on your tongue later on.
This foundation sets us up for rich buttery cookies that just sing. A quick tip from my kitchen playbook—and something I learned studying food science matters—is temperature control! Make sure your butter is perfectly softened, about 68 degrees Fahrenheit. Not warm, not cold, but perfectly soft. That precise temperature helps the sugar cut into the butter correctly, giving you structure without toughness.
Achieving the Best Butter Cookie Recipe Texture
When we talk about texture, we are fighting against toughness, right? Toughness comes from overdeveloping the gluten in the flour. That’s why we only mix the final dough until it *just* comes together. We add the flour gently so that the butter traps the air we worked so hard to create during the creaming stage. It keeps the final product delicate and tender—that perfect ‘melt away’ sensation we are aiming for!
Gathering Your Basic Cookie Ingredients Dessert for the perfect butter cookie
Okay, let’s talk stuff! The beauty of this butter cookie recipe is that it relies on just a handful of pantry staples. You really don’t need a ton of fancy stabilizers or weird additives to get that incredible result. These are truly some of the best basic cookie ingredients dessert items you probably already have sitting around. Because the flavor profile is so simple, the quality of what you use makes a HUGE difference, so pay attention to how I say to prep these five core items!
- 1 cup unsalted butter, softened to room temperature, not melted—this is crucial for the creaming step!
- 1/2 cup granulated sugar
- 2 cups all-purpose flour, measured accurately!
- 1/4 teaspoon salt (Don’t skip this; it balances the sweetness!)
- 1 teaspoon vanilla extract (Use the good stuff here!)
Ingredient Notes and Substitutions for Rich Buttery Cookies
Since this recipe is so minimal, every ingredient steps up to the plate. We use unsalted butter so *I* control the salt level, which gives us more control over the final product. If you want to level-up these rich buttery cookies, try using browned butter for about 1/4 cup of the required butter! You just brown it gently until it smells nutty, then let it cool completely until it’s back to a soft solid before creaming it with your sugar. Wow, the depth of flavor that adds is something else.
Also, please, opt for a good vanilla extract. It needs to hold its own against all that butter flavor, so don’t reach for the imitation stuff if you can avoid it. This is where we build our big flavor foundation, so choose wisely!
Simple 3 Ingredient Cookies Preparation: Making Your butter cookie Dough
Okay, we got our perfect ingredients, and now we jump right into mixing. Even though some folks look for no chill cookie recipes out there, you’ll find that for this specific style of butter cookie—especially if you want that beautiful piped look—a little break in the fridge is totally worth it. We start where we left off: creaming that butter and sugar until it looks fluffy and pale, like a beautiful cream cloud. Then, add in that teaspoon of vanilla extract and mix until it’s just incorporated.
Next up is the dry stuff. In a separate bowl, you quickly whisk the flour and salt together. This is important because it makes sure the salt is evenly distributed, which helps prevent those salty pockets in your finished cookie! Remember, we aren’t using a mixer for a long time here; we just want things to combine. Add the dry mix to the wet mix slowly, keeping that paddle on low speed. The second you stop seeing streaks of flour, stop mixing! Seriously, don’t overdo it, or you’ll have tough cookies instead of those melt-in-your-mouth cookies we are hoping for.
Once it’s all together, you have a soft dough that’s begging to be shaped. If you are rolling this out or using a cutter, you can probably jump right to chilling, but if you plan on fancy shapes, you need structure!
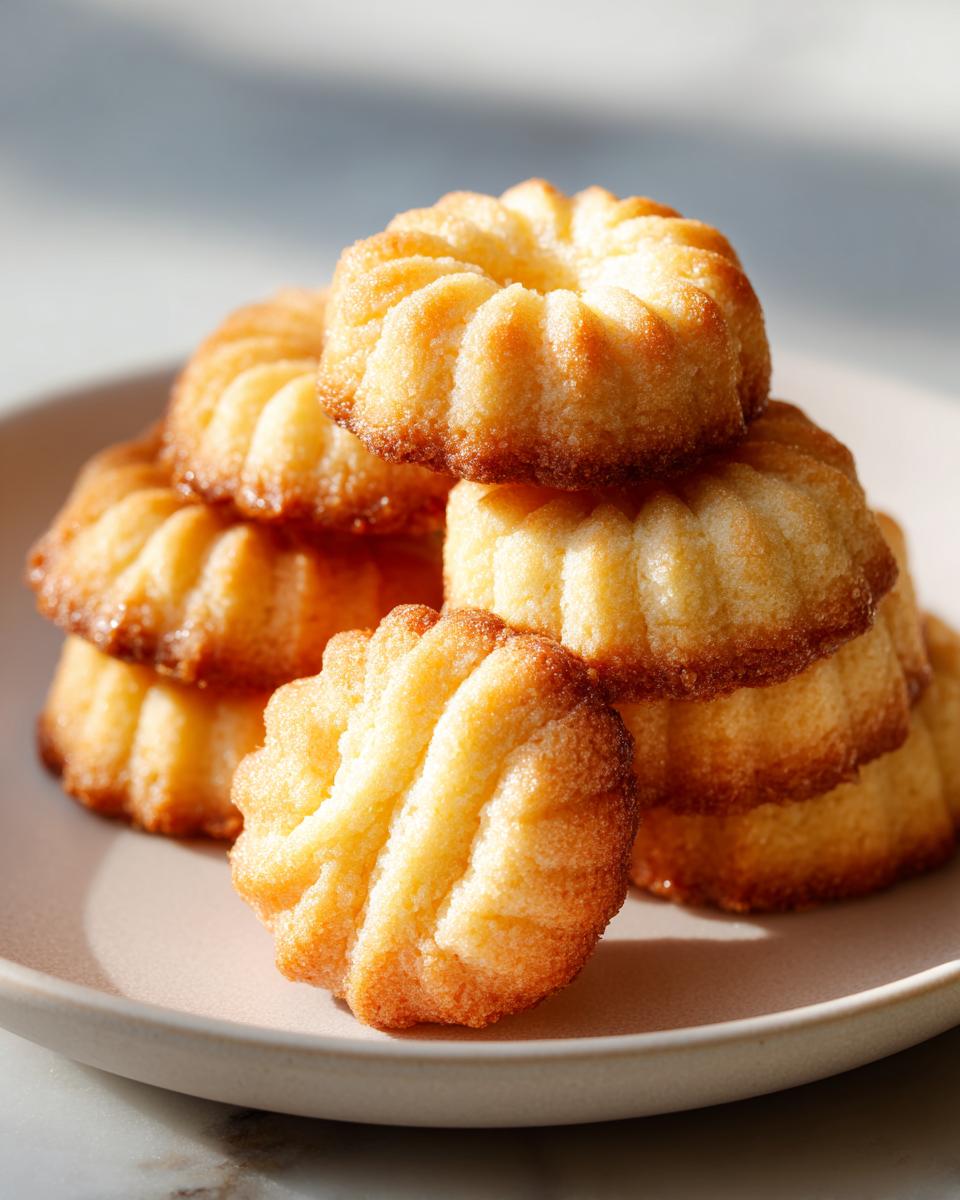
Chilling Time: A Non-Negotiable Step for Piped Butter Cookies
I know, I know, who wants to wait when deliciousness is right there? But trust me, this step is what separates an easy homemade butter cookie from a puddle on the tray. If you are using a cookie press for those gorgeous piped butter cookies, the dough has to be firm enough to hold that crisp pattern against the heat of the oven. If it’s too warm, boom—all those pretty ridges melt right away.
Wrap your dough tightly in plastic wrap, shape it into a neat little log if you plan to slice them later, and pop it into the fridge for at least 30 minutes. This resting period lets the flour fully hydrate and firms up the fat. Think of it as getting your butter cookie team ready for peak performance! If you forget, you can probably press them right away, but they might stick a bit more to the press plates. For anyone looking for other simple recipes that don’t need chilling, check out my easy pumpkin bread recipe; that batter is much more forgiving!
Baking the Classic butter cookie: Achieving Golden Edges
Alright, the dough is chilled, the oven is humming, and we are ready for the magic part! Getting the bake right on these butter cookie treats is honestly just as important as the mixing process. We are aiming for that irresistible look that says “I’m perfectly baked, but still soft inside”—just like you find in those expensive tins of classic shortbread cookies.
First things first: Preheat your oven properly to 350°F (175°C). This temperature is perfect for baking through without browning too fast on top. Make sure your baking sheets are lined with parchment paper. If you skip this, trust me, you’ll have to scrape baked butter off your pan, and nobody wants that cleanup!
Now for the timing. Whether you sliced your dough logs or carefully pressed the shapes out, these babies bake fast. Keep your eye peeled! They usually take between 10 to 12 minutes. You aren’t looking for them to turn dark brown; that’s how you lose that lovely soft texture. What you *want* to see is the very edge of the cookie turning just the slightest shade of golden beige. That faint color change is your signal that they are perfectly done and packed with buttery flavor.
When they come out, don’t rush to move them! They look very delicate right out of the heat. Let them sit right there on the warm baking sheet for about 5 minutes. This allows them to firm up just enough so they don’t snap when you pick them up. Then, gently transfer them over to a wire rack to cool completely. If you want them to be truly crisp all over, let them cool all the way on the rack; if you want that soft center, pulling them off at 10 minutes is your sweet spot!
Tips for Success: Mastering the butter cookie Every Time
Getting these perfect butter cookies right consistently is all about controlling the butter, which is why this recipe is such a winner. If your cookies are spreading out flat and wide, I can almost guarantee you that your butter was too warm or even slightly melted when you started creaming it. Remember what I said earlier? It needs to be soft, not greasy. Cold butter won’t cream enough to trap air, and melted butter just can’t hold the structure your dough needs. This is key for any shortbread-style cookie!
I’ve got some of my best general troubleshooting tips over on my chocolate chip cookie recipe page that apply here too, because dough management is half the battle.
Variations for Your Homemade butter cookie Collection
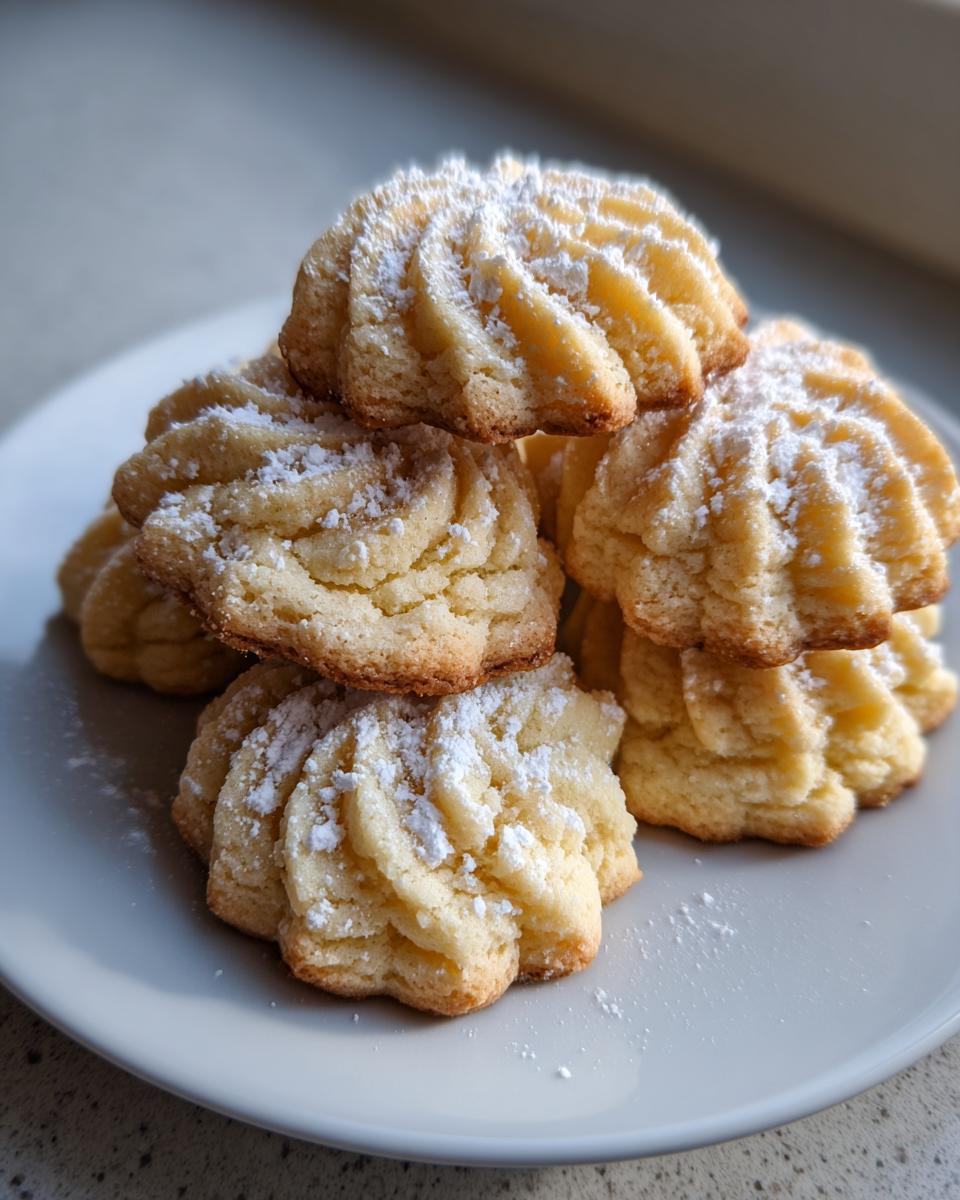
Once you nail the base recipe, it’s time to have some fun! These cookies are so versatile, which is why they are perfect for holiday baking. For a little twist, try swapping out half the vanilla for almond extract—it gives them such a delicate, almost European flavor profile that pairs beautifully with the rich butter.
Another really fun thing to do is to dip half of the cookie into melted chocolate once they are fully cooled. If you use white chocolate, sometimes adding a tiny sprinkle of sea salt on top right after dipping makes them absolutely irresistible. Or, just try grating a bit of fresh lemon or orange zest right into the dough when you add the vanilla. That bright hint cuts through the richness perfectly!
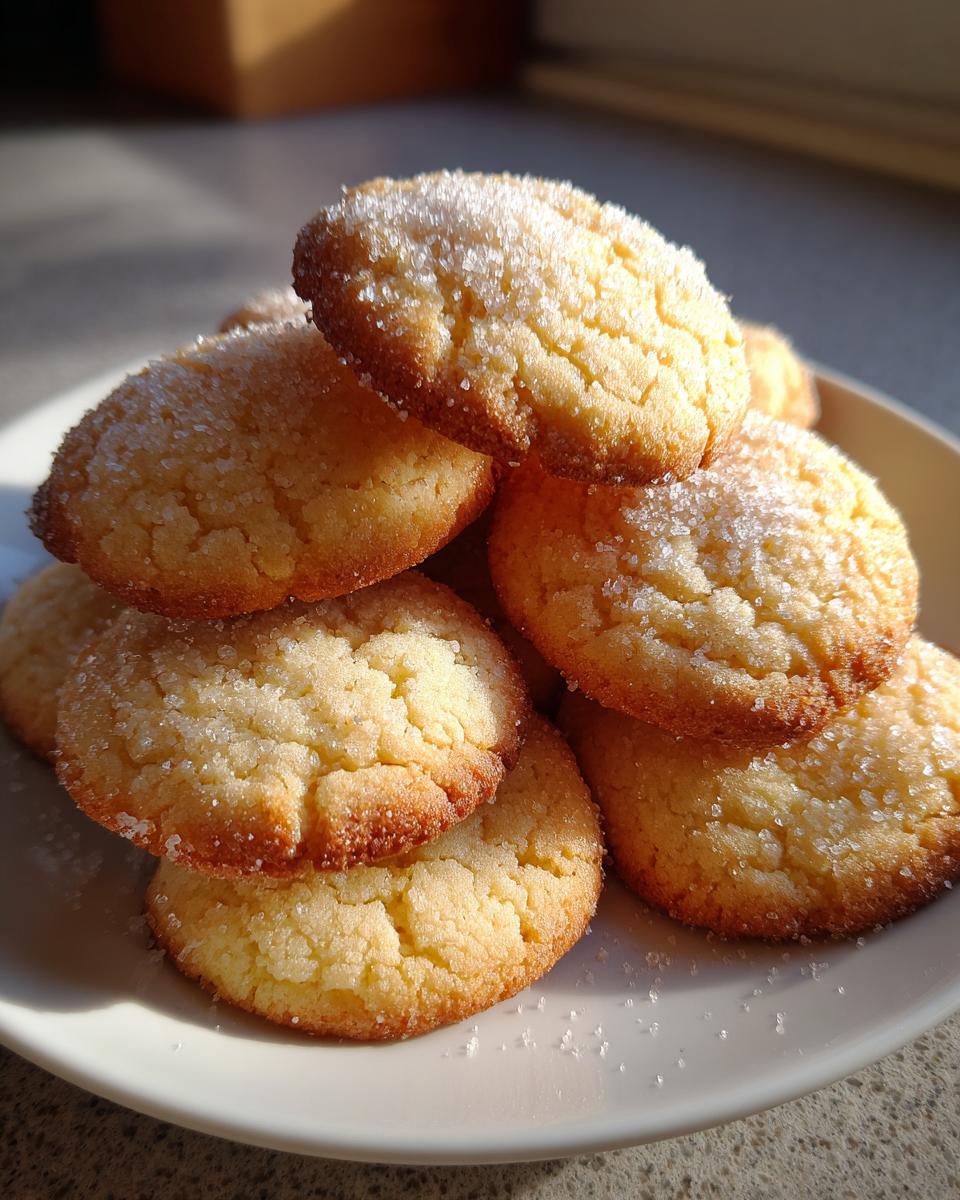
Storage & Reheating Instructions for Your Perfectly Buttery Dessert
The best part about making a big batch of these melt-in-your-mouth butter cookies is that they keep so well! Seriously, you don’t need to worry about eating them all immediately, which is great news if you’re planning on making them for cookie recipes for gifting.
For keeping them fresh and maintaining that tender, buttery texture, the key is airtight containers at room temperature. Don’t bother putting them in the fridge! Cold air can actually make these cookies dry out faster, and we definitely want to avoid that when aiming for that perfectly buttery dessert experience.
If you stack them, try putting a small piece of parchment paper between the layers. These cookies are delicate, and we want to protect those beautiful shapes you worked hard to create. Honestly, they stay perfectly fresh and delicious for about a week sitting right on your counter. They are so good cold, though, that I’ve never had any left over past day four!
As for ‘reheating’? Nope, not necessary! These are designed to be enjoyed just as they are, cool and crisp, straight from the container. If for some strange reason they accidentally got humid and lost a tiny bit of their snap, you can pop them on a baking sheet at 325°F for just 3 or 4 minutes. That little bit of heat wakes them right back up and brings back that wonderful buttery aroma!
Frequently Asked Questions About Making butter cookie
I know tackling a new recipe can bring up a few questions, especially when you want that perfect outcome. Since this butter cookie recipe is close to what you’d find in a traditional Danish Butter Cookie Recipe At Home, people often wonder about minor tweaks they can make without ruining that famous texture. Here are the things I get asked about most often once people start baking!
Can I make these butter cookies without a cookie press?
Oh, absolutely you can! You definitely don’t need a special tool to make these delicious. If you aren’t using a press for those beautiful piped designs, you have a couple of great options. The easiest way is to shape the chilled dough into two firm logs, wrap them up nicely, and then pop them back in the fridge until they are super firm—maybe an extra 15 minutes if they warmed up while shaping.
Once firm, just slice those logs into even 1/4-inch rounds and place them on your baking sheet. They’ll spread a little bit more than the piped ones because the edges aren’t as structured when baking, but they will still be beautifully melt in your mouth cookies. Alternatively, you can just scoop small spoonfuls of the chilled dough—but keep them small! Every shaping method just alters the final look a tiny bit, but the buttery flavor stays amazing.
What makes this recipe better than a standard shortbread butter cookie?
That is such a great question! Traditional shortbread is famous for being crumbly and dense, often relying on a very high fat-to-flour ratio, which is fantastic, but sometimes a little heavy. What we’ve done here is tweak that balance slightly by adding that teaspoon of vanilla and ensuring we incorporate enough air during the creaming stage.
Because we want these to be those incredible Old Fashioned Butter Cookies that seem to vanish on your tongue, the texture is lighter than a true shortbread. While shortbread tends to snap, our Best Butter Cookie Recipe is designed to yield a cookie that melts beautifully upon chewing. It’s richer in that soft, tender way, rather than being strictly firm and crumbly. It’s perfection, really!
Why did my butter cookies spread everywhere?
If your beautiful shapes turned into thin, greasy pancakes, the culprit is almost always the butter temperature. I can’t stress this enough: if you cream butter that’s too warm, it’s already started to melt! When you add that warm fat to the oven, it liquifies instantly, and your cookies run everywhere before the flour has a chance to set the structure. Make sure your butter feels cool to the touch but still leaves a slight indent when you press it. If you bake them straight from the fridge, they won’t spread, but they also won’t be nearly as light and tender as they should be for a truly perfectly buttery dessert!
Can I use salted butter instead of unsalted?
You certainly can, but you have to adjust the salt we add to the dry ingredients. Unsalted butter is the standard for baking control because every brand uses a slightly different amount of salt, making results inconsistent. If you only have salted butter on hand, omit the 1/4 teaspoon of salt we call for in the recipe completely!
If you still want that tiny extra pop of savory that balances the sweetness—which I love in my rich buttery cookies—you can add just a tiny pinch (maybe 1/8th tsp) of extra salt if your butter is lightly salted. If you’re using extra-salty butter, just leave it out entirely. Taste your dough before you chill it just to see where you stand!
Estimated Nutritional Data for This butter cookie
I always like to include the estimated nutrition breakdown for these butter cookies, just so you know what you’re working with! Remember, since we are using real butter and focusing on that deep, rich buttery cookie flavor, they are certainly a treat, not an everyday health food. Think of these as your special holiday treats or your quick afternoon tea cookies!
Here are the approximates for one cookie, based on the ingredients list provided. Please keep in mind that this is just an estimate, as things like the exact brand of butter or how much sugar stuck to your mixing bowl can change the final count a little bit.
- Serving Size: 1 cookie
- Calories: 110
- Fat: 7g (Saturated Fat: 4.5g)
- Cholesterol: 25mg
- Sodium: 35mg
- Carbohydrates: 10g (Sugar: 6g)
- Protein: 1g
They are simple, based on mostly fat and sugar, which is why they taste so incredibly decadent! Enjoy them responsibly, or better yet, just bake more servings because they are so easy to make and great for cookie recipes for gifting!
Share Your Homemade butter cookie Creations
Now that you’ve mastered these magnificent, melt in your mouth cookies, it’s your turn to shine! I truly want to see what you’ve been up to in your kitchen. Baking is so much better when we can share the results, isn’t it?
When you make these easy homemade butter cookies, please come back here and leave a rating. Five stars if they disappeared instantly—and let’s be honest, they probably will! Knowing that this recipe works for you, just like it works for me after all my testing, means the world.
And don’t keep those beautiful creations a secret! Snap a picture of your finished batch—especially if you used a fun cookie press tip—and tag me on social media. I’m always looking for new ways people are enjoying these Old Fashioned Butter Cookies.
I’m curious, how are you enjoying them? Are you serving them on a fancy platter for guests, wrapping them up as part of your homemade cookie tin favorites, or maybe just sneaking one or two with a cup of coffee for a quick afternoon tea cookies moment? Let me know how you plan to devour these perfectly buttery dessert treats!
If you have any last-minute questions after baking, or if you want to share other recipe ideas, head over to my contact page. Happy baking to you all!
PrintMelt-in-Your-Mouth Classic Butter Cookies
Make rich, classic butter cookies at home that have a perfect melt-in-your-mouth texture. This simple recipe delivers deep buttery flavor using basic ingredients.
- Prep Time: 20 min
- Cook Time: 12 min
- Total Time: 52 min
- Yield: 3 dozen 1x
- Category: Dessert
- Method: Baking
- Cuisine: American
- Diet: Vegetarian
Ingredients
- 1 cup unsalted butter, softened
- 1/2 cup granulated sugar
- 2 cups all-purpose flour
- 1/4 teaspoon salt
- 1 teaspoon vanilla extract
Instructions
- Cream the softened butter and sugar together in a large bowl until light and fluffy.
- Beat in the vanilla extract.
- In a separate bowl, whisk together the flour and salt.
- Gradually add the dry ingredients to the wet ingredients, mixing on low speed until just combined into a soft dough. Do not overmix.
- Shape the dough into logs or use a cookie press fitted with your desired tip for piped butter cookies.
- Wrap the dough logs in plastic wrap and chill in the refrigerator for at least 30 minutes.
- Preheat your oven to 350°F (175°C). Line baking sheets with parchment paper.
- Slice chilled logs into 1/4-inch thick rounds, or press dough through the cookie press onto the prepared sheets.
- Bake for 10 to 12 minutes, or until the edges are lightly golden brown.
- Let the cookies cool on the baking sheet for 5 minutes before transferring them to a wire rack to cool completely.
Notes
- For a richer flavor, you can substitute 1/4 cup of the butter with browned butter. Cool the browned butter before creaming it with the sugar.
- These cookies are excellent for gifting; store them in an airtight container at room temperature for up to one week.
- If you prefer a crispier cookie, bake for an additional 1 to 2 minutes.
Nutrition
- Serving Size: 1 cookie
- Calories: 110
- Sugar: 6
- Sodium: 35
- Fat: 7
- Saturated Fat: 4.5
- Unsaturated Fat: 2.5
- Trans Fat: 0.1
- Carbohydrates: 10
- Fiber: 0.2
- Protein: 1
- Cholesterol: 25