
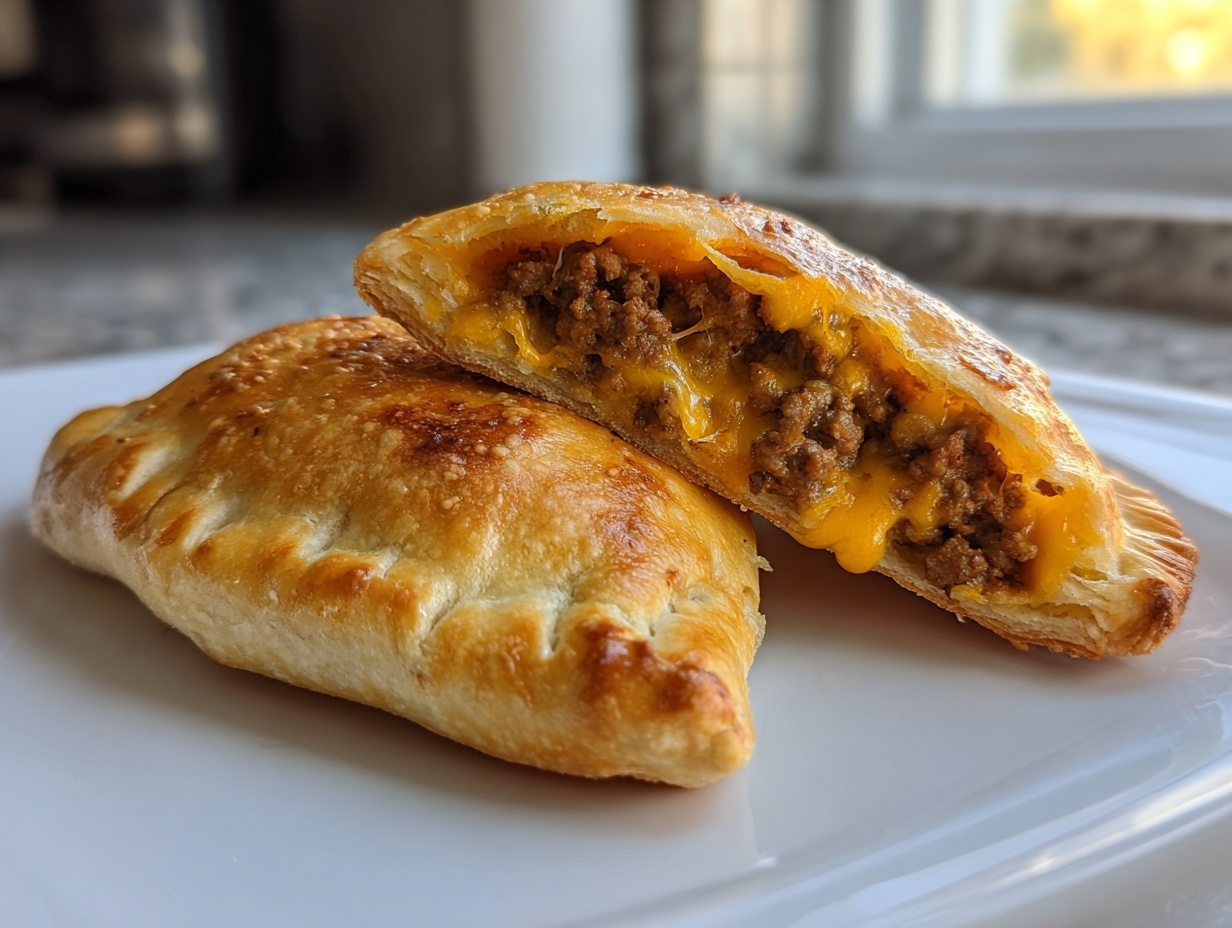
I don’t know about you, but sometimes I crave that smoky, savory flavor of a classic diner cheeseburger, but the thought of shaping patties, handling grease, and dealing with soggy buns? Forget it! Not on a Tuesday night, anyway. That’s why I developed my absolute favorite shortcut for delivering that huge flavor punch with almost zero fuss: these amazing cheeseburger pockets crescent rolls! Trust me when I say these have been rigorously tested in my kitchen to ensure they come out perfectly golden and sealed shut every single time. This recipe is the ultimate answer when you need a comforting, satisfying meal ready fast. If you’re stuck in a dinner rut, this is the recipe that will rescue your weeknights. You can check out more reliable weeknight dinner recipes over here!
- Why These Cheeseburger Pockets Crescent Rolls Are Your New Weeknight Hero (E-E-A-T)
- Ingredients for Perfect Cheeseburger Pockets Crescent Rolls
- Step-by-Step Instructions for Homemade Cheeseburger Pockets
- Tips for Success Making Crescent Roll Cheeseburger Bites
- Serving Suggestions for Cheeseburger Empanadas Style
- Storage and Reheating Quick Baked Burger Pockets
- Frequently Asked Questions About Cheeseburger Pockets Crescent Rolls
- Estimated Nutritional Values for Cheeseburger Pastry Pockets Recipe
- Share Your Cheeseburger Pockets Crescent Rolls Creations
Why These Cheeseburger Pockets Crescent Rolls Are Your New Weeknight Hero (E-E-A-T)
Honestly, the convenience here is what sold me on making this recipe a staple. We all want that big, satisfying taste of home cooking, but who has time for fussy pastry work? By using those handy refrigerated crescent rolls, we skip about three steps right off the bat! Because I test everything around here so thoroughly, you can count on these results. These cheeseburger pockets crescent rolls deliver big flavor without the dish pile-up.
Here’s why I know this recipe is a winner:
- You can find everything you need at one stop, which is always a win for busy schedules.
- The handheld format means you don’t even need a knife and fork. Hello, couch dinner!
If you’re looking for more easy-to-assemble treats, you should definitely explore my collection of appetizers and snacks.
Quick Baked Burger Pockets Ready Fast
This is real talk: the total time from start to finish is just around 33 minutes! That’s a complete, hot meal on the table faster than most takeout arrives. These truly live up to the name Quick Baked Burger Pockets, making them ideal for those evenings when you walk in the door and everyone immediately yells, “What’s for dinner?”
Kid Friendly Cheeseburger Pockets Appeal
My nephew, bless his heart, is notoriously picky, but even he goes crazy for these. Why? Because they are perfectly portioned and portable. Forget wrestling with melting cheese on a plate; these Kid Friendly Cheeseburger Pockets are made for little hands to hold. They pack up beautifully for next day’s lunchbox, too!
Ingredients for Perfect Cheeseburger Pockets Crescent Rolls
When I write up a recipe here on Kings Cook, my first thought is always: can my friends find this at their regular grocery store? Absolutely! We are skipping any fancy sourcing here; this is pure, accessible comfort food built around staples. You’ll need the basics for a great burger filling, plus that lovely store-bought dough that saves you so much time. Seriously, using ready-made dough is a game-changer for handheld dinner ideas with crescent dough on a busy night.
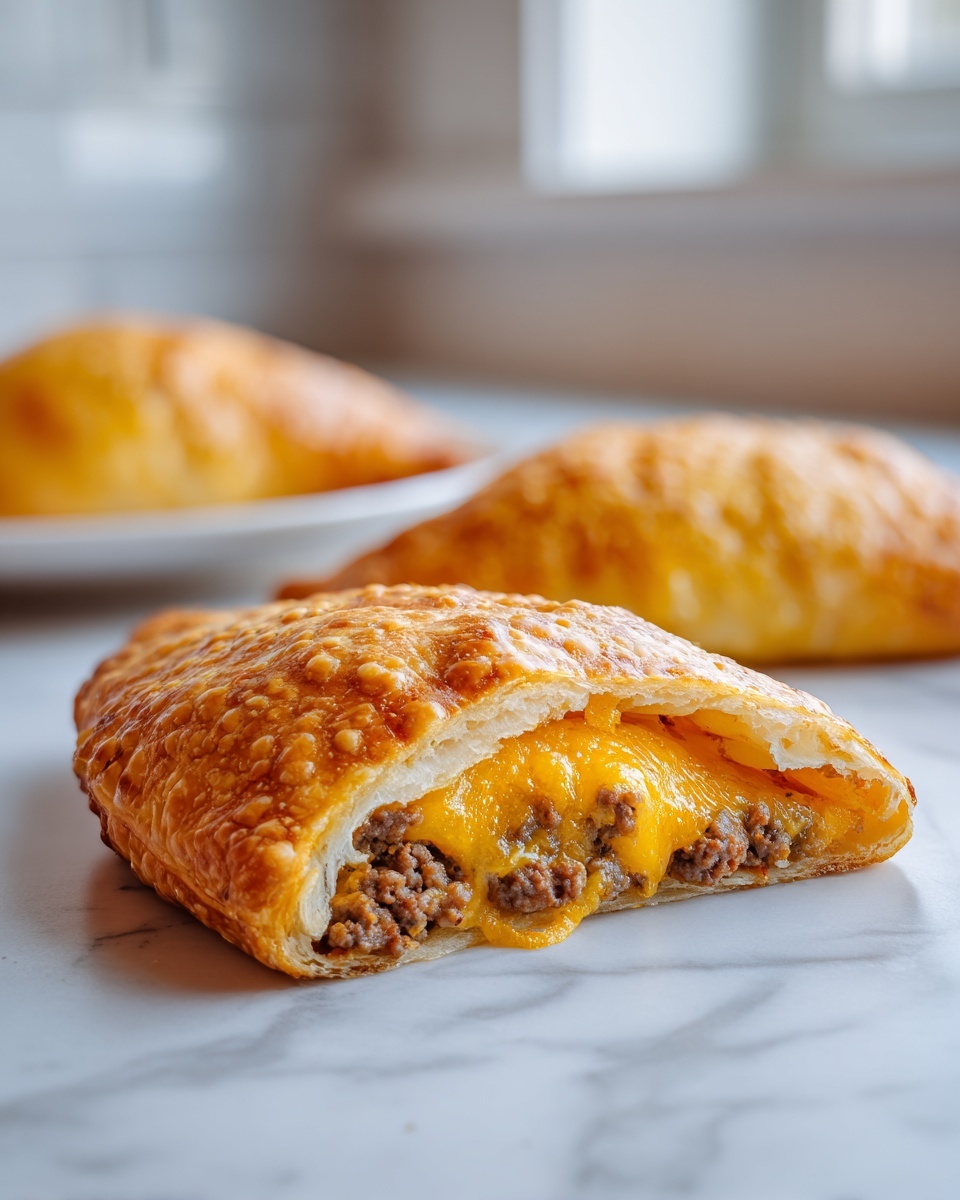
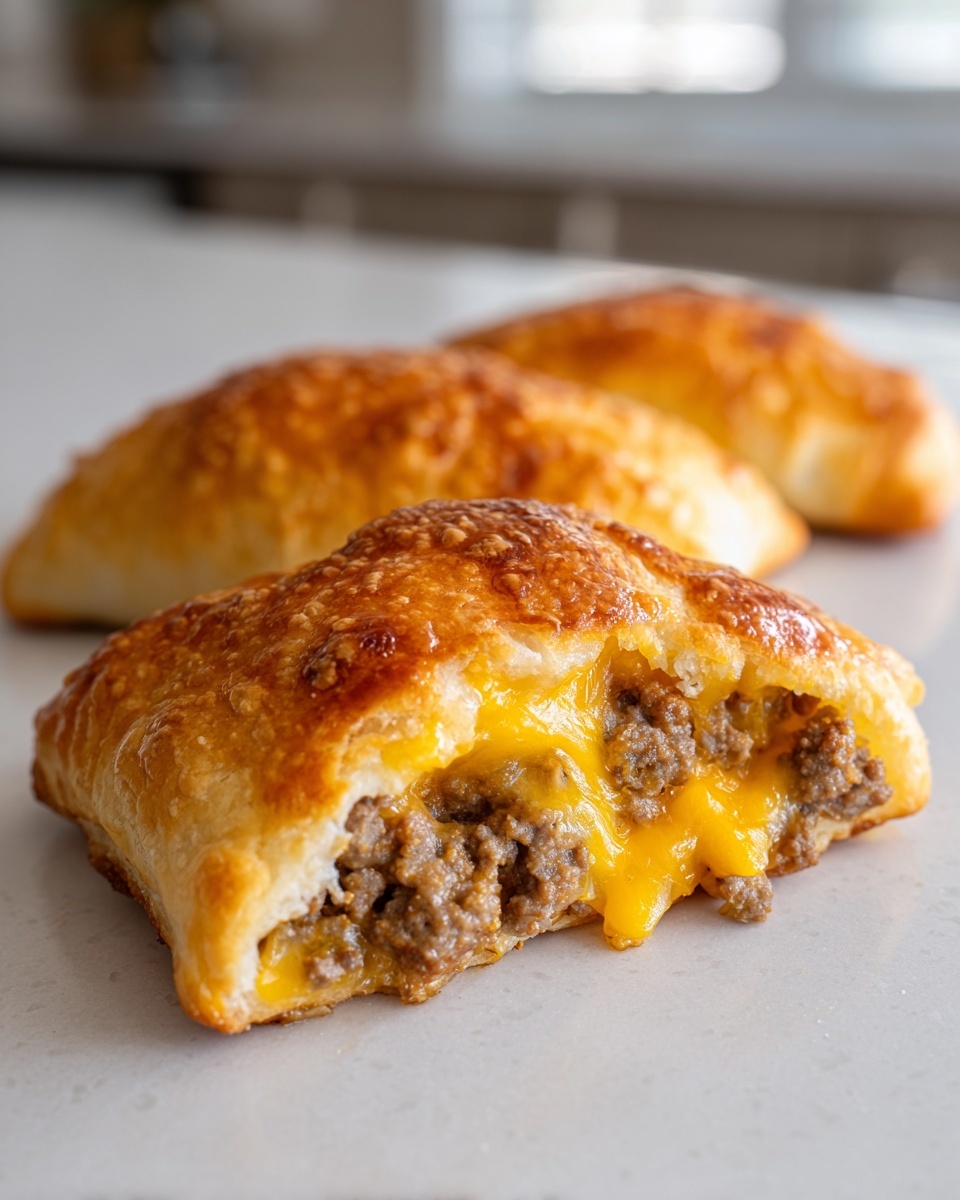
For the main filling, you’ll need one pound of ground beef, cooked with about half a cup of finely chopped onion until it’s all lovely and brown. Never forget the flavor boosters: salt, pepper, garlic powder, and just a splash of Worcestershire sauce to give it that deep, savory backbone. Then, of course, comes the star that holds it all together—one cup of shredded cheddar cheese. We’re keeping the dough simple: just one standard 8-ounce package of refrigerated crescent roll dough. You’ll also need one large egg, lightly beaten for our finishing brush.
I like to keep the extra condiments optional in the main mix, but feel free to add a tablespoon of yellow mustard or ketchup if you like your meat mixture already seasoned that way. Remember, all these ingredients are geared toward making sure you get that recognizable cheeseburger flavor in every bite!
Ingredient Notes and Substitutions for Cheeseburger Pastry Pockets Recipe
Let’s talk swaps, because I know everyone’s pantry looks a little different! If you aren’t a fan of ground beef, you can certainly use ground turkey or even ground chicken. Just make sure you don’t drain all the fat out of turkey; it can dry out easier than beef. You might want to add a touch more Worcestershire sauce to compensate for flavor.
As for the cheese, cheddar is my go-to because it melts beautifully and has that classic tang. Monterey Jack is an excellent melter if you want something milder, or you can mix cheddar with a little Colby for extra gooey results. The most critical thing for a successful seal in these Cheeseburger Pastry Pockets Recipe is using room-temperature or slightly warm meat filling. If the beef is piping hot, it will start melting the cheese and make the dough gummy right where you need it to be firm!
We keep things simple so you can focus on technique, which you can check out in the next section. If you’re looking for more lightning-fast meals, don’t forget to browse my section on easy lunch recipes once you master these pockets!
Step-by-Step Instructions for Homemade Cheeseburger Pockets
Okay, now for the fun part: assembly! This is where we turn simple ingredients into those beautifully browned, delicious pillows of flavor. The process is very straightforward, but pay close attention to the details, especially when folding, because we don’t want any cheese escaping during the bake. You’re creating these wonderful homemade cheeseburger pockets in just a few minutes!
First things first, get your oven prepped to 375 degrees Fahrenheit and line a baking sheet with parchment paper. This always makes cleanup a dream, which is essential for a quick weeknight dinner. Find that skillet, get the beef and onions cooked up, and then remove that excess grease. Seriously, drain it all out! Soggy dough is my enemy, and grease is the first culprit.
Preparing the Ground Beef Filling for Easy Ground Beef Crescent Rolls
Once the meat is browned, toss in your seasonings—salt, pepper, garlic powder, and that lovely Worcestershire sauce. Also, if you decided to mix in mustard or ketchup right into the filling, now is the time to stir it all together off the heat. Crucially, let this mixture cool down for just a few minutes before you try to wrap it. If it’s scorching hot when it meets that cold crescent dough, the dough will get tough and the cheese will melt too fast. We want the filling to be warm, not bubbling lava when it goes into your easy ground beef crescent rolls.
Sealing and Finishing Your Cheeseburger Pockets Crescent Rolls
Unroll your dough and separate it into those 8 lovely triangles. Now, give yourself enough space to work. Put a scoop of the cooled beef mixture on the wide end of the triangle, then sprinkle on your cheese. This is the moment of truth: fold the dough over to form a perfect triangle shape. Press those edges together really hard—use your fingers first to get a good seal. Then, grab a fork and crimp those edges all the way around. That fork press is your insurance policy against leakage when baking those cheeseburger pockets crescent rolls!
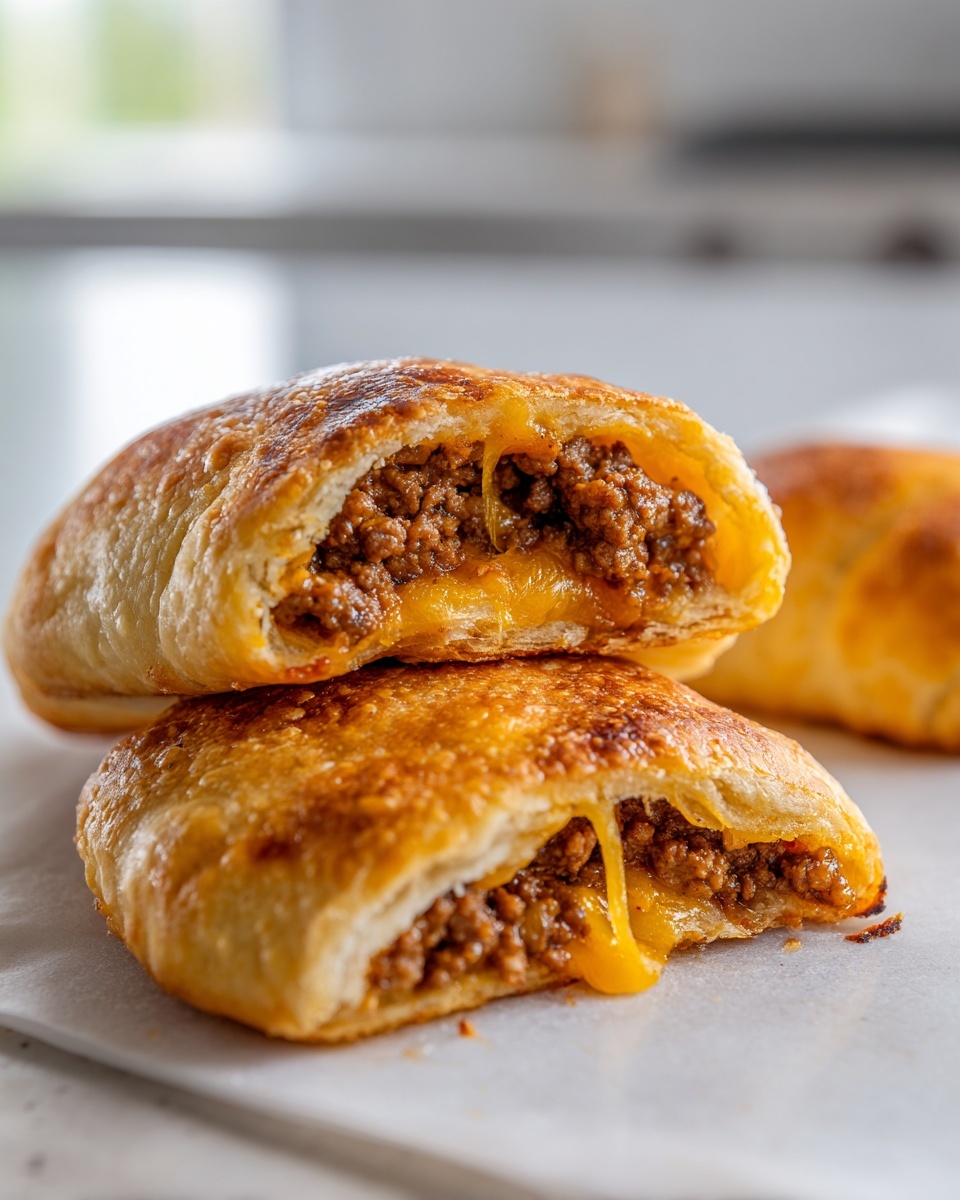
When they are all sealed and lying seam-side down on your prepared tray, grab that beaten egg. Brush it lightly all over the tops. This egg wash is the secret weapon for making them look professional—it gives you that gorgeous, even golden-brown shine. Pop them into the oven for about 15 to 18 minutes. You’ll know they are done when they are puffed up and beautifully golden brown all over. If you need more reliable dinner inspiration, check out my best weeknight dinner recipes!
Tips for Success Making Crescent Roll Cheeseburger Bites
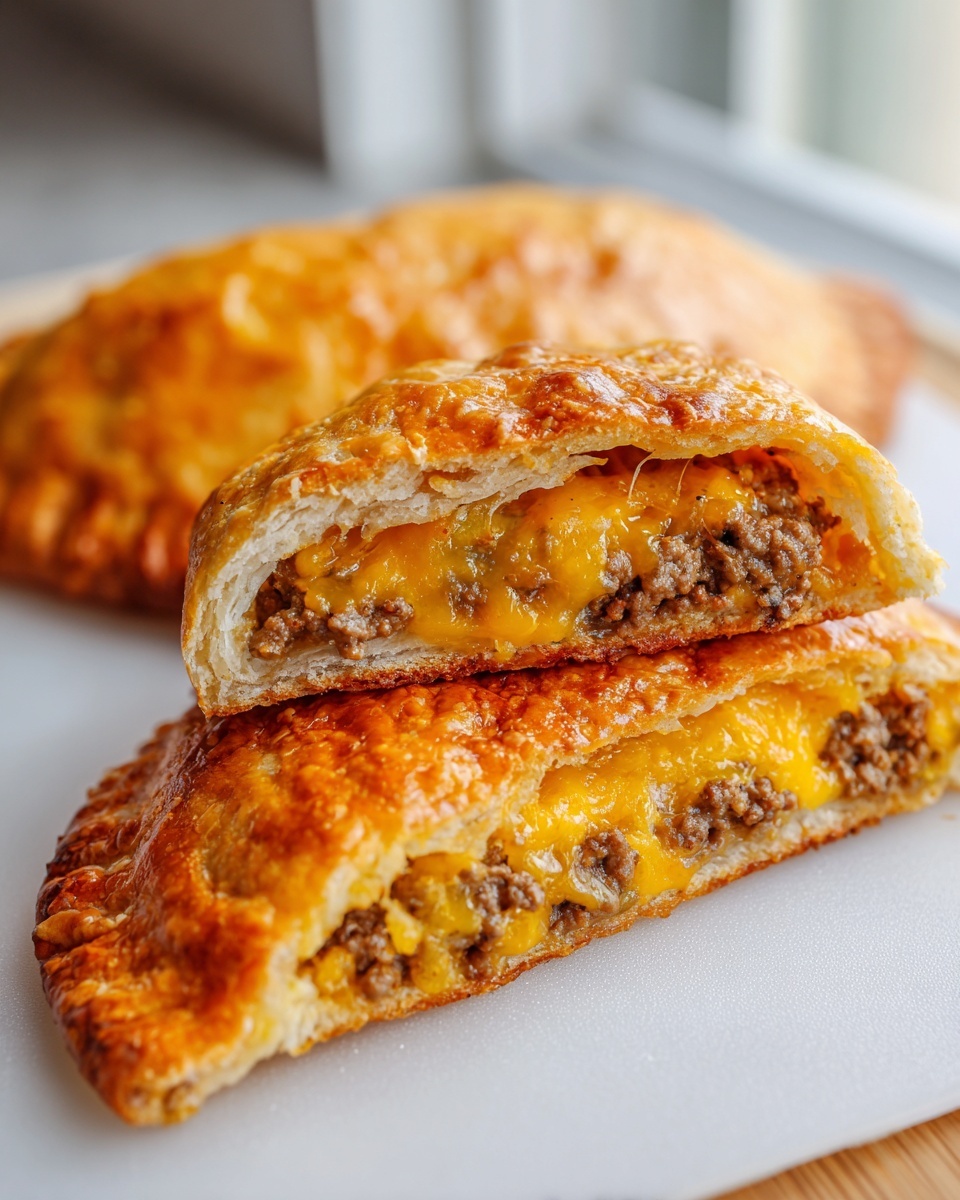
Even though these pockets are super simple, there are a few little tricks I’ve learned over the years that take them from ‘good’ to ‘OMG, can I have another?’ These tips aren’t about making the recipe harder; they’re about eliminating the one thing that ruins an otherwise perfect bake—a cheesy mess leaking everywhere! If you follow these simple guidelines, your final Crescent Roll Cheeseburger Bites will look absolutely magazine-worthy.
My biggest advice, and I can’t stress this enough, is managing moisture and temperature. We want the dough to puff up around a warm filling, not dissolve in a puddle of hot beef juice! When you seal them, go slow and seal them tight—that’s the key to keeping everything tucked inside those flaky layers.
Preventing Filling Leakage in Savory Crescent Roll Recipes
This is where most people run into trouble with any kind of handheld pastry, whether you’re making empanadas or these savory crescent roll recipes. If your filling has too much liquid—either from under-drained beef or onions that weren’t cooked down enough—that moisture turns to steam and pushes its way right through the weakest spot in the dough.
Make sure that beef mixture is really well-drained after you cook it. I actually press the cooked meat mixture between a few paper towels after draining it in the colander, just to wick away any lingering dampness. Also, remember that step where I told you to let the meat cool down slightly? That isn’t just for protecting your fingers; cold filling keeps the cheese solid longer, giving the dough time to seal firmly around it before the oven heat hits.
When you roll them up, really focus on pinching the seams all the way around. If you see a tiny tear, don’t just smooth it over—use the back of a fork to press those edges together firmly. That fork action creates a sturdy little barricade. If you do this right, the only drips you’ll see are that gorgeous golden egg wash!
Serving Suggestions for Cheeseburger Empanadas Style
Part of the fun with these incredible pockets is that they feel like a true burger experience, just miniaturized and perfectly handheld! You don’t need a full spread, but serving them alongside classic accompaniments really elevates these cheeseburger empanadas style snacks into a full, satisfying dinner. Because they are so convenient, they pair wonderfully with sides that are just as easy to manage.
When I make these for the family, I always treat them like gourmet sliders. A big bowl of crispy seasoned fries is a must—you need something crunchy to contrast that tender crescent dough. Onion rings are also fantastic, especially if you’re feeling a little indulgent. This recipe is perfect for when you need those fantastic Handheld Dinner Ideas with Crescent Dough that still feel special.
And what’s a burger without the toppings? Don’t forget to set out little bowls of thinly sliced dill pickles, some crispy lettuce shreds, and plenty of ketchup and mustard for dipping. Seriously, dipping these golden pockets into an extra dollop of mustard makes them heavenly!
If you’re looking for something that feels a bit more complete but is still incredibly straightforward, you have to check out my favorite delicious side dishes to round out your meal. Happy pairing!
Storage and Reheating Quick Baked Burger Pockets
So, what happens if you actually manage to have leftovers? (Which, in my house, is a major win!) These Quick Baked Burger Pockets reheat beautifully, but you have to treat them right. The biggest mistake people make when reheating anything wrapped in crescent dough is reaching straight for the microwave. Friends, don’t do it! The microwave makes that flaky pastry instantly soft and chewy, and we worked too hard for crispy pockets!
For the very best leftovers that recapture that fresh-baked magic, you want to use dry heat. Pop them back into a conventional oven or even a toaster oven set to about 325 degrees Fahrenheit. If you put them directly onto the rack (or a small baking sheet lined with foil) for about 8 to 10 minutes, the crust crisps right back up, and the cheese inside gets gooey all over again. It’s nearly as perfect as the first time!
If you need to store them for later, let them cool down completely first. Once cool, you want an airtight container, but make sure they aren’t packed too tightly, or they might steam each other up! They’ll keep just fine in the fridge for about three days. They’re excellent for quick lunches the next day, just remember to reheat them slowly in the oven so they stay crispy!
Frequently Asked Questions About Cheeseburger Pockets Crescent Rolls
I get so many questions about these pockets once people try them! It just shows how much everyone loves a simple, flavor-packed meal. I tried to cover the most common things I hear from readers who are worried about messing up their cheeseburger pockets crescent rolls, so hopefully, this helps you feel super confident going into the kitchen!
Can I use pre-cooked meat for these Appetizer Cheeseburger Pinwheels?
Oh, absolutely! If you happen to have leftover hamburger meat from taco night or grilling burgers earlier in the week, use it! That’s what I call smart cooking. However, here’s the one little rule: the meat must be completely cool before you mix it with the cheese and wrap it in the dough. If you use hot meat, it will start melting the cheese before it even hits the oven, making everything gooey and harder to seal. We want these Appetizer Cheeseburger Pinwheels to stay snug and tidy!
What is the best way to make these Comfort Food Crescent Recipes ahead of time?
If you’re planning for a party or just trying to conquer a busy week ahead, assembling these ahead of time is a fantastic idea. You can go through all the filling and wrapping steps—make the triangles, add the meat and cheese, and seal them up tight. Keep them sealed and covered in the fridge on your baking sheet.
Here’s the crucial part for these Comfort Food Crescent Recipes: Do NOT brush them with the egg wash yet. Wait until you are ready to bake. When you pull them out of the fridge to cook, they might take just 3 to 5 minutes longer in the oven to get fully hot through the center, but they bake up beautifully! If you’re looking for more relaxing recipes that save you time later, take a peek at my best appetizers and snacks collection.
Estimated Nutritional Values for Cheeseburger Pastry Pockets Recipe
I always like to give you an idea of what you’re looking at nutritionally, though I remind everyone that these numbers are just estimates! Since we are working with fun, family-friendly food here, we aren’t stressing over perfection, but it’s good to know the basics. These calculations are based on using the primary ingredients listed, assuming 8 pockets per batch, and they include the whole package of crescent dough and beef.
When you look at these figures for our Cheeseburger Pastry Pockets Recipe, remember that adding things like a side of fries or a big drizzle of extra dipping sauce will certainly change the totals!
| Nutrient | Per Pocket (Estimate) |
|---|---|
| Calories | 320 |
| Total Fat | 19g |
| Protein | 16g |
| Carbohydrates | 20g |
| Saturated Fat | 8g |
| Sugar | 2g |
Keep in mind that these numbers can shift depending on the lean-ness of your ground beef and exactly how much cheese you manage to fit inside each pocket—and I encourage you to put in *plenty* of cheese! This is comfort food, after all. Just knowing the basics helps keep things balanced when you’re planning the rest of the week.
Share Your Cheeseburger Pockets Crescent Rolls Creations
I truly hope this recipe brings a little bit of that easy weeknight magic into your kitchen! Seeing your creations is seriously one of the best parts of running Kings Cook. It confirms that these simple, reliable directions genuinely work for home cooks everywhere, even when you’re trying to juggle homework and soccer practice.
If you made these cheeseburger pockets crescent rolls and they were a huge hit (which I fully expect!), please take a moment to leave a star rating right below the recipe card. It helps other cooks feel confident trying something new!
And if you snapped a picture of those beautiful, golden, sealed pockets? Tag me on social media! I absolutely love seeing how you serve them up—whether they are paired with fries or just enjoyed standing up in the kitchen. We are all learning and mastering our kitchens together, so sharing your experience creates such a warm community here.
If you want to learn more about my philosophy on kitchen confidence and why I focus on simple, tested recipes, you can read all about it on my About Me page. In the meantime, happy cooking, and I can’t wait to see what delicious things you create next!
PrintEasy Cheeseburger Pockets with Crescent Rolls

Make quick, handheld cheeseburger pockets using store-bought crescent roll dough for a comforting weeknight meal or appetizer.
- Prep Time: 15 min
- Cook Time: 18 min
- Total Time: 33 min
- Yield: 8 pockets 1x
- Category: Dinner
- Method: Baking
- Cuisine: American
- Diet: Low Lactose
Ingredients
- 1 pound ground beef
- 1/2 cup finely chopped onion
- 1 teaspoon salt
- 1/2 teaspoon black pepper
- 1 teaspoon Worcestershire sauce
- 1/2 teaspoon garlic powder
- 1 (8 ounce) package refrigerated crescent roll dough
- 1 cup shredded cheddar cheese
- 1 large egg, beaten (for egg wash)
- Optional: 1 tablespoon yellow mustard
- Optional: 1 tablespoon ketchup
Instructions
- Preheat your oven to 375 degrees Fahrenheit. Line a baking sheet with parchment paper.
- In a skillet over medium heat, cook the ground beef and chopped onion until the beef is fully browned and the onion is soft. Drain off any excess grease.
- Stir the salt, pepper, Worcestershire sauce, and garlic powder into the cooked beef mixture. Remove from heat and let cool slightly. If using mustard or ketchup inside the filling, mix them in now.
- Unroll the crescent roll dough onto a clean surface. Separate the dough into 8 triangles.
- Spoon about 2 tablespoons of the beef mixture onto the wider end of each dough triangle. Sprinkle about 2 tablespoons of shredded cheese over the meat mixture.
- Fold the dough over the filling to create a triangle shape. Press the edges firmly together to seal. You can crimp the edges with a fork for extra security against leakage.
- Place the sealed pockets seam-side down on the prepared baking sheet.
- Brush the tops of the pockets lightly with the beaten egg wash. This helps them brown nicely.
- Bake for 15 to 18 minutes, or until the crescent roll dough is golden brown and cooked through.
- Remove from the oven and let cool slightly before serving. Serve with extra ketchup, mustard, or pickle slices on the side.
Notes
- For the best seal, press the dough edges together firmly with your fingers, then use a fork to crimp the edges closed. This prevents the cheese from melting out during baking.
- If you prefer a shinier crust, you can skip the egg wash and brush the tops with melted butter instead.
- These handheld dinner ideas are great for lunchboxes; let them cool completely before packing.
Nutrition
- Serving Size: 1 pocket
- Calories: 320
- Sugar: 2
- Sodium: 550
- Fat: 19
- Saturated Fat: 8
- Unsaturated Fat: 11
- Trans Fat: 0
- Carbohydrates: 20
- Fiber: 1
- Protein: 16
- Cholesterol: 55