
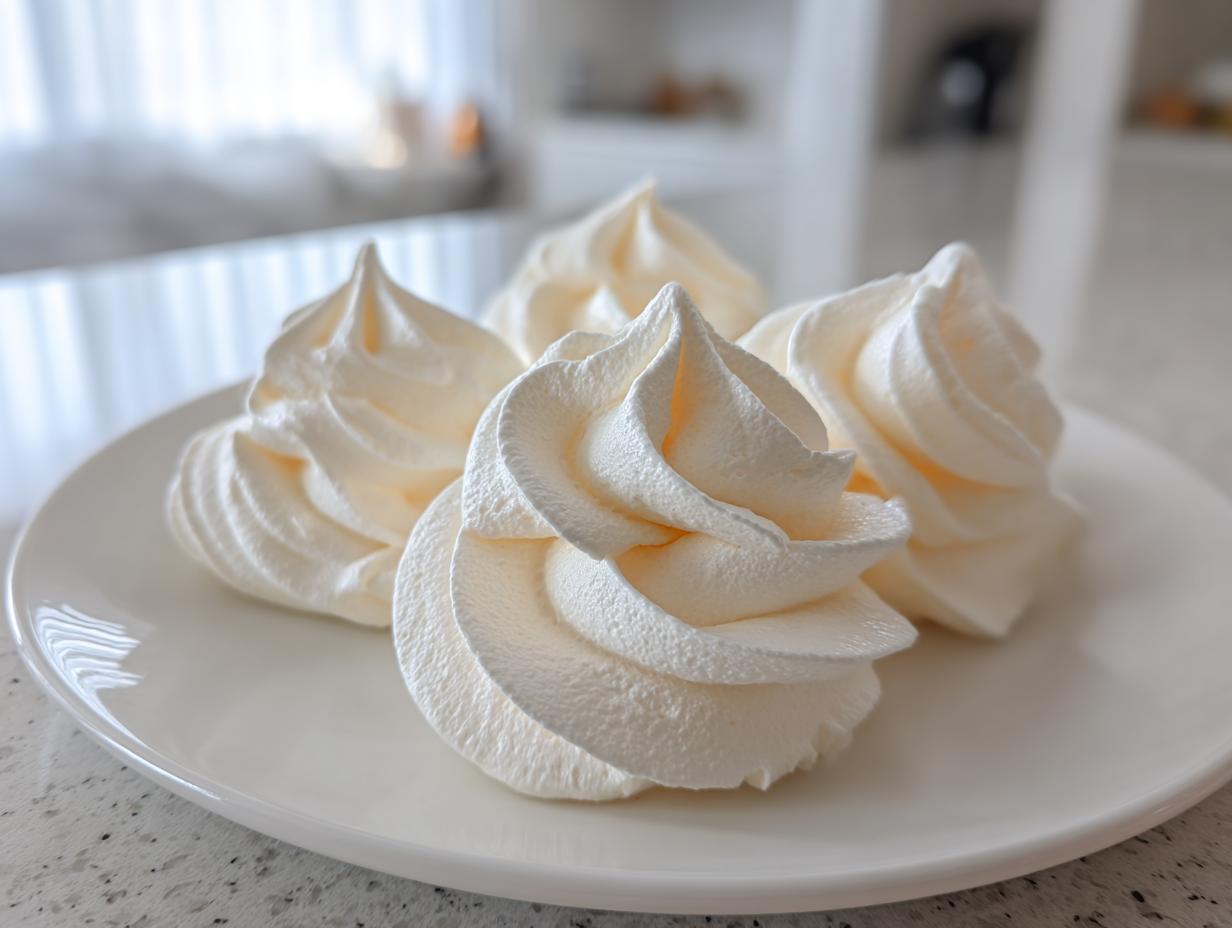
I know, I know. Meringue sounds scary, right? People always tell me they end up sticky, weeping all over the counter, or just collapsing into a chewy mess. But trust me, I’ve cracked the code! This **Best Meringue Cookie Recipe** will give you light, airy meringue cookies that are perfectly crisp on the outside and practically melt the second they hit your tongue. When I first started cooking, I struggled lots, but this classic recipe is so reliable. Seriously, once you get the technique down for these beautiful, delicate sweet treats, you’ll never look back. They are truly my go-to for making any day feel special!
- Why This Classic Meringue Cookies Recipe Works Every Time
- Gathering Ingredients for Your Meringue Cookies
- How to Make Meringue Cookies at Home: Step-by-Step Tutorial
- Tips for Success: Baking Perfect Meringue Cookies
- Variations on Classic Meringue Cookies
- Serving Suggestions for Your Delicate Sweet Treats
- Storage and Shelf Life for Meringue Cookies
- Frequently Asked Questions About Meringue Cookies
- Share Your Perfect Meringue Dessert
Why This Classic Meringue Cookies Recipe Works Every Time
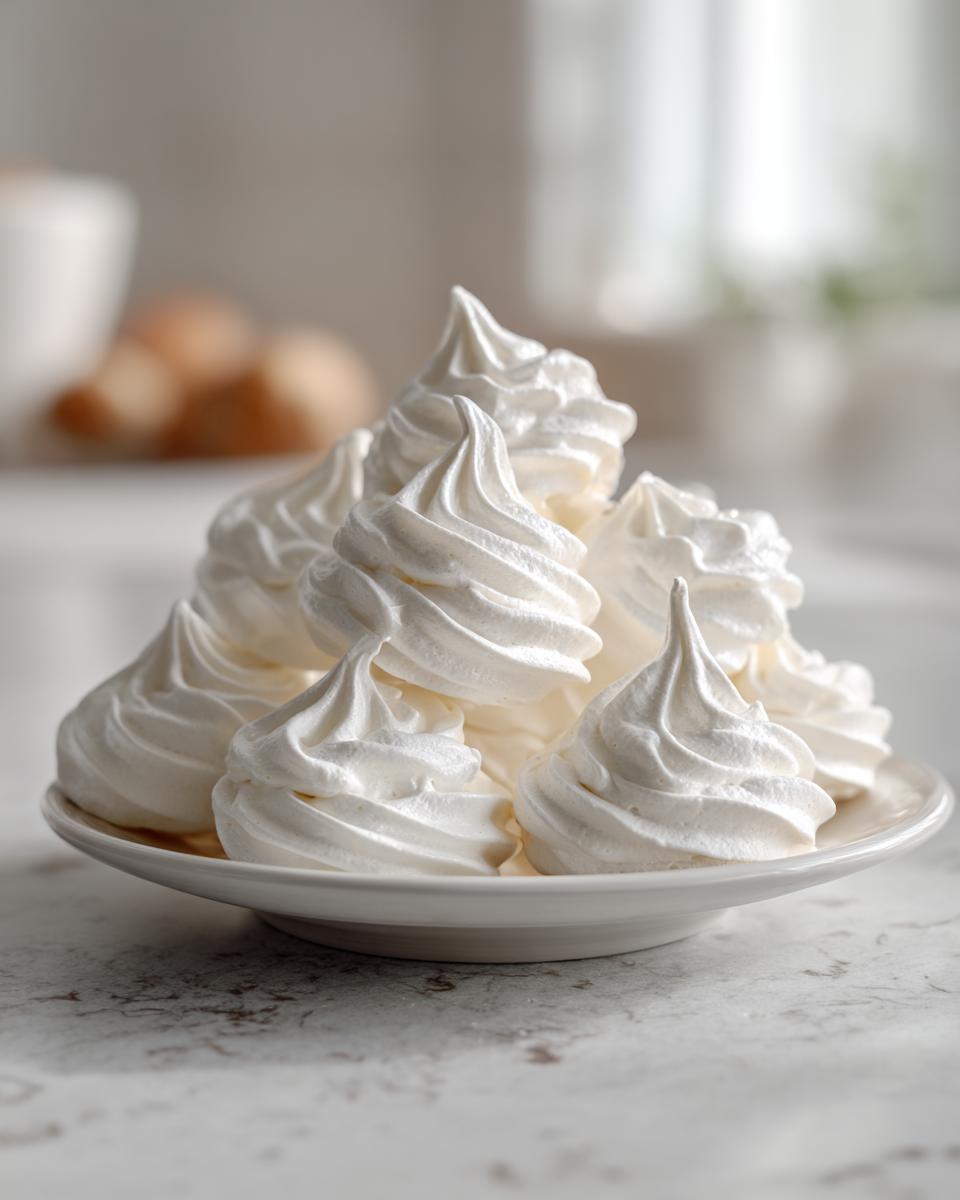
We are aiming for what I call the “cloud-like” texture here—that perfect balance where you get those incredibly Light and Airy Meringues without the dreaded stickiness. The reason my versions never weep or crack dramatically comes down to two key areas: how we whip the whites and how we dry them out in the oven. Don’t let the process intimidate you though! These are some of the most gratifying cookies to make once you know the system. Following my specific Tips for Crisp Meringue Cookies guarantees success.
Achieving Stiff, Glossy Peaks for Perfect Meringue Cookies
This might be the most important physical step! You absolutely must start with egg whites that are at room temperature; cold whites just won’t whip up right. Also, and this is non-negotiable, your bowl and whisk attachment must be spotless—I mean surgically clean. Any trace of fat or oil, maybe from a greasy hand or old residue, stops the protein chains from building up properly. We need that structure so we can add the sugar slowly, which creates those stiff, unbelievably glossy peaks. If it’s not holding its shape when you lift the whisk, keep beating!
The Secret to Crispy Meringue Cookies: Low and Slow Baking
The biggest mistake people make with these is trying to rush them by cranking up the heat. We aren’t actually baking them to cook them; we are drying them out like little sugary stones. That’s why the oven stays super low at 200°F. We want the moisture gone so they turn into those addictive, Melt in Your Mouth Cookies. After the time is up, turn the oven off, crack the door open a tiny bit, and let them sit inside for hours. This gentle cooling prevents sudden temperature changes that cause them to crack when shrinking.
Gathering Ingredients for Your Meringue Cookies
Okay, let’s look at what we need. The beauty of this recipe is how few things we need on your counter! Since we aren’t adding flour or any other fillers, this is naturally a fabulous Gluten Free Meringue Recipe. You’ll need four large egg whites—remember, room temperature is key! Then, we use a full cup of granulated sugar, cream of tartar, vanilla, and just a tiny pinch of salt to round out the flavors.
Ingredient Notes and Substitutions for Meringue Cookies
That cream of tartar is our little kitchen secret agent; it stabilizes the egg whites so they don’t deflate on us. Always make sure those egg whites are room temperature—it really helps them reach max volume! You can add color if you grab some gel food coloring, but only add it right at the very end when the soft peaks form. Please don’t try to swap the granulated sugar for anything else; meringue needs that specific crystal structure to build up correctly. Seriously, stick to the ingredients list, and you’re golden!
How to Make Meringue Cookies at Home: Step-by-Step Tutorial
Learning How to Make Meringue Cookies at Home is easier than you think once you follow the flow. I wrote out every step in the recipe details, but let’s walk through the process like we’re standing side-by-side in the kitchen. Remember, we are making these delicate treats in stages; never jump ahead!
Preparing for the Perfect Meringue Cookies Bake
First things first: get that oven ready! Preheat it super low, just 200°F. That low heat is your best friend for a crisp exterior. While it warms up, line two baking sheets with parchment paper. Now for the absolute most important thing: your mixing bowl and whisk have to be spotless. I mean wipe them down with a little vinegar if you’re nervous! Any hint of grease will ruin your efforts, and we want beautiful, billowy clouds, not sad, flat yolks.
Piping and Shaping Your Meringue Cookies
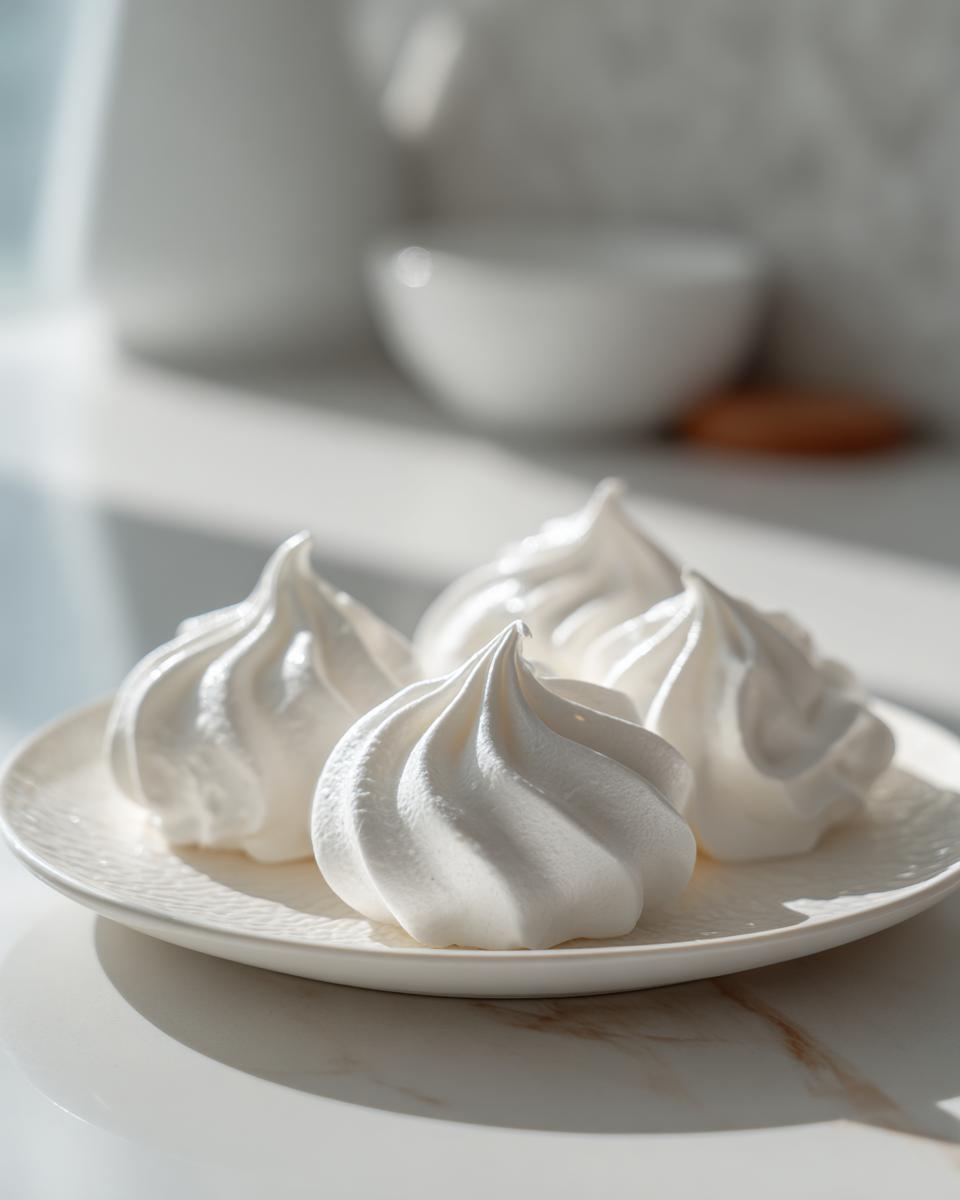
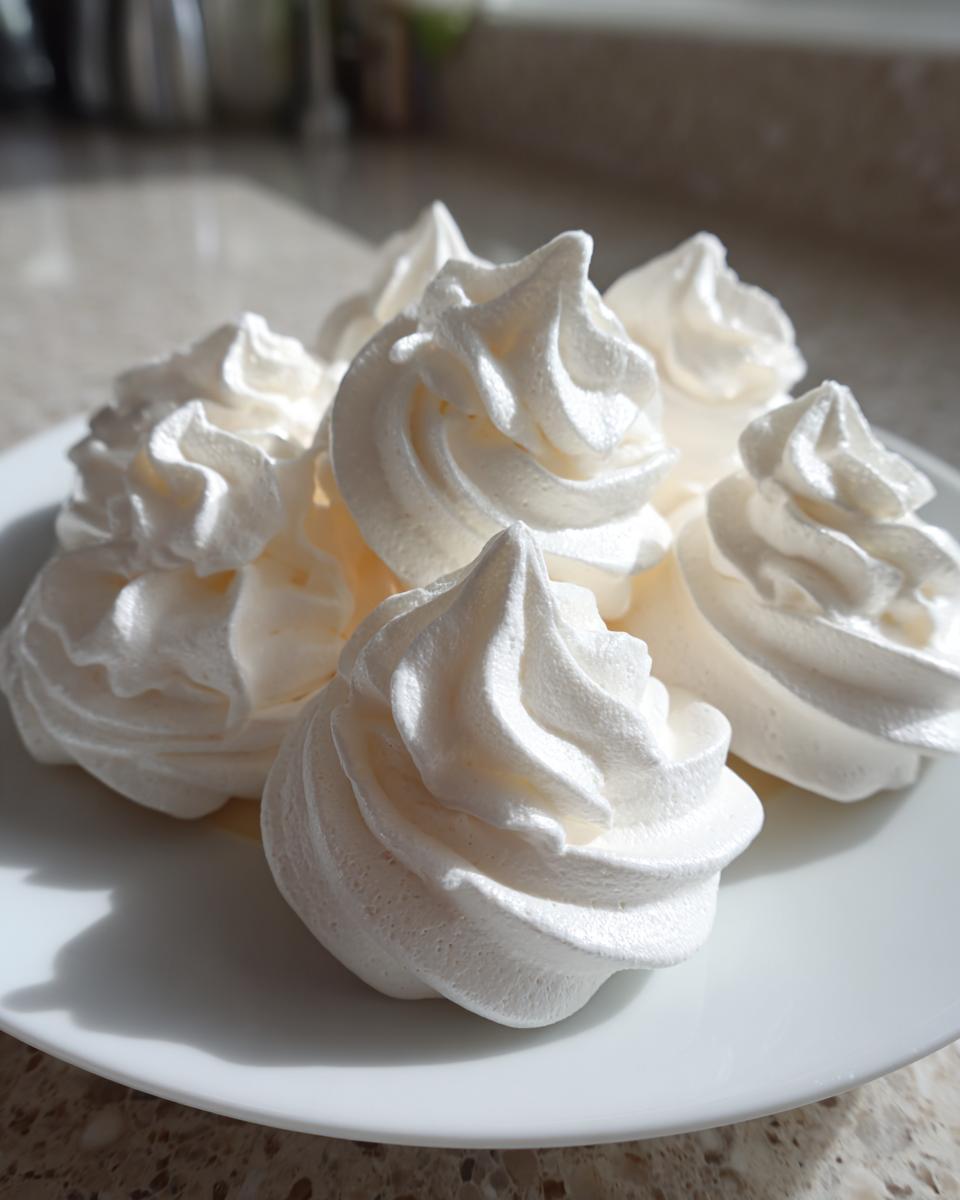
Once you have those stiff, shiny peaks—and seriously, they better be stiff!—it’s time to make them look pretty. Scoop all that glorious meringue into a piping bag fitted with whatever tip you want. I usually grab a star tip because it gives those classic ruffles, but it’s up to you for your chosen Piped Meringue Shapes. Pipe little kisses or swirls onto the parchment, making sure to leave about an inch of space between them because they might spread just a hair while drying out in the oven. Don’t pack them too tightly! I’ve added some tips on decorating for holiday trays over here at my cookie decorating guide, just for inspiration!
Tips for Success: Baking Perfect Meringue Cookies
Even with the right ingredients, an unpredictable oven or a rainy day can throw off our gorgeous Baking Perfect Meringues. We need to be prepared! The biggest thing I watch out for is humidity. Meringue is naturally drawn to moisture like a magnet, so if it’s super damp outside, you might need to add 15 to 30 minutes to the drying time. Don’t get sad if they don’t look 100% perfect right away; they still taste amazing!
Also, gauge your oven. If your oven runs hot, even at 200°F, the outside might brown too quickly. If you notice any color creeping in, immediately lower the temperature by 25 degrees. Remember, your goal is pure white and crisp all the way through! My trick is to use a separate oven thermometer—those dials on the front are often totally inaccurate, and that small difference can ruin the texture we worked so hard to achieve!
Variations on Classic Meringue Cookies
Now that you’ve mastered the classic white meringue cookies—which look absolutely stunning on any cookie platter—you might be wondering how we can jazz them up! These treats are wonderful canvases for flavor and color, making them perfect for all sorts of Holiday Meringue Cookie Ideas. You mentioned chocolate chips? Yes, please! If you want to make chocolate chip meringue cookies, just gently fold in about a half cup of mini chocolate chips right after you mix in the vanilla. Be gentle, though, we don’t want to deflate all that air we worked so hard to whip in!
For festive touches, like those beautiful Christmas Meringue Treats you see on Pinterest, gel food coloring is your friend. Add just a drop or two in the final mixing stage. Pastels work so well for Easter, and deep reds or greens are perfect for Christmas shapes. If you are feeling extra fancy, you can dip the finished, cooled cookies into melted chocolate or even sprinkle them with crushed peppermint right after piping them onto the sheet. I actually shared some inspiration on adapting seasonal flavors over in my guide to pumpkin spice cookies, and many of those flavor ideas translate beautifully here too! For true Christmas magic, check out these amazing Christmas meringue ideas for beautiful shapes!
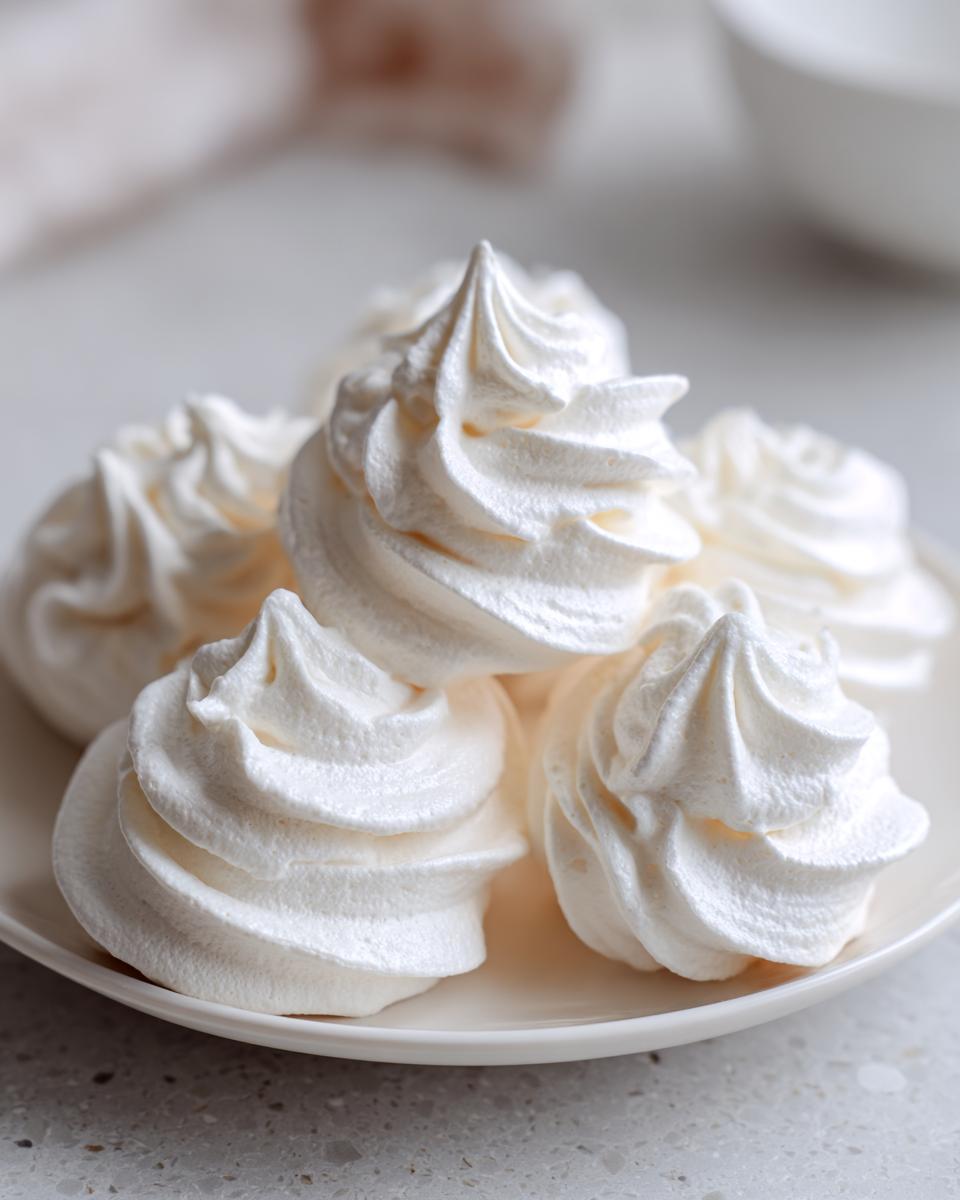
Serving Suggestions for Your Delicate Sweet Treats
These meringues are so charming, they deserve the spotlight! They aren’t meant to be heavy; they are meant to be enjoyed alongside something warm. Honestly, a cup of strong coffee or rich hot chocolate makes the perfect partner for these airy puffs. They just disappear in your mouth!
You absolutely have to include them when you put together your holiday spreads. They add height and whimsy to any cookie selection. Trust me, adding these to your Impressive Cookie Platter Ideas is a guaranteed way to make people stop, stare, and then immediately reach for one. They look amazing next to brownies or shortbread. You can even crush them up and use them as a topping for ice cream—way better than sprinkles! I shared some easy ideas for using baked goods in breakfasts over in my French toast guide, but these meringues are pure dessert magic!
Storage and Shelf Life for Meringue Cookies
Okay, you did it! You made these absolutely perfect, crisp meringue cookies. Now, we need to talk about keeping them that way. This is where we fight the great Meringue Enemy: humidity! If you leave these out on the counter exposed to the air, they will slowly start to get sticky and soft, and nobody wants that after all our hard work getting them perfectly dry.
The absolute golden rule here is airtight storage. Get out your best, sturdy cookie tin or a glass container with a really good seal. You want to seal them up the moment they are completely cool—and I mean stone cold from the oven environment. Don’t try to store them while they are even slightly warm, or you’re going to trap steam inside, which guarantees weeping!
If you store these lovely, Delicate Sweet Treats properly in a cool, dry pantry, honestly, they last for ages. I’ve kept batches for two weeks, sometimes even three! They maintain their structure beautifully as long as the lid stays tight. Avoid storing them near anything moist, like bowls of fresh fruit or the dishwasher area. These cookies are naturally great as edible gifts because they travel and store so well, provided you keep the moisture barrier up. If they start feeling a little soft after a week, you can pop them back in the very low oven (like 175°F) for about 15 minutes just to crisp them up again. It works like magic!
Frequently Asked Questions About Meringue Cookies
I always get questions emailed to me about what happens when meringues don’t turn out textbook perfect. Honestly, I’ve done all the mistakes so you don’t have to! Here are the things people ask me most often about making these airy delights. If you have other questions, drop them in the comments, and I’ll try to answer them!
Can I make meringue cookies ahead of time?
Oh yes, you absolutely can! That’s one of the best parts about them, especially when you are planning for big holiday baking sessions. Because they dry out so completely, they store incredibly well, provided you follow the storage rules we talked about—airtight container is key! I usually aim to make them about a week before I need them for a cookie swap or party. They are fantastic to have ready to go for those Impressive Cookie Platter Ideas without the last-minute stress. If you’re looking for other make-ahead treats, check out my post on preparing chocolate chip cookies.
Why are my meringue cookies weeping or sticky?
This is the number one issue, and it almost always boils down to two things. First, humidity! If it’s raining or super humid outside, the sugar in the meringue pulls moisture from the air, making them sticky. Second, they weren’t completely dried out in the oven. Remember, we are drying, not baking! If they feel soft or tacky when you take them out after the initial bake time, they need more time in that low heat. Even if you think they are done, always do the cooling process inside the switched-off oven. That gentle, warm environment finishes the drying process and locks in that signature crisp texture!
Share Your Perfect Meringue Dessert
Now that you have a batch of these dreamy, light and airy meringues, I’m so excited for you to try them! Honestly, every time I pull a fresh batch of these out of the oven—even after all these years—I feel like I’ve created something magical. They are such a delight to plate up, whether you’re making simple desserts or crafting a huge spread.
I truly want to know how yours turn out! Did you stick to the classic white kisses, or did you pipe them into little festive shapes? Pop down into the comments below and leave me a star rating—it helps other bakers decide if this recipe is right for them. And if you took a gorgeous picture of your platter, tag me on social media! Seeing your results reinforces why I share these reliable recipes. Happy baking, friends!
PrintClassic Light and Airy Meringue Cookies
Make delicate, crisp meringue cookies that melt in your mouth using this simple, reliable recipe. These sweet treats are perfect for holiday trays or elegant desserts.
- Prep Time: 15 min
- Cook Time: 90 min
- Total Time: 1 hour 45 min
- Yield: About 3 dozen 1x
- Category: Dessert
- Method: Baking
- Cuisine: American
- Diet: Gluten Free
Ingredients
- 4 large egg whites, room temperature
- 1 cup granulated sugar
- 1/2 teaspoon cream of tartar
- 1 teaspoon vanilla extract
- Pinch of salt
Instructions
- Preheat your oven to 200°F (95°C). Line two baking sheets with parchment paper.
- In a clean, grease-free bowl of a stand mixer fitted with the whisk attachment, combine the egg whites and cream of tartar. Beat on medium speed until soft peaks form.
- Gradually add the granulated sugar, about one tablespoon at a time, while continuing to beat on medium-high speed. Wait about 30 seconds between each addition.
- Once all the sugar is added, increase the speed to high and beat until stiff, glossy peaks form. The meringue should hold its shape firmly when the whisk is lifted.
- Beat in the vanilla extract and salt until just combined.
- Transfer the meringue to a piping bag fitted with your desired tip (a star tip works well for classic shapes).
- Pipe small mounds or desired shapes onto the prepared baking sheets, leaving about one inch between each cookie.
- Bake for 1 hour to 1 hour 30 minutes, depending on the size of your cookies. The goal is to dry them out completely, not brown them.
- Turn off the oven, crack the door open slightly, and let the meringue cookies cool completely inside the oven for at least 1 hour, or preferably overnight. This helps prevent cracking and ensures a crisp texture.
- Store the finished meringue cookies in an airtight container at room temperature.
Notes
- Make sure your mixing bowl and whisk attachment are completely free of any grease or fat; this prevents the egg whites from whipping properly.
- For best results, use egg whites that have been separated a day ahead and allowed to come to room temperature.
- If you want colored meringues, add a few drops of gel food coloring during the final mixing stage.
- These cookies are naturally gluten-free.
Nutrition
- Serving Size: 1 cookie
- Calories: 45
- Sugar: 11
- Sodium: 5
- Fat: 0
- Saturated Fat: 0
- Unsaturated Fat: 0
- Trans Fat: 0
- Carbohydrates: 11
- Fiber: 0
- Protein: 0.5
- Cholesterol: 0