
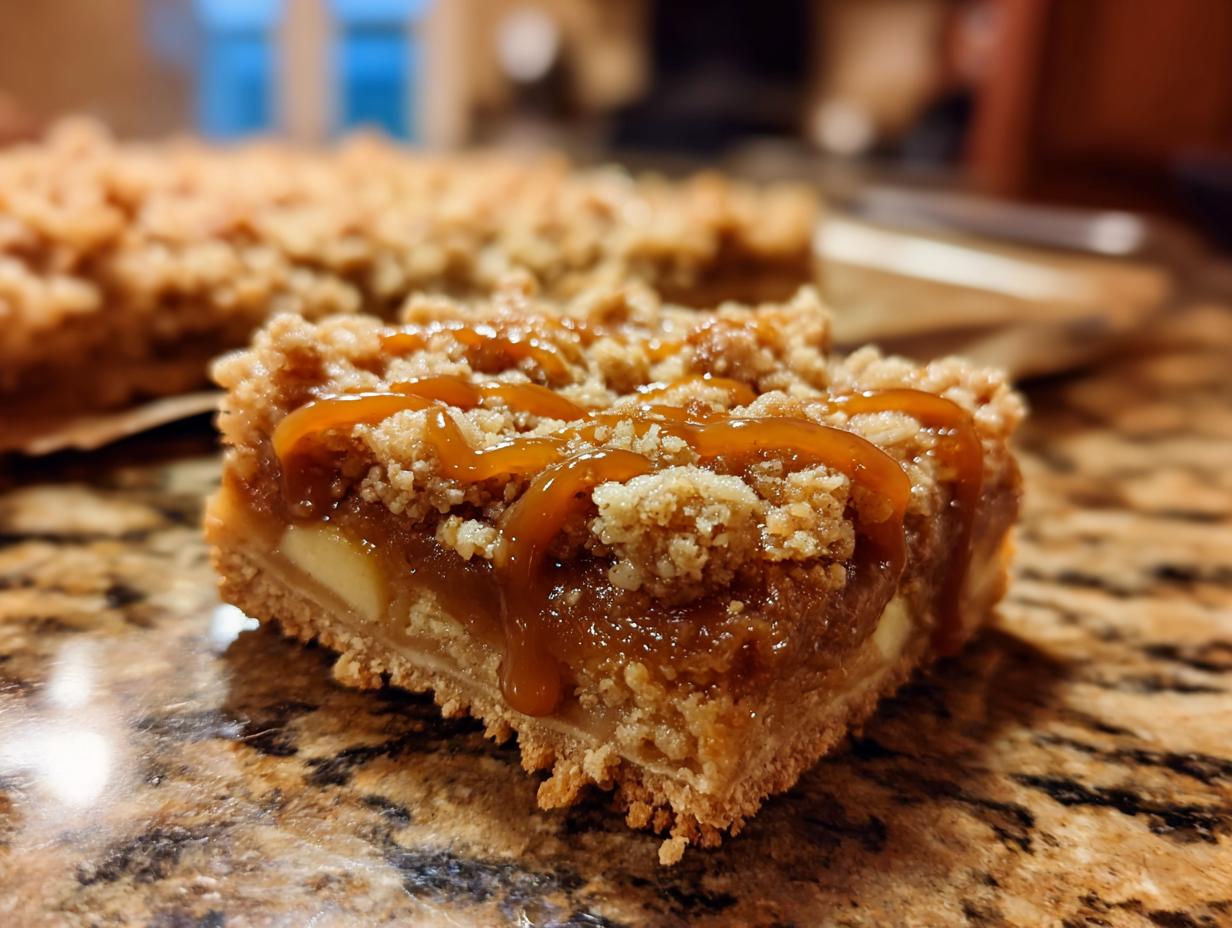
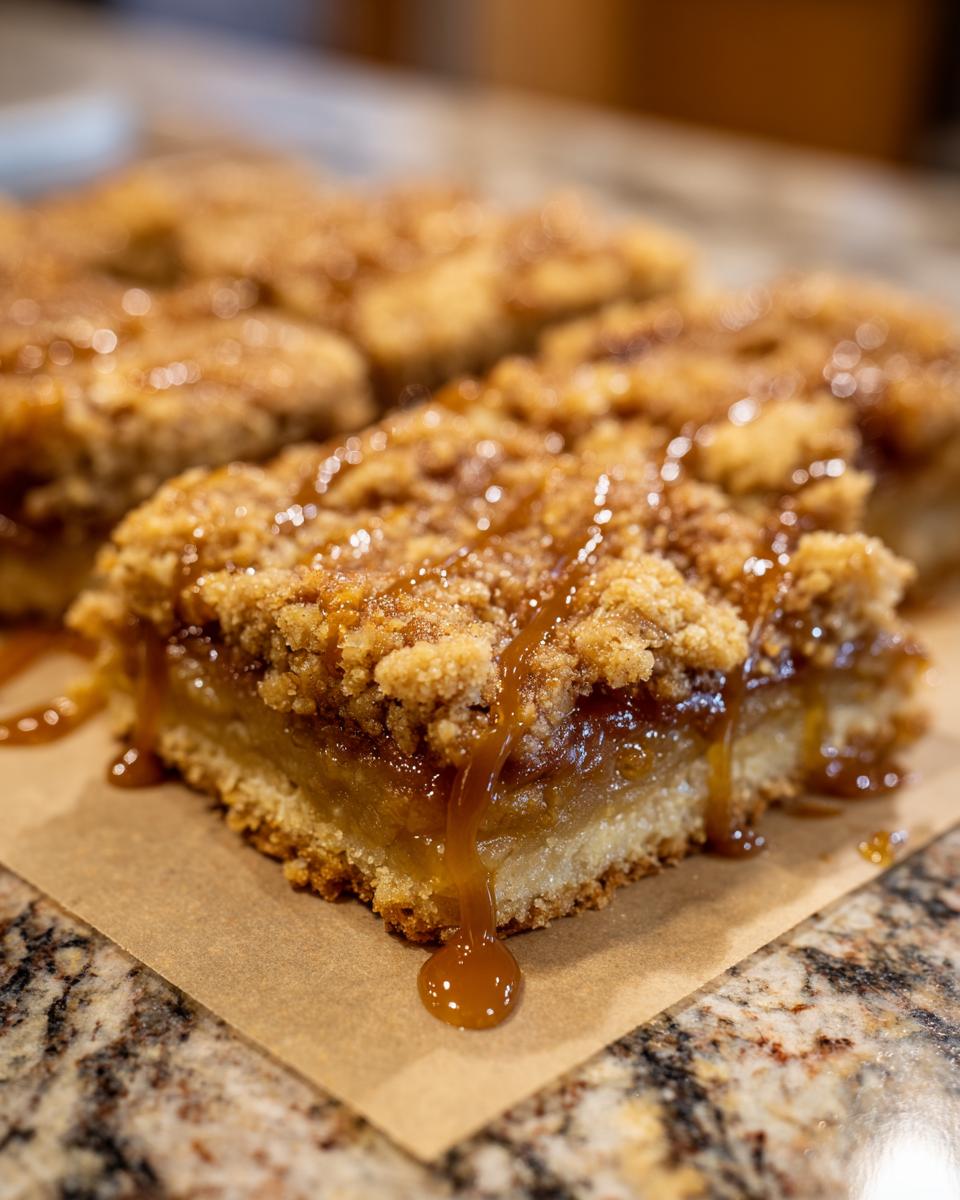
Oh, apple pie. It’s such a classic, right? But sometimes, let’s be honest, getting that perfect slice can be a little… well, messy. That’s where these amazing caramel apple pie bars come in! They’ve got all the cozy, comforting flavors of your favorite apple pie, but in this super easy-to-handle bar format. You get a buttery shortbread crust, tender, spiced apples, and that glorious hit of caramel, all in one neat package. You know, I’ve always wanted to make cooking feel less intimidating, and these bars are proof that you don’t need to be a pastry chef to create something truly special. Trust me, I’ve tested these so many times to make sure they’re just right, using simple ingredients you can find anywhere, so you can feel totally confident making them.
- Why You'll Love These Caramel Apple Pie Bars
- The Perfect Shortbread Crust for Caramel Apple Pie Bars
- Choosing the Best Apples for Pie Bars
- Crafting the Perfect Streusel Topping
- Step-by-Step Guide to Making Caramel Apple Pie Bars
- Tips for Slicing and Serving
- Make-Ahead and Storage for Caramel Apple Pie Bars
- Frequently Asked Questions about Caramel Apple Pie Bars
- Estimated Nutritional Information
- Share Your Caramel Apple Pie Bar Creations!
Why You’ll Love These Caramel Apple Pie Bars
Okay, so why should you totally make these caramel apple pie bars? Let me count the ways!
- Super Easy Assembly: Forget fussing with pie dough! The shortbread crust and crumb topping come together in a snap.
- All the Apple Pie Flavor: We’re talking warm cinnamon, tender apples, buttery shortbread, and that decadent caramel drizzle. Pure comfort!
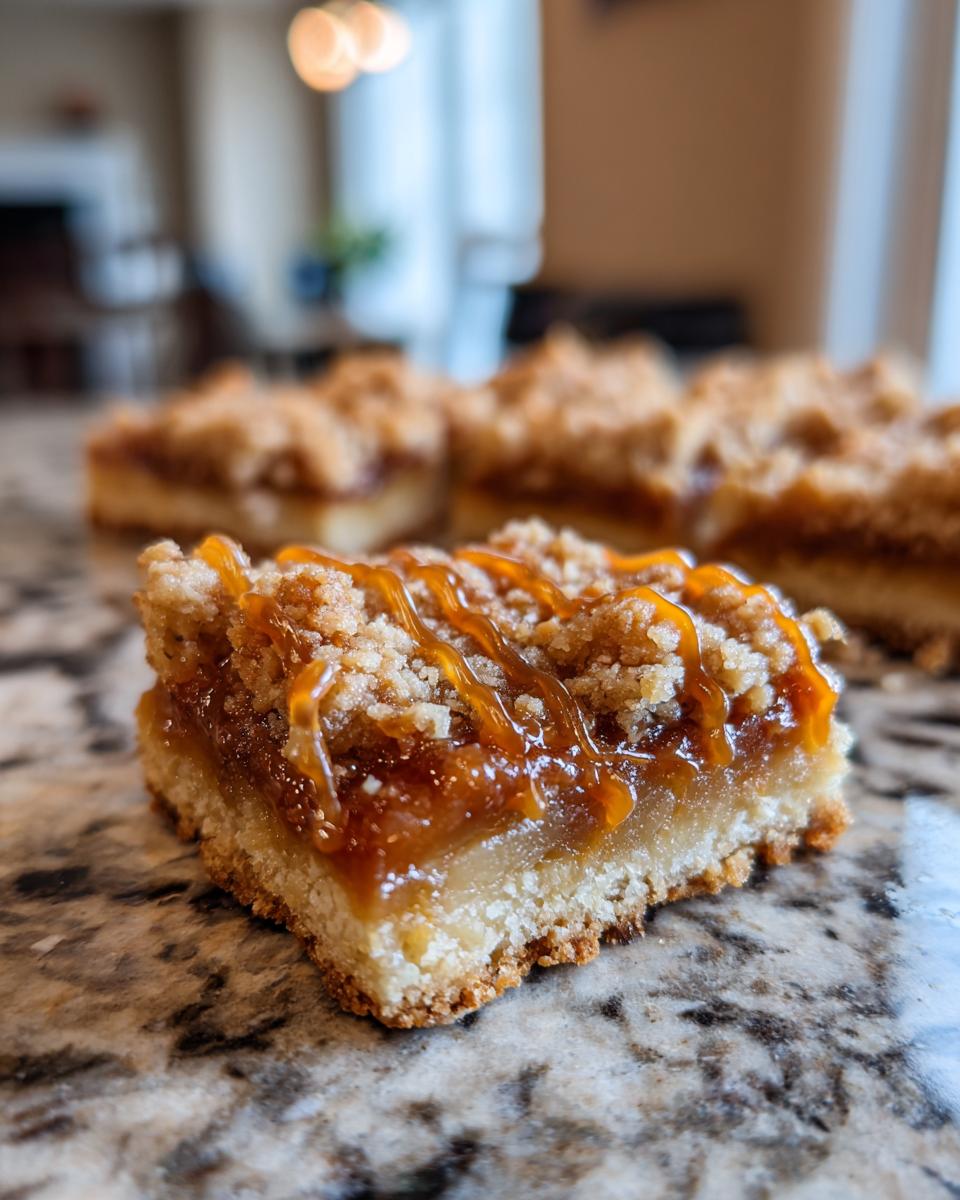
- Perfectly Portioned Treats: They bake up in a pan, meaning clean slices every time. No messy pie wedges here!
- Fantastic Make-Ahead Dessert: Need something for a party or gathering? These bars can be made a day or two in advance, saving you stress.
- The Ultimate Fall Dessert Bars: Seriously, they just scream cozy autumn vibes, don’t they?
- Hit at Any Bake Sale: These are honestly some of the best bake sale treats you could whip up. Everyone devours them!
The Perfect Shortbread Crust for Caramel Apple Pie Bars
You know, a good pie — or in this case, a good pie bar — really starts with a solid foundation. And for these caramel apple pie bars, that foundation is this amazing shortbread crust. It’s not like a flaky pie crust that can be finicky; this one is buttery, tender, and just a little bit crumbly in all the right ways. It holds everything together beautifully and adds this lovely richness that pairs perfectly with the sweet, spiced apples and that gooey caramel. It reminds me of my grandma’s cheesy garlic breadsticks – simple ingredients totally transformed into something amazing! This perfectly sturdy yet tender base means you get that satisfying bite without all the fuss of rolling out dough. It’s truly the best of both worlds!
Ingredients for Your Caramel Apple Pie Bars
Alright, let’s get down to business with what you’ll need for these goodies:
- 1 cup (that’s 2 sticks) unsalted butter, make sure it’s softened!
- 1/2 cup granulated sugar
- 1 teaspoon vanilla extract (the good stuff always makes a difference!)
- 2 1/2 cups all-purpose flour (just your regular kind works great)
- 1/4 teaspoon salt (to balance all that sweetness)
- 4 cups thinly sliced apples (about 4 medium-sized apples – I really love Honeycrisp or Gala for this!)
- 1/4 cup packed light brown sugar (gives it that extra bit of caramel flavor)
- 1 teaspoon ground cinnamon (essential for that cozy apple pie vibe!)
- 1/4 teaspoon ground nutmeg (just a little warmth goes a long way)
- 1/4 cup caramel sauce, plus extra for drizzling when they’re done
- 1/4 cup chopped pecans or walnuts (totally optional, but they add a nice crunch!)
Choosing the Best Apples for Pie Bars
Okay, so choosing the right apples for your caramel apple pie bars is a HUGE deal! It’s one of those little secrets that really makes a difference between a “meh” bar and a “wow, I need another one of these NOW” bar. You don’t want apples that turn to complete mush, but you also don’t want them to be so firm they’re practically raw after baking. That’s why I always reach for Honeycrisp or Gala apples. They strike that perfect balance: they bake up tender and sweet, but they still hold their shape really nicely, giving you those delightful little pockets of apple goodness. They also have a great natural sweetness that plays beautifully with the cinnamon and caramel. I’ve used them in my easy apple crisp, my apple pie oatmeal bake, and my cinnamon apple muffins too, and they’re always a winner! When you’re prepping them, just slice them thinly – about 1/4 inch thick is perfect. Too thick and they might not get tender enough, too thin and they might get a little lost. It’s all about that perfect bite!
Crafting the Perfect Streusel Topping
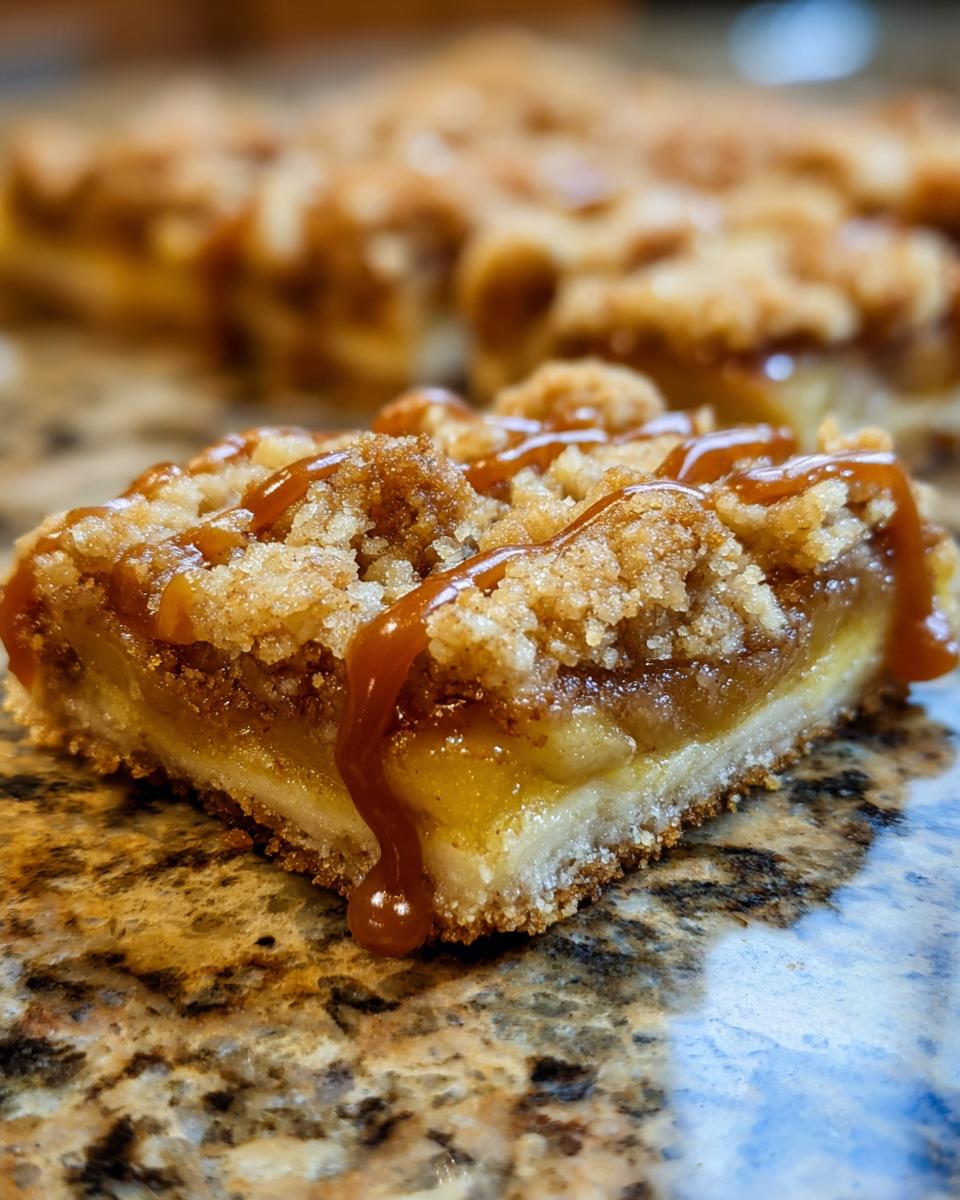
Now let’s talk about that glorious crown for our caramel apple pie bars – the streusel topping! This isn’t just any crumb topping; it’s what gives these bars that extra bit of magic. We want it to be perfectly golden brown and just tender enough, not hard like little rocks. The beauty of this streusel crumb topping is how it adds an amazing texture contrast to the soft, cooked apples and the buttery crust. It’s like a cozy hug on top of your pie bar! It reminds me so much of the crumb on my pumpkin spice coffee cake or even the delicious bits on my pumpkin chocolate chip cookies – that little bit of extra sweetness and crunch makes everything better, right?
Step-by-Step Guide to Making Caramel Apple Pie Bars
Alright, let’s get these gorgeous caramel apple pie bars made! It’s actually super straightforward, I promise. Think of it like building delicious layers. First things first, make sure your oven is preheated to 350°F (175°C). And grab an 8×8 inch baking pan – you’ll want to grease and flour it really well so nothing sticks. Trust me on this!
- Okay, in a big bowl, we’re going to cream together that softened butter and the granulated sugar. You want to beat them until they’re nice and fluffy, like a cloud. Then, mix in the vanilla extract. It smells so good already!
- Next, grab another bowl and give your flour and salt a little whisk together. Now, gradually add this dry mix to your butter and sugar mixture. Mix it until it just comes together to form a dough. Don’t overdo it here!
- Take about two-thirds of that yummy dough and press it evenly into the bottom of your prepared baking pan. This is going to be our fantastic shortbread crust for the caramel apple pie bars.
- Now for the apples! Toss your thinly sliced apples with the light brown sugar, cinnamon, and nutmeg in a medium bowl. Make sure they’re all coated in that spice mixture.
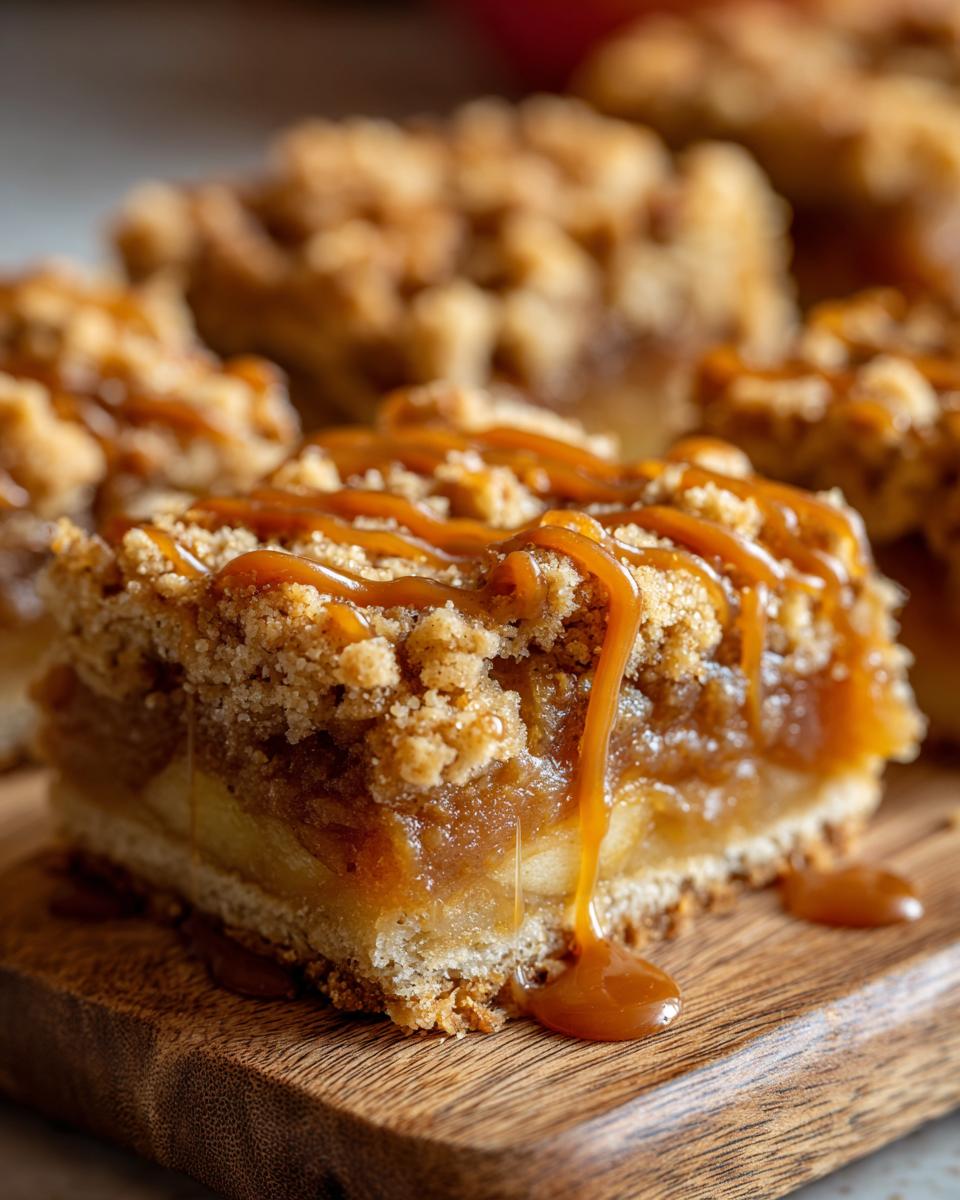
- Spread those beautiful apple slices evenly over the crust you just made. Then, drizzle that 1/4 cup of caramel sauce all over the apples. It’s starting to look like apple pie in bar form already!
- Crumble up the last third of your dough and sprinkle it all over the apples and caramel. If you’re using pecans or walnuts, sprinkle those on top now too.
Baking and Cooling Your Caramel Apple Pie Bars
Now for the magic part! Pop those bars into your preheated oven and bake them for about 40-50 minutes. You’re looking for that crumb topping to be a lovely golden brown and, of course, you want those apples to be nice and tender when you poke them. Once they’re out of the oven, and this is super important for getting those clean slices later, you absolutely HAVE to let them cool completely in the pan on a wire rack. Seriously, don’t rush this step! Let them chill out and set up properly. It makes all the difference for slicing these caramel apple pie bars into perfect little squares. You can even peek at my easy apple pie recipe – cooling is always key there too!
Tips for Slicing and Serving
Okay, so you’ve baked these gorgeous caramel apple pie bars, and they smell absolutely divine! Now, to get those super clean slices everyone loves, here’s my little secret: chilling them! Seriously, you HAVE to let them cool completely in the pan, and then pop the whole thing in the fridge for at least 30 minutes before you even think about cutting them. This helps everything set up beautifully. Then, when you cut them, use a sharp knife – maybe wipe it clean between slices if you’re going for that super neat caramel drizzle aesthetic. I feel like this step is just as important as baking them perfectly, kind of like how my no-bake banana pudding needs time to set, or that gorgeous no-bake peanut butter pie! It makes such a difference when you’re serving them up.
Make-Ahead and Storage for Caramel Apple Pie Bars
These caramel apple pie bars are totally a lifesaver when you need a make-ahead dessert! You can easily bake them a day or even two in advance. Just let them cool completely, then cover the pan tightly with plastic wrap and store them at room temperature. They stay wonderfully fresh! And guess what? They also freeze really well, which answers that common question: ‘Do apple pie bars freeze well?’ Yes, they do! Just wrap individual bars tightly in plastic wrap, then tuck them into a freezer-safe bag or container. They’ll keep for up to 3 months. When you’re ready to enjoy them, just thaw them out on the counter for a bit. It’s like having a little piece of homemade pie ready whenever you need it, just like how my slow cooker BBQ meatballs or crockpot white chicken chili can be made ahead for easy meals!
Frequently Asked Questions about Caramel Apple Pie Bars
I get asked a bunch of questions about these caramel apple pie bars, so let’s tackle some of the most common ones! It’s all part of making sure you have the best baking experience.
What are the best apples to use for these pie bars?
For the absolute best texture and flavor in these caramel apple pie bars, I really recommend using apples that hold their shape well when baked. Honeycrisp and Gala are my go-to favorites because they’re sweet but still have a nice bit of tartness and don’t turn into total mush. They’re perfect for that classic apple pie feel. Of course, other firm, slightly tart apples like Fuji or Pink Lady would also work wonderfully!
Can I bake the caramel into the bars, or should I add it after?
In this recipe, we add some caramel *before* baking and then a little extra drizzle on top *after* they’re cooled. Baking some of the caramel with the apples gives them this lovely gooey richness that seeps into everything. Adding more on top at the end just amps up that decadence and makes them look so pretty. It’s the best of both worlds!
My crust is crumbly, not doughy – is that okay for these bars?
Totally! The shortbread crust for these caramel apple pie bars is supposed to be a little crumbly, not like a traditional pie dough. When you press it into the pan, it might not look perfectly smooth, and that’s exactly what we want. It bakes up into this tender, buttery base that is just divine. It’s different from, say, a crust for easy chicken noodle soup bottoms (if that were a thing!), but it’s perfect for a bar treat.
Do apple pie bars freeze well?
Oh, absolutely! These caramel apple pie bars freeze like a dream. Once they’ve cooled completely, just wrap them up really well – I usually cut them into bars first, wrap each one individually in plastic wrap, and then pop them into a freezer bag. They’ll stay tasty for a good few months, which is super handy for unexpected cravings or last-minute guests. They’re just as good as frozen, kind of like how my easy chicken alfredo bake re-heats so well!
Estimated Nutritional Information
Just a friendly heads-up, the nutritional info you see here for these tasty caramel apple pie bars is just an estimate. It can totally change depending on the specific ingredients and brands you use, but it gives you a pretty good idea of what’s in each delicious serving!
Share Your Caramel Apple Pie Bar Creations!
I’ve loved putting together these caramel apple pie bars for you all, and I’d be absolutely tickled pink if you gave them a try! If you do, please, please leave a comment below and let me know how they turned out for you. Did you try any fun variations? I also love hearing how you get on, so feel free to share any pics on social media and tag me! You can always reach out through my contact page if you have any questions. Happy baking!
PrintCaramel Apple Pie Bars
Enjoy the classic flavors of apple pie in an easy-to-eat bar format with a buttery shortbread crust and a sweet caramel drizzle.
- Prep Time: 20 min
- Cook Time: 45 min
- Total Time: 1 hour 5 min
- Yield: 12 bars 1x
- Category: Dessert
- Method: Baking
- Cuisine: American
- Diet: Vegetarian
Ingredients
- 1 cup (2 sticks) unsalted butter, softened
- 1/2 cup granulated sugar
- 1 teaspoon vanilla extract
- 2 1/2 cups all-purpose flour
- 1/4 teaspoon salt
- 4 cups thinly sliced apples (about 4 medium apples, Honeycrisp or Gala recommended)
- 1/4 cup packed light brown sugar
- 1 teaspoon ground cinnamon
- 1/4 teaspoon ground nutmeg
- 1/4 cup caramel sauce, plus more for drizzling
- 1/4 cup chopped pecans or walnuts (optional)
Instructions
- Preheat your oven to 350°F (175°C). Grease and flour an 8×8 inch baking pan.
- In a large bowl, cream together the softened butter and granulated sugar until light and fluffy. Beat in the vanilla extract.
- In a separate bowl, whisk together the flour and salt. Gradually add the flour mixture to the butter mixture, mixing until just combined to form a dough.
- Press about two-thirds of the dough evenly into the bottom of the prepared baking pan to form the crust.
- In a medium bowl, toss the sliced apples with the brown sugar, cinnamon, and nutmeg.
- Spread the apple mixture evenly over the crust. Drizzle 1/4 cup of caramel sauce over the apples.
- Crumble the remaining one-third of the dough over the apples. Sprinkle with chopped nuts, if using.
- Bake for 40-50 minutes, or until the topping is golden brown and the apples are tender.
- Let the bars cool completely in the pan on a wire rack. This is important for clean slicing.
- Once cooled, drizzle with additional caramel sauce. Cut into bars.
Notes
- For the neatest slices, chill the bars in the refrigerator for at least 30 minutes before cutting.
- These bars can be made ahead and stored in an airtight container at room temperature for up to 3 days, or in the refrigerator for up to a week.
- They also freeze well. Wrap individual bars tightly in plastic wrap and then place them in a freezer bag for up to 3 months. Thaw at room temperature.
Nutrition
- Serving Size: 1 bar
- Calories: 350
- Sugar: 25g
- Sodium: 100mg
- Fat: 18g
- Saturated Fat: 11g
- Unsaturated Fat: 7g
- Trans Fat: 0g
- Carbohydrates: 45g
- Fiber: 2g
- Protein: 3g
- Cholesterol: 45mg