
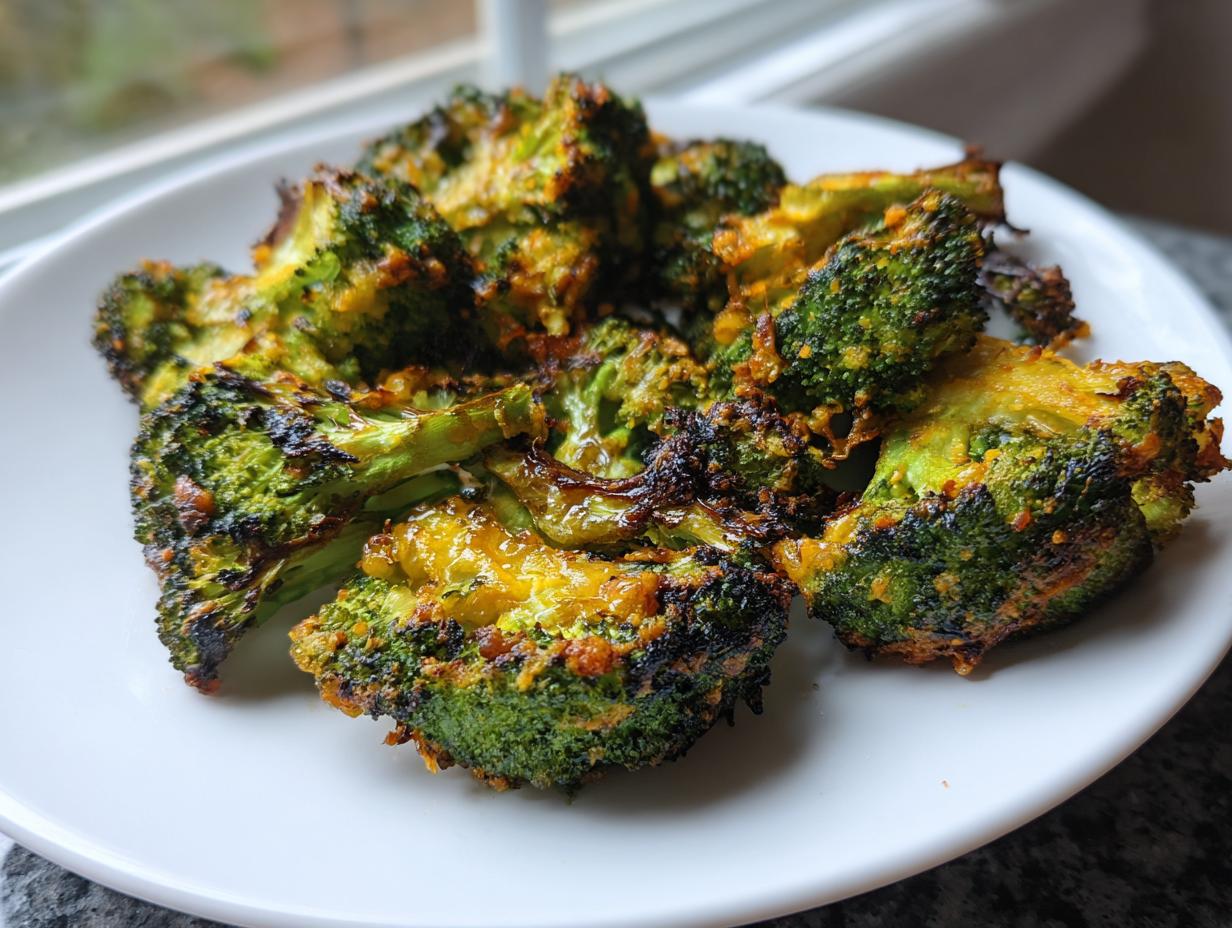
Oh boy, are you ever tired of serving broccoli the same old way? We’ve all been there—blanched, steamed, maybe a sad drizzle of lemon. That ends today! I’m Kate Connolly, and I’m here to make sure you feel completely confident whipping up stunning, flavorful meals, even on a hectic Tuesday night. Trust me, I’ve tested enough recipes to know what actually works, and this technique is pure magic. We are elevating this humble vegetable into something seriously addictive: Oven-Roasted smashed broccoli, dripping with garlic butter and smothered in crispy Parmesan. It tackles that desire for quick side dishes—you’ll have crispy perfection on the table in under 30 minutes. Seriously, get ready for the best crispy vegetable sides you’ve ever made! If you ever need a fantastic main dish to serve this incredible side with, check out my recipe for Garlic Parmesan Chicken and Potatoes.
- Why This Oven-Roasted Smashed Broccoli Recipe Works So Well
- Ingredients for the Best Smashed Broccoli
- Step-by-Step Instructions for Perfect Smashed Broccoli
- Tips for Making Truly Crispy Smashed Broccoli
- Ingredient Notes and Smashed Broccoli Substitutions
- Serving Suggestions for Your Smashed Broccoli
- Storage and Reheating Instructions for Leftover Smashed Broccoli
- Frequently Asked Questions About This Recipe
- Share Your Kitchen Wins
Why This Oven-Roasted Smashed Broccoli Recipe Works So Well
Look, I get it. Roasting broccoli often ends up with some pieces that are perfectly charred and others that are still annoyingly tough. That’s why we don’t just roast it—we smash it! This method guarantees crispy vegetable sides every single time. It’s the secret handshake of great vegetable prep, and it’s why you need to follow these two steps exactly. If you’re looking for more reliable, straightforward dishes for your rotation, you absolutely must check out my collection of easy side dish recipes.
The Critical Blanching and Drying Step
This is where most people cheat, and they end up with soggy broccoli! We need to par-cook the florets just enough so they soften slightly, but not so much that they turn to mush when we press them. Blanched for exactly two minutes in salted water, followed immediately by an ice bath, stops the cooking instantly. Then, and this is non-negotiable, you have to pat them bone dry. Any excess water turns straight into steam in the oven, and steam is the enemy of crispy goodness.
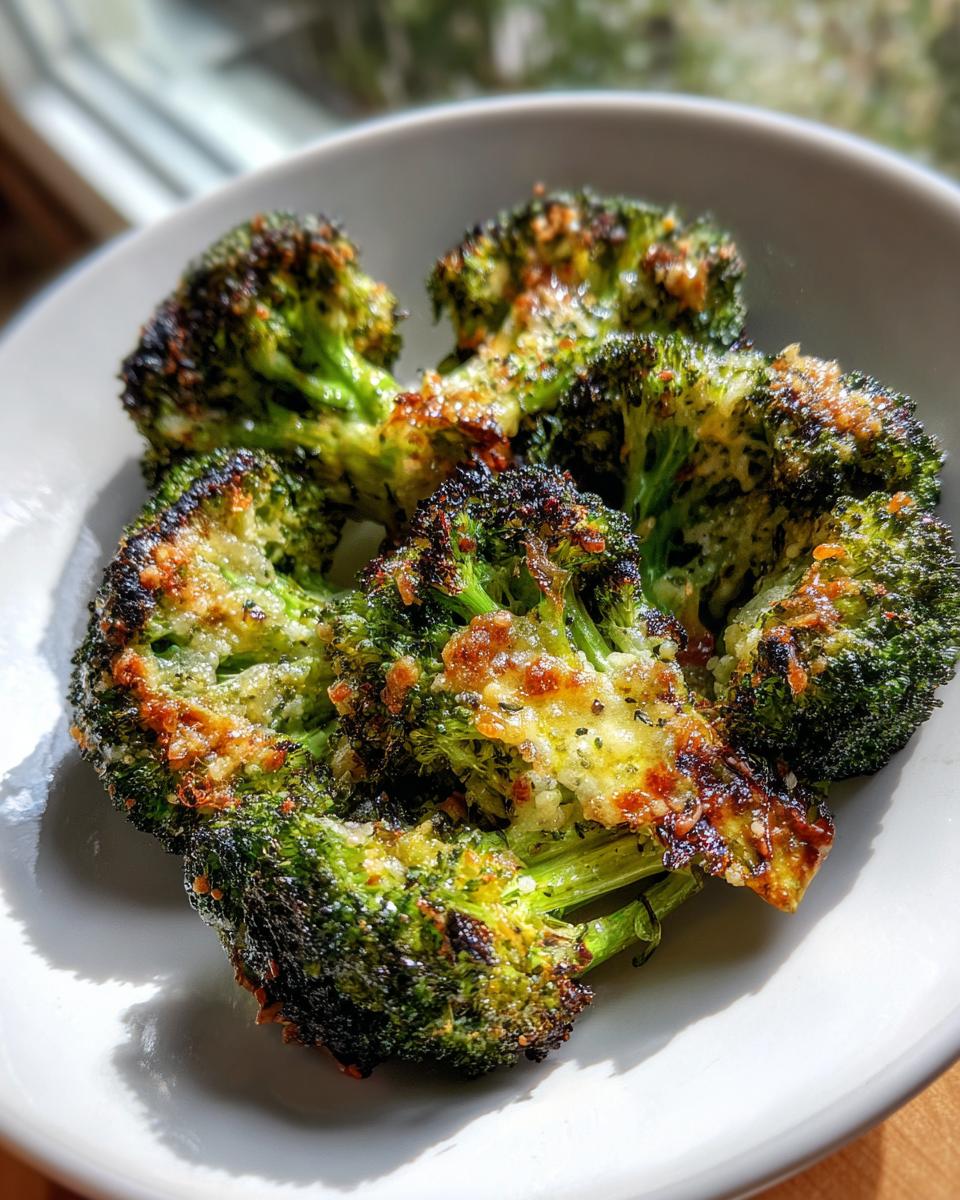
Achieving Maximum Surface Area for Crispiness
Once they are dry, we smack ‘em! Use the base of a heavy glass or a meat mallet. You aren’t trying to make pesto here; you just want to gently flatten that floret so it lays nicely on the pan. It should still look like a floret, just flatter. This smashing creates tons of tiny edges and a wide, flat surface. That surface area is what catches the olive oil, the salt, and eventually the bubbly Parmesan, giving you that incredible crunch when baked at high heat.
Ingredients for the Best Smashed Broccoli
Getting the right parts is half the battle, and I promise you, every ingredient here pulls its weight in delivering flavor and texture. You’ll need two large heads of broccoli cut into medium-sized florets to start. We aren’t using any fancy frozen stuff here; fresh is absolutely the way to go for this technique. For the richness, we use three tablespoons of good olive oil, which coats everything beautifully before it hits the oven, plus two tablespoons of unsalted butter for that decadent finish.
The aromatics are simple but potent. Make sure you have two cloves of garlic, minced very finely so they infuse that butter without burning too fast. Seasoning is straightforward: just half a teaspoon of kosher salt and a quarter teaspoon of black pepper to start. And listen, the star power comes from the cheese! You must have half a cup of freshly grated Parmesan cheese. Pre-shredded stuff just won’t melt and crisp up the same way, so do yourself a favor and grate it fresh off the block—it truly makes a difference in these Parmesan roasted vegetables.
Step-by-Step Instructions for Perfect Smashed Broccoli
Even though these are the best 30 minute vegetable recipes you’ll ever find, they require following a couple of key stages precisely. I find that having everything ready before the oven hits temperature makes the whole process so much smoother. When I cook these, I always set my racks to the center position, which seems to give me the best overall heat circulation for that even crisping we’re after. If you want to see my reliable methods for other simple vegetable preparations, take a peek at my guide to oven roasted broccoli.
Preparation and Smashing Technique
First things first: get that oven preheated to 425°F (220°C) and line a baking sheet with parchment paper. Trust me, cleanup will be a dream! Next, bring a big pot of salted water to a rolling boil. Drop in your broccoli florets and let them blanch for exactly two minutes. Immediately, and I mean immediately, scoop them out and plunge them into a bowl full of ice water—this shocks them and locks in that bright green color and tenderness. Drain them thoroughly, and then grab those paper towels! You must pat them as dry as humanly possible. If they are damp, they steam. If they steam, they aren’t crispy. Simple as that!
Once dry, lay the florets out on your prepared sheet in a single layer. Now for the fun part: grabbing a sturdy glass or a meat mallet and gently smashing each one down until it flattens out decently. You want good surface contact with the pan, but you don’t want crumbs flying everywhere!
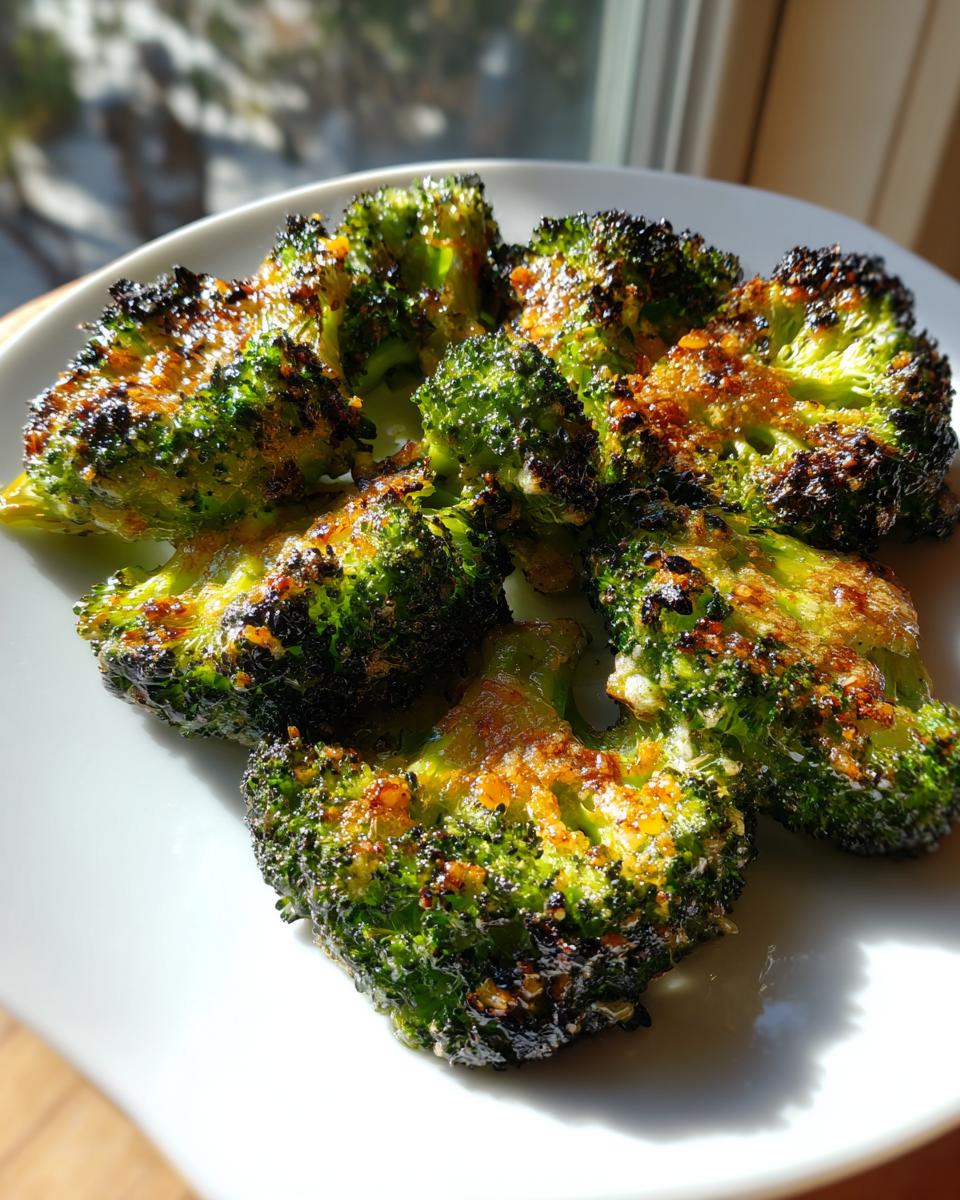
Roasting and Finishing with Garlic Butter and Parmesan
After smashing, drizzle everything with the olive oil and season well with your salt and pepper. Pop that tray in the hot oven for about 15 minutes. While that’s happening, melt your butter in a tiny pan over medium heat. Add your minced garlic and let it bloom—just 30 seconds until you can really smell it—then take it off the heat immediately so it doesn’t burn. When the broccoli comes out after the first roast, brush that fragrant garlic butter generously over the smashed surfaces. Immediately sprinkle that finely grated Parmesan cheese all over the top. Pop it back in the oven for another 5 to 8 minutes. Watch it closely! You want the edges turning dark brown and the cheese getting bubbly and golden. That’s your cue! Pull them out and serve these beauties piping hot right away.
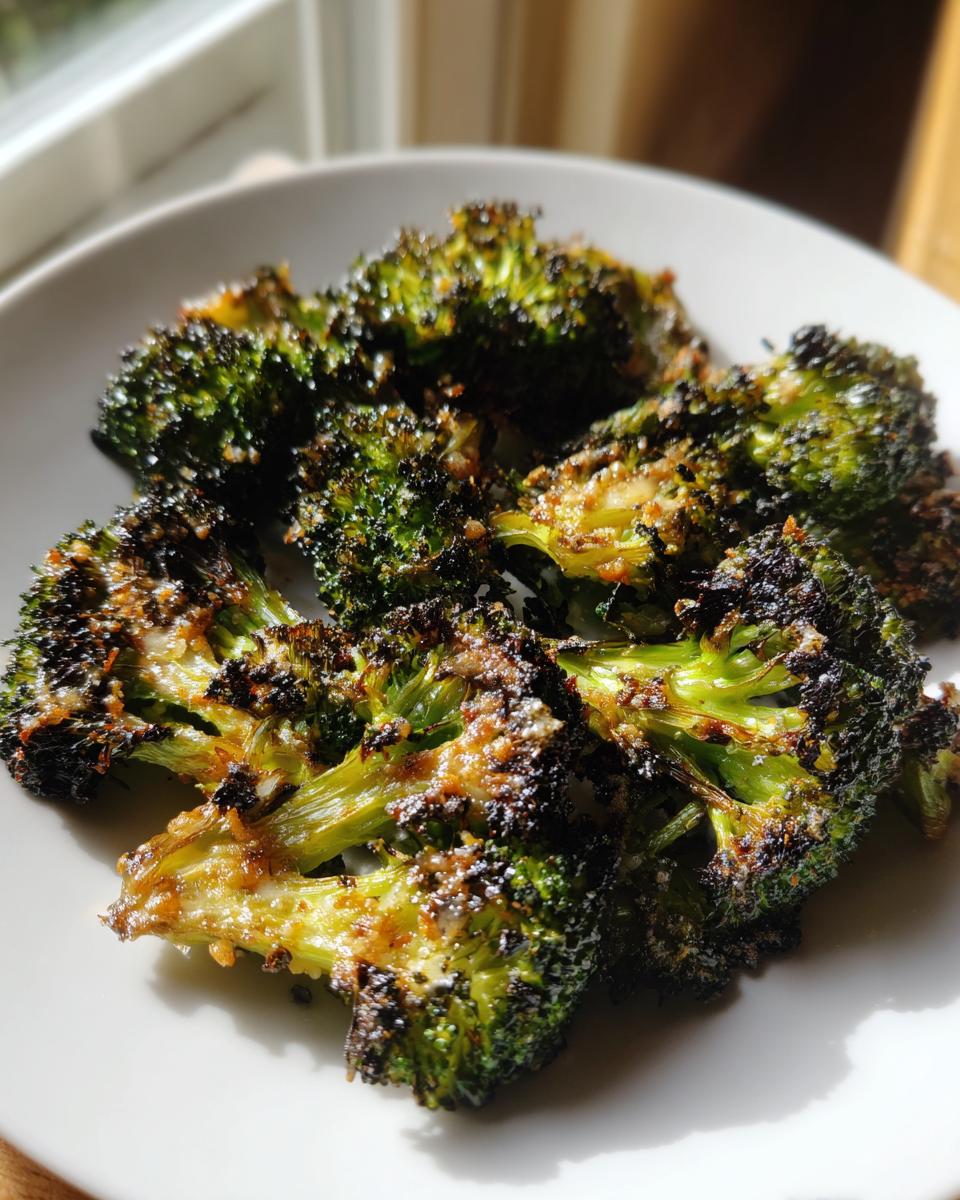
Tips for Making Truly Crispy Smashed Broccoli
We’ve nailed the basic recipe, but if you want to achieve that truly shatter-crisp texture that makes people ask for the recipe immediately, you need these little hacks. Cooking is all about stacking techniques, right? I’ve learned a few things over the years that push this dish from “really good side” to “must-make-again centerpiece.” These simple tweaks really help you nail the crispy vegetable sides every time.
- Don’t Skip the Ice Bath: Seriously, don’t let the broccoli sit in the hot water for even one second longer than two minutes. The instant switch to ice water is essential. It stops the internal cooking process dead, so when you smash it, you have intact, slightly tender broccoli ready to crisp up, not mush waiting to happen.
- Use the Highest Heat You Can Manage: Since we are roasting, high heat equals crispy edges and caramelization. That 425°F in the recipe is a good starting point, but if your oven runs cool, you might try bumping it to 450°F for those last few minutes. Just watch that garlic butter closely!
- The Air Fryer Finale: If you happen to have an air fryer, this is where you can really drive that crisp factor home! After the initial bake where we add the garlic butter, transfer the cheesed broccoli in batches to the air fryer basket. A quick 3 to 4 minutes at 380°F will blow your mind. It gives you that deep-fried crunch without the oil. You can check out my favorite gadgets and methods in my air fryer vegetable recipes collection.
- Grate Your Own Parmesan: I know I mentioned this under ingredients, but it bears repeating here for texture! Pre-grated cheese contains anti-caking agents that stop it from melting smoothly and forming that beautiful, crunchy, browned crust. Freshly grated melts beautifully and crisps perfectly.
Ingredient Notes and Smashed Broccoli Substitutions
When you’re trying to make something absolutely stellar, paying attention to the quality and type of ingredient matters loads. I always get questions about substitutions, especially if someone can’t find exactly what I called for, or if they need to tweak things for their family’s dietary needs. Don’t worry, we can absolutely adjust this recipe while keeping that signature crispy texture we worked so hard for! Since we are dealing with delicious comfort food, I know people often look for ways to lighten things up, so definitely take a peek at my Broccoli Cheddar Soup if you want something creamy next time.
First off, let’s talk about the broccoli heads themselves. You need firmness! Reject any heads that feel floppy or have yellowing tips; those are older and won’t take to the blanching and smashing process as well. We need strong, dense florets that won’t disintegrate when you press them. Medium florets work best because they give you enough surface area to smash onto the tray without turning into tiny, easily-burned chips.
Now, about that cheese. If you have a dairy issue, the recipe notes mentioned nutritional yeast, and I stand by that suggestion! If you swap the half-cup of Parmesan for about four tablespoons of nutritional yeast, you’ll still get that cheesy, savory flavor profile we love. The texture won’t be quite as firmly crusted because the yeast doesn’t melt and brown exactly like Parmesan, but it works beautifully for a dairy-free take on this savory vegetable snack. Make sure you are still using plenty of olive oil if you go that route so the flavor adheres!
For the fat element—olive oil and butter—sticking to those two is ideal because they have different smoke points and textures that come together during the roasting process. However, if you only have olive oil on hand, just increase it up to five tablespoons total instead of using the butter, though you might miss that rich garlic-butter flavor we infused in there. Consistency is key for success, but flexibility helps keep you cooking week after week!
Serving Suggestions for Your Smashed Broccoli
This smashed broccoli is so flavorful and delightfully crispy—it really transcends the idea of a boring side dish. It’s honestly sturdy enough to handle bolder main courses, which is fantastic when you want a low carb side dish that still feels satisfying. I have so many pairings I adore, but there are three specific main courses where this recipe absolutely shines and makes the whole plate sing. This is definitely one of my favorite quick weeknight vegetable sides because it cooks so fast alongside whatever else is going on!
If you’re looking for something hearty but still relatively straightforward, you’ve got to pair this with roasted protein. My absolute favorite pairing is a simple, perfectly cooked protein. If you’re looking for the best vegetable sides for chicken, try serving these crispy florets next to a juicy roasted chicken breast or my favorite Roast Chicken and Vegetables. The salty Parmesan on the broccoli just cuts through the richness of the lighter meat perfectly.
Secondly, for non-chicken nights, this makes an amazing companion to pork chops. Whether you pan-sear them quickly or bake them, the slight sweetness of the caramelized broccoli pairs beautifully with the savory pork flavor. It feels fancy, but it’s done in under 30 minutes, which is perfect for a busy schedule.
And finally, since this is such a rich, savory vegetarian idea on its own, it works wonderfully alongside something simple that needs a flavor boost, like baked salmon. The garlic butter from the broccoli blends so nicely with the omega-3 fatty acids in the fish. You just get these layers of savory, salty flavor without feeling weighed down. Honestly, once you start making smashed broccoli, you’ll find yourself inventing reasons to eat it!
Storage and Reheating Instructions for Leftover Smashed Broccoli
Oh boy, leftovers! Sometimes I make a double batch of this smashed broccoli just so I can have it the next day. It’s just as fantastic as a savory vegetable snack cold from the fridge, but if you’re anything like me, you want that crispy texture back! The key to success here, whether you’re saving this for lunch or just finishing up the dinner sides, is moisture control.
You absolutely need to store any leftovers in an airtight container. Skip the plastic baggies; they let moisture escape too quickly, and we want to keep that glorious garlic butter flavor locked in! If you store it correctly, this side dish holds up really well for about three days in the refrigerator. I always make sure they are completely cooled before I seal them up; putting warm food in a sealed container always invites sogginess, and we’re trying to avoid that.
Now, for bringing back the crunch. A microwave is your enemy here—it steams the broccoli and turns that beautiful crispness back into soggy, steamed green mush. That’s a huge no-go! Instead, you have two great options that work wonderfully for restoring texture. If you have time, spread the leftovers out in a single layer on a baking sheet and pop them back into a 350°F oven for about five to seven minutes. That dry heat works miracles on reviving crispiness.
My preferred method, though, if I’m reheating just a single serving, is the air fryer! Seriously, this is where the air fryer earns its keep in my kitchen. Pop the cooled broccoli right into the basket and run it for about four minutes at 375°F. It only takes a few minutes to heat through, and it brings back that amazing crunchy exterior we worked so hard to achieve. These are fantastic quick weeknight vegetable sides to prepare ahead of time just for this reason—super fast reheating means you get a “freshly made” quality side dish with minimal effort!
If you want to see some more incredibly fast dishes that are great for meal prepping or quick leftovers additions, take a look through my quick weeknight vegetable sides. Happy eating!
Frequently Asked Questions About This Recipe
I know when you try a new technique like smashing vegetables, you might have a few little questions pop up before you even grab the mallet. That’s completely normal! I’ve tried to make this smashed broccoli foolproof, but here are the common things readers ask me about to ensure you get that perfect crispy, cheesy result. If you’re looking for more flavorful ways to keep things light, you should definitely check out my collection of low carb side dishes.
Can I use frozen broccoli for smashed broccoli?
Oh, please don’t! This is one area where I have to be firm about using fresh broccoli. Frozen broccoli is already filled with excess water because of the freezing process. If you try to blanch, dry, and then smash broccoli that’s already waterlogged, you will end up with a soupy mess that steams instead of roasts. We need that raw, firm structure to hold up when you press it down. For this specific technique, fresh is mandatory for the best results with your simple broccoli preparation.
What temperature should I use for the best oven roasted broccoli?
We crank that heat up, friends! For the absolute best caramelization, those wonderfully browned, crispy edges that make this dish so irresistible, you need 425°F (220°C). High heat is what drives the water out quickly and starts the Maillard reaction—that’s just fancy talk for delicious browning! You give it a good blast at that high temperature, drizzle on the butter and cheese, and give it one last hot burst to bubble up that Parmesan. It’s the secret to turning regular oven roasted broccoli into something addictive.
Is this a good vegetarian dinner idea?
It absolutely is a fantastic vegetarian dinner idea! Unless you are also avoiding dairy, this dish is naturally meat-free and full of great flavor from the garlic butter and olive oil. The Parmesan cheese definitely makes it vegetarian, but if you are looking for something completely dairy-free—maybe moving toward a vegan meal idea—you can follow the substitution tip I gave earlier. Swap that Parmesan out for nutritional yeast, and you get a similar savory depth without any cheese. It’s a wonderful, hearty alternative that serves as a great anchor for any veggie-focused plate!
Share Your Kitchen Wins
Okay, now that you know the secrets to getting that perfect smash and that amazing crispy finish, I really, truly want to hear how it went! This blog, Kings Cook, is all about building confidence together in the kitchen, and hearing about your success is what lights me up. Did your family ask for this smashed broccoli recipe again? Did you manage that two-minute blanch perfectly? Don’t be shy!
Please do me a huge favor—if you made this recipe and loved how easy it was to get that killer texture, leave me **5 stars** right below this post. Those ratings help other busy cooks feel confident trying something new. And if you have any questions at all while you’re blending that butter or waiting for that Parmesan to bubble, jot them down in the comments. I read every single one, and I’m always here to help troubleshoot or just celebrate your victory!
If you’re curious about my background or just want to know more about why I believe every home cook deserves to feel like royalty, you can read a bit more about me over on my About Page. Now go enjoy those incredible, crispy vegetable sides you just made!
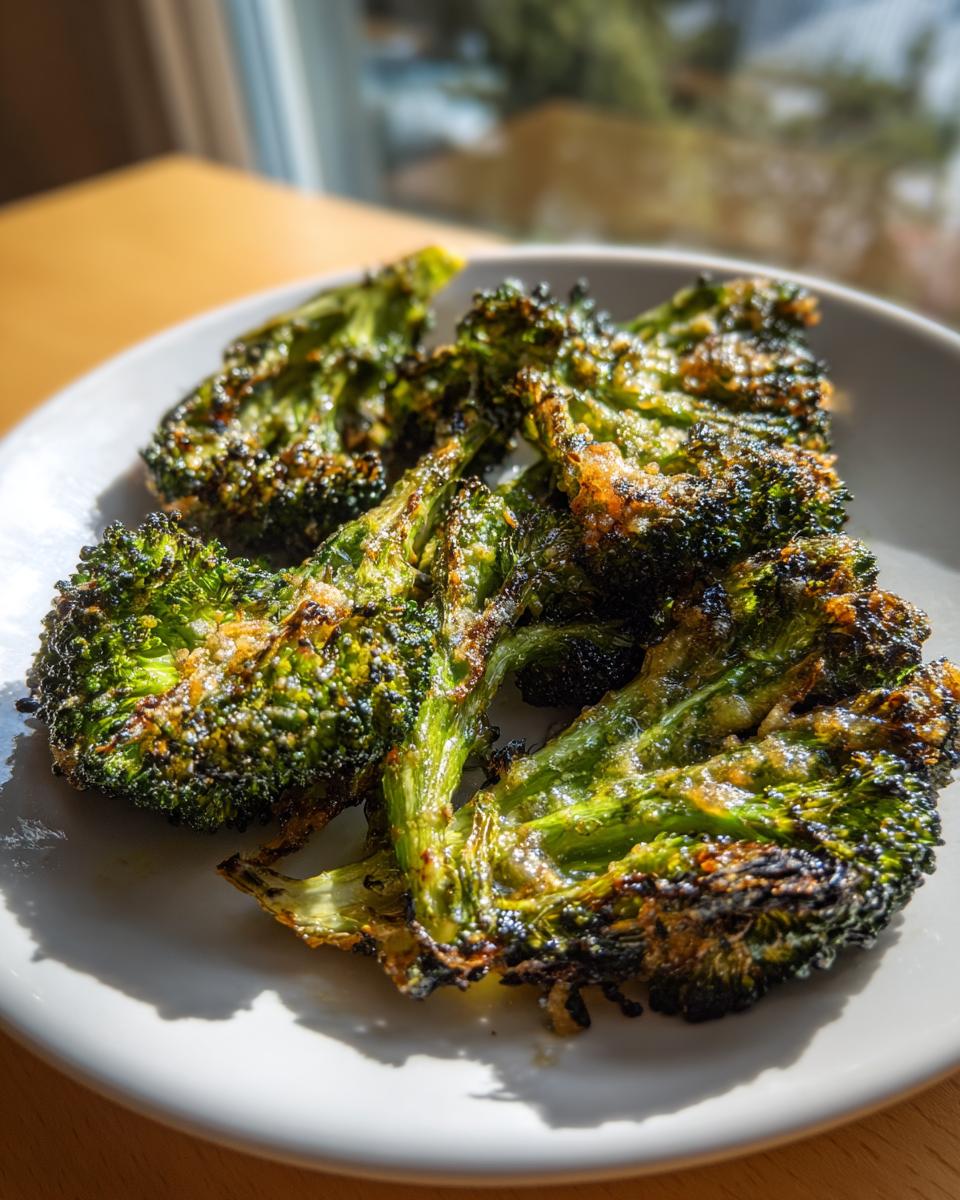
PrintOven-Roasted Smashed Broccoli with Crispy Parmesan and Garlic Butter

You can make this addictive, crispy smashed broccoli side dish in under 30 minutes. It uses simple ingredients to create a flavorful, low carb side that tastes much better than plain roasted broccoli.
- Prep Time: 10 min
- Cook Time: 23 min
- Total Time: 33 min
- Yield: 4 servings 1x
- Category: Side Dish
- Method: Oven Roasting
- Cuisine: American
- Diet: Low Fat
Ingredients
- 2 large heads of broccoli, cut into medium florets
- 3 tablespoons olive oil
- 2 tablespoons unsalted butter
- 2 cloves garlic, minced
- 1/2 teaspoon kosher salt
- 1/4 teaspoon black pepper
- 1/2 cup grated Parmesan cheese
Instructions
- Preheat your oven to 425 degrees Fahrenheit (220 degrees Celsius). Line a large baking sheet with parchment paper for easy cleanup.
- Bring a large pot of salted water to a boil. Add the broccoli florets and blanch them for exactly 2 minutes. Immediately drain the broccoli and plunge it into an ice bath to stop the cooking process. Drain the broccoli well and pat it very dry with paper towels. This step is key for crispiness.
- Place the dried broccoli florets onto the prepared baking sheet in a single layer. Use the bottom of a sturdy glass or a meat mallet to gently smash each floret until it is flattened but still holds together. Do not crush it into pieces.
- Drizzle the smashed broccoli evenly with the olive oil. Season with salt and pepper.
- Roast for 15 minutes.
- While the broccoli roasts, melt the butter in a small skillet over medium heat. Add the minced garlic and cook for about 30 seconds until fragrant. Remove from heat.
- Remove the baking sheet from the oven. Brush the garlic butter mixture over the smashed broccoli. Sprinkle the grated Parmesan cheese evenly over the top.
- Return the baking sheet to the oven and roast for another 5 to 8 minutes, or until the edges of the broccoli are crispy and the Parmesan cheese is golden brown and bubbly.
- Serve this easy side dish immediately.
Notes
- For extra crispiness, you can finish this recipe in an air fryer after the initial roasting step.
- If you want a low carb side dish that tastes like comfort food, this recipe delivers.
- You can substitute nutritional yeast for Parmesan cheese if you need a dairy-free option, though the texture will change slightly.
Nutrition
- Serving Size: 1 serving
- Calories: 185
- Sugar: 2
- Sodium: 350
- Fat: 14
- Saturated Fat: 6
- Unsaturated Fat: 8
- Trans Fat: 0
- Carbohydrates: 10
- Fiber: 4
- Protein: 7
- Cholesterol: 18