
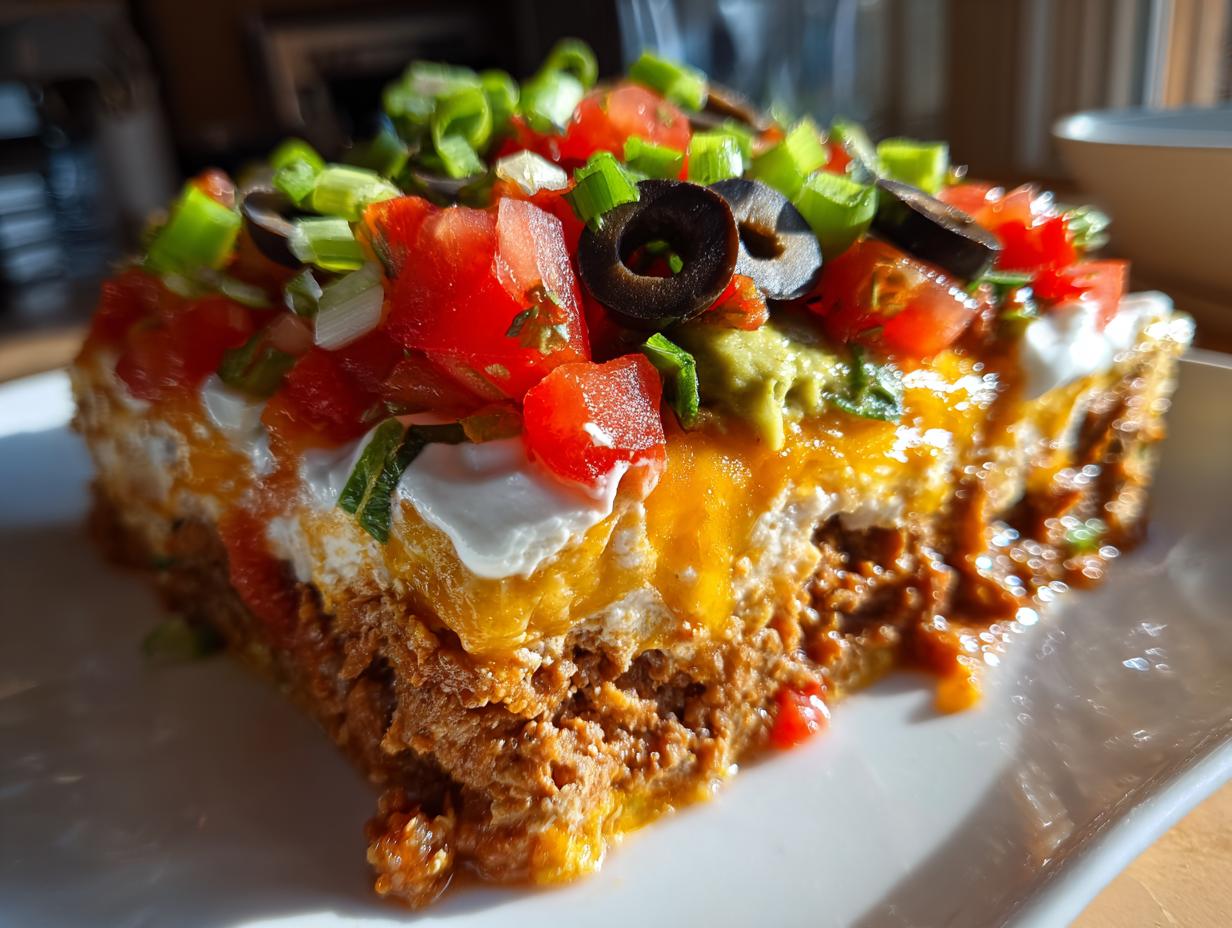
Okay, let’s talk about party stress. You’ve got the decorations sorted, maybe the main dish is handled, but then you realize you need that absolute showstopper appetizer, the one that disappears before anyone notices the chips and dip bowl is empty! Don’t sweat it for one second. Here at Kings Cook, my promise to you is reliable, crowd-pleasing food, and nothing delivers that Tex-Mex excitement better than the ultimate layer dip. This Ultimate Seven Layer Taco Dip is my go-to for everything—from Super Bowl Sunday to surprise Sunday visits. Trust me, this reliable beauty is going to make you feel like the queen of the gathering!
- Why This Ultimate Seven Layer Dip is the Best layer dip for Gatherings
- Ingredients for Your Classic layered dip
- Step-by-Step Instructions for the Seven Layer Dip recipe
- Expert Tips for the Ultimate layer dip Success
- Serving Suggestions for Your Tex Mex appetizer
- Storage and Make Ahead Tips for This layer dip
- Frequently Asked Questions About Layered Taco Dip
- Estimated Nutritional Snapshot for This layer dip
- Share Your Seven Layer Dip Creations
Why This Ultimate Seven Layer Dip is the Best layer dip for Gatherings
When I host, I need an appetizer that works hard so I don’t have to, and this is it! This Ultimate Seven Layer Taco Dip is practically famous at our house. I once had a last-minute invitation to a huge neighborhood potluck, and thirty minutes later, I was walking out the door with this beauty. It’s the perfect Easy party dip because it looks incredible but involves zero actual cooking. People always ask me how I got all those distinct layers to stay put!
Quick Assembly for Your layer dip
Seriously, you’re looking at about 20 minutes of pure assembly time, and since it’s a no-bake situation, your oven stays free for more important things (like rolls or dessert, naturally). This is truly a Quick layered dip experience. You just mix, spread, and stack. It comes together so fast you might worry you forgot something!
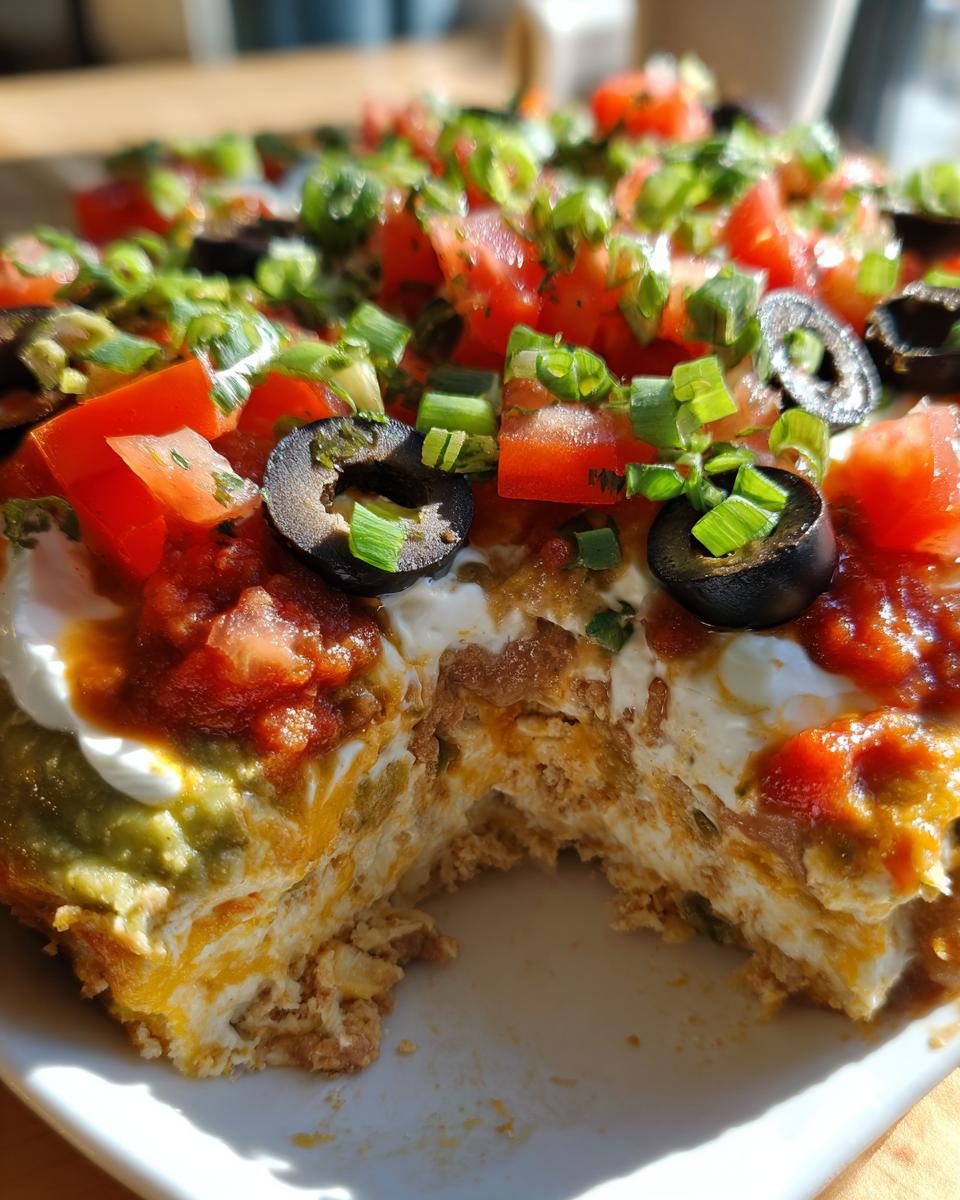
Building the Perfect Creamy layered dip
The secret to making this the *best* Creamy layered dip that doesn’t turn into a sloppy mess is the foundational layers. We use softened cream cheese and perfectly textured sour cream to keep everything distinct and rich. That smooth, tangy element paired with the spicy beans and savory guacamole is what screams classic Tex-Mex comfort food every single time.
Ingredients for Your Classic layered dip
Okay, gathering the supplies for this Classic layered dip is almost the best part because you know deliciousness is just around the corner! You’ll need the basics: a can of refried beans will form our sturdy foundation. Then, make sure that one cup of cream cheese is truly soft—leave it on the counter for an hour or two! Remember that single packet of taco seasoning? That’s what wakes up the cream cheese layer. For the delightful middle section, get your sour cream ready (it needs to be smooth!) and your prepared guacamole—and listen closely here, this is important for any layer dip: absolutely drain any liquid from your salsa. Nobody wants a watery dip!), and of course, plenty of shredded Mexican blend cheese for that gorgeous, melty top layer.
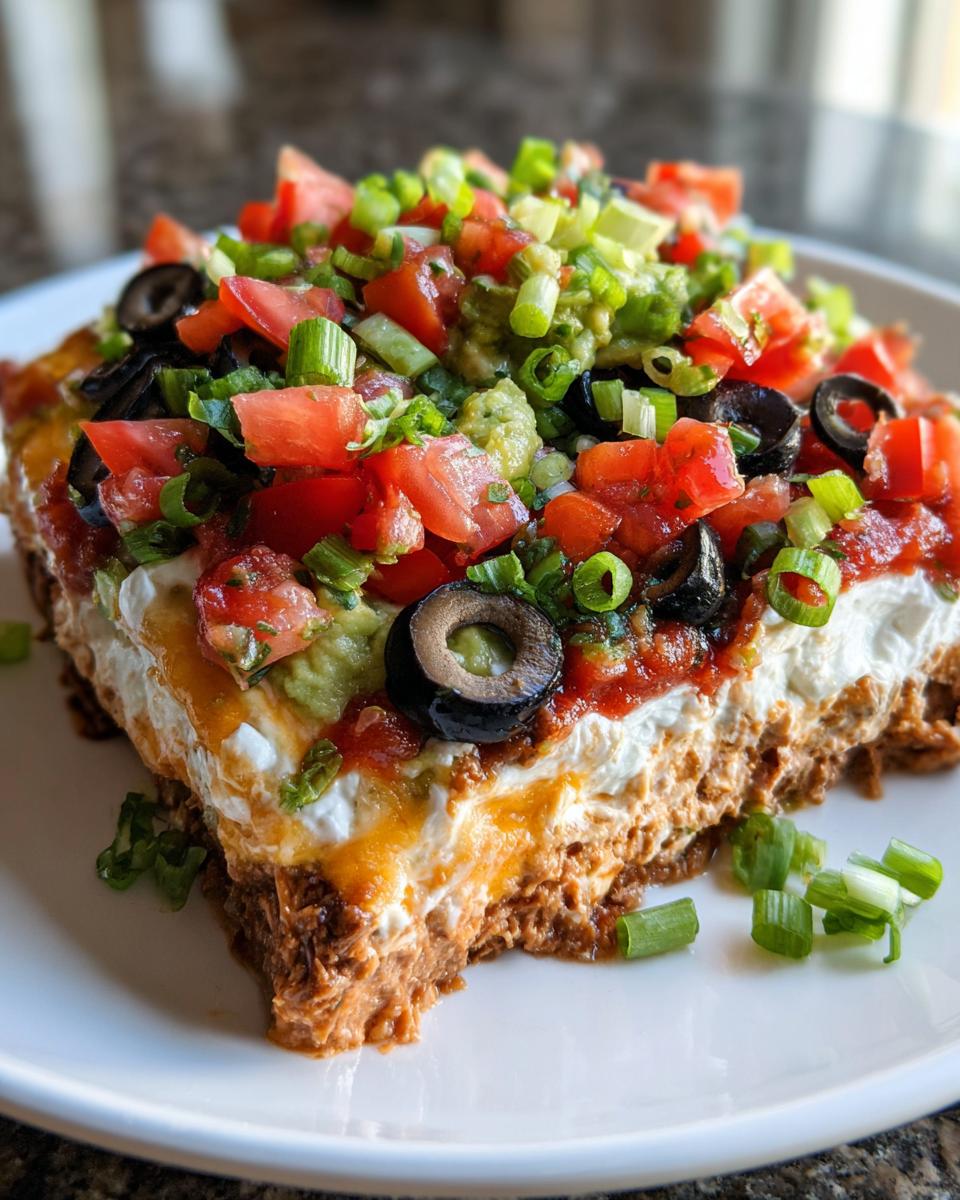
Finally, for that fresh pop of color that makes this dip look professional (even though we worked for maybe 20 minutes tops!), grab some bright red tomatoes, some salty black olives, and thinly sliced green onions for the topping. Having all these components measured out and ready before you even touch the serving dish makes the assembly process feel incredibly smooth. It truly builds confidence when every component is prepped!
Step-by-Step Instructions for the Seven Layer Dip recipe
Now we get to the fun part—stacking! This whole Seven Layer Dip recipe is all about careful layering so everything stays distinct until someone scoops into it. Remember, we are building a structure here, so take your time with each spread!
Preparing the Cream Cheese and Bean Base layer dip
First things first, let’s create that tangy base layer. In a good medium bowl, you’re going to mix your softened cream cheese right into that packet of taco seasoning until it looks perfectly uniform. Don’t rush this—you want that seasoning fully incorporated! Once that’s done, take your 9×13 dish and spread those refried beans evenly across the bottom. Those beans are the bedrock for the best layered bean dip you’ll ever make. Next, spread that zesty seasoned cream cheese right on top of those beans. Beautiful!
Assembling the Middle Layers: Guacamole and Salsa
Next up is the sour cream. Just give it a quick whisk until it’s smooth, and then spread it gently over the cream cheese. Now, the avocado! You need to spread your prepared guacamole layer delicately over the sour cream. Here’s my big expert tip: if your salsa isn’t already super dry, spoon it into a sieve first. We need to make sure we spoon the drained salsa over the guacamole. Putting watery salsa on top ruins the whole aesthetic of a clean layer dip!
Finishing Touches and Chilling the layer dip
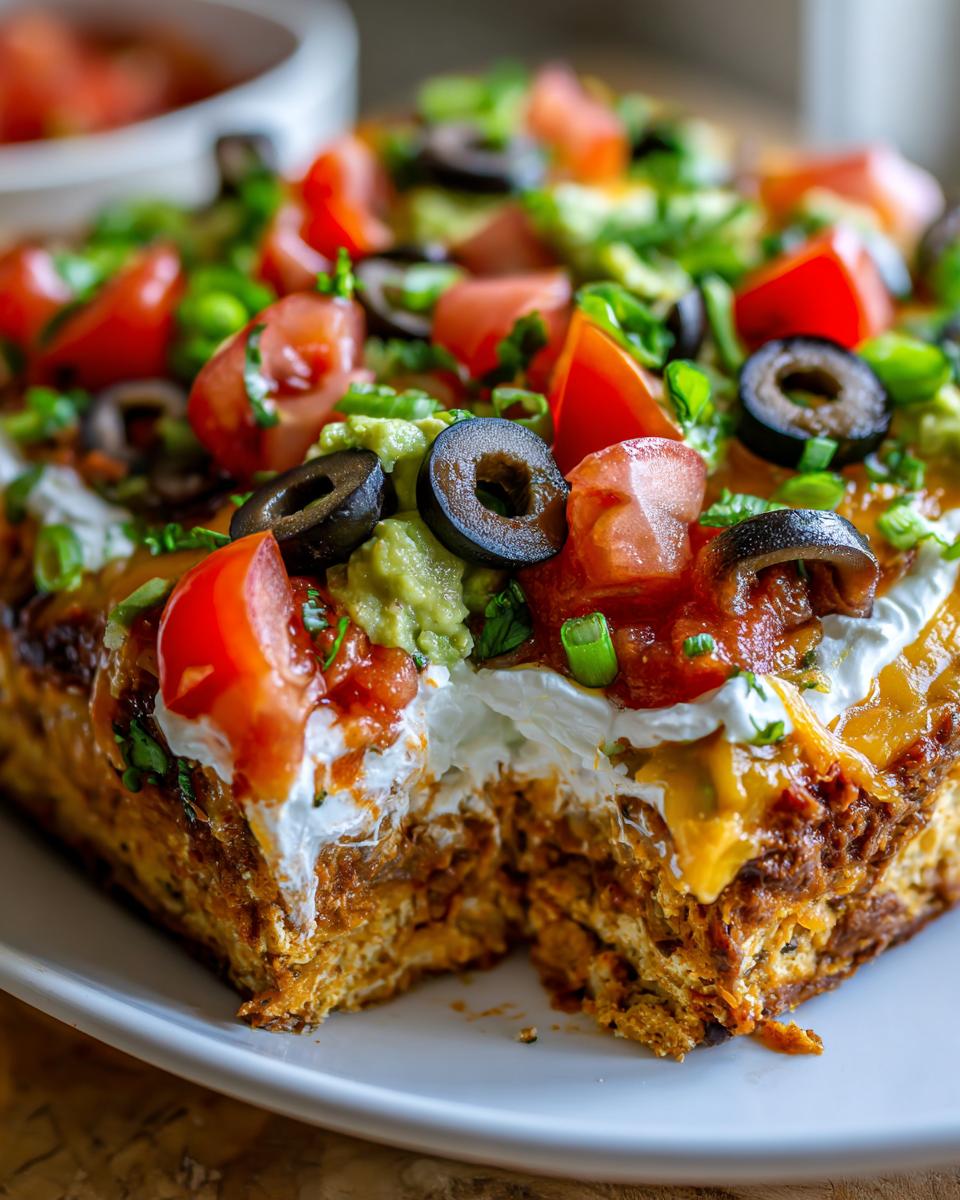
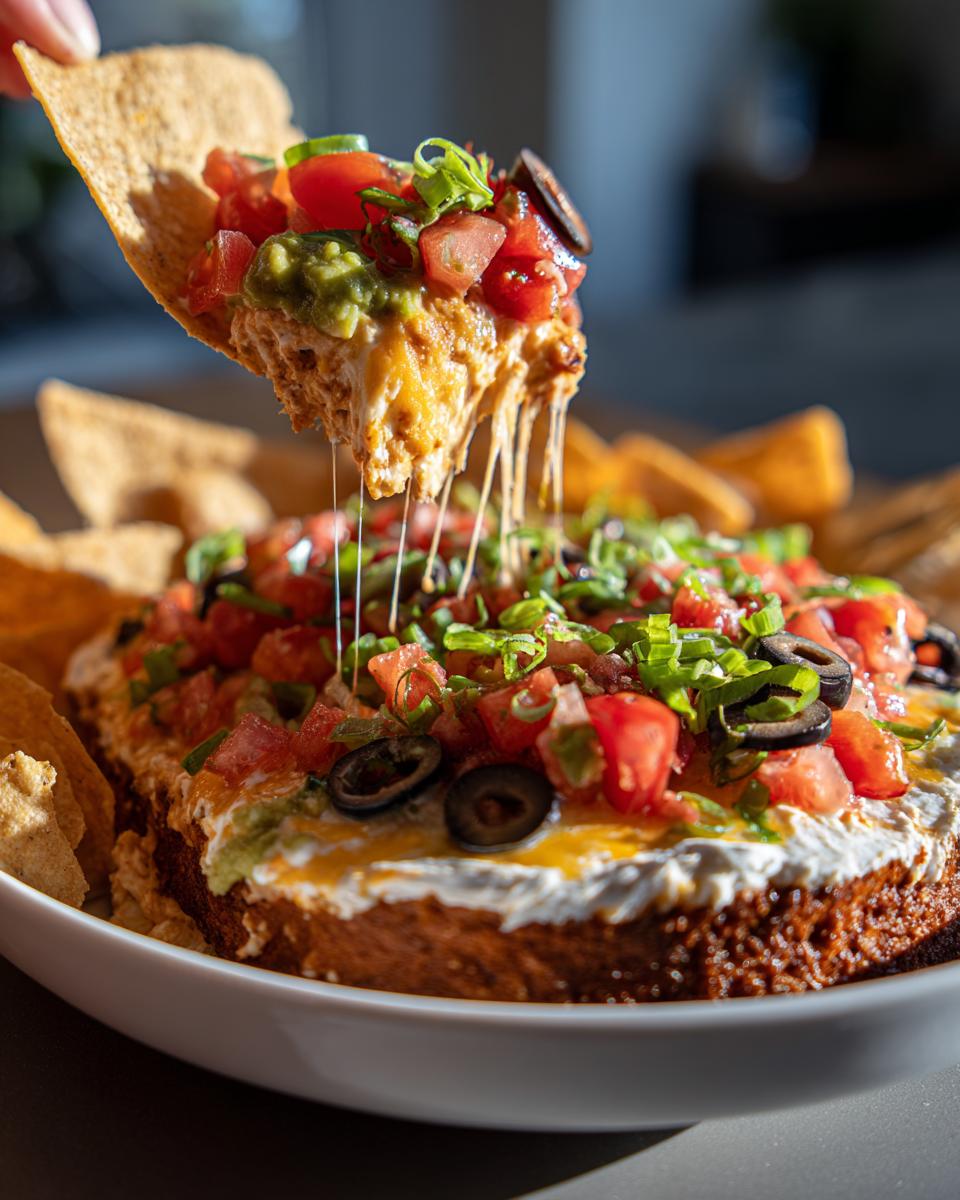
Time for the grand finale toppings! Sprinkle that beautiful shredded Mexican blend cheese evenly over the salsa. Don’t stop there; scatter those chopped tomatoes, then the black olives, and finish with the bright green onions. Now, here is the non-negotiable part for the structural integrity of your layer dip: cover the whole thing and get it into the fridge for at least two hours. Chilling is crucial so those layers truly set. If you try to serve it right away, you’ll just get a messy pile!
Expert Tips for the Ultimate layer dip Success
Even though this is a super simple layer dip, I always have a few tricks up my sleeve to make sure it comes out perfect every single time for game day. These aren’t strictly in the recipe card, but they are my essential guideposts!
First off, the advance prep is your friend. I often hustle and make this dip the day before for a party—think up to 24 hours out. Cover it tightly with plastic wrap and keep it chilled. It actually seems to taste better because those Mexican flavors marry beautifully overnight! Just keep in mind that if you add the fresh veggies (like the tomatoes and onions) too early, they can get a little sad, so I usually save those for the last hour before serving.
Now, for those who like things a bit heartier, you absolutely can add meat! If you brown up about a pound of ground beef and mix it with just half a packet of that taco seasoning, you can spread that right over the refried beans *before* you add that seasoned cream cheese layer. It turns right into a fantastic Layered taco dip that will impress everyone!
Serving Suggestions for Your Tex Mex appetizer
You’ve made this gorgeous, towering Tex Mex appetizer, and now it’s time for the critical part: what do you use to scoop up all that deliciousness? A great layer dip demands sturdy vessels! Of course, classic, sturdy tortilla chips are essential. I always buy the thick, restaurant-style ones because these heavier layers need something that won’t snap right when you hit that thick bean layer.
But don’t stop there! If you’re serving this at a bigger gathering, offering variety is always a smart move. Keep a bowl of buttery, salty crackers nearby—they give a totally different texture experience than chips. For any guests trying to keep it lighter, crisp celery sticks and colorful bell pepper strips are fantastic dippers!
If you’re looking to round out your spread with something hot and spicy to contrast this cool dip, don’t forget to check out my recipe for Jalapeño Poppers Recipe. Having something warm alongside this cold, creamy dip makes the whole snack table feel complete for game day!
Storage and Make Ahead Tips for This layer dip
One of the best secrets to making this the ultimate Make ahead dip is actually planning ahead! Honestly, I think it tastes even better the next day, which is a dream come true when you’re hosting. You can definitely assemble the entire thing—beans, cream cheese, sour cream, guacamole, salsa, and cheese—up to 24 hours before your party starts.
The most crucial thing is covering it really well. I use plastic wrap and press it lightly against the top sprinkle of cheese, just to keep any air out. Then, straight into the refrigerator it goes. Remember, chilling is non-negotiable if you want those layers to look sharp and not start bleeding into each other!
If you are prepping the full 24 hours ahead, I highly recommend leaving off the very final garnish—those beautiful chopped tomatoes, olives, and green onions. If you top them too early, they can get a bit soft or weep moisture. Sprinkle those fresh toppings on just about an hour before your guests arrive so they look vibrant and crisp. That way, when you pull out this stunning layer dip, it looks like you just finished assembling it moments ago!
Frequently Asked Questions About Layered Taco Dip
I get so many wonderful questions every time I post this recipe! It makes me so happy to see so many of you planning to bring this layer dip to your own gatherings. Here are a few common things I hear about customizing or handling this classic Tex-Mex favorite.
Can I skip the guacamole layer in this layer dip?
Oh, you certainly can! I know sometimes avocados aren’t cooperating, or perhaps you just aren’t a huge avocado fan—though I seriously recommend trying it if you can! If you skip the guacamole layer, you will absolutely change the flavor profile of the overall dip because that layer adds such a crucial fresh element. If you need a substitute for structural integrity, I suggest spreading an extra layer of sour cream, maybe mixing in a tiny squeeze of lime juice just to give it a little zip. Or, if you like a slightly chunkier texture, mash up an avocado and toss it with a tiny bit of lime and salt, then use that as your replacement layer. It keeps the concept going without relying on pre-made guacamole!
What is the best way to drain salsa for the layer dip?
This question is fantastic, and honestly, it’s the difference between a perfect layer dip and a watery one! You absolutely must drain that salsa. My preferred method is just grabbing my fine-mesh sieve—you know, the one I use for sifting powdered sugar? Spoon the salsa right into that sieve and let gravity do the work. If you are in a hurry, you can gently line a strainer with a couple of paper towels and press down ever so slightly. You don’t want to squeeze out *all* the flavor, but you need to remove that excess liquid that pools at the bottom of the jar. A dry salsa layer guarantees those clean lines between the sour cream and cheese!
Is this layer dip suitable for a potluck?
More than suitable—it’s the star! This is genuinely the perfect Potluck dip because it’s designed to be served cold and travels beautifully. Since we made sure everything is chilled and set, it holds up well. My biggest advice for transporting any Layered taco dip is this: keep it cold the entire way. Use a cooler bag or put it near the ice packs. If you’re worried about keeping the freshness perfect, remember that tip about adding the fresh tomatoes and onions right before you arrive. If you keep the base chilled, it stays vibrant until it’s time to dig in!
Estimated Nutritional Snapshot for This layer dip
I always get asked about the nutrition breakdown, and while this gorgeous layer dip is definitely an indulgence meant for celebrations rather than a daily meal, understanding what’s in it is just good cooking sense! I’ve done my best to calculate the averages here based on the ingredients we used, but please remember that your final numbers will shift depending on the brand of sour cream or refried beans you choose.
These numbers represent one generous serving size—about 1/10th of the entire dish. It’s packed with flavor, which means it’s also going to bring some wonderful fats to the table alongside that rich protein!
- Serving Size: 1/10 of dip (It’s a big dish!)
- Calories: Roughly 280 per serving
- Fat Total: Around 20g
- Saturated Fat: About 10g (This is where the cheese and cream come from!)
- Carbohydrates: About 18g
- Protein: A solid 10g
- Sodium: Be mindful, this comes in around 550mg, which is common for savory party food.
This information is provided strictly as an estimate to help you guide your planning! Because we rely on store-bought ingredients like seasoning mixes and taco seasoning for quick prep, the exact values can vary. Keep it covered, keep it cold, and enjoy responsibly!
Share Your Seven Layer Dip Creations
Now that you have the secret to making the absolute best layer dip on the block, I really, truly want to hear all about it!
Whether this was a massive success at a chaotic game day party or you just made a small batch for a cozy Friday night in, please come back and let me know how it went. Did the layers hold up perfectly? Did you add the optional ground beef or try a different veggie topping?
Dropping a star rating down below helps me know which recipes are real keepers for the Kings Cook community. And if you snap a picture of your beautifully stacked creation, I would be thrilled if you tagged me on social media! Sharing our successes is the easiest way to get more people feeling confident in the kitchen. Happy scooping, friends, and I can’t wait to see what you’ve cooked up!
PrintUltimate Seven Layer Taco Dip for Game Day

Make this ultimate seven layer dip for your next gathering. It is a classic Tex-Mex appetizer packed with flavor and easy to assemble ahead of time.
- Prep Time: 20 min
- Cook Time: 0 min
- Total Time: 2 hours 20 min
- Yield: 10 servings 1x
- Category: Appetizer
- Method: No Bake
- Cuisine: Tex-Mex
- Diet: Vegetarian
Ingredients
- 1 (16 ounce) can refried beans
- 1 cup cream cheese, softened
- 1 packet (1 ounce) taco seasoning mix
- 1 cup sour cream
- 1 cup prepared guacamole
- 1 cup salsa, drained well
- 2 cups shredded Mexican blend cheese
- 1 cup chopped tomatoes (for topping)
- 1/2 cup sliced black olives (for topping)
- 1/4 cup chopped green onions (for topping)
Instructions
- In a medium bowl, mix the softened cream cheese and taco seasoning until fully combined. This creates your seasoned cream cheese layer.
- Spread the refried beans evenly over the bottom of a 9×13 inch serving dish.
- Spread the seasoned cream cheese mixture over the bean layer.
- In a separate bowl, mix the sour cream until smooth. Spread the sour cream evenly over the cream cheese layer.
- Carefully spread the prepared guacamole over the sour cream layer.
- Spoon the drained salsa evenly over the guacamole layer.
- Sprinkle the shredded Mexican blend cheese over the salsa layer.
- Top the dip with chopped tomatoes, sliced black olives, and chopped green onions.
- Cover the dish and chill in the refrigerator for at least 2 hours before serving. This allows the layers to set.
- Serve your layer dip cold with tortilla chips, crackers, or fresh vegetables.
Notes
- You can make this dip up to 24 hours in advance. Keep it covered in the refrigerator.
- For the best results, drain excess liquid from the salsa before adding it as a layer.
- If you prefer a meatier dip, brown 1 pound of ground beef with half a packet of taco seasoning and spread it over the refried beans before adding the cream cheese layer.
Nutrition
- Serving Size: 1/10 of dip
- Calories: 280
- Sugar: 4
- Sodium: 550
- Fat: 20
- Saturated Fat: 10
- Unsaturated Fat: 10
- Trans Fat: 0.5
- Carbohydrates: 18
- Fiber: 3
- Protein: 10
- Cholesterol: 45