
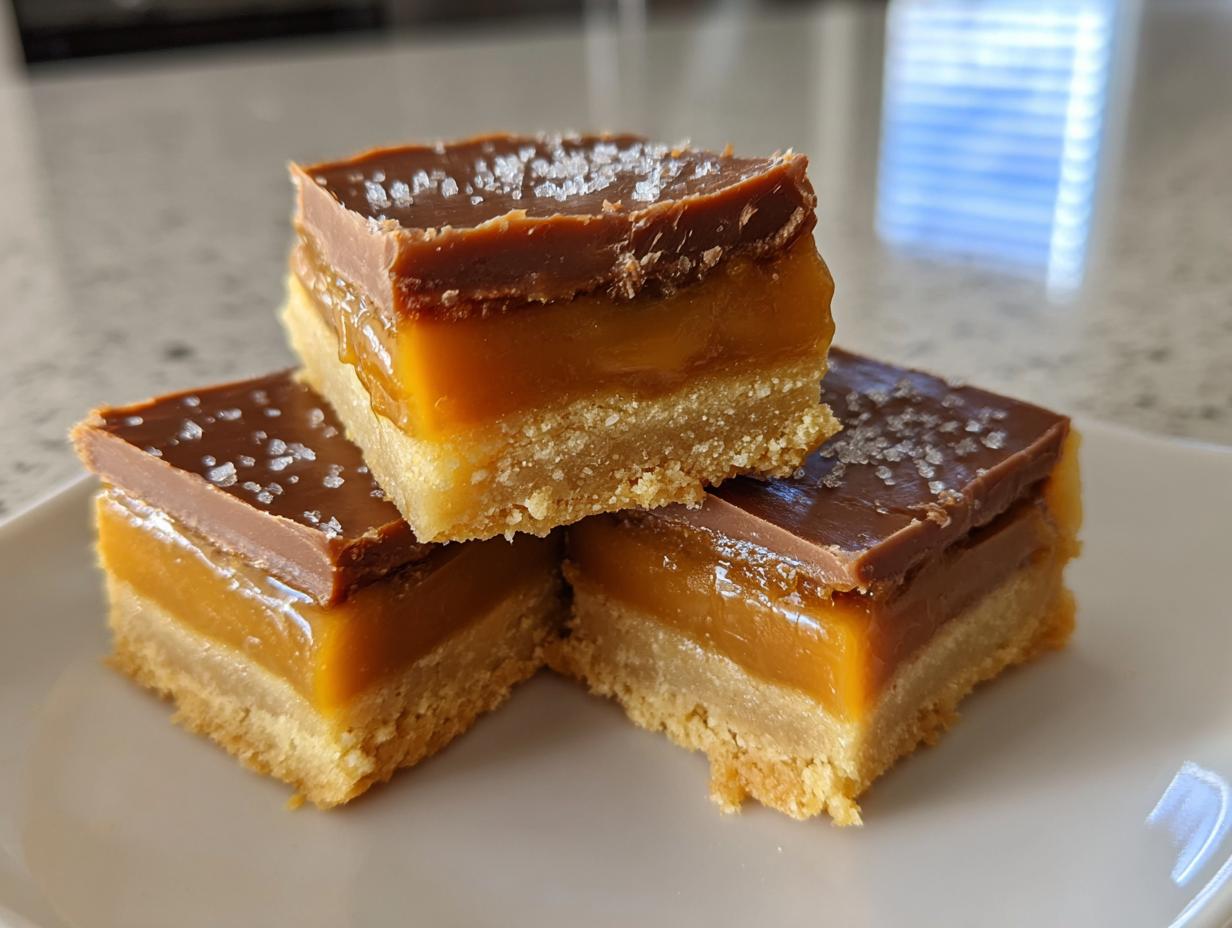
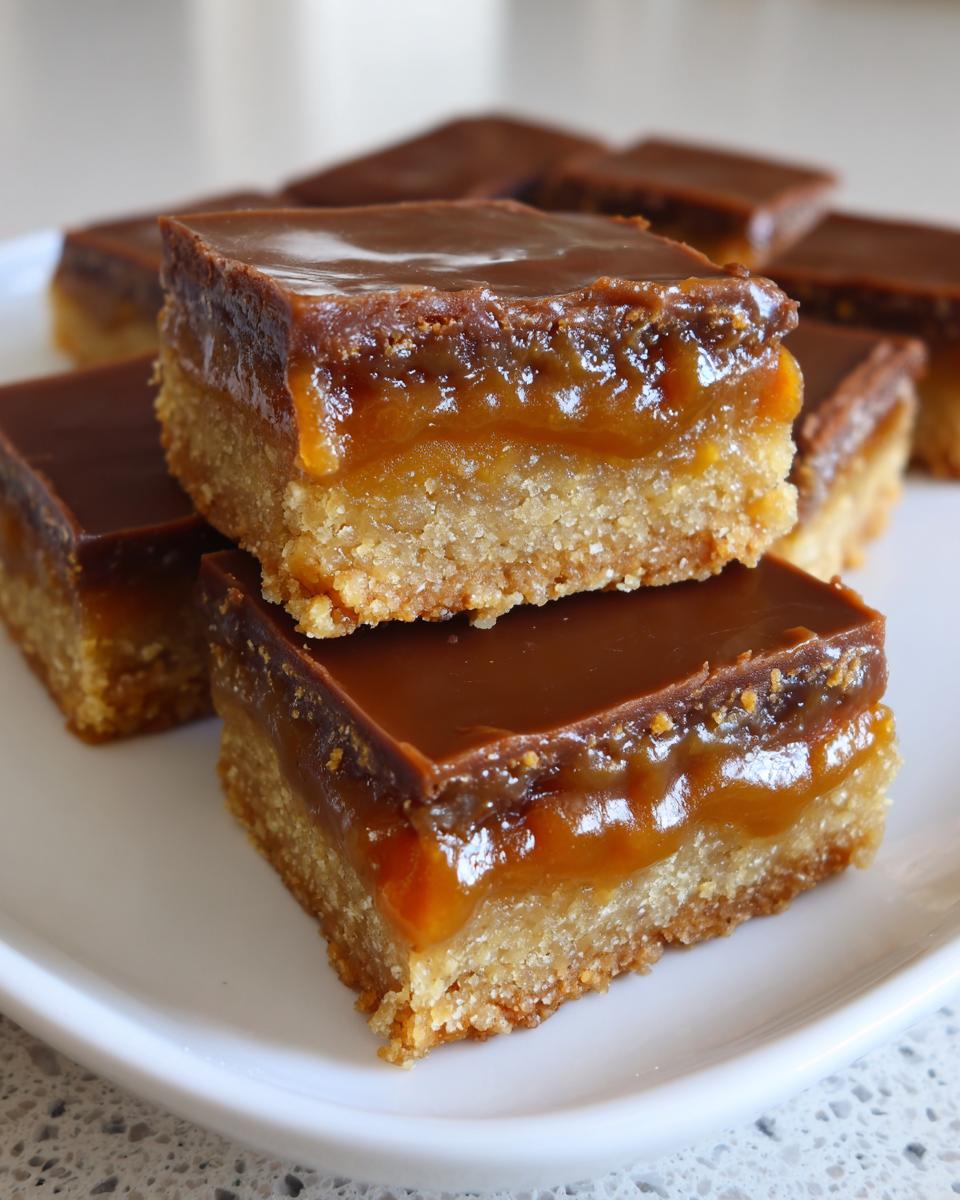
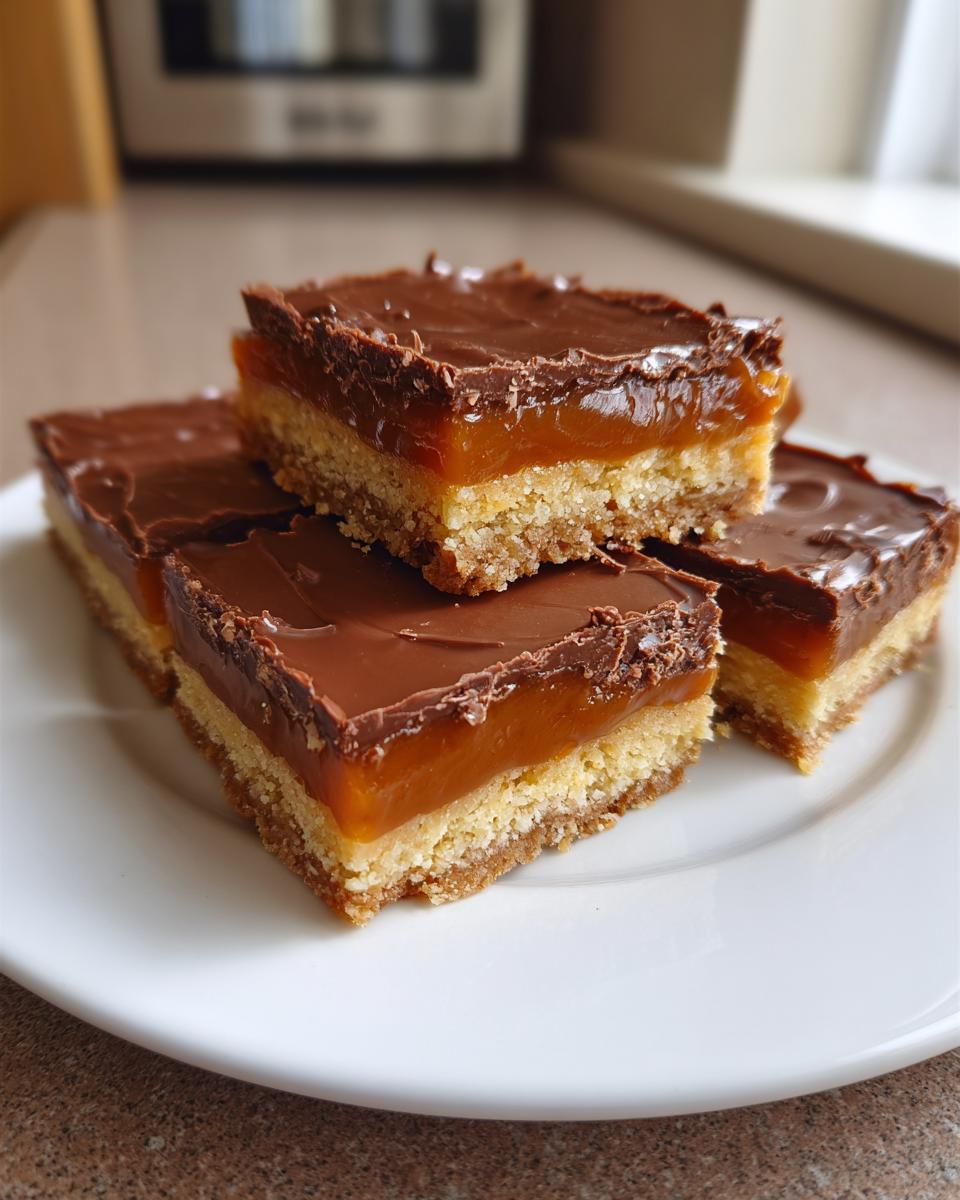
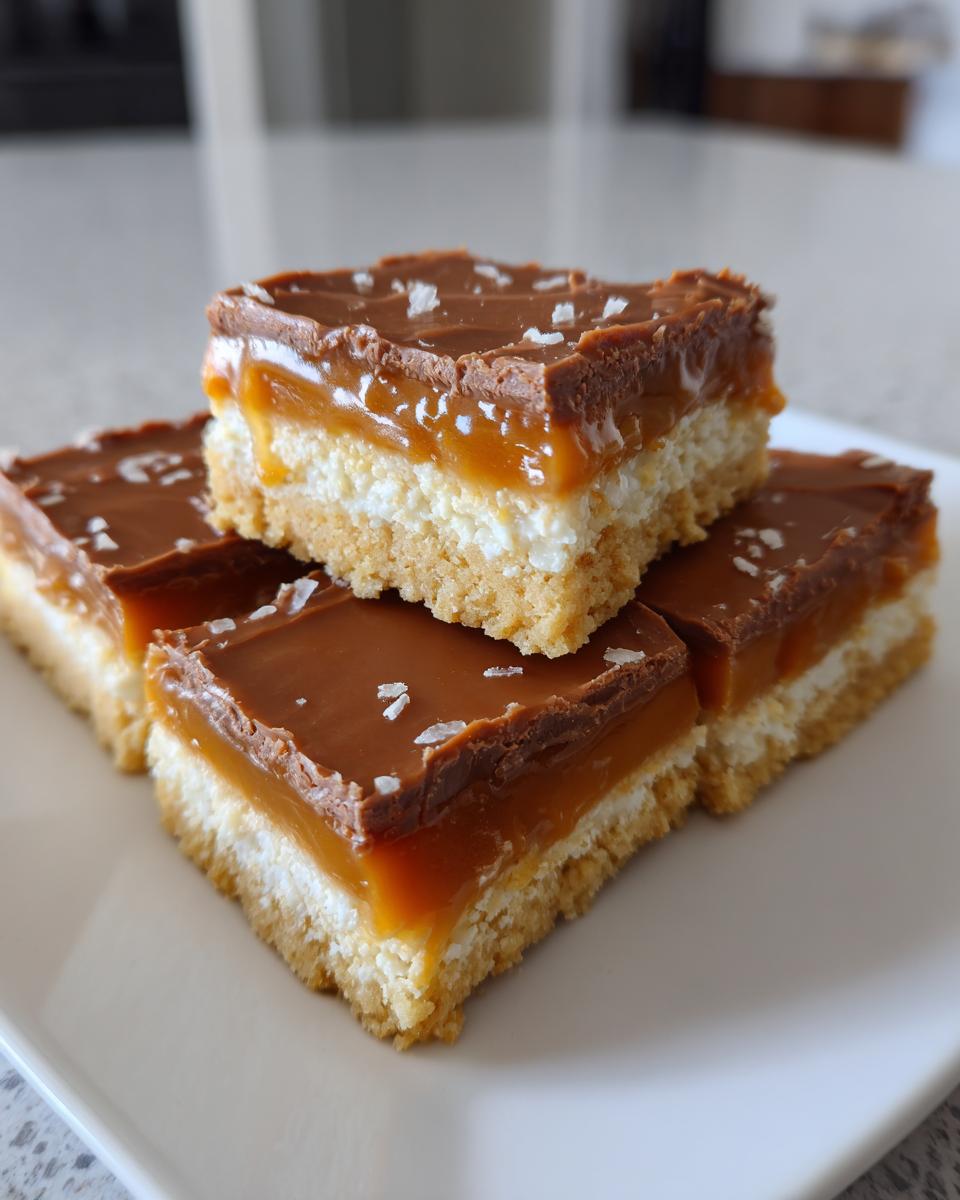
Okay, let’s talk about those cravings that hit right in the middle of the afternoon. You know the ones—you just need that perfect combination of crunchy, chewy, and chocolatey. Store-bought candy bars are fine, I guess, but when you really want the ultimate treat, nothing beats homemade. This Ultimate Homemade Twix Cookie Bars recipe is my absolute guarantee for success. I’ve tested this layered bar countless times—trust me, I’ve made batches until the shortbread snapped just right! We are replicating those famous three layers perfectly: that buttery, sandy bottom layer, the rich, gooey caramel center, and that smooth milk chocolate finish. If you want the best twix flavor you’ve ever had outside of a wrapper, you’ve come to the right place. This recipe is so reliable, it’s going straight into my collection of best dessert recipes!
- Why You Will Love This Ultimate Twix Recipe
- Ingredients for Perfect Homemade Twix Bars
- Step-by-Step Instructions for Twix Cookie Bars
- Tips for Success with Your Homemade Twix Recipe
- Twix Variations and Substitutions
- Storing and Keeping Your Decadent Twix Cookie Recipe Fresh
- Frequently Asked Questions About Making Twix
- Estimated Nutritional Data for Homemade Twix
- Share Your Ultimate Twix Cookie Bars Creation
- Estimated Nutritional Data for Homemade Twix
- Share Your Ultimate Twix Cookie Bars Creation
Why You Will Love This Ultimate Twix Recipe
I know you have a million dessert recipes saved, but this one? This homemade Twix recipe is special. It’s my go-to when I need serious comfort food that still looks impressive. Here’s exactly why I think this will become your new favorite way to get that sweet, chocolatey fix at home:
- Texture Perfection: We nail the crumb every time! The shortbread base is rich and slightly crisp, which contrasts beautifully with that impossibly soft, gooey caramel center. It really mimics the original candy bar sensation.
- Superior Flavor: Honestly, using real, high-quality butter in the shortbread and cooking the caramel from scratch deepens the flavor so much. You just don’t get that authentic buttery taste from the store-bought packs.
- It’s Easier Than You Think: I purposely broke this down using simple baking techniques. If you can mix dough and gently boil sugar, you can make these bars. No weird tricks needed!
- Perfect for Cutting: Because we chill everything thoroughly, these bars cut cleanly into beautiful squares or sticks. They look gorgeous lined up on a platter for holidays or parties.
- Total Customization: Want dark chocolate instead of milk? Go for it! Want to sprinkle toasted pecans into the caramel layer? Absolutely! This recipe is a fantastic starting point for your own sweet creations.
- That Satisfying Chocolate Coat: There is something so satisfying about dipping something homemade into melted chocolate. It feels like proper confectionery work, but it comes together in your own kitchen!
Ingredients for Perfect Homemade Twix Bars
One great thing about making your own versions of your favorite candy is that the ingredients are wonderfully simple! Seriously, this whole confection relies on pantry staples. When I first pulled together this Homemade Twix Recipe, I focused on quality—especially for the butter, because that’s what makes the shortbread sing. Everything is clearly separated here, so you know exactly what goes where. Just follow this list, and we are halfway to cookie bar heaven!
For the Buttery Shortbread Base
- 1 cup (2 sticks) unsalted butter, softened (The softening part is non-negotiable for a sandy crumb!)
- 1/2 cup granulated sugar
- 2 cups all-purpose flour
- 1/4 teaspoon salt
For the Gooey Caramel Layer
This is where the magic happens for that perfect chew! Make sure you grab that traditional 14-ounce can of sweetened condensed milk; that’s our secret weapon for guaranteed gooiness in this Copycat Twix Bars effort.
- 1 cup (2 sticks) unsalted butter
- 1 cup packed light brown sugar
- 1 (14 ounce) can sweetened condensed milk
- 1 teaspoon vanilla extract
For the Rich Chocolate Coating
We need that thick, shiny layer to seal in all that buttery goodness. If you have coconut oil, use it! It keeps the chocolate from getting stiff and gives you that professional, easy-to-dip finish.
- 12 ounces milk chocolate chips
- 1 tablespoon coconut oil (Optional, but highly recommended for that smooth coating!)
Step-by-Step Instructions for Twix Cookie Bars
Alright, here is where we put it all together to create those incredible Homemade Twix Recipe layers. Don’t worry about the number of steps; they flow together nicely once you get going. Remember, this is like building a tiny, delicious edible structure. I want you to feel super confident in this part, so I always suggest checking out detailed photos if you’re nervous—I know I looked at a few before nailing my own technique, like this great guide over at Just So Sweet. These instructions will give you the best result for these layered chocolate covered caramel squares!
Baking the Shortbread Foundation
First things first: get your oven heating up to 350°F (175°C). I cannot stress this enough: line that 8×8 inch baking pan with parchment paper, making sure you leave plenty of overhang on two sides. That overhang is your handle later, trust me! We beat the softened butter and sugar until they look light—not grainy—and then gently mix in the flour and salt until it just forms a dough. Press that evenly into the pan and bake it for about 18 to 20 minutes until those edges start turning a lovely light gold. Let it cool down a touch while we tackle the caramel.
Creating the Perfect Gooey Caramel for Your Twix
Grab a medium saucepan. Melt your butter over medium heat, then stir in the brown sugar until it melts right into it. Now, pour in the sweetened condensed milk. Bring this mixture up to a gentle boil, but keep that heat controlled—medium-low is safer because you need to stir constantly. Keep stirring for about 5 to 7 minutes until you see it thicken up just a tiny bit. Take it off the heat immediately and stir in your vanilla extract. Quick hands are key here!
Layering, Baking, and Chilling the Twix Layers
Carefully pour that warm, sweet caramel right over your slightly cooled shortbread base. Spread it out gently so you don’t disturb the bottom layer too much. Pop the pan *right back* into the oven for just 10 more minutes. When you pull it out, the caramel should look all bubbly and happy. Then comes the hardest part: cooling! You must let this cool completely on a rack, and then transfer it to the fridge for at least 2 hours, or until that caramel is super firm. This chilling step is crucial for clean slicing, which leads us to the best part!
Coating the Ultimate Twix Cookie Bars in Chocolate
Once the base is rock hard, lift the whole thing out using those parchment paper handles. Cut it into bars—whatever size you like! Then, melt your milk chocolate chips and the optional coconut oil. I usually do 30-second bursts in the microwave, stirring really well between each one until it’s silky smooth. Dip each chilled bar into the melted chocolate, letting any extra drip off. Place your finished bars back on the parchment paper to set. Seriously, try to wait until that chocolate is firm before diving in. If you want to serve these fast, pop them back in the fridge for a quick chill to finish setting up. These are fantastic examples of rich chocolate coated dessert!
Tips for Success with Your Homemade Twix Recipe
Okay, you followed the steps, but now you want them to look like the ones in the fancy magazines, right? Totally understandable! Making these bars is fun, but those last steps—the cutting and the dipping—can be tricky if your candy isn’t cooperating. I’ve learned a few tricks over the years to ensure your twix bars come out flawless and not messy blobs. These little secrets are what turn a good homemade treat into an amazing one.
Achieving the Best Caramel Consistency
When you are cooking that caramel, remember that time equals texture here. If you cook it for too long, thinking it needs to be extra thick, you’ll end up with hard caramel candy instead of that wonderfully chewy, gooey layer we want. Keep stirring faithfully during those 5 to 7 minutes, and trust the process! If it seems a little soft when you pour it into the pan, don’t panic—that chilling time is going to firm it up just enough for the next step.
Making Your Twix Bars Look Professional
This is my very favorite trick for making these Copycat Twix Bars look top-tier: the hot knife trick. Once your entire slab is chilled and solid from the fridge, take your sharpest, largest knife and run it under very hot water for about 30 seconds. Dry it off quickly, then use that sharp, warm blade to make your cut. The heat melts just the tiniest bit of the caramel and chocolate right at the edge, giving you the cleanest, prettiest slice possible. You’ll get those crisp edges just like the ones you see pictured everywhere, just like the ones showcased at My Homemade Dishes!

Twix Variations and Substitutions
While I firmly believe this Ultimate Twix Cookie Bars recipe is the blueprint for perfection—seriously, the buttery shortbread base is iconic—I always encourage bakers to make my recipes their own! Cooking should be fun and flexible, and there are so many delicious directions you can take this layered bar. Maybe you’re looking for something a little different for the holidays, or maybe you just ran out of milk chocolate chips. No sweat! You have plenty of options to customize this treat without starting from scratch.
If you have friends with dietary restrictions, you might even find a completely different approach works best for you. For example, if you’re looking to avoid refined sugar and dairy, you should definitely check out how folks manage to make wonderful Healthy Twix Bars—it’s amazing what you can do with alternative sweeteners!
Here are a few easy swaps and ideas I’ve tried out in my own kitchen:
- Change the Chocolate Armor: If you find milk chocolate too sweet, you can easily swap it out for semi-sweet or even dark chocolate chips. The slight bitterness of a dark chocolate coating really cuts through the richness of the caramel layer beautifully. It makes it feel way more sophisticated!
- Add Some Crunch: Want to make these extra special? Try adding small toasted nuts into the caramel layer right before the second bake. Pecans or slivered almonds work fantastic! Just toss them into the warm caramel after you pour it over the crust. They toast up light while baking.
- Thinking Bite-Sized Snacks: If you skip the full dipping process and just cut the chilled, un-coated bars into really small squares—say, 1 inch by 1 inch—you get instant No Bake Twix Bites! They are amazing tossed into a decorative tin for gifting. They won’t have the chocolate coating, but they’ve still got that great shortbread and caramel combo.
- A Touch of Salt: For those of you who love that salty-sweet contrast, sprinkle a tiny pinch of coarse sea salt over the wet chocolate coating right after you finish dipping each bar. It pops off the chocolate and pulls out the flavor of the caramel underneath.
See? It’s so easy to keep things feeling fresh even when you’re leaning on a tried-and-true base recipe like this one. Happy experimenting!
Storing and Keeping Your Decadent Twix Cookie Recipe Fresh
You did it! You made the Best Twix Dessert Recipe, and now you have a whole pan of these beautiful, layered treats. The big question is, how do you keep them tasting exactly as amazing tomorrow as they do right now? Keeping these fresh is all about managing the texture of those two main components: the crumbly shortbread base and the soft, gooey caramel layer.
If you’re planning on eating them within two or three days, leaving them at room temperature is perfectly fine! Just make sure they are stored in an airtight container. I generally layer them with small squares of parchment paper between the layers, especially if they are cut into bars rather than whole pieces sitting side-by-side. This stops that nice chocolate top from smudging onto the one above it.
Now, if these are destined for a party next week, or if your kitchen is just super warm (hello, summer baking!), refrigeration is the way to go for the best texture maintenance. The caramel layer tends to get a little too soft if it’s too warm. Popping your container in the fridge keeps everything firm. They will last beautifully for up to a week stored this way. Just remember, if you chill them, let them sit out on the counter for about 20 minutes before serving. That brief softening time brings back the perfect melt-in-your-mouth feel you want from that chewy caramel layer.
And please, please don’t try to freeze them unless you absolutely must! Freezing can sometimes make the shortbread base go a little stale when thawing, and it can cause condensation which softens the chocolate top. If you absolutely must freeze them—maybe you made three batches for the holidays—wrap the individual bars tightly in plastic wrap first, then put them into a freezer bag. Try to use them within a month, but honestly, these Chocolate Covered Caramel Squares never last that long in my house!
Frequently Asked Questions About Making Twix
I always get so many great questions after I share a recipe this popular! It just goes to show how much everyone loves recreating those classic candy bar flavors at home. Making the Ultimate Twix Cookie Bars is straightforward, but sometimes the little logistics trip people up. Don’t stress about it; that’s what this FAQ is for! I want to make sure everyone feels like a baking royalty when they tackle this recipe.
We’ve covered the core steps, but here are the answers to the questions I see most often. Hopefully, this helps you feel totally set before you dive into making your own batch of easy homemade candy recipes!
Can I make a No Bake Twix Bites version?
That’s a great question, especially if you’re short on time! Now, this specific recipe relies on that quick 18-minute bake for the shortbread crust, which gives it that wonderful, sturdy snap. So, this particular recipe isn’t technically no-bake. If you’re really looking for a true no-bake version, you absolutely can find many recipes out there that swap the baked shortbread for a base made from crushed vanilla wafers or graham crackers mixed with melted butter. You combine those, chill them solid, and then press your homemade caramel on top. It’s a different texture, but it definitely gets you those fantastic No Bake Twix Bites fast!
What kind of chocolate is best for this Copycat Twix Bars recipe?
For the most authentic flavor, I used milk chocolate chips, just like the original candy. That sweet, creamy coating is what you expect when you think of a classic Twix, especially if you happen to be making these for kids or just have a major soft spot for that original flavor profile. However, I’ve made a ton of batches using other chocolates, and they are delicious too! If you prefer something a little less sweet, go ahead and use semi-sweet chocolate chips. Or, if you really want that rich flavor to stand out, try a good quality dark chocolate—just make sure you add that tablespoon of coconut oil because the darker the chocolate, the stiffer it can get when it cools.
How long should I chill the bars before cutting?
This might be the most important logistical question for getting those clean lines! You really can’t rush the chill time here. Once the caramel layer bubbly finish comes out of that second 10-minute bake, you must let it cool on the counter first. Then, it needs a long chill in the refrigerator—I always push for at least 2 hours, if not more. If you try to cut it even slightly warm, the caramel will run everywhere, and you’ll end up with a gooey mess instead of those neat, perfect Chocolate Covered Caramel Squares! Patience with the cooling equals perfection in the cutting.
My caramel layer seems too soft after baking, is this normal?
Yes, it is totally normal! Remember, the caramel is cooked on the stovetop until it thickens a bit, but that second 10-minute bake is mostly to make sure it heats through and bubbles evenly over the crust. It is not meant to become hard candy in the oven! The true setting happens when it chills in the fridge afterwards. If you pull it out after the second bake and it seems a little runny across the top, don’t worry one bit. That long, cold vacation in the refrigerator is what sets it up so beautifully before we dip them in chocolate. It’s what guarantees that satisfying chew in our Gooey Caramel Chocolate Treats!
Estimated Nutritional Data for Homemade Twix
I always try to give you guys the full picture here at Kings Cook, even though these bars are certainly more of a decadent treat than an everyday snack! Since we are using real butter and quality chocolate, the nutrition data reflects that richness. Keep in mind that because this is a homemade recipe with specific brands not being mandated, these numbers are just estimates based on the general ingredient breakdown. If you are counting macros or watching sugar intake, you might want to adjust quantities or swap out ingredients, maybe checking out some of those lighter variations out there!
For one bar, cut into 16 squares, here is what you can generally expect:
- Serving Size: 1 bar
- Calories: 350
- Sugar: 35g
- Sodium: 110mg
- Fat: 22g (mostly saturated from the butter and chocolate)
- Carbohydrates: 38g
- Protein: 4g
Enjoy them responsibly, knowing that they are made with much better ingredients than anything factory-made!
Share Your Ultimate Twix Cookie Bars Creation
Seriously, I am so proud of you for tackling this! Making your own candy bar replica is a huge kitchen win, and I want to hear all about it. Did the shortbread snap perfectly? Did your caramel stay gooey? Don’t keep your success a secret! If you made these Ultimate Twix Cookie Bars, please come back and leave a star rating below so other bakers know how reliable the recipe is. That feedback really helps me, and it helps others feel confident in trying my recipes, just like I mentioned on my About page.
If you took a picture of your perfectly coated, gorgeous bars, tag me on social media—I absolutely love seeing what everyone is creating in their own kitchens. Nothing makes me happier than knowing I’ve helped turn “I can’t” into “I did!” Happy baking, and I’ll see you at the next recipe!
Estimated Nutritional Data for Homemade Twix
I always try to give you guys the full picture here at Kings Cook, even though these bars are certainly more of a decadent treat than an everyday snack! Since we are using real butter and quality chocolate, the nutrition data reflects that richness. Keep in mind that because this is a homemade recipe with specific brands not being mandated, these numbers are just estimates based on the general ingredient breakdown. If you are counting macros or watching sugar intake, you might want to adjust quantities or swap out ingredients, maybe checking out some of those lighter variations out there!
For one bar, cut into 16 squares, here is what you can generally expect:
- Serving Size: 1 bar
- Calories: 350
- Sugar: 35g
- Sodium: 110mg
- Fat: 22g (mostly saturated from the butter and chocolate)
- Carbohydrates: 38g
- Protein: 4g
Enjoy them responsibly, knowing that they are made with much better ingredients than anything factory-made!
Share Your Ultimate Twix Cookie Bars Creation
Seriously, I am so proud of you for tackling this! Making your own candy bar replica is a huge kitchen win, and I want to hear all about it. Did the shortbread snap perfectly? Did your caramel stay gooey? Don’t keep your success a secret! If you made these Ultimate Twix Cookie Bars, please come back and leave a star rating below so other bakers know how reliable the recipe is. That feedback really helps me, and it helps others feel confident in trying my recipes, just like I mentioned on my About page.
If you took a picture of your perfectly coated, gorgeous bars, tag me on social media—I absolutely love seeing what everyone is creating in their own kitchens. Nothing makes me happier than knowing I’ve helped turn “I can’t” into “I did!” Happy baking until the next time, and I’ll see you there!
PrintUltimate Homemade Twix Cookie Bars
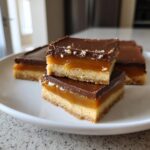
Replicate the classic candy bar with these homemade Twix bars featuring a buttery shortbread base, gooey caramel, and a rich milk chocolate coating. These bars are easy to make and taste better than store-bought.
- Prep Time: 25 min
- Cook Time: 35 min
- Total Time: 4 hours 0 minutes
- Yield: 16 bars
- Category: Dessert
- Method: Baking
- Cuisine: American
- Diet: Vegetarian
Ingredients
- For the Shortbread Base: 1 cup (2 sticks) unsalted butter, softened; 1/2 cup granulated sugar; 2 cups all-purpose flour; 1/4 teaspoon salt
- For the Caramel Layer: 1 cup (2 sticks) unsalted butter; 1 cup packed light brown sugar; 1 (14 ounce) can sweetened condensed milk; 1 teaspoon vanilla extract
- For the Chocolate Coating: 12 ounces milk chocolate chips; 1 tablespoon coconut oil (optional, for smooth dipping)
Instructions
- Prepare the Shortbread: Preheat your oven to 350°F (175°C). Line an 8×8 inch baking pan with parchment paper, leaving an overhang for easy removal.
- Beat the butter and sugar together in a large bowl until light and fluffy. Gradually add the flour and salt, mixing until just combined into a dough.
- Press the shortbread dough evenly into the bottom of the prepared pan. Bake for 18 to 20 minutes, or until the edges are lightly golden. Let cool slightly while you make the caramel.
- Make the Caramel: In a medium saucepan, melt the butter over medium heat. Stir in the brown sugar until dissolved. Add the sweetened condensed milk.
- Bring the mixture to a gentle boil, stirring constantly. Reduce the heat to low and cook for 5 to 7 minutes, stirring often, until the mixture thickens slightly. Remove from heat and stir in the vanilla extract.
- Pour the warm caramel evenly over the cooled shortbread crust. Return the pan to the oven and bake for an additional 10 minutes. The caramel should look bubbly.
- Cool Completely: Remove the pan from the oven and let it cool completely on a wire rack, then chill in the refrigerator for at least 2 hours, or until the caramel is firm.
- Melt the Chocolate: Place the milk chocolate chips and coconut oil (if using) in a microwave-safe bowl. Microwave in 30-second intervals, stirring well after each, until smooth.
- Cut the chilled caramel shortbread into bars of your desired size. Dip each bar into the melted chocolate, ensuring it is fully coated. Place the coated bars back onto the parchment-lined pan or a cooling rack.
- Let the chocolate set completely at room temperature or chill briefly until firm before serving. Slice and enjoy your homemade candy bar replica.
Notes
- For a cleaner cut, run a large knife under hot water and dry it before slicing the chilled bars.
- If you prefer a darker chocolate flavor, substitute semi-sweet chocolate chips for the milk chocolate.
- Chill the bars for at least 4 hours for the easiest handling when cutting and dipping.
Nutrition
- Serving Size: 1 bar
- Calories: 350
- Sugar: 35
- Sodium: 110
- Fat: 22
- Saturated Fat: 14
- Unsaturated Fat: 8
- Trans Fat: 0.5
- Carbohydrates: 38
- Fiber: 1
- Protein: 4
- Cholesterol: 45