
There’s just something magical about the holidays, isn’t there? For me, that magic always starts with a creamy, chill aroma that promises comfort and celebration. Forget those cartons from the store—this year, we are making the absolute best creamy, old-fashioned homemade eggnog from scratch. Cooking brings up such warm memories for me, and making rich holiday drinks like this always reminds me of my grandmother sharing punch in her best crystal glasses. Trust me when I say that once you try this velvety smooth version, you won’t look back. This homemade eggnog recipe is foolproof, rich, and exactly what your festive gathering needs! If you want to know more about my philosophy on bringing joy into the kitchen, you can always read about it here on my blog.
- Why This Creamy Homemade Eggnog Recipe Stands Above the Rest
- Gathering Ingredients for Your Old Fashioned Homemade Eggnog
- Simple Eggnog Preparation: Step-by-Step Instructions for Homemade Eggnog
- Making Spiked Eggnog Recipe: Adding Alcohol to Your Homemade Eggnog
- Tips for Success with Your Classic Eggnog Recipe
- Serving Suggestions for This Rich Holiday Drink
- Storing and Reheating Homemade Eggnog
- Frequently Asked Questions About Homemade Eggnog
- Estimated Nutritional Data for Homemade Eggnog
- Share Your Creamy Homemade Eggnog Creations
Why This Creamy Homemade Eggnog Recipe Stands Above the Rest
I’ve tried so many quick versions, but nothing beats the depth of flavor you get when you make creamy eggnog from scratch. This recipe yields that perfectly nostalgic, velvety smooth eggnog that you just can’t bottle up and sell in a carton. It’s reliable, folks, and I’ve tested it season after season!
- Unmatched Richness: This recipe uses whole milk and heavy cream for that true indulgent texture.
- Superior Texture: We cook it just right so whipping is minimal later.
- Completely Customizable: Decide on the spot if you want it served spiked or as a fantastic adult treat or for the kids.
Expert Tips for Velvety Smooth Homemade Eggnog
To get that truly old fashioned eggnog texture, listen closely. First, you absolutely must strain the mixture through a fine-mesh sieve after cooking. It catches any tiny bits of egg that might have set, guaranteeing velvet in every sip! Second, patience is crucial: don’t even think about skipping the overnight chill. That long rest time is what thickens this beauty naturally, far better than any store-bought stabilizer.
Gathering Ingredients for Your Old Fashioned Homemade Eggnog
Okay, let’s get down to business! Making a truly old fashioned eggnog means we can’t skimp on the dairy. We need that richness, so only use whole milk and heavy cream here, there are no good substitutes for the texture they provide. I’ve laid out the exact measurements below so you can stop by the store!
- 6 large egg yolks
- 3/4 cup granulated sugar
- 1/4 teaspoon salt
- 1 1/2 cups whole milk
- 1 1/2 cups heavy cream
- 1 teaspoon vanilla extract
- 1/4 teaspoon ground nutmeg, plus more for garnish
- Optional: 1/2 cup bourbon, rum, or brandy for spiked eggnog
Ingredient Notes and Substitution Options
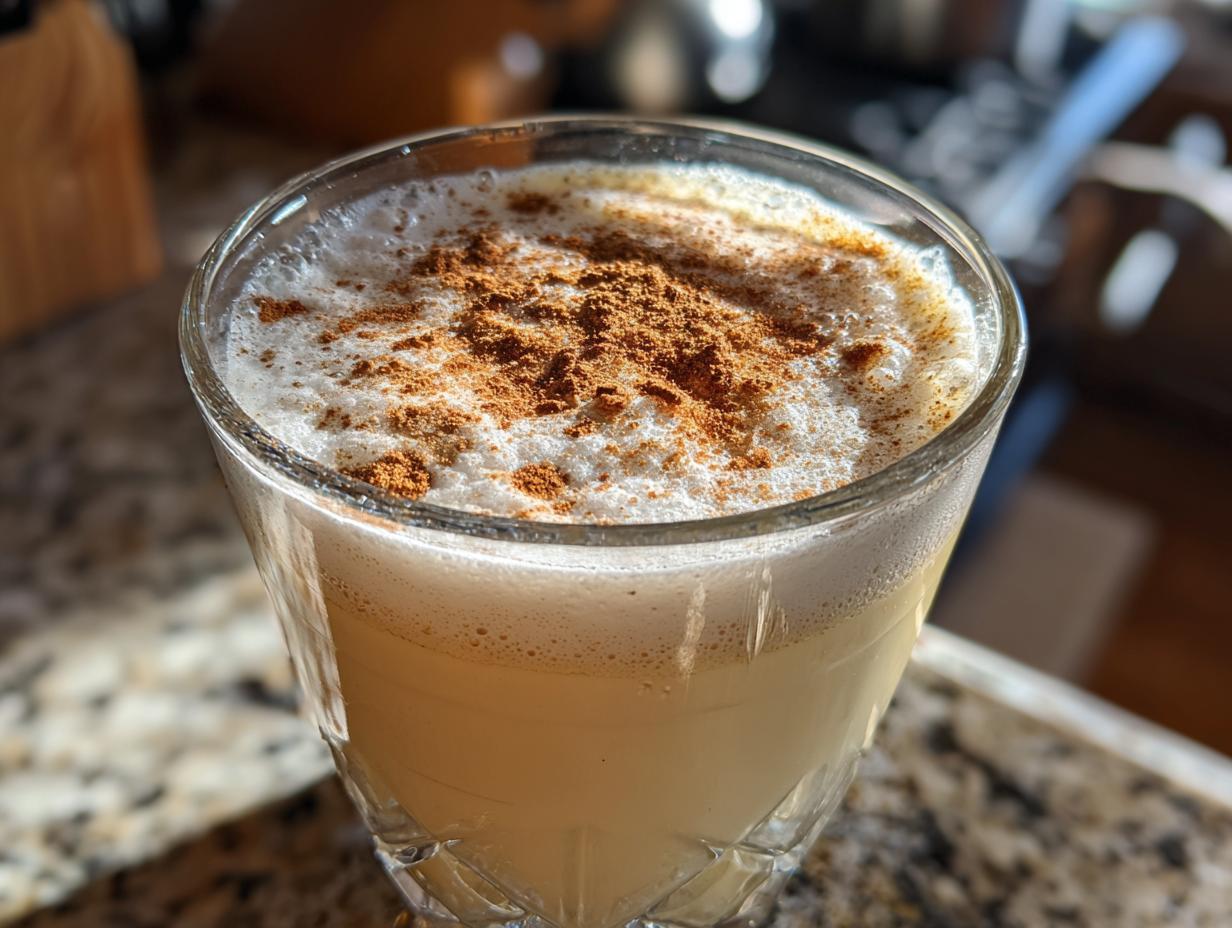
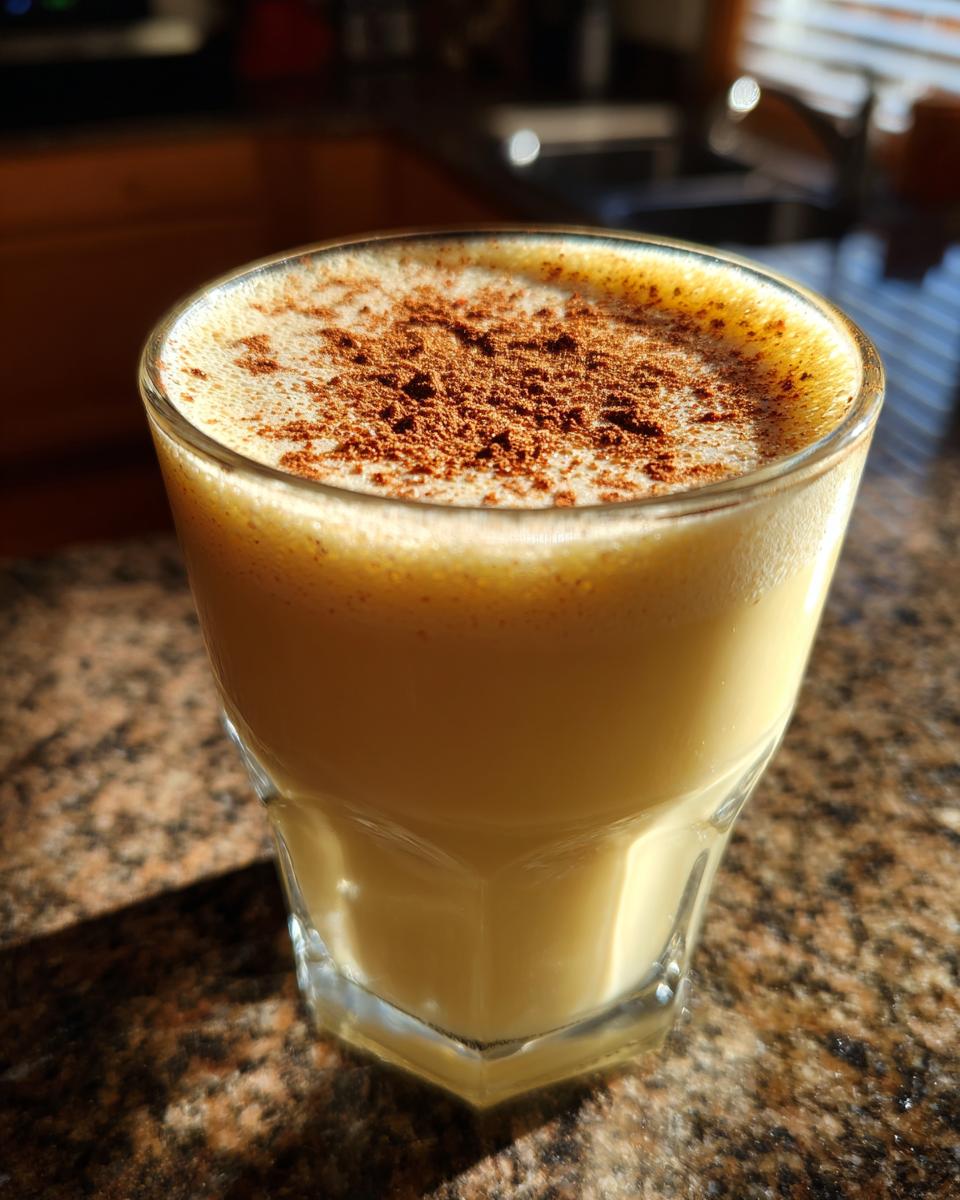
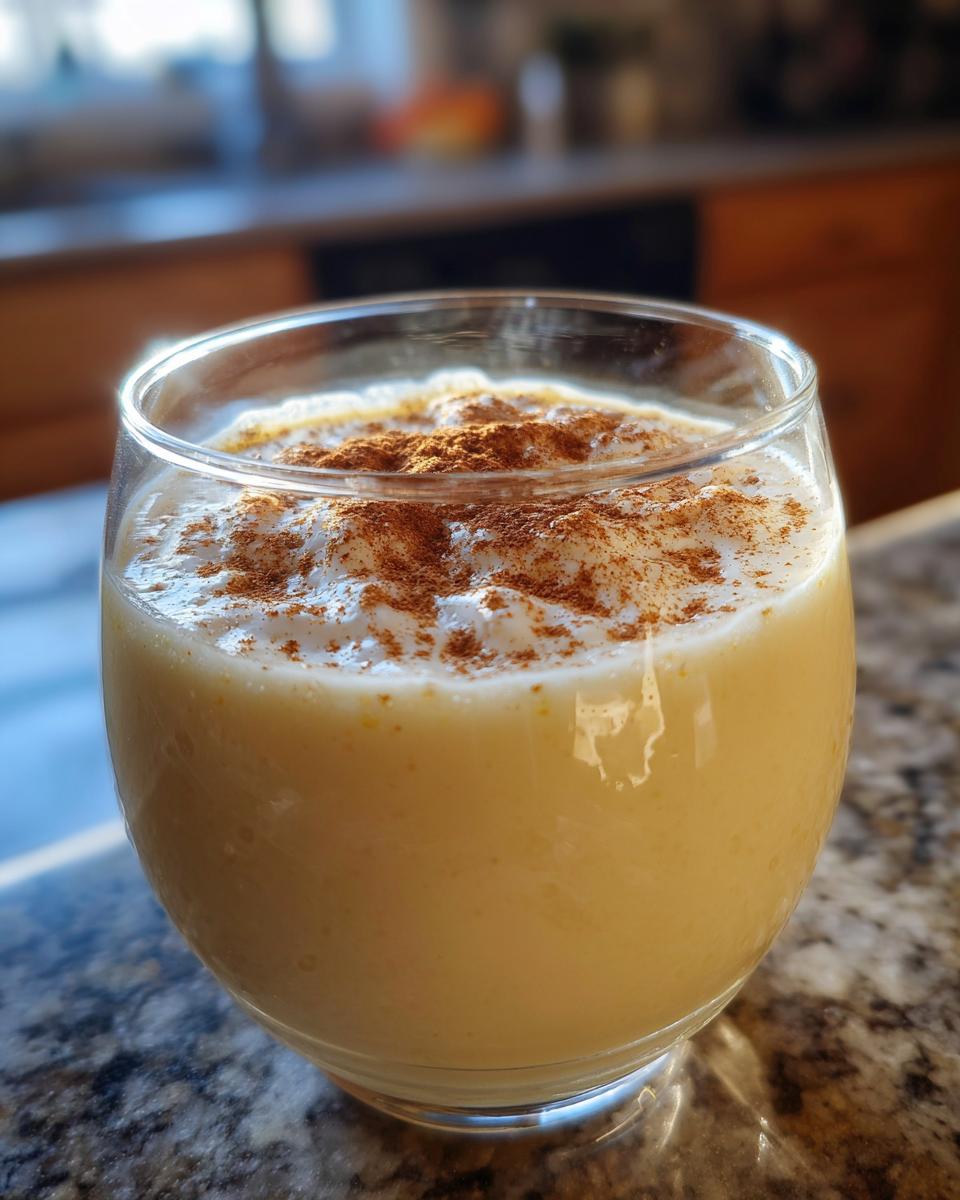
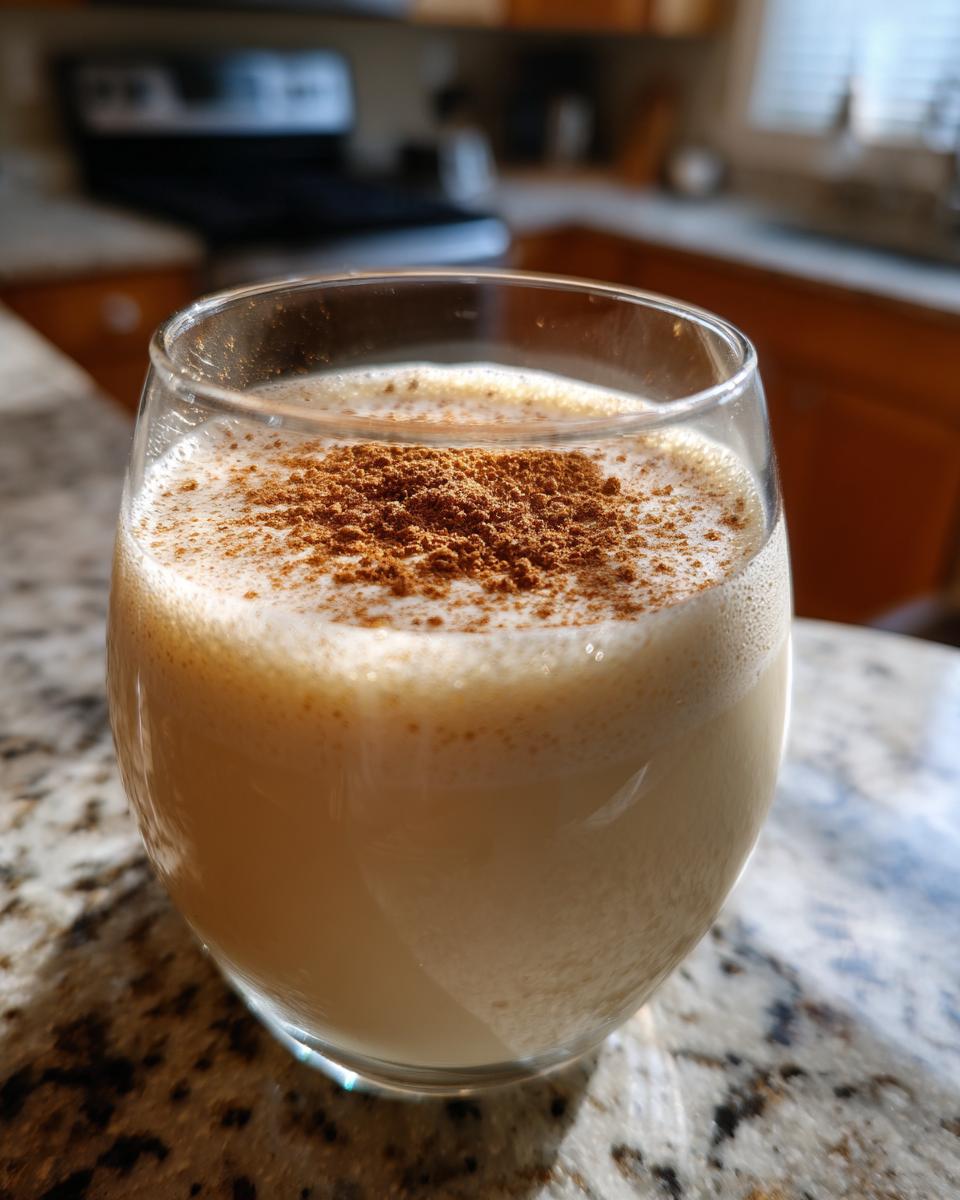
See that nutmeg? You absolutely must use fresh. Grating it right over the top before serving? That little burst of oil is the secret handshake of great homemade eggnog. If you are skipping the liquor entirely, this is where you make it your fantastic non alcoholic eggnog! As for dairy, if you must substitute the heavy cream, stick to the highest fat content you can find, but the full-fat dairy combo is what guarantees that dreamy richness.
Simple Eggnog Preparation: Step-by-Step Instructions for Homemade Eggnog
Making this homemade eggnog is much easier than it sounds, I promise! The whole process breaks down into easily manageable parts, which is why I call this my simple eggnog preparation guide. We’re going to rely on gentle heat, not speed, to get that perfect texture. Make sure you have a whisk ready and maybe put on some holiday music!
- In a medium bowl, whisk the egg yolks, sugar, and salt together until the mixture is pale yellow and smooth.
- Pour the milk and heavy cream into a medium saucepan. Heat over medium heat until steam rises and small bubbles form around the edges. Don’t even let it boil!
- Slowly temper the eggs: While whisking the egg mixture constantsly, gradually pour about one cup of the hot milk mixture right into the yolks. This is the trick—we aren’t scrambling things!
- Pour the tempered egg mixture back into the saucepan with the remaining milk and cream. We’re getting close!
- Cook over medium-low heat, stirring constantly with a wooden spoon or heatproof spatula, until the mixture thickens enough to coat the back of the spoon.
Remember, you can find more great recipes for your holiday mornings over on my breakfast and brunch page!
The Crucial Tempering and Cooking Phase for Creamy Eggnog From Scratch
That cooking stage is where we learn how to make eggnog thick! Once everything is back in the saucepan (Step 5), you absolutely must stir, stir, stir! Don’t walk away, or you’ll get chunky bits, and we want velvet, remember? You are looking for the mixture to register 170 degrees Fahrenheit on a candy thermometer if you have one. If you don’t have a thermometer, just test the spoon—if it coats the back nicely and you can draw a clear line through it with your finger, you’re golden. Pull it off the heat immediately at that point to stop the cooking!
Chilling Your Homemade Eggnog for Perfect Consistency
After cooking, remove the pan and stir in the vanilla and nutmeg. If you’re adding booze, go ahead and stir that in now too! Then, the most important step for this amazing homemade eggnog: strain it. Pour it right through a fine-mesh sieve into a clean bowl to catch anything that set up funny—this guarantees that silky texture. Cover the surface directly with plastic wrap, literally touching the liquid, and chill this for at least four hours, but seriously, overnight is perfection. Come morning, your eggnog will be thick and ready for company, just like the folks over at Whisking Up Yum find works best!
Making Spiked Eggnog Recipe: Adding Alcohol to Your Homemade Eggnog
Now, for those of you looking for that unmistakable holiday warmth, this recipe is perfect for making a spiked eggnog recipe! We kept the alcohol separate in the ingredient list because it’s totally optional, see? If you want to make it for everyone, just leave that part out. But if you are making it just for the adults at your festive party—and you should absolutely do that—you’ll add your spirit right at Step 7 after you’ve taken the mixture off the heat. I love using bourbon for a rich vanilla note, but rum or brandy work beautifully too. You can check out some other great holiday drinks on my cocktail and drink page!
Tips for Success with Your Classic Eggnog Recipe
Following a tried-and-true method is key to nailing this classic eggnog recipe. One thing I learned early on—the hard way, naturally—was that you can’t rush the chill time. I once tried serving it after only two hours in the fridge because guests were arriving early, and honestly? It was too thin, like sweet milk, not that plush, cozy drink we want! It just didn’t have that body you expect from a perfect batch.
Always treat your nutmeg fresh; skip the pre-ground stuff! Make sure you strain your custard after cooking, even if you think it looks perfect, because that guarantees the velvety smooth eggnog everyone raves about. If you want to see how I started sharing my kitchen confidence, check out my About page for the full story. And when you have a moment, look at how wonderfully thick this gets over at The Novice Chef Blog—they get it right!
Serving Suggestions for This Rich Holiday Drink
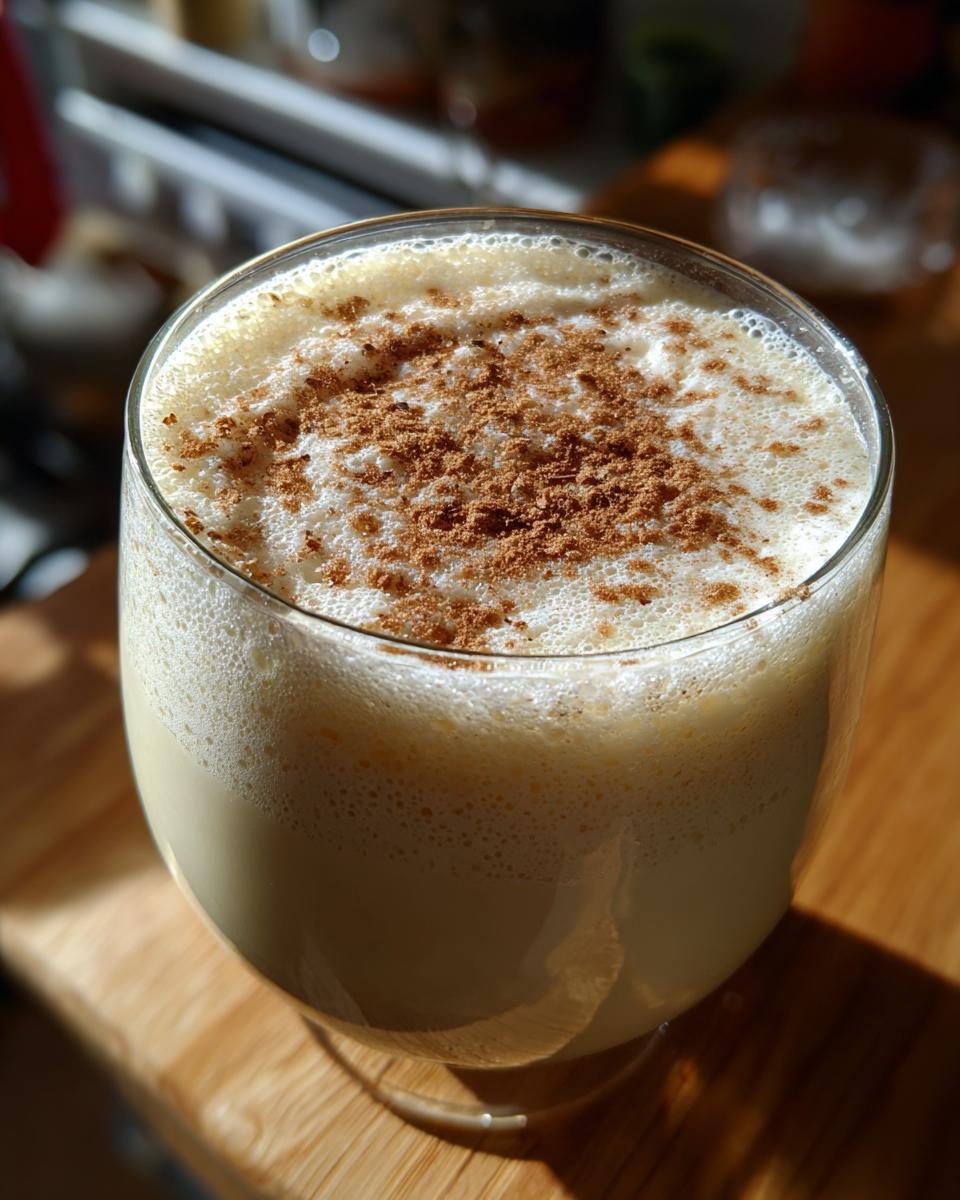
Presentation is everything, especially when you’ve made something as lovely as this rich holiday drink! For the best experience, you have to serve it cold in pretty glasses—maybe a delicate punch cup or a simple stemmed wine glass works beautifully. A tiny dusting of fresh nutmeg grated right on top right before you hand it over is crucial; that’s the smell that screams Christmas!
This is truly the best Christmas beverage, and it pairs wonderfully with some salty, savory snacks to cut through the richness. If you need appetizer ideas to round out your party menu, I have some amazing ideas on my appetizers and snacks page!
Storing and Reheating Homemade Eggnog
Once you’ve made this incredible homemade eggnog, you’ll want to know how to hold onto that goodness! The best part is that the flavors marry and deepen if you let it chill. It’s fantastic when served after chilling overnight, but you can safely keep it covered tightly in the fridge for up to five days. Honestly, it tastes the best by day three!
If you end up with any leftovers after the holiday rush, just make sure the surface is still covered right up against the liquid to stop a skin from forming. I wouldn’t advise trying to reheat it, though. Eggnog is absolutely meant to be served ice cold, like a liquid dessert!
Frequently Asked Questions About Homemade Eggnog
I know you might have a couple of worries buzzing around your head before you dive into making something this rich and wonderful. Cooking with eggs can feel scary if you haven’t done it before, but don’t you worry! We’re covering the big questions so you feel totally ready to produce a five-star rich holiday drink.
Is it safe to eat raw eggs in homemade eggnog?
That’s a super important question, and the short answer is: with this recipe, no, you aren’t using raw eggs! We cook the custard mixture very gently until it reaches 170 degrees Fahrenheit. While that might not be the same as pasteurization, it is safe enough for the vast majority of people, and it is essential for achieving that wonderfully thick texture we’re after. If you are serving anyone who is immunocompromised, you should definitely opt for using pasteurized eggs from the beginning.
How can I thicken my non alcoholic eggnog?
If you’re making the non alcoholic eggnog, the chilling time becomes even more vital! Since you aren’t adding the extra liquid weight of bourbon or rum, you need to let that base custard settle. Make sure you hit that 170°F cooking temperature precisely, and then cover it and chill it for a full 24 hours if you can manage it. The starches and fats continue to thicken as they get colder, resulting in the perfect texture—trust me!
If you try this recipe and have any other nagging questions, please reach out to me through my contact page! And if you want another great take on spiking your holiday beverage, check out the tips over at Savory Experiments.
Estimated Nutritional Data for Homemade Eggnog
Now, while I’m not a registered nutritionist—I’m just a home cook sharing what works for my family—I did calculate the approximate nutritional data based on the base recipe before adding any spirits. It’s good to have an idea of what you’re sipping on during those busy holiday parties when you’re reaching for seconds!
Remember, this is for the base, so if you make a spiked eggnog recipe, those numbers—especially the carbs and calories—will jump up depending on how generous you are with your bourbon or rum. Think of this as a guide for our rich holiday drink, not a strict diet plan!
- Serving Size: 1 cup
- Calories: 450
- Sugar: 35g
- Sodium: 110mg
- Fat: 30g
- Saturated Fat: 18g
- Protein: 10g
Keep in mind that this is for the delicious, creamy base. If you have any questions about adjusting the ingredients or want to drop me a line after trying the recipe, feel free to reach out through my contact page. Happy sipping!
Share Your Creamy Homemade Eggnog Creations
Well, we did it! We turned simple milk, cream, and eggs into the creamiest, most decadent homemade eggnog you’ll ever taste. I truly hope you feel that surge of pride I always get when I serve this at my table. It’s more than a drink; it’s a tradition we just made together!
Now, I always want to hear from you! Did you stick with the traditional bourbon, or did you experiment with something fun, like a little brandy or maybe even some dark spiced rum? Let me know in the comments below what your favorite spirit addition was, or if you kept it as a beautiful non alcoholic eggnog!
If you tried this recipe and loved that velvety smooth texture, please leave a rating—it helps other cooks like you find reliable recipes. Most importantly, make this your new holiday staple. Tag me in any photos you share; I absolutely love seeing your successes pop up on my screen! I’m always available to chat if you have any lingering questions via my contact page. Happy Holidays, and I can’t wait to hear all about your perfect batch!
PrintThe Best Creamy, Old-Fashioned Homemade Eggnog (Alcoholic and Non-Alcoholic)

Make rich, creamy, old-fashioned homemade eggnog from scratch. This classic recipe yields a velvety smooth holiday drink that is far superior to store-bought versions. You can easily make this recipe spiked with bourbon or keep it non-alcoholic for all guests.
- Prep Time: 15 min
- Cook Time: 10 min
- Total Time: 4 hours 25 min
- Yield: 6 servings 1x
- Category: Dessert Drink
- Method: Stovetop Cooking
- Cuisine: American
- Diet: Vegetarian
Ingredients
- 6 large egg yolks
- 3/4 cup granulated sugar
- 1/4 teaspoon salt
- 1 1/2 cups whole milk
- 1 1/2 cups heavy cream
- 1 teaspoon vanilla extract
- 1/4 teaspoon ground nutmeg, plus more for garnish
- Optional: 1/2 cup bourbon, rum, or brandy for spiked eggnog
Instructions
- In a medium bowl, whisk the egg yolks, sugar, and salt together until the mixture is pale yellow and smooth.
- Pour the milk and heavy cream into a medium saucepan. Heat over medium heat until steam rises and small bubbles form around the edges. Do not let it boil.
- Slowly temper the eggs: While whisking the egg mixture constantly, gradually pour about one cup of the hot milk mixture into the yolks. This prevents the eggs from scrambling.
- Pour the tempered egg mixture back into the saucepan with the remaining milk and cream.
- Cook over medium-low heat, stirring constantly with a wooden spoon or heatproof spatula, until the mixture thickens enough to coat the back of the spoon. This usually takes 8 to 10 minutes. Do not let it boil. The temperature should reach 170 degrees Fahrenheit.
- Remove the saucepan from the heat immediately. Stir in the vanilla extract and 1/4 teaspoon of ground nutmeg.
- If making alcoholic eggnog, stir in your chosen spirit now.
- Pour the eggnog through a fine-mesh sieve into a clean bowl to remove any small cooked egg bits, ensuring a velvety smooth texture.
- Cover the surface of the eggnog directly with plastic wrap to prevent a skin from forming. Chill in the refrigerator for at least 4 hours, or preferably overnight, until completely cold and thick.
- Serve the cold homemade eggnog in glasses, garnished with a fresh grating of nutmeg.
Notes
- For the thickest eggnog, chill the mixture for a full 24 hours before serving.
- If you skip the tempering step and cook the eggs too fast, you will end up with scrambled eggs; whisk slowly and continuously.
- To make this non-alcoholic eggnog, simply omit the liquor.
- Freshly grated nutmeg provides the best flavor for this classic holiday drink.
Nutrition
- Serving Size: 1 cup
- Calories: 450
- Sugar: 35g
- Sodium: 110mg
- Fat: 30g
- Saturated Fat: 18g
- Unsaturated Fat: 12g
- Trans Fat: 1g
- Carbohydrates: 38g
- Fiber: 0g
- Protein: 10g
- Cholesterol: 300mg