
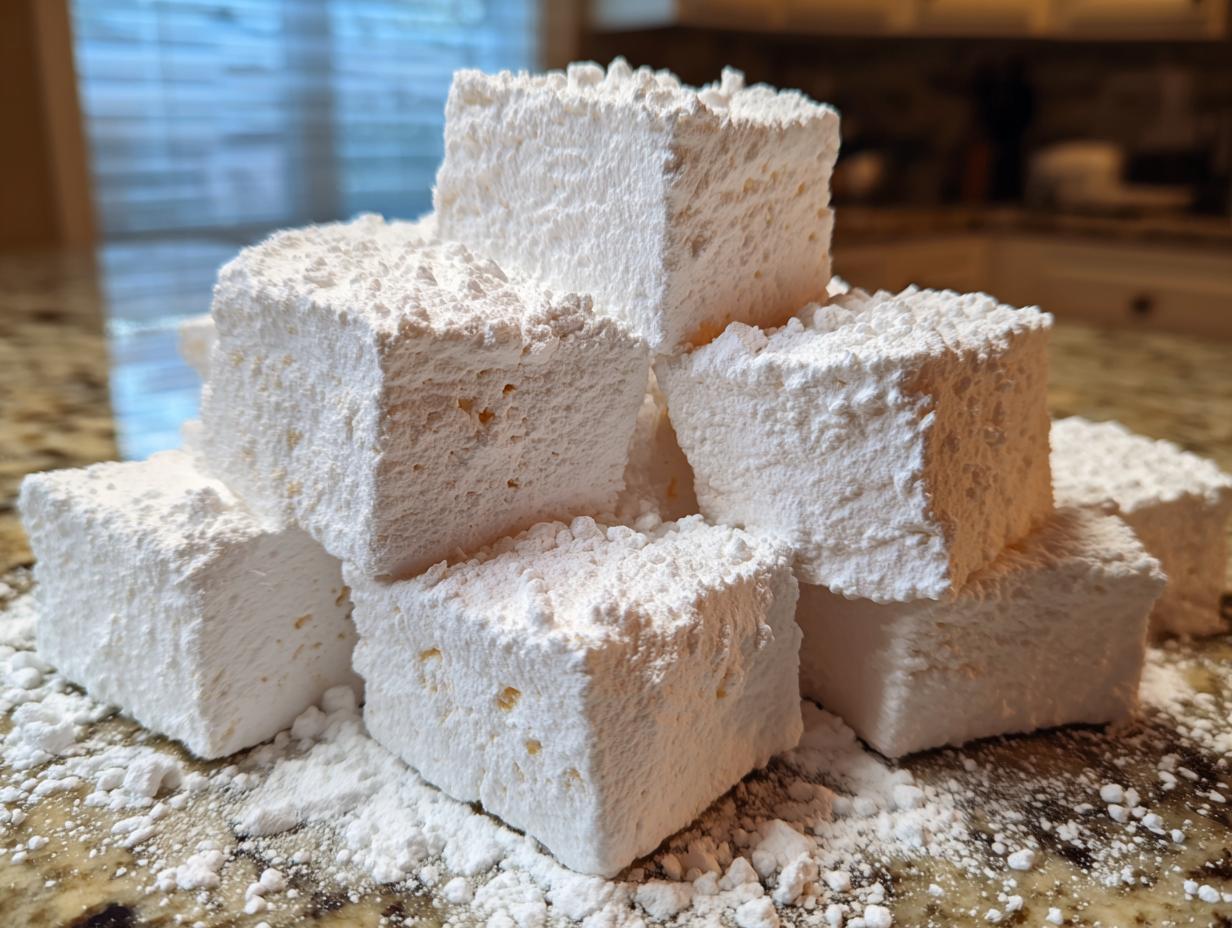
Okay, let’s be honest. Those squishy, flavorless cylinders you buy in the bag? They are not marshmallows. They are a sad imitation! I remember the first time I truly tasted a fresh, cloud-like bite of a quality confection. It was a game-changer, and I immediately knew I had to crack the code for my own kitchen.
That’s why I spent weeks perfecting this recipe for **homemade marshmallows**. Trust me, this version is gloriously light, supremely fluffy, and absolutely melts in your mouth. We talk about texture a lot on Kings Cook, and these are the definition of soft and pillowy. If you’re planning on making some homemade hot cocoa mix for gifting this year—you absolutely have to check out my recipe for a big batch creamy alternative—these are the perfect topper! Plus, I’ve worked out a reliable way to make them even without corn syrup, which I know many of you prefer. Say goodbye to chalky treats and hello to the best marshmallows you’ve ever had!
- Why This Recipe for Homemade Marshmallows Works (Soft and Pillowy Texture)
- Ingredients for Your Vanilla Marshmallows Recipe
- How to Prepare Perfect Homemade Marshmallows Step-by-Step
- Flavor Variations for Gourmet Marshmallow Recipes
- Tips for Success When Making Homemade Marshmallows
- Using Your Homemade Marshmallows for Hot Chocolate and S'mores
- Storage and Gifting Homemade Treats
- Frequently Asked Questions About DIY Marshmallows
- Nutritional Estimates for Homemade Marshmallows
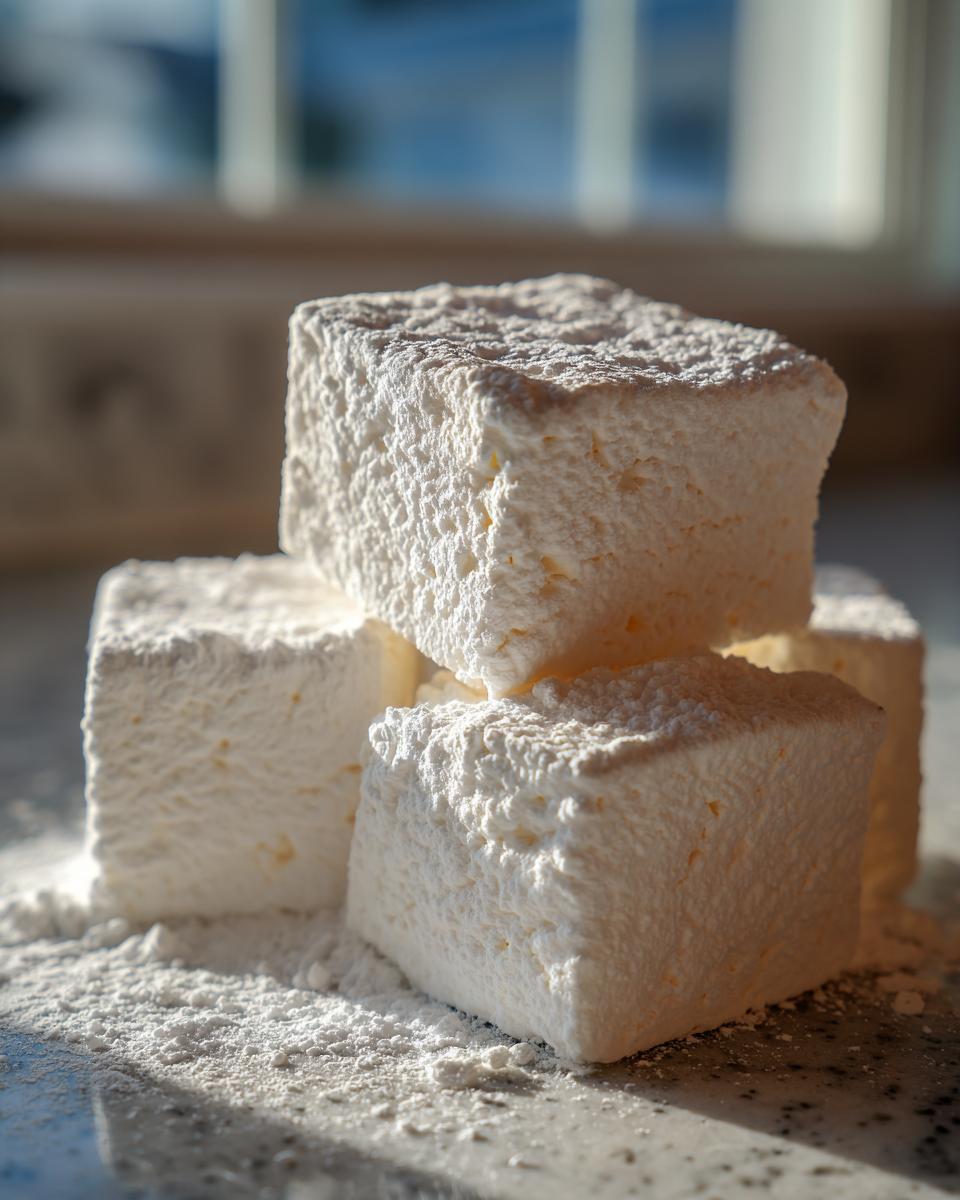
Why This Recipe for Homemade Marshmallows Works (Soft and Pillowy Texture)
The secret to these **homemade marshmallows** isn’t luck; it’s all about science and patience! We are aiming for that perfect, soft and pillowy texture that store-bought brands just can’t touch. The absolute key here is two-fold: making sure your gelatin blooms correctly in the cold water, and nailing that syrup temperature.
If you cook the sugar syrup even a few degrees too low or too high, you end up with sticky goo or hard candy instead of clouds. My testing showed that exactly 240 degrees Fahrenheit—the soft-ball stage—is non-negotiable for that amazing, melt-in-your-mouth quality. I know you’re going to check out my general guide for easy dessert recipes later, but for now, focus here!
Achieving the Best Fluffy Homemade Sweets
Once that hot syrup is in the bowl, you need power—that’s where the stand mixer comes in. You have to whip this mixture on high speed for a full 12 to 15 minutes. Seriously, don’t cheat this step! This long, aggressive whipping is what folds in all that air, turning that flat liquid into glossy, stiff whipped cream. It’s what gives you those incredible fluffy homemade sweets we’re aiming for. I actually check the outside of the bowl; once it’s barely warm to the touch, I know we’re done whipping!

Ingredients for Your Vanilla Marshmallows Recipe
Putting together the ingredients is so straightforward, which is why these **homemade marshmallows** feel totally magical! You mostly just need pantry staples. Don’t worry about hunting down fancy things; we’re keeping this accessible. The only parts that require careful measurement are the gelatin and the sugar syrup, but I promise the results are worth that tiny bit of extra attention.
You’ll need a 9×13 inch baking pan ready for this mixture to set up later. When you gather your liquids, make sure you’ve separated your cold water—some goes for blooming the gelatin, and some goes into the syrup pot. Keep reading for the specifics on swapping out the corn syrup if you need to!
Ingredient Breakdown and Corn Syrup Alternatives
We always start by prepping the gelatin first. Go ahead and sprinkle those 3 tablespoons of unflavored gelatin powder over half a cup of cold water—just a little bit of it—and let it sit for 10 minutes. This step is called blooming, and it’s essential! It allows the gelatin to absorb the water so it dissolves nicely later.
Now, let’s talk about the important sugar mixture. You need one cup of granulated sugar, salt, and the rest of the water. For the corn syrup, if you want some delicious **no corn syrup marshmallows**, we use a substitute! Just mix an extra cup of granulated sugar with 1/4 cup of water and half a teaspoon of cream of tartar. The cream of tartar is key here; it acts like a little scientific buddy to keep those sugars from getting crunchy as they boil up to that perfect temperature.
How to Prepare Perfect Homemade Marshmallows Step-by-Step
This is where the rubber meets the road, but honestly, if you can follow a few safety steps, this process is straightforward enough even for **beginner candy making**. First thing’s first: get your 9×13 inch pan greased up super well! I use a little bit of that powdered sugar/cornstarch mix we talked about earlier just to make sure nothing grabs onto the bottom. If you’re just starting out with things like this, visiting my guide on beginner candy making can give you a nice confidence boost before you even start heating the sugar!
Next, we tackle the syrup. Grab a saucepan, throw in your sugar, your corn syrup (or substitute), the remaining water, and the salt. Stir it until the sugar dissolves completely over medium heat. Then, you put your candy thermometer on the side and stop stirring! We need that mixture to boil until it hits exactly 240 degrees Fahrenheit. Please be careful when this gets hot; sugar syrup can burn!
While that’s heating, make sure your bloomed gelatin is ready in your stand mixer bowl where the whisk attachment is ready to go. When that syrup hits 240°F, pull it off the heat *immediately*. Now, turn your mixer on low and slowly, slowly pour that boiling syrup down the side of the bowl—don’t let it splash the whisk! Once it’s all in, crank that mixer up to high speed. This is the magic part for making great **homemade marshmallows**.
Syrup Cooking and Whipping for Homemade Marshmallows
Your mixer needs to run on high for 12 to 15 minutes. Don’t cheat this step! You’re looking for the mixture to become super thick, opaque white, and glossy, forming those beautiful stiff peaks that stand right up when you lift the whisk. What I actually do is touch the outside of the metal bowl after about 12 minutes. If it feels just warm—not hot to the touch—you’ve done it right. If it’s still hot, give it another minute or two. This long whipping process is what makes them incredibly airy and gives you that perfect texture.
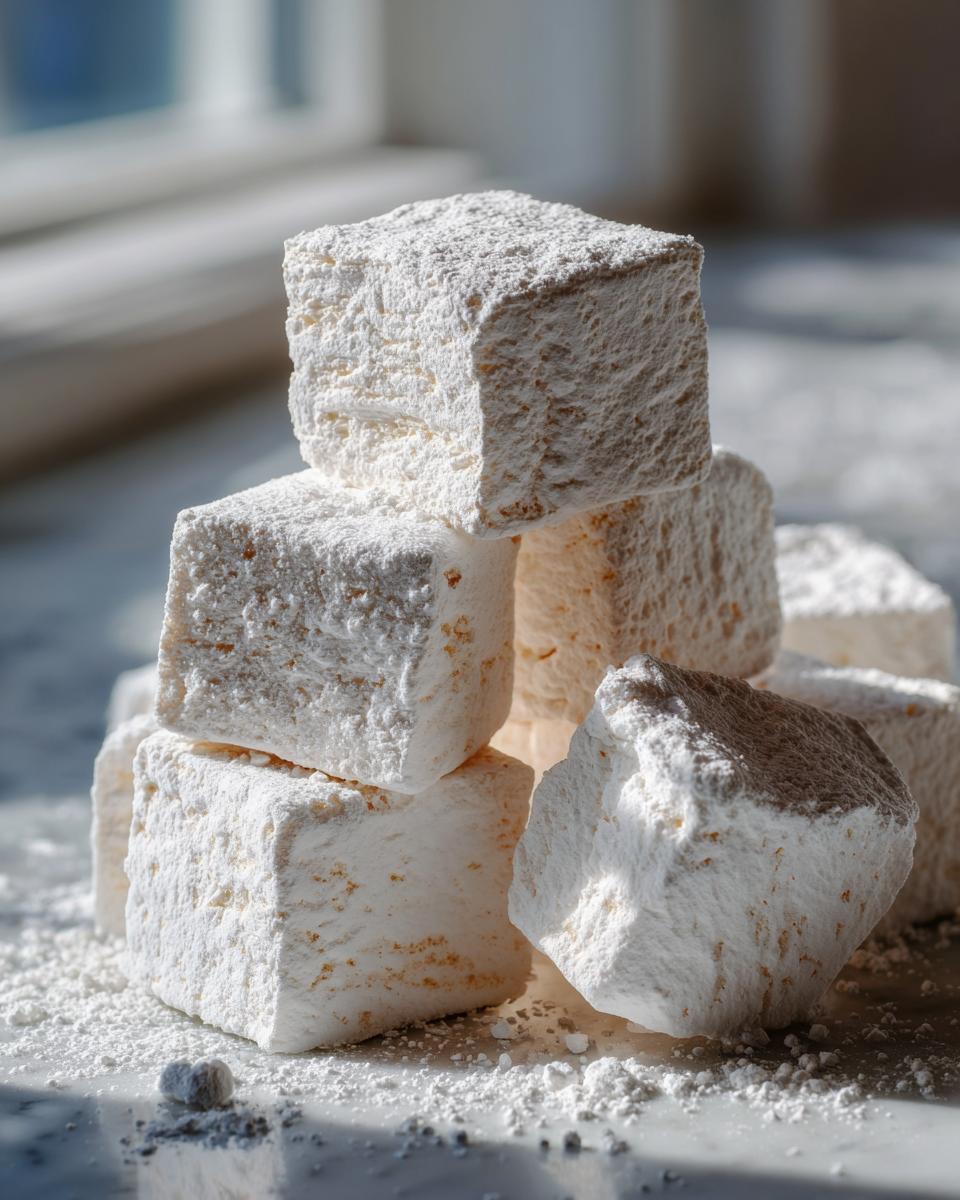
Setting and Cutting Your Homemade Marshmallows
When the mixer finally stops, quickly beat in your pure vanilla extract for that beautiful flavor. The mixture is going to look like the thickest frosting you’ve ever seen! Scoop it right into your prepared pan. I keep a spatula nearby that I’ve dusted heavily with the powdered sugar and cornstarch mix, and I use that to gently spread the fluff evenly.
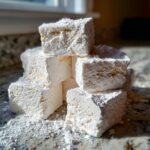
Now, patience! You must let these set uncovered at room temperature for a minimum of 4 hours, but genuinely, overnight is always my suggestion. Once they are completely set and firm, dust a cutting board really well. Flip the whole marshmallow slab out onto the board. Dust the top surface too, and then use a big, sharp knife (I often wipe the knife with a warm, damp cloth between cuts just to keep things clean) to slice them into squares. Don’t forget to toss those cut edges in any leftover dusting powder so your gorgeous **homemade marshmallows** don’t stick together!
Flavor Variations for Gourmet Marshmallow Recipes
While my favorite way to enjoy these simple treats is the classic vanilla version, making **homemade marshmallows** gives you the freedom to play! This is where you turn a great recipe into a gourmet experience. Peppermint is absolutely divine, especially around the holidays, and it’s so easy to adjust.
You can use any extract, but you have to be smart about *when* you add it. A good rule of thumb is to add any extracts right in the last minute of that long whipping process we talked about. If you add peppermint extract too early, the alcohol can prevent the mixture from reaching those perfect stiff peaks we need for fluffiness.
For a fun twist, if you want chocolate **homemade marshmallows**, you can gently fold in about 1/4 cup of good quality melted and slightly cooled chocolate chips during that final minute as well. It makes for a really gorgeous, rich snack! If you want some other delightful vanilla-flavored recipes to pair these with, I have a fantastic vanilla cupcake recipe you might want to save for later, too!
Tips for Success When Making Homemade Marshmallows
I want you to have perfect results, so I’m giving you a few of my best-kept secrets for turning this into a truly reliable process for **homemade marshmallows**. Since this is technique-heavy, ingredient quality matters a ton. Please, please use pure vanilla extract—none of that imitation stuff! The flavor difference is huge, and we want these to taste gourmet.
When it comes time to cut your set slab, I know everyone struggles with sticking. My go-to fix is just running a very sharp, large knife under very hot water and quickly wiping it dry between each cut. That little bit of warmth helps the knife glide right through, giving you those super clean edges we all want. Do NOT use a dull knife; it just mashes the marshmallow!
If you are loving the vanilla element in these, you should save my recipe for vanilla buttercream frosting—it uses the same commitment to quality vanilla flavor! Remember, the smoother your pan preparation and the cleaner your cut, the prettier your finished **homemade marshmallows** will look.
Using Your Homemade Marshmallows for Hot Chocolate and S’mores
Once you’ve mastered making your **homemade marshmallows**, the fun really begins because now you get to eat them! These are absolutely essential for leveling up your cozy winter nights. Forget the tired bags of store-bought puffs; the texture you get from making them fresh for your **marshmallow for hot chocolate** is unmatched.
When they melt, they give the drink this amazing, creamy richness that is just heavenly.
And S’mores! Oh my goodness. These homemade ones are truly the **best s’mores ingredients** you can use. My personal trick? If you’re toasting them over a fire pit, use a long metal skewer. You want to get them nicely golden brown and just gooey on the inside, but not completely burnt to a crisp like the store-bought kind tend to do. You can even try making a batch of my rich creamy homemade hot chocolate to dunk them into!
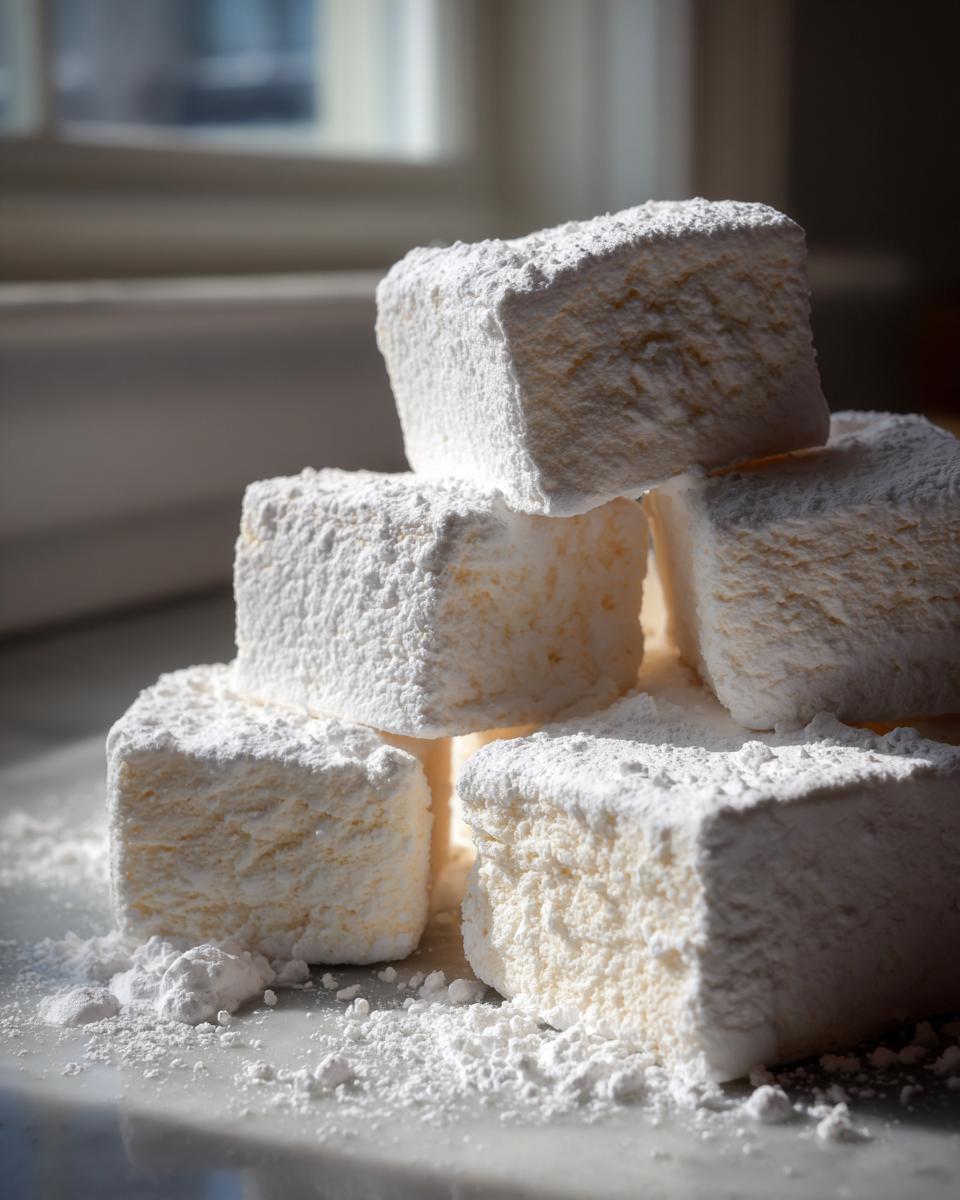
Storage and Gifting Homemade Treats
Once you’ve gone to all this trouble making such beautiful **homemade marshmallows**, you need to store them correctly! This is surprisingly simple, thankfully. Keep them in a single layer if you can, or stacked carefully with plenty of dusting powder between the layers, inside a completely airtight container. Do NOT put them in the fridge; cold air just makes them sweat and weep.
They are best enjoyed within the first week, but they’ll last nicely at room temperature for up to two weeks. If you’re planning on **gifting homemade treats**, consider putting a nice batch into clear cellophane bags tied with ribbon. They look stunning, and the powdered sugar coating keeps the outside perfectly dust-free for travel. If you need a non-marshmallow treat for your gift basket, my chocolate chip cookie recipe is always a winner!
Frequently Asked Questions About DIY Marshmallows
This is where we deal with those last little worries, because I want your **DIY marshmallows** adventure to be a total success! People always ask me about adapting equipment, fixing sticky batches, or swapping out those key ingredients. Don’t hesitate to ask if you have other questions—the goal is confidence in **beginner candy making**!
Can I make homemade marshmallows without a stand mixer?
You absolutely can, but I won’t lie—it’s a workout! If you use a hand mixer, you’ll need to take breaks, because that long whipping time (remember, 12 to 15 minutes!) is what creates that airy structure. You risk burning out a less powerful hand mixer if you run it that long. If you’re mixing by hand with a whisk, well, you’ll need a lot of coffee and maybe a small audience cheering you on! The texture depends entirely on that long whipping time, so be prepared to put in the elbow grease if you skip the stand mixer.
Why are my homemade marshmallows sticky?
Sticky marshmallows are usually one of two things, and both are fixable! The most likely culprit is insufficient dusting powder. You have to be generous when you prepare that mix of powdered sugar and cornstarch, and make sure you toss the cut squares really well. The second reason is impatience—if you try to cut them before they’ve set completely (less than 4 hours), they will just pull apart and stick to everything. Give them time to firm up; they are worth the wait!
What is the purpose of the cream of tartar in the no-corn syrup option?
That little bit of cream of tartar is an unsung hero in the world of **from scratch candy making**! When we boil sugar, it wants to crystallize into sharp, grainy sugar crystals. Corn syrup, or invert sugar, stops that from happening. When we skip the corn syrup, the cream of tartar steps in to perform that exact stabilizing job. It keeps the sugar smooth and prevents that gritty texture, ensuring your **homemade marshmallows** stay soft and pillowy!
If you’re looking for more rewarding kitchen projects like this, you should definitely browse my collection of best dessert recipes!
Nutritional Estimates for Homemade Marshmallows
I always get questions about the nutrition facts when people try these **homemade marshmallows**, and I totally understand wanting to know what you are eating! Keep in mind that since we are making these from scratch, the final numbers can swing a tiny bit based on the exact brands of sugar or gelatin you use. This is just a general guide, so take these estimates as a helpful starting point!
These numbers are calculated based on a serving size of four squares. Since this is pretty much pure sugar and gelatin, you’ll notice the sugar content is the biggest factor, but for a specialty treat, they are fantastic!
- Serving Size: 4 squares
- Calories: 130
- Sugar: 26g
- Sodium: 15mg
- Fat: 0g
- Carbohydrates: 33g
- Protein: 1g
We keep things simple here in the kitchen, and that means zero Cholesterol and zero total fat in this recipe! I always stress that these values are just estimates, though. If you’re looking for other **delicious homemade snacks** with different profiles, be sure to check out the rest of the site!
PrintEasy Fluffy Homemade Vanilla Marshmallows (No Corn Syrup Option)
Make soft, pillowy homemade marshmallows from scratch. This reliable recipe delivers cloud-like texture, perfect for hot cocoa or s’mores, and includes an option to skip corn syrup.
- Prep Time: 20 min
- Cook Time: 15 min
- Total Time: 4 hr 35 min
- Yield: About 4 dozen 1x
- Category: Dessert
- Method: Candy Making
- Cuisine: American
- Diet: Vegetarian
Ingredients
- 3 tablespoons unflavored gelatin powder
- 1/2 cup cold water, divided
- 1 cup granulated sugar
- 1/2 cup light corn syrup OR 1/2 cup granulated sugar mixed with 1/4 cup water and 1/2 teaspoon cream of tartar (for no corn syrup option)
- 1/4 cup water
- 1/4 teaspoon salt
- 1 teaspoon pure vanilla extract
- 1/2 cup powdered sugar, for dusting
- 1/2 cup cornstarch, for dusting
Instructions
- Lightly grease a 9×13 inch baking pan. In a small bowl, sprinkle the gelatin over 1/4 cup of the cold water. Let it bloom for 10 minutes.
- In a medium saucepan, combine the granulated sugar, corn syrup (or corn syrup substitute mixture), the remaining 1/4 cup cold water, and salt. Stir over medium heat until the sugar dissolves.
- Attach a candy thermometer to the side of the pan. Bring the mixture to a boil without stirring. Cook until the syrup reaches 240 degrees Fahrenheit (soft-ball stage). Remove from heat immediately.
- Place the bowl of the stand mixer fitted with the whisk attachment on the counter. Pour the bloomed gelatin mixture into the mixer bowl.
- With the mixer running on low speed, slowly and carefully pour the hot sugar syrup down the side of the bowl into the gelatin. Avoid hitting the whisk.
- Increase the mixer speed to high. Beat for 12 to 15 minutes until the mixture is very thick, glossy, opaque white, and holds stiff peaks. The outside of the bowl should feel warm, not hot.
- Beat in the vanilla extract during the last minute of mixing.
- In a separate small bowl, whisk together the powdered sugar and cornstarch.
- Lightly dust the prepared baking pan and a large spatula with the powdered sugar/cornstarch mixture.
- Pour the marshmallow fluff into the prepared pan. Use the dusted spatula to spread it evenly. Dust the top lightly with more of the sugar mixture.
- Let the marshmallows set uncovered at room temperature for at least 4 hours, or preferably overnight.
- Once set, dust a cutting board with more of the sugar mixture. Invert the marshmallow slab onto the board. Dust the top surface.
- Use a large, sharp, oiled knife or a pizza cutter to cut the slab into squares. Toss the cut sides in the remaining powdered sugar/cornstarch mixture to prevent sticking.
Notes
- For flavor variations, substitute the vanilla extract with 1 teaspoon of peppermint extract or add 1/4 cup of melted, cooled chocolate chips during the last minute of mixing.
- To make these perfect for s’mores, you can skip the final dusting step and use a sharp knife dipped in warm water to cut cleaner edges.
- Store your finished homemade marshmallows in an airtight container at room temperature for up to two weeks.
Nutrition
- Serving Size: 4 squares
- Calories: 130
- Sugar: 26g
- Sodium: 15mg
- Fat: 0g
- Saturated Fat: 0g
- Unsaturated Fat: 0g
- Trans Fat: 0g
- Carbohydrates: 33g
- Fiber: 0g
- Protein: 1g
- Cholesterol: 0mg