
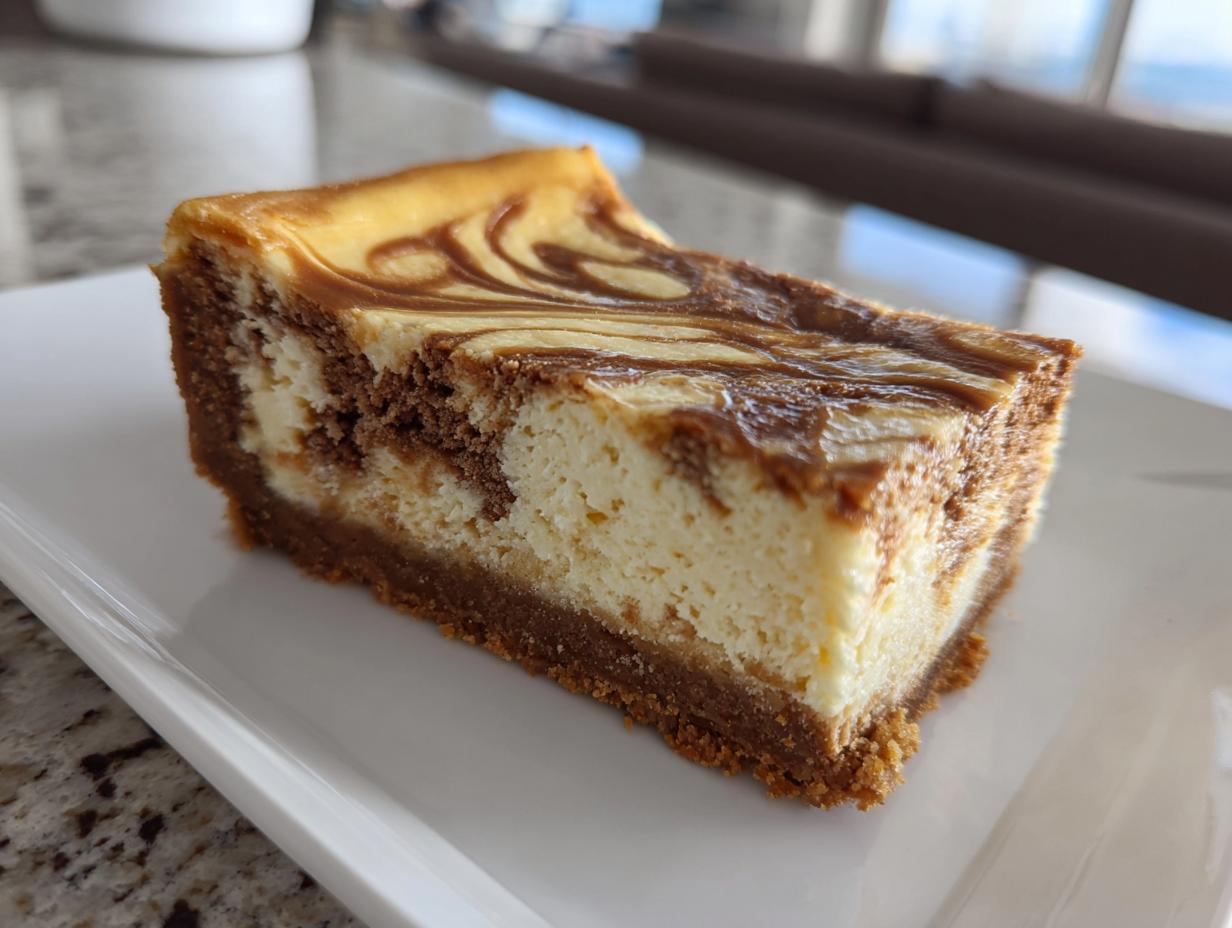
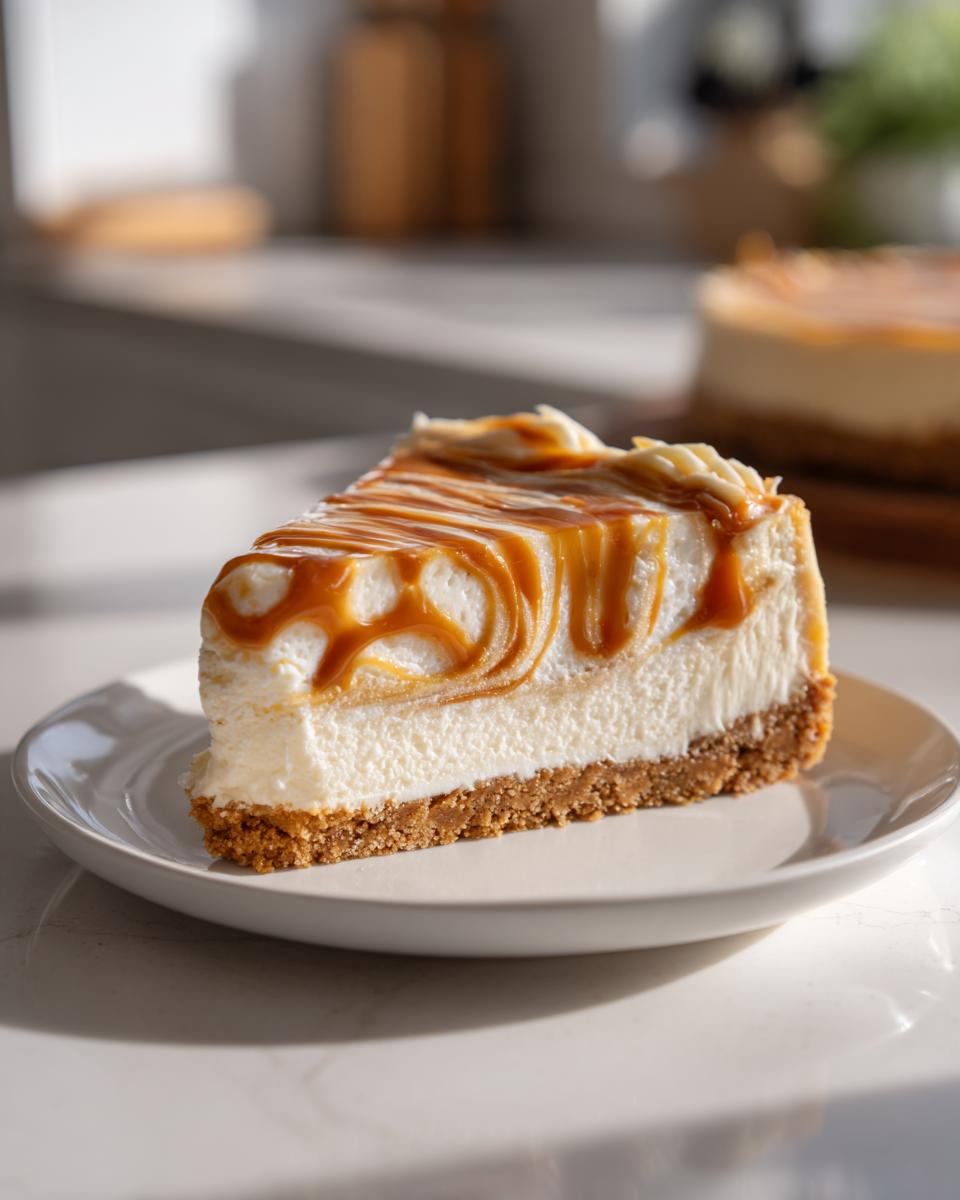
Oh, you know those desserts that just make you swoon? The ones that are super rich, a little fancy, and taste like they came straight from a high-end bakery? Well, get ready, because we’re diving headfirst into making some absolutely divine Dulce de Leche Cheesecake Bars right in your own kitchen! Seriously, they have this incredible creamy cheesecake filling, a buttery graham cracker crust, and these gorgeous swirls of caramel-y dulce de leche running all through them. Making delicious things accessible is totally my jam, just like it was for my grandma. As someone who studied nutrition science, I’m all about breaking down those intimidating recipes so anyone can whip them up. Trust me, these bars are pure magic!
- Why You'll Love These Dulce de Leche Cheesecake Bars
- The Best Pan for Cheesecake Bars
- Ingredients for Dulce de Leche Cheesecake Bars
- How to Prepare Dulce de Leche Cheesecake Bars
- Ingredient Notes and Substitutions
- Tips for Success with Dulce de Leche Cheesecake Bars
- Dulce de Leche Cheesecake Bars Calories and Nutrition
- Frequently Asked Questions about Dulce de Leche Cheesecake Bars
- Serving and Storing Your Cheesecake Bars
- Share Your Creations!
Why You’ll Love These Dulce de Leche Cheesecake Bars
These bars are just pure happiness in dessert form:
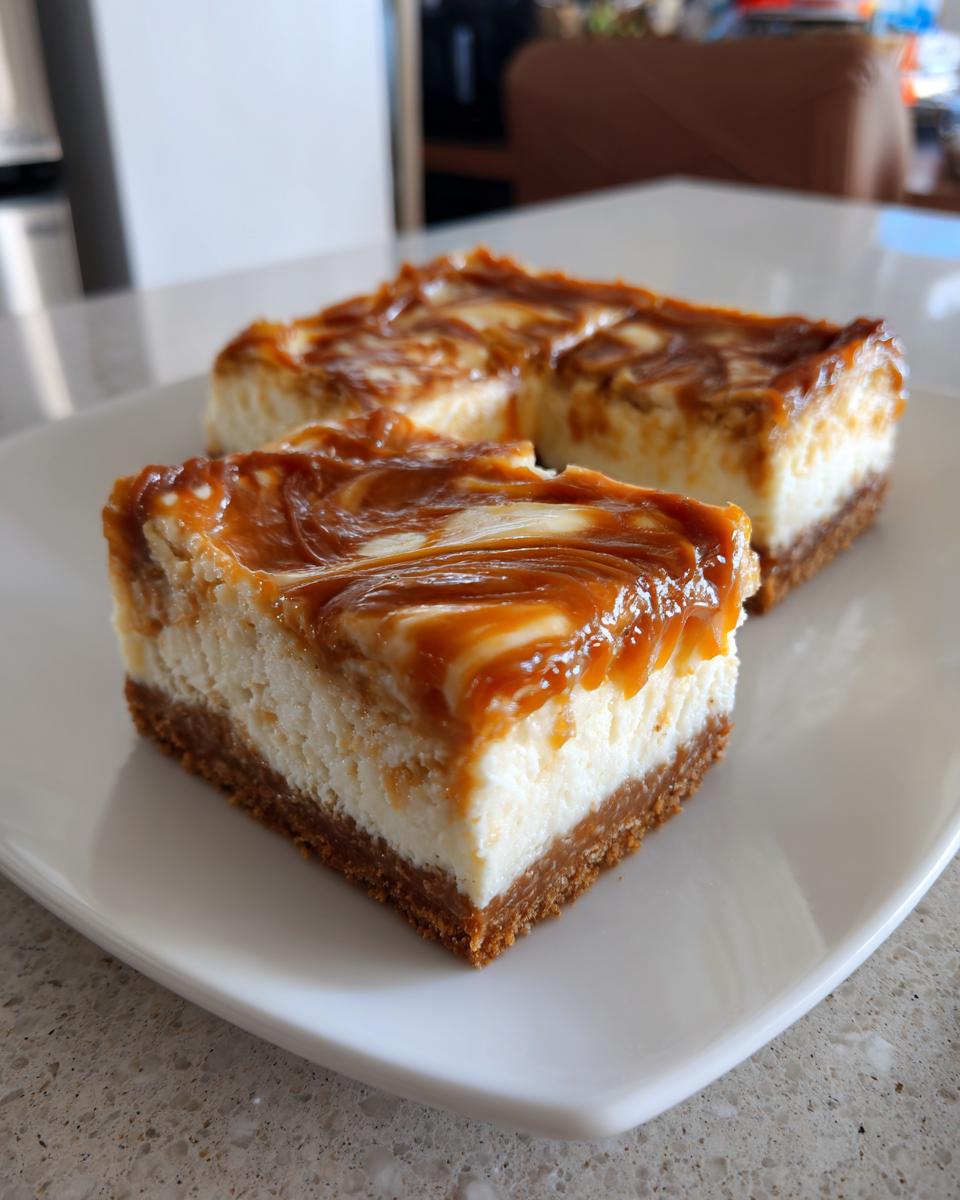
- They’re unbelievably creamy, with that classic cheesecake texture you dream about.
- That buttery graham cracker crust? It’s the perfect crispy base!
- And the swirls of rich dulce de leche? Oh my goodness, they’re divine.
- They’re just perfect for any get-together, from a casual potluck to a festive holiday party.
The Best Pan for Cheesecake Bars
Okay, so when you’re making these gorgeous Dulce de Leche Cheesecake Bars, the pan you use really makes a difference! I almost always reach for my trusted 8×8 inch square baking pan. Why? Because it’s just the perfect size for these bars, and it helps everything bake up nice and even. Now, here’s the secret weapon: lining it with parchment paper. Make sure you leave a little overhang on the sides—it’s like little built-in handles to lift the whole slab of deliciousness right out when it’s time to cut. Trust me, it saves so much hassle and keeps those perfectly baked bars intact. You can grab all sorts of cute baking pans, but for cheesecake bars, sticking to a good, sturdy square pan like this really sets you up for success. For more of my favorite go-to recipes, you should totally check out my best dessert recipes!
Ingredients for Dulce de Leche Cheesecake Bars
Alright, let’s get our ingredients lined up for these amazing Dulce de Leche Cheesecake Bars! Everything here is pretty standard, which is exactly what I love.
- 1 1/2 cups graham cracker crumbs
- 6 tablespoons unsalted butter, melted
- 2 tablespoons granulated sugar
- 1/4 teaspoon salt
- 16 ounces cream cheese, softened (this is important – make sure it’s really soft so you don’t get lumps!)
- 3/4 cup granulated sugar
- 2 large eggs
- 1 teaspoon vanilla extract
- 1/2 cup dulce de leche, plus more for topping (you can totally use store-bought, no judgment here!)
- Optional: flaky sea salt for topping (this adds such a nice little kick!)
How to Prepare Dulce de Leche Cheesecake Bars
Alright, let’s get these bars made! It might seem a little daunting, but I promise, it’s totally doable. And when you see that caramel swirl? So worth it! First things first, let’s get that oven preheating to 350°F (175°C). While it’s warming up, grab your 8×8 inch baking pan and line it with parchment paper. Make sure you leave a good overhang on the sides – it’s your best friend for lifting these babies out later. Now, for the crust!
Making the Buttery Graham Crust
In a medium bowl, just toss together your graham cracker crumbs, that melted butter, the two tablespoons of sugar, and a pinch of salt. Give it a good mix until it all looks like nice, damp sand. Then, press this mixture evenly into the bottom of your prepared pan. I like to use the bottom of a measuring cup to get it nice and compact! Pop that into the oven for about 10 minutes. Once it’s done, take it out and let it cool just a little while we whip up the filling.
How to Swirl Dulce de Leche into Cheesecake
Now for the fun part! In a big bowl, beat that nice, soft cream cheese with the 3/4 cup of sugar until it’s super smooth. Seriously, if your cream cheese is still cold, it’ll be lumpy, so make sure it’s nice and soft! I always find that using room temperature cream cheese makes for a much smoother filling. Next, beat in those eggs one at a time, just until they’re combined, and then stir in the vanilla extract. Pour about half of this glorious cheesecake mixture onto your crust. Now, take spoonfuls of that dulce de leche and randomly dollop it over the cream cheese layer. Grab a butter knife or a skewer and gently swirl it through – don’t overdo it, just a few elegant passes to get those pretty ribbons. Pour the rest of the cream cheese mixture on top, add more dulce de leche dollops, and swirl again! It’s like painting with caramel! If you’re looking for more simple baking ideas, you might enjoy my cheesy garlic breadsticks recipe!
Preventing Cracks in Your Dulce de Leche Cheesecake Bars
Okay, the dreaded cheesecake crack! It’s happened to me, and it’s usually because the oven was too hot, or we overbaked it. My biggest trick is to not overmix the batter once the eggs are in – overbeating can incorporate too much air, which leads to cracks. Also, watch that baking time closely; you want the edges to be set, but the center should still be a little jiggly, like Jell-O! Once it comes out of the oven, resist the urge to dive right in! Let it cool completely on a wire rack. I remember one time I was in such a rush, and the middle completely caved in and cracked like a dried-up lake bed! After it cools, we’ll chill it for at least 2 hours. This gradual cooling and chilling process is your secret weapon against cracks.
Ingredient Notes and Substitutions
A few little ingredient notes that really make these Dulce de Leche Cheesecake Bars sing! First off, the dulce de leche. You can totally use the stuff from the can, and honestly, it’s super convenient and tastes great! If you’re feeling ambitious, you could always make your own, but the store-bought stuff is my go-to when I want quick, delicious flavor. The cream cheese and eggs are non-negotiable for that classic, super-creamy cheesecake texture we love. They just bind everything together and give it that rich, decadent mouthfeel. And that optional flaky sea salt on top? It’s a game-changer! It just cuts through the sweetness in the most perfect way, balancing everything out beautifully. Totally worth adding if you ask me!
Tips for Success with Dulce de Leche Cheesecake Bars
Want your Dulce de Leche Cheesecake Bars to look like they came straight from a fancy bakery? I’ve got you covered! First off, chilling is key. Make sure those bars are totally firm before you even think about cutting them – at least 2 hours in the fridge. And for those gorgeous, clean slices? My trick is to use a really sharp knife, dip it in hot water, and then wipe it dry between each cut. It makes all the difference! You can totally make these ahead of time, too, which is a lifesaver for holiday parties. Just store them in an airtight container in the fridge. If you’re looking for other simple dessert ideas, check out my easy apple crisp – it’s another crowd-pleaser!
Dulce de Leche Cheesecake Bars Calories and Nutrition
Now, let’s chat about the delicious details! These Dulce de Leche Cheesecake Bars are definitely a rich treat. We estimate that each bar is about 350 calories, with around 25g of sugar and 22g of fat. Keep in mind that these numbers are just an estimate, though! They can totally change depending on the brands you use and your exact portion sizes. Still, for such a decadent dessert, it’s a pretty reasonable indulgence, right?
Frequently Asked Questions about Dulce de Leche Cheesecake Bars
You’ve got questions, and I’ve got answers! Making these Dulce de Leche Cheesecake Bars is pretty straightforward, but it’s good to have these little bits of wisdom handy.
Can I make these bars ahead of time?
Absolutely! This is one of my favorite things about cheesecake bars – they taste even better the next day. I usually make them at least a few hours ahead, if not the day before, so they have plenty of time to chill properly. This helps them set up perfectly for cutting and really lets those flavors meld together. It’s a total lifesaver when you have a big event!
What’s the best way to store leftover cheesecake bars?
Storing leftovers is super easy. Just pop them into an airtight container. Make sure they’re completely cool before you seal the container. You can keep them in the refrigerator for a good 3-4 days. Honestly, though, they usually disappear much faster than that in my house!
Can I use a different type of cookie crust?
You bet! While I’m a total sucker for the classic graham cracker crust with its buttery goodness, you could totally switch it up. Shortbread cookies, vanilla wafers, or even a gingersnap crust would be delicious. Just crush them up the same way and use the same ratio of crumbs to butter and sugar. It’s a great way to play around and make them your own!
How long do these bars need to chill?
This is so important for getting those nice, clean slices! You’ll want to chill them for at least 2 hours, but honestly, 3-4 hours is even better if you can wait. The longer they chill, the firmer they get, and the easier they are to cut without all that messy smearing. It really ensures you get those beautiful swirls to show through. They’re kind of like my pumpkin spice coffee cake – the chilling and waiting is worth it for the final result!
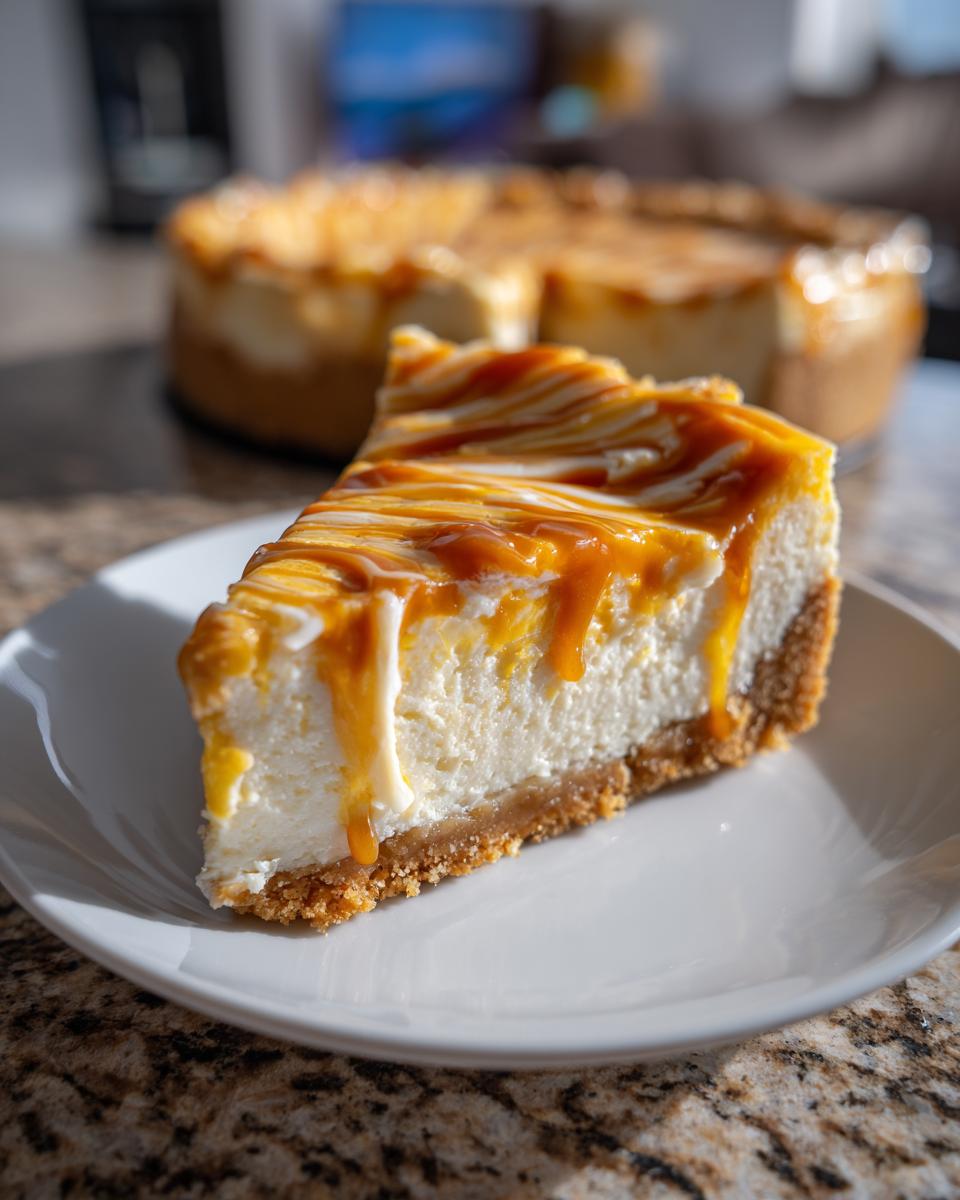
Serving and Storing Your Cheesecake Bars
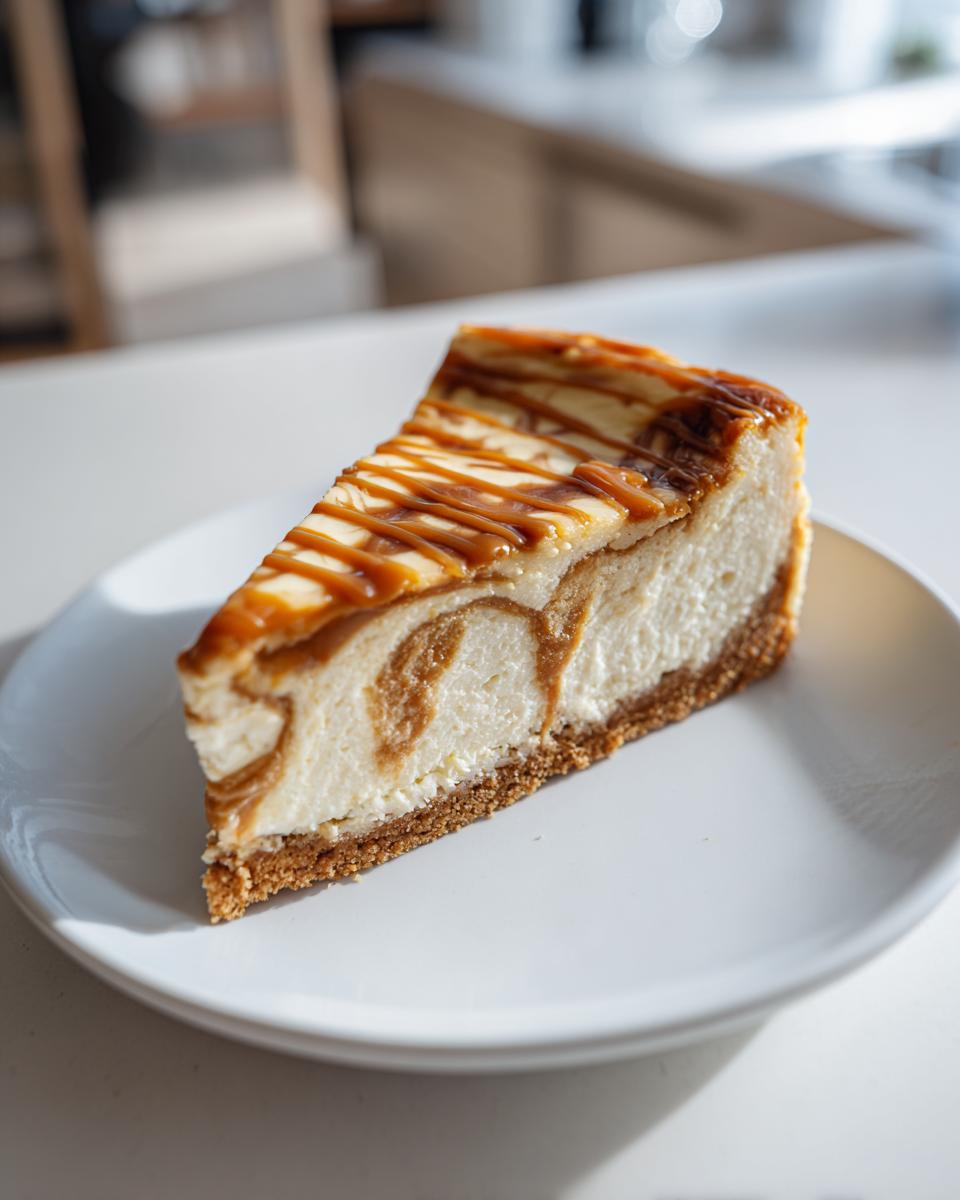
Alright, it’s time to enjoy these little squares of heaven! These Dulce de Leche Cheesecake Bars are just fantastic served chilled, straight from the fridge. That slight chill really makes the creamy cheesecake texture pop, and it keeps those dulce de leche swirls from getting too gooey. If you want to get a little fancy, a tiny sprinkle of flaky sea salt right before serving is *everything* – it just makes the caramel flavor sing! They’re pretty perfect on their own, but honestly, a cup of coffee or a nice glass of cold milk is all you need. For anything extra special, you can pair them with my fluffy buttermilk pancakes for a sweet breakfast treat!
Got leftovers? Lucky you! Just store them in an airtight container in the refrigerator. They’ll stay wonderfully fresh for about 3 to 4 days. I’ve found that wrapping them well really helps maintain that perfect creamy texture.
Share Your Creations!
Now that you’ve whipped up these incredible Dulce de Leche Cheesecake Bars, I’d absolutely love to hear all about it! Did you try them? Did they turn out just as amazing as you’d hoped? Please, drop a comment below and tell me everything! Your feedback is super helpful, not just for me but for other home bakers too. And if you really loved them, a rating would be fantastic! It makes my day to know you’re enjoying these recipes, just like I do. You can even learn more about my kitchen adventures over on my About Me page!
PrintDulce de Leche Cheesecake Bars
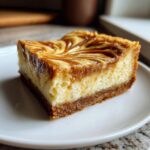
Enjoy these rich and creamy cheesecake bars with a graham cracker crust and swirls of dulce de leche. Perfect for potlucks or holiday dessert trays.
- Prep Time: 20 min
- Cook Time: 35 min
- Total Time: 2 hours 55 min
- Yield: 16 servings 1x
- Category: Dessert
- Method: Baking
- Cuisine: American
- Diet: Vegetarian
Ingredients
- 1 1/2 cups graham cracker crumbs
- 6 tablespoons unsalted butter, melted
- 2 tablespoons granulated sugar
- 1/4 teaspoon salt
- 16 ounces cream cheese, softened
- 3/4 cup granulated sugar
- 2 large eggs
- 1 teaspoon vanilla extract
- 1/2 cup dulce de leche, plus more for topping
- Optional: flaky sea salt for topping
Instructions
- Preheat your oven to 350°F (175°C). Line an 8×8 inch baking pan with parchment paper, leaving an overhang on the sides.
- In a medium bowl, combine graham cracker crumbs, melted butter, 2 tablespoons sugar, and salt. Press the mixture evenly into the bottom of the prepared pan.
- Bake the crust for 10 minutes. Remove from oven and let cool slightly.
- In a large bowl, beat the cream cheese and 3/4 cup sugar until smooth.
- Beat in the eggs one at a time, then stir in the vanilla extract.
- Pour half of the cream cheese mixture over the crust. Dollop spoonfuls of dulce de leche over the cream cheese.
- Gently swirl the dulce de leche into the cream cheese using a knife or skewer.
- Pour the remaining cream cheese mixture over the swirled layer. Dollop more dulce de leche on top and swirl again.
- Bake for 30-35 minutes, or until the edges are set and the center is almost set.
- Let the bars cool completely in the pan on a wire rack.
- Chill the bars in the refrigerator for at least 2 hours, or until firm.
- Lift the bars out of the pan using the parchment paper overhang. Cut into squares.
- Sprinkle with flaky sea salt, if desired.
Notes
- For clean cuts, use a sharp knife dipped in hot water and wiped dry between cuts.
- Chilling the bars thoroughly is key to achieving clean slices.
- You can use store-bought or homemade dulce de leche.
Nutrition
- Serving Size: 1 bar
- Calories: 350
- Sugar: 25g
- Sodium: 150mg
- Fat: 22g
- Saturated Fat: 13g
- Unsaturated Fat: 9g
- Trans Fat: 0g
- Carbohydrates: 30g
- Fiber: 1g
- Protein: 5g
- Cholesterol: 70mg