
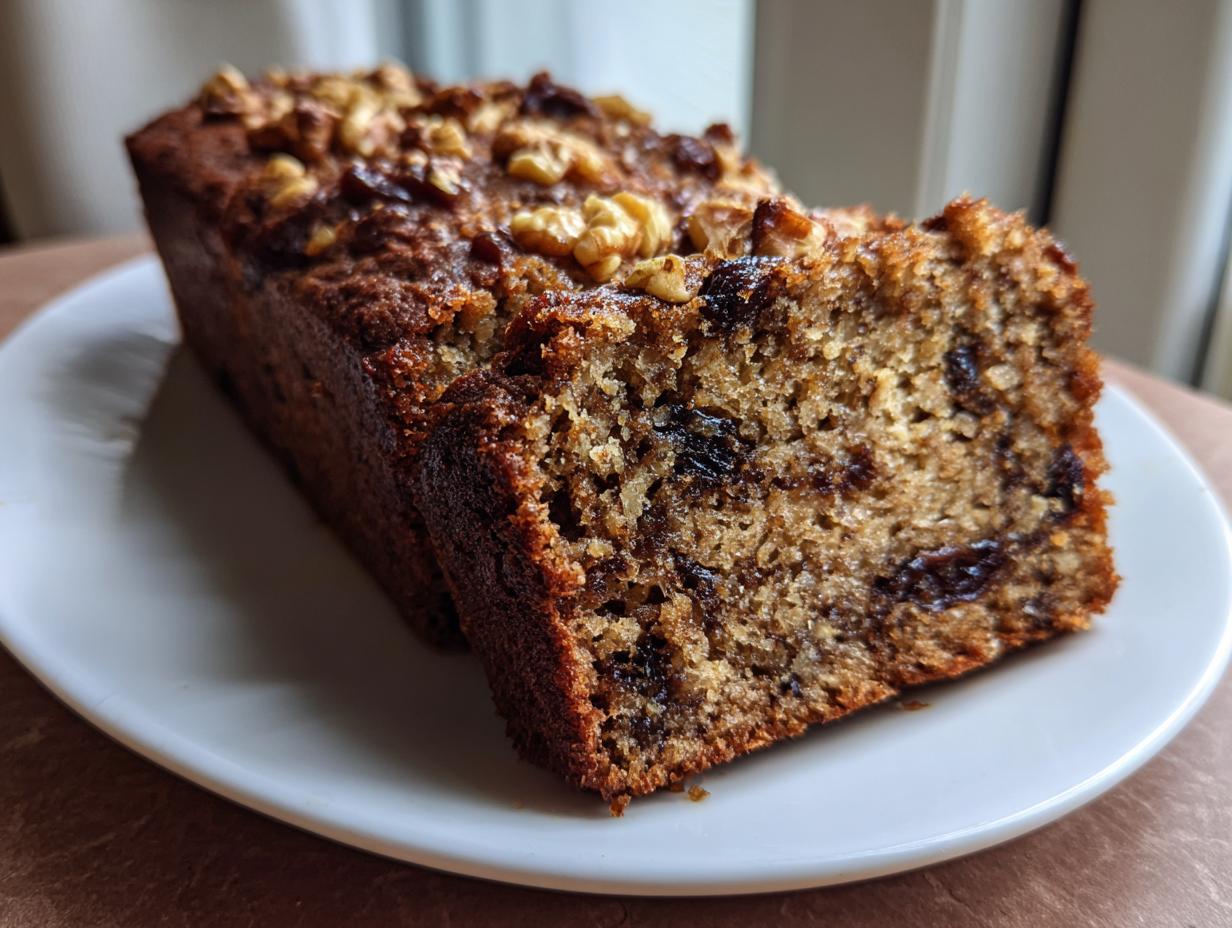
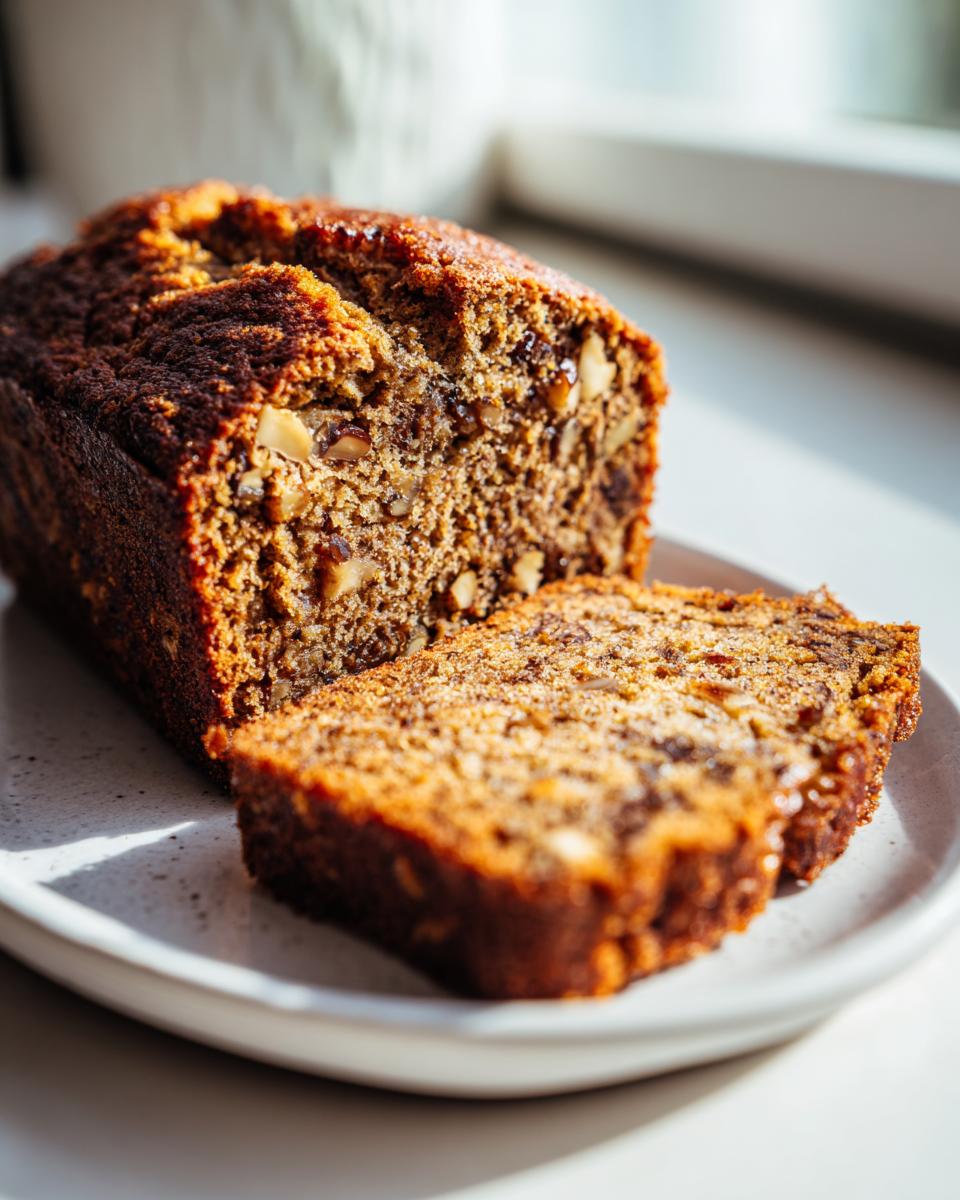
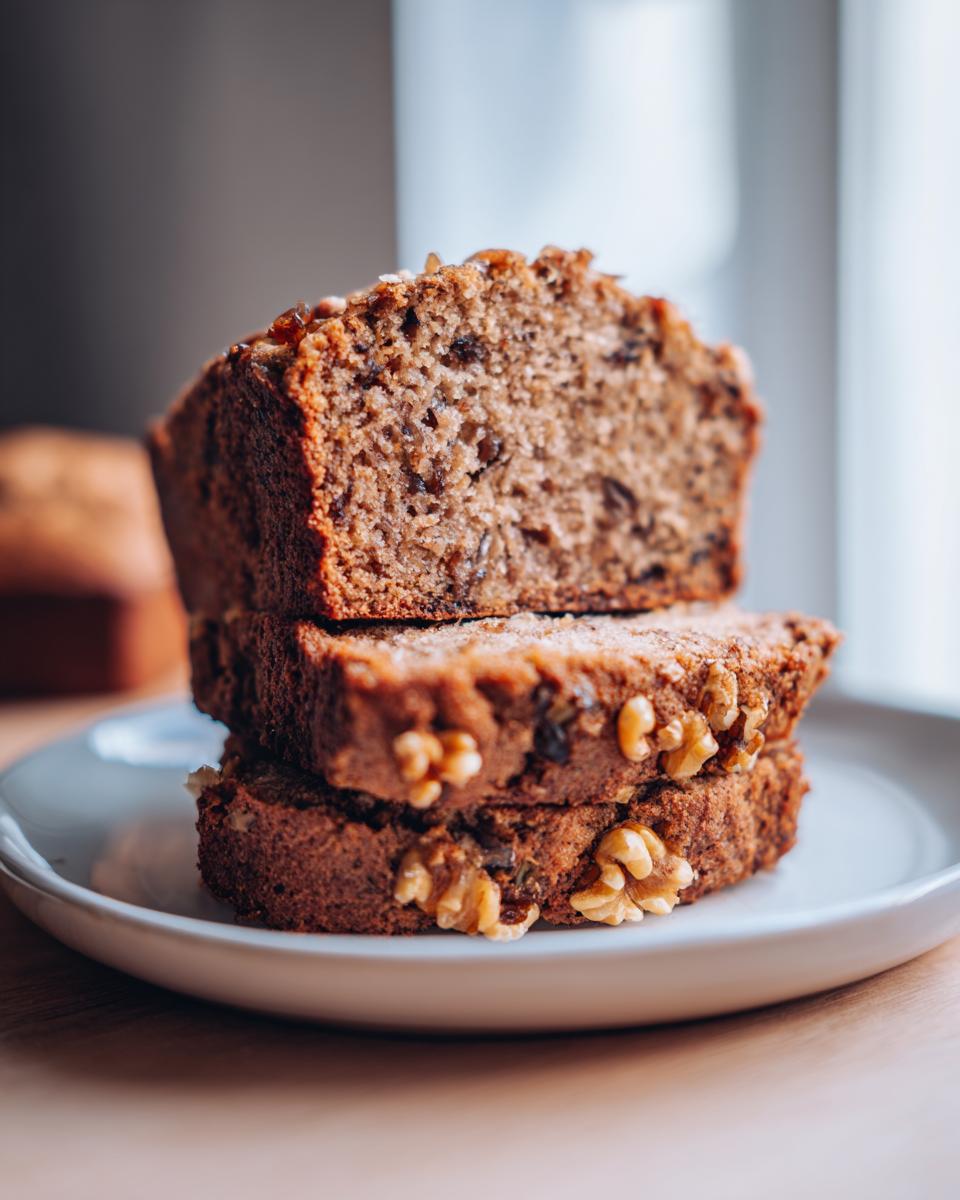
Oh, you know me—when the weather starts turning crisp, my heart immediately jumps straight to comfort baking! There’s just nothing better than pulling a loaf of something rich and nostalgic out of the oven, right? If you’ve been searching high and low for that *perfect* recipe that stops you from ever looking anywhere else, well, you found it! Trust me when I say this **date nut bread** is the easiest, most gloriously moist quick bread you will ever whisk together. Growing up in the Midwest, we relied on these classic American recipes that just worked, every single time, and this loaf brings all that cozy feeling right back to my kitchen. I love sharing these reliable recipes because making you feel confident in your kitchen is exactly why I started Kings Cook (that’s me!).
- Why This is the Best Date Nut Bread Recipe You Will Bake
- Gathering Ingredients for Your Old Fashioned Date Loaf
- Step-by-Step Instructions for Moist Date Nut Bread
- Tips for Baking the Perfect Date Nut Bread Every Time
- Serving Suggestions for Your Sweet Date Bread
- Storage and Reheating Instructions for Date Nut Bread
- Frequently Asked Questions About Date Nut Bread
- Estimated Nutritional Data for Date Nut Bread
- Share Your Date Nut Bread Creations
Why This is the Best Date Nut Bread Recipe You Will Bake
I promise you, this isn’t just another bread recipe wedged between a thousand others. This Moist Date Nut Bread is absolutely reliable, which is what we’re all looking for, right? It’s such an Easy Quick Bread Recipe that you’ll have it ready for the oven before you can even decide what to watch on Netflix.
- It’s genuinely packed with flavor from the dates and walnuts—no bland baking here!
- The texture stays incredibly soft and wonderfully moist for days.
- This is the classic, old-fashioned flavor everyone craves, especially served warm.
Seriously, if you need a comforting loaf that never disappoints, check out my easy pumpkin bread recipe for inspiration, but stick with this one next time you need that perfect date flavor!
Gathering Ingredients for Your Old Fashioned Date Loaf
Okay, let’s get down to brass tacks. Since this is an Old Fashioned Date Loaf, we need the right players in the lineup! I’ve listed everything out for you below, but listen closely: the magic starts with the dates and water. Don’t skip that step of pouring boiling water over your chopped dates and stirring in that baking soda. That initial soak is what makes this a truly Moist Date Nut Bread.
When you cream the butter and sugar, make sure that butter is genuinely softened—like, fingertip soft, not melty! It makes all the difference in getting that light lift required for a perfect quick bread structure. You want that classic comforting flavor, and using quality basics gets us there.
Ingredient Notes and Substitutions for Date Nut Bread
When we talk about the dates, I usually use standard dried dates that I chop up myself. If you happen to have those fancy Medjool dates, they work beautifully too, just make sure they are pitted well! If you want to lean into that whole-grain vibe, one of my favorite swaps is using whole wheat flour instead of all-purpose for about half of the total flour amount. It gives the bread this lovely, slightly nutty depth, keeping that Naturally Sweetened Bread feel without changing the texture too much. And for the nuts? Walnuts are the classic choice, but if you have pecans, go for it! Just chop them roughly so you get good distribution throughout your Sweet Date Bread.
Step-by-Step Instructions for Moist Date Nut Bread
Alright, this is where the real fun begins! Making this date nut bread is so straightforward once you follow the order. First things first: get that oven preheated to 350°F (175°C) and make sure you grease and flour that 9×5 loaf pan really well. We want this beauty to slide right out later!
The most important part comes next. Take your chopped dates and dump them into a bowl, then pour that full cup of boiling water right over them. Whisk in the baking soda—it will fizzle up a bit, which is great because that reaction is already starting to tenderize those fruits! Set that whole mixture aside for a solid 10 minutes. Seriously, don’t rush that soak, it locks in the moisture for that soft crumb we love. You can check out how I handle zucchini bread while you wait, just to pass the time!
Preparing the Batter for the Date Nut Bread
While the dates are chilling out, grab your big bowl. You need to cream that softened butter with the packed brown sugar until it gets fluffy—this is key for texture! Beat in your eggs one at a time, making sure each one gets fully incorporated before adding the next splash of vanilla. Now, in a separate bowl, just quickly whisk your flour, baking powder, and salt together. Add the dry stuff to the wet stuff slowly, mixing only until you see it *just* come together. Overmixing is the enemy of a tender loaf, I’m telling you!
Once everything is barely combined, gently fold in that date mixture (don’t leave any of that lovely soaking liquid behind!) and your chopped walnuts. See? It’s coming together so fast!
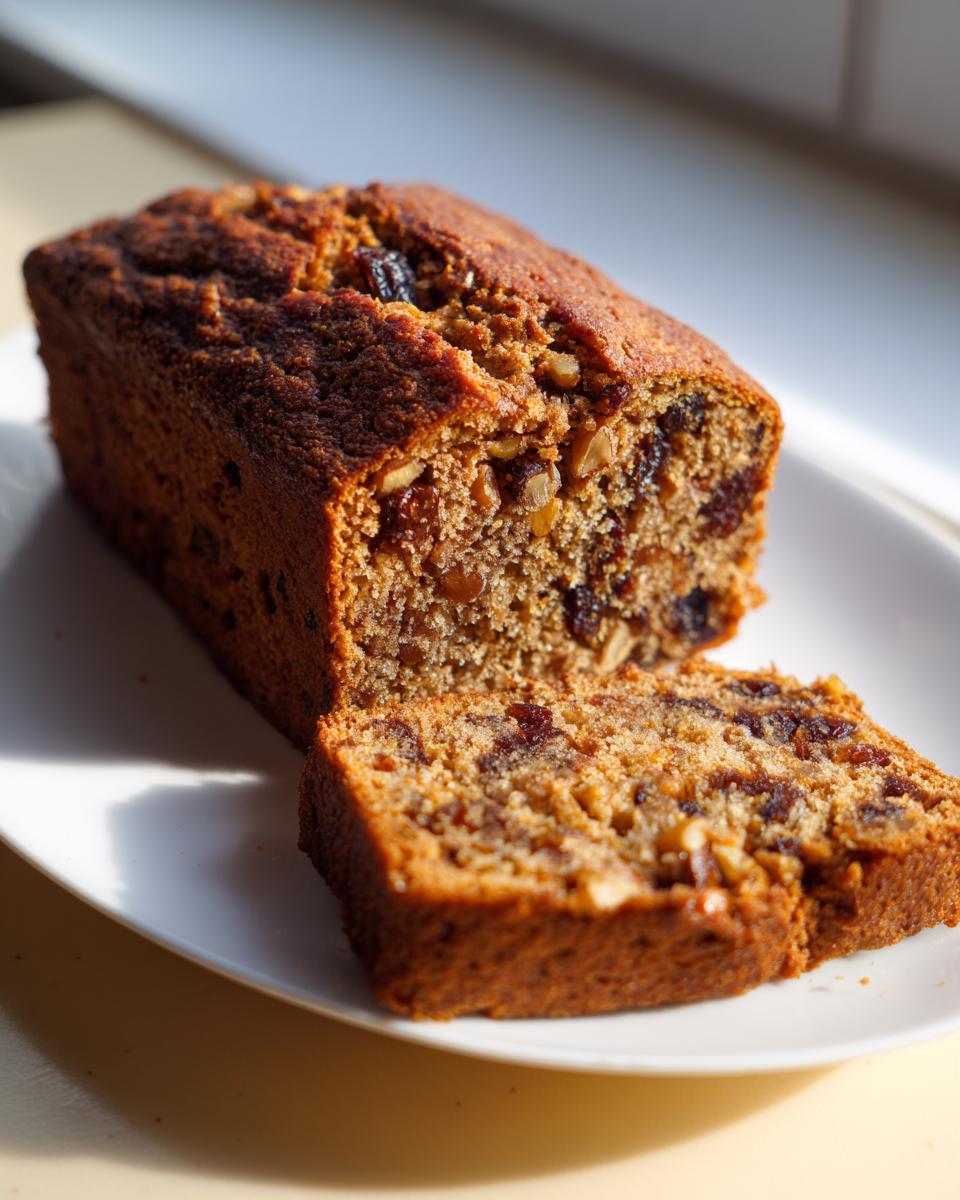
Baking and Cooling Your Homemade Date Nut Bread
Pour that glorious batter into your prepared pan and slide it into the oven. It takes about 50 to 60 minutes at 350°F (175°C). How do you know it’s done? Stick a wooden skewer right in the middle. If it comes out clean, you’re golden! If it looks wet, give it five more minutes. Do not try to yank it out too soon, or you’ll end up with a sticky mess you can’t easily fix.
Here’s my final tip for trusting the process: let the Homemade Date Nut Bread cool in the pan for a good 10 minutes before flipping it out onto a wire rack. That brief rest helps everything set up so you get that perfect, clean slice later on.
Tips for Baking the Perfect Date Nut Bread Every Time
If you are aiming for that absolute Best Date Nut Bread Recipe—the kind that makes people ask for your secret—it really comes down to a few little things I learned over the years. Remember how I talked about soaking those dates? That is non-negotiable for maximum moisture. If your dates look dry when you fold them in, you are missing out on that wonderful sweet gooiness!
Also, when we are mixing, the goal for this specific loaf is tenderness. That means using your lowest speed and stopping the mixer as soon as those last streaks of flour disappear when incorporating the dry ingredients. Don’t scrape down the sides and mix it five more times! You want a tender crumb, not a chewy one. And please, please, please—try serving a slice warm. Pop a slab in the microwave for about 15 seconds and spread on some good quality salted butter. That melted butter mixing with the sweet fruit flavor? Total heaven. You can see how much I fuss over moistening quick breads when you look at my moist banana bread recipe, too!
Serving Suggestions for Your Sweet Date Bread
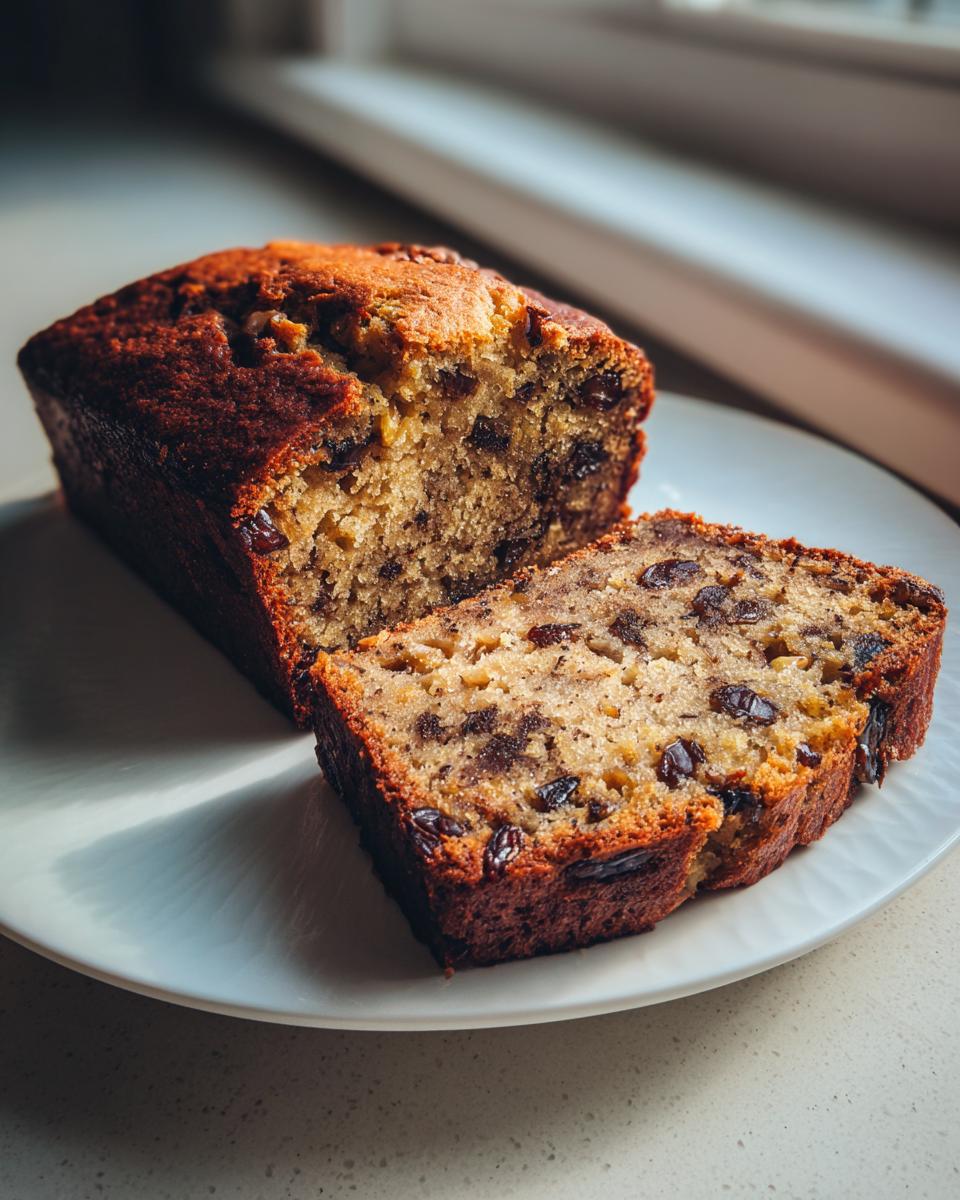
Now that you have this gorgeous, aromatic loaf of date nut bread, the fun part begins: eating it! This bread is so versatile. It’s definitely what I consider a top-tier Breakfast Loaf Cake alternative, perfect for a weekend treat or when company drops by unexpectedly.
The absolute, old-school way to enjoy this, in my humble opinion, is slicing it while it’s still slightly warm. Grab some butter—salted is best!—and let it melt right into all those nooks and crannies. It’s pure comfort food magic, just like my apple cinnamon muffins are for fall!
If you’re looking for something a little richer, fresh cream cheese spread generously on a slice is fantastic; the tanginess really balances the deep sweetness of the dates. And hey, if you ended up with an extra loaf, you could easily whip up a light powdered sugar glaze—just thinning some powdered sugar with a teaspoon of milk or orange juice—to make it feel extra special for brunch.
Storage and Reheating Instructions for Date Nut Bread
Since this is such a wonderful Comfort Food Baking classic, you’ll want to make sure you enjoy it all week long! The truth is, Homemade Date Nut Bread actually gets better after the first day because the moisture from the dates has time to fully permeate the crumb. Don’t wrap it up too tightly right away, though!
For short-term storage, just wrap that cooled loaf snugly in plastic wrap, and then maybe wrap that plastic in a layer of aluminum foil or pop it into a zip-top bag. On the counter at room temperature, covered well, it stays perfectly fresh for about three to four days. If your kitchen is really warm, you might want to move it to the fridge after day three, but room temperature really keeps the texture best.
If you made a double batch (because why wouldn’t you?), you can absolutely freeze it! Slice the bread first—this saves you so much time later. Wrap the individual slices tightly in plastic wrap, then put those wrapped slices into a freezer-safe container or bag. It keeps beautifully for up to three months. When you want a slice, just pull one out!
Reheating it is how you bring it back to that fresh-baked glory. For a single slice, I like to sprinkle just a tiny drop of water on top (I know, silly, but trust me!) and microwave it for about 15 to 20 seconds. It warms the dates up, makes the bread soft again, and practically screams for a pat of butter. It works just as well if you pop it in a toaster oven for a few minutes too!
Frequently Asked Questions About Date Nut Bread
I get so many messages asking about tweaks and what happens if I need to change an ingredient, so let’s clear up the most common things people wonder about when attempting this Comfort Food Baking classic! I want everyone to succeed with their date nut bread. When you’re getting ready to bake something truly comforting, it helps to know the answers upfront. If you’re looking for more fantastic ways to use delicious doughs, you should definitely check out my recipe for gooey cinnamon rolls!
Can I make this date nut bread without nuts?
Oh, absolutely, you can cut the nuts out! If you or someone you’re baking for has an allergy, or maybe you just ran out of walnuts, don’t sweat it. The bread will still be wonderfully soft and packed with date flavor. If you want to substitute, try adding an extra half cup of chopped dates, or maybe even some sunflower seeds for a bit of texture. Sometimes I toss in some shredded coconut if I’m feeling extra tropical—nobody misses the walnuts then!
How do I make this a Spiced Date Nut Loaf?
That’s a fantastic idea! While my basic recipe hits that old-fashioned note, sometimes you just need an extra warming touch, especially around the holidays. If you want to turn this into a beautifully Spiced Date Nut Loaf, you just need to reach into that spice cabinet while you’re mixing your dry ingredients (the flour, salt, and baking powder). I recommend adding 1 teaspoon of ground cinnamon and a generous half teaspoon of ground nutmeg. That brings such a wonderful aroma into the kitchen while it bakes, doesn’t it? That little bit of extra spice plays so nicely with the sweetness of the dates and the crunch of the walnuts in your Walnut Date Loaf.
Why is my bread gummy in the middle?
Gummy bread is usually a sign of one of two things! First—and this is the most common culprit for quick breads—you might have accidentally overmixed the batter. Once you add the flour, you only want to mix until you can’t see dry pockets anymore. Overmixing develops gluten, which traps steam and leads to that dense, sticky texture instead of that tender crumb we are aiming for. Second, if you used an ingredient that was overly wet, like not draining off excess liquid from the dates (even after the soak), or if your measurements were a little off, it can struggle to bake through. Make sure you’re using that wooden skewer test promptly!
Estimated Nutritional Data for Date Nut Bread
Now, listen, I am a cook, not a nutritionist! I always want to make sure you know exactly what’s going into your body, but these numbers are what I get when I run the basic ingredients through an online calculator. They are fantastic guidelines, but remember, since we’re using different brands of butter or maybe you decide to use whole wheat flour, your final count might shift a little bit. This is just a ballpark estimate for one slice of that wonderful date nut bread.
For a standard slice (yield estimate is 10 servings), here’s the breakdown:
- Calories: About 280
- Sugar: Roughly 25 grams (that comes mostly from the dates and brown sugar, so it’s natural sweetness, mostly!)
- Fat: Around 13 grams
- Carbohydrates: About 39 grams
- Protein: A solid 5 grams to keep you going!
- Sodium: Right around 180mg
So, while it hits that sweet spot for feeling like a treat, you’re getting good fiber and some decent protein too, making it a satisfying Wholesome Snack Bread. Just keep in mind that these are estimates based on the ingredients listed in the recipe card above. If you use a big slather of butter on your slice when serving it warm—and you totally should—that will obviously bump up the fat content a bit!
Share Your Date Nut Bread Creations
I absolutely love hearing from you all! Honestly, seeing pictures and reading your notes about this Simple Loaf Recipe is the highlight of my day. Baking, especially creating true Comfort Food Baking classics like this date nut bread, is meant to be shared.
So, once you’ve made this loaf—and I know you will—please pretty race back here and let me know how it turned out! Did you serve it warm with that butter I keep raving about? Did you add any of those extra spices we talked about?
If you have a moment, please leave a star rating right below the recipe card. It really helps other home cooks see that this classic just works! And, if you have any lingering questions or want to share a picture on social media, you can always reach out to me directly through my contact page. I can’t wait for you to experience the joy of pulling this beautiful, fragrant bread out of your own oven!
PrintEasy, Old-Fashioned Moist Date Nut Bread Recipe
Bake this classic quick bread for a moist, soft, and comforting loaf filled with dates and walnuts. This simple recipe delivers old-fashioned flavor perfect for breakfast or a snack.
- Prep Time: 15 min
- Cook Time: 60 min
- Total Time: 75 min
- Yield: 1 loaf (about 10 servings) 1x
- Category: Breakfast
- Method: Baking
- Cuisine: American
- Diet: Vegetarian
Ingredients
- 1 cup boiling water
- 1 cup pitted and chopped dates
- 1 teaspoon baking soda
- 1/2 cup (1 stick) unsalted butter, softened
- 1 cup packed light brown sugar
- 2 large eggs
- 1 teaspoon vanilla extract
- 1 3/4 cups all-purpose flour
- 1 teaspoon baking powder
- 1/2 teaspoon salt
- 1 cup chopped walnuts
Instructions
- Preheat your oven to 350°F (175°C). Grease and flour a standard 9×5 inch loaf pan.
- Place the chopped dates in a small bowl. Pour 1 cup of boiling water over the dates and stir in the baking soda. Let this mixture stand for 10 minutes.
- In a large bowl, cream together the softened butter and brown sugar until the mixture is light and fluffy.
- Beat in the eggs one at a time, mixing well after each addition. Stir in the vanilla extract.
- In a separate bowl, whisk together the flour, baking powder, and salt.
- Gradually add the dry ingredients to the wet ingredients, mixing until just combined. Do not overmix.
- Stir the date mixture (including the liquid) and the chopped walnuts into the batter until they are evenly distributed.
- Pour the batter into the prepared loaf pan.
- Bake for 50 to 60 minutes, or until a wooden skewer inserted into the center comes out clean.
- Let the bread cool in the pan for 10 minutes before turning it out onto a wire rack to cool completely.
Notes
- Serve this homemade date nut bread warm with butter spread on top for the best experience.
- For a richer flavor, you can substitute half of the all-purpose flour with whole wheat flour.
- If you prefer a sweeter top, sprinkle 1 tablespoon of coarse sugar over the batter before baking.
Nutrition
- Serving Size: 1 slice
- Calories: 280
- Sugar: 25g
- Sodium: 180mg
- Fat: 13g
- Saturated Fat: 5g
- Unsaturated Fat: 8g
- Trans Fat: 0.2g
- Carbohydrates: 39g
- Fiber: 2g
- Protein: 5g
- Cholesterol: 55mg