
If there’s one thing that instantly transports me back to cozy childhood evenings, it’s the smell of warm vanilla and cinnamon mingling in the kitchen. That’s why I am so thrilled to finally share my absolute favorite iteration of comfort in a bowl: the creamiest, old-fashioned rice pudding recipe you will ever make. Forget those watery, sad versions; this stovetop method guarantees a rich, slow-cooked texture every single time. Here at Kings Cook, I rigorously test classics like this one until they are perfect, and this recipe is the gold standard. Trust me, once you make this simple classic homemade pudding, it will become your go-to rice pudding staple. I learned so much about comfort cooking from my grandma, and sharing this with you feels like inviting you into my kitchen. I’m Kate Connolly, by the way, and I can’t wait for you to try this!
- Why This Old-Fashioned Rice Pudding is Your New Favorite Comfort Food
- Ingredients for the Best Rice Pudding Recipe
- How to Make Creamy Rice Pudding on the Stovetop
- Tips for Success with Your Old Fashioned Rice Pudding
- Serving Suggestions for This Simple Comfort Dessert
- Make Ahead Pudding and Storage Instructions for Your Rice Pudding
- Frequently Asked Questions About Creamy Rice Pudding
- Estimated Nutritional Information for Classic Homemade Pudding
- Share Your Nostalgic Sweet Treat Experience
Why This Old-Fashioned Rice Pudding is Your New Favorite Comfort Food
I know, I know, everyone has a version of this dessert, but hear me out. What sets this recipe apart is the sheer dedication to texture and flavor. When I test these traditional recipes, I’m looking for that deep satisfaction that only comes from true comfort food. This isn’t just a quick dessert; it’s the ultimate comfort food you’ll crave on a chilly evening.
- It absolutely nails the creamy factor. We’re talking ultra-rich, velvety spoonfuls every time.
- It uses simple pantry staples, keeping things easy for a weeknight treat.
- The scent of vanilla and cinnamon fills the house—it’s pure nostalgia in a pot!
Achieving Ultra Creamy Rice Pudding Texture
If you want that rich creamy dessert result, the secret is in the stirring and the slow cook! Because we are using whole milk and short-grain rice, we rely on the natural starch released from the grains while they simmer gently. You stir often enough to keep it from sticking, but slow enough that the starch molecules fully hydrate and swell, thickening the milk into that luscious sauce naturally. It’s an incredibly rewarding process because you see the pudding transform right before your eyes.
The Simple Secret to Classic Homemade Pudding
This is truly an old fashioned rice pudding experience because we aren’t relying on eggs or heavy cream for body—it’s all about time and good quality dairy doing the heavy lifting. That’s why I call it the classic homemade pudding. It tastes like it took hours of intricate work, but really, it’s just low heat and patience. It’s the vanilla and cinnamon blend that just makes it sing; it’s the flavor combination everyone hopes for when they ask for a nostalgic sweet treat.
Ingredients for the Best Rice Pudding Recipe
Getting the right components is half the battle, honestly! This recipe keeps things super simple, focusing on quality over quantity. I didn’t want you hunting down specialty items here; we’re sticking right to the pantry basics for this delicious dessert. Remember, the type of rice you choose makes a huge difference in how creamy this turns out!
- 1 cup short-grain white rice (Arborio or medium-grain works best)
- 4 cups whole milk
- 1 cup water
- 1/2 cup granulated sugar
- 1 teaspoon vanilla extract
- 1/4 teaspoon salt
- 1/2 teaspoon ground cinnamon (plus extra for topping)
Ingredient Notes and Substitutions for Perfect Rice Pudding
Okay, let’s talk about the rice, because this is crucial if you want that unbelievably smooth result. For the best rice pudding recipe, skip the long-grain stuff entirely. Short-grain or Arborio has the higher starch content we absolutely need to create that thick, velvety body as it cooks down. It releases all that lovely opacity into the milk!
Now, here is my big rule: Do not rinse the rice! I know, I know, we rinse rice for everything else, but here the excess starch clinging to those grains is our thickening agent—it’s magic! Also, please use whole milk. I know recipes sometimes suggest low-fat, but for this classic comfort food, the fat in whole milk is what keeps it rich and prevents that thin, watery texture. It’s worth it!
How to Make Creamy Rice Pudding on the Stovetop
Alright, let’s get this beautiful, creamy goodness going on the stovetop! This is where we coax all that delicious starch out of the little rice grains. It requires a bit of attention, but it’s mostly hands-off once you get it bubbling gently. Don’t worry if you’re new to this; just listen to your pot and keep an eye on that heat. I promise, following these steps ensures you nail that perfect classic rice pudding texture. If you want more confidence tips for the kitchen, make sure you check out my About page; I share all my best tricks there!
The Slow Simmer: Building the Creamy Rice Pudding Base
First off, grab your heavy-bottomed saucepan—we don’t want any hotspots burning our milk! Toss in the rice, the whole milk, and the water. Put that over medium heat and bring it just up to a gentle simmer. You’ll want to stir this part often, like every minute or two, just to make sure nothing sticks to the bottom right away. Oops, too hot? Immediately turn it down! Once it’s reached that light shimmer, reduce the heat way down to low. We are talking very, very low—just a lazy bubble should be breaking the surface. Cook it uncovered for about 45 to 60 minutes. Keep scraping the bottom and sides every five to ten minutes. That gentle friction of scraping helps release more starch, which is the secret to that velvety mouthfeel!
Finishing Touches for Your Rice Pudding
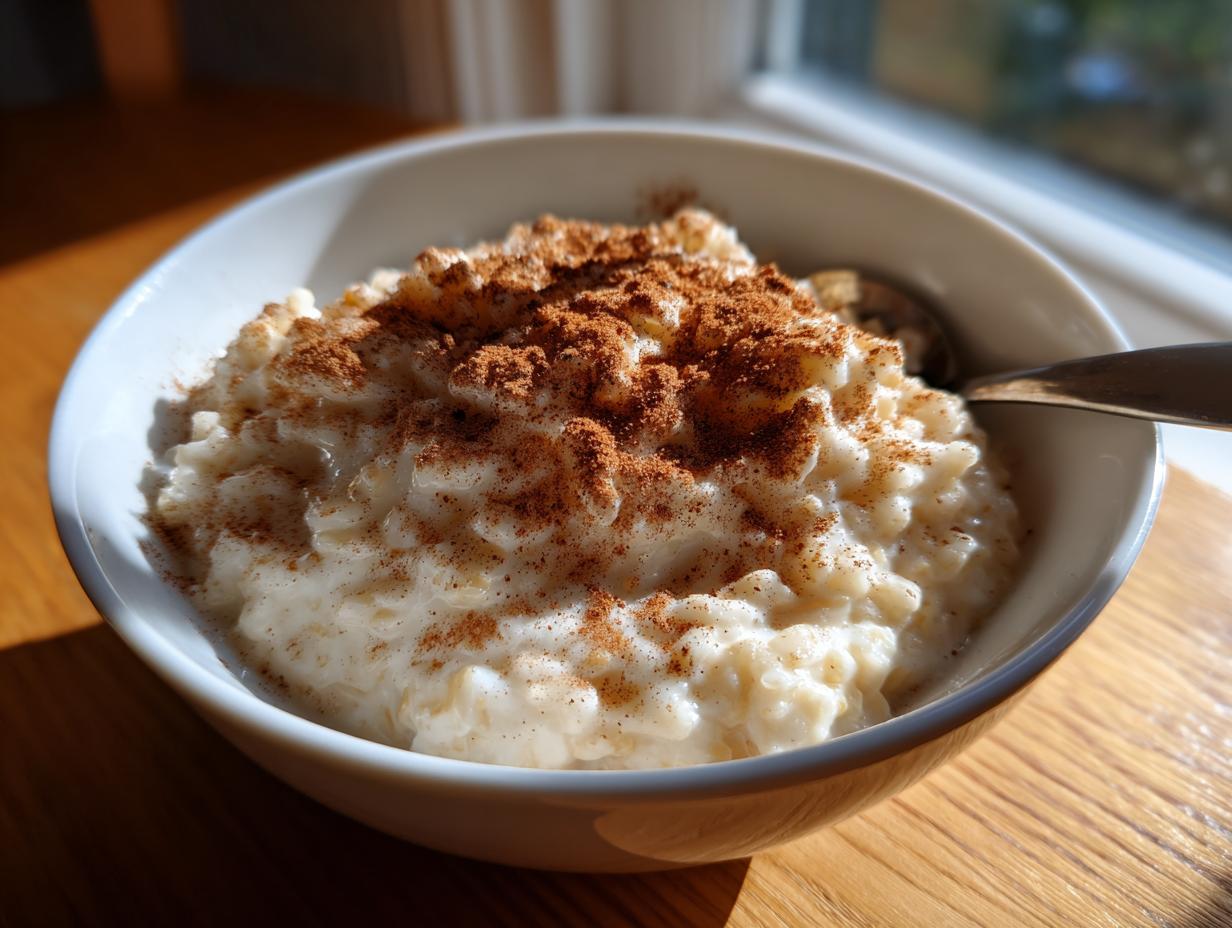
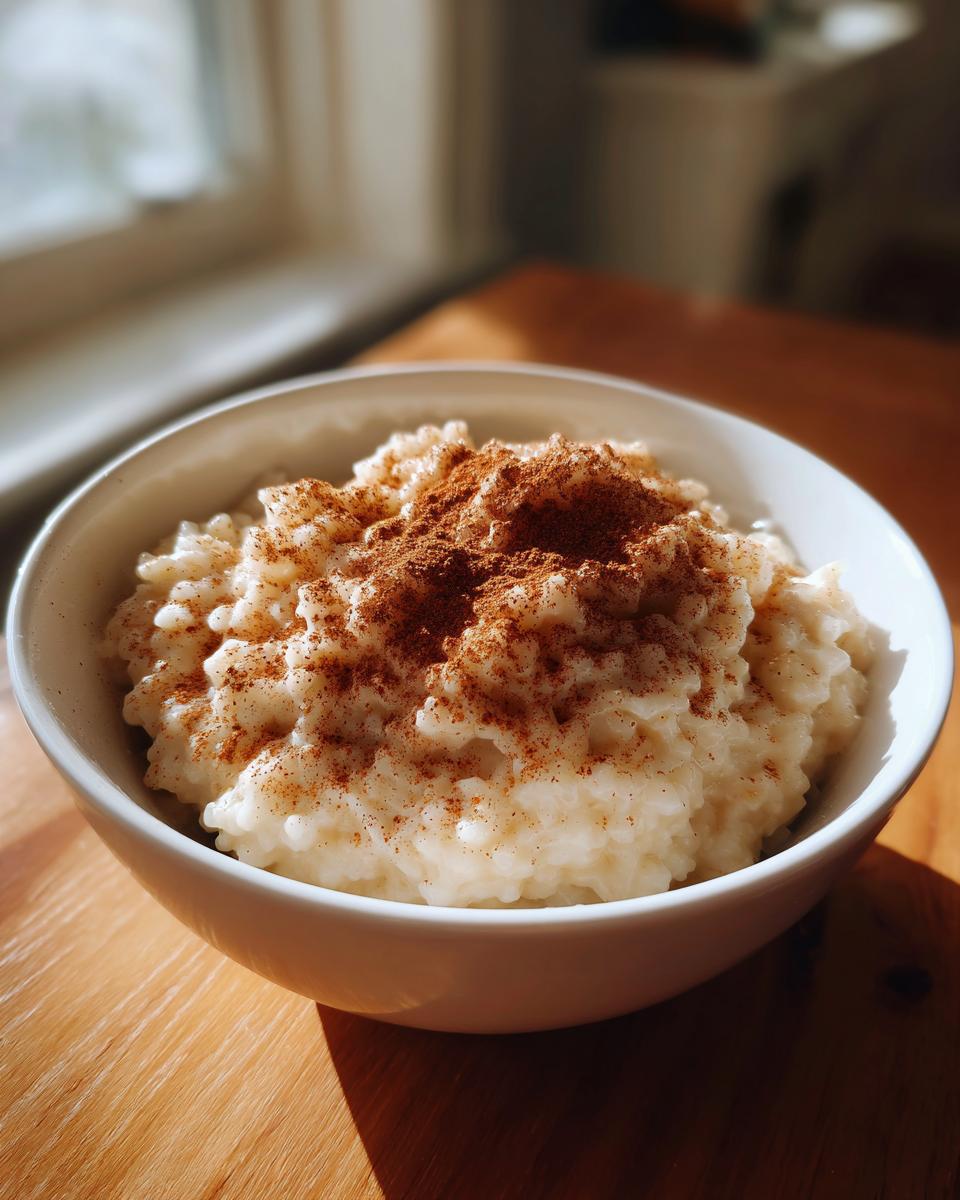
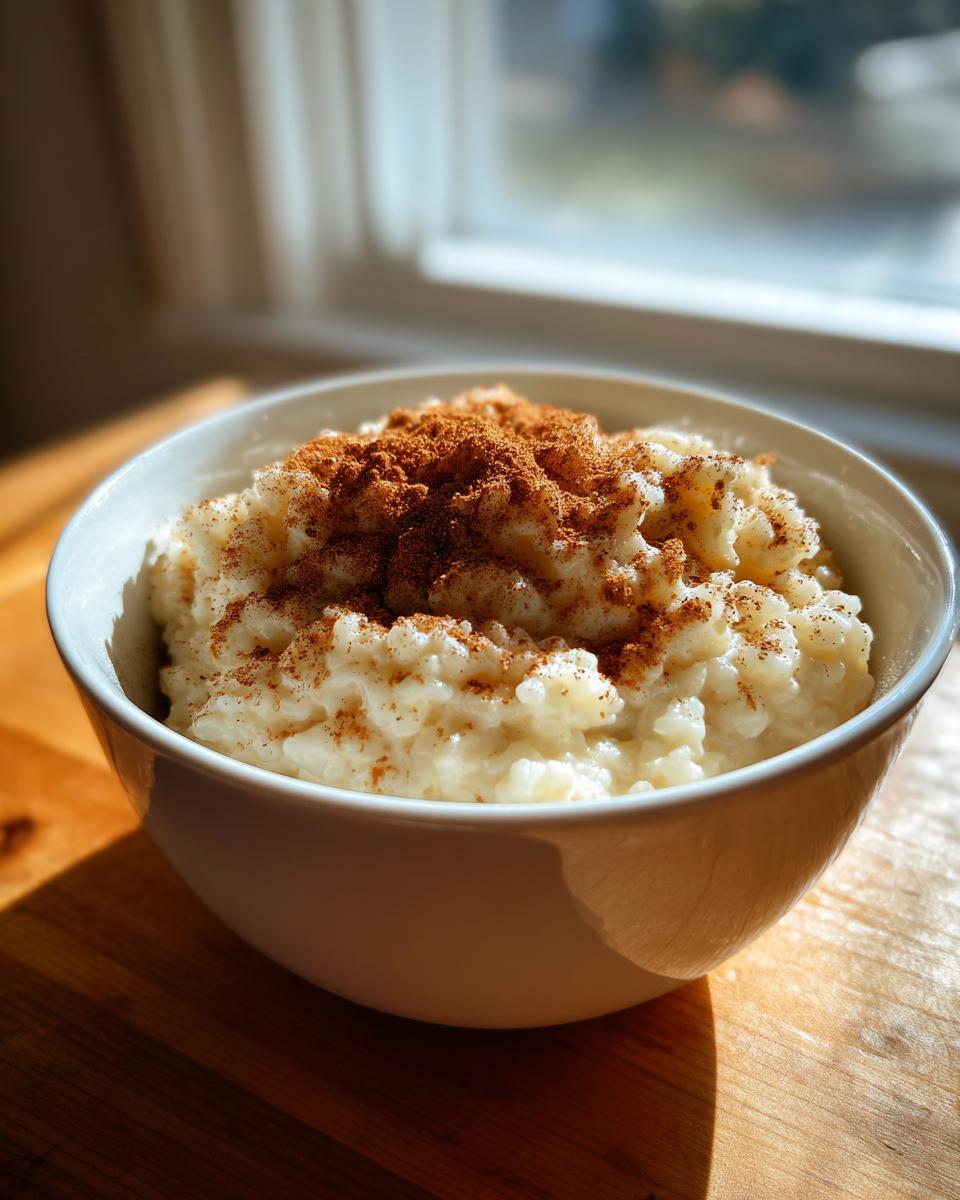
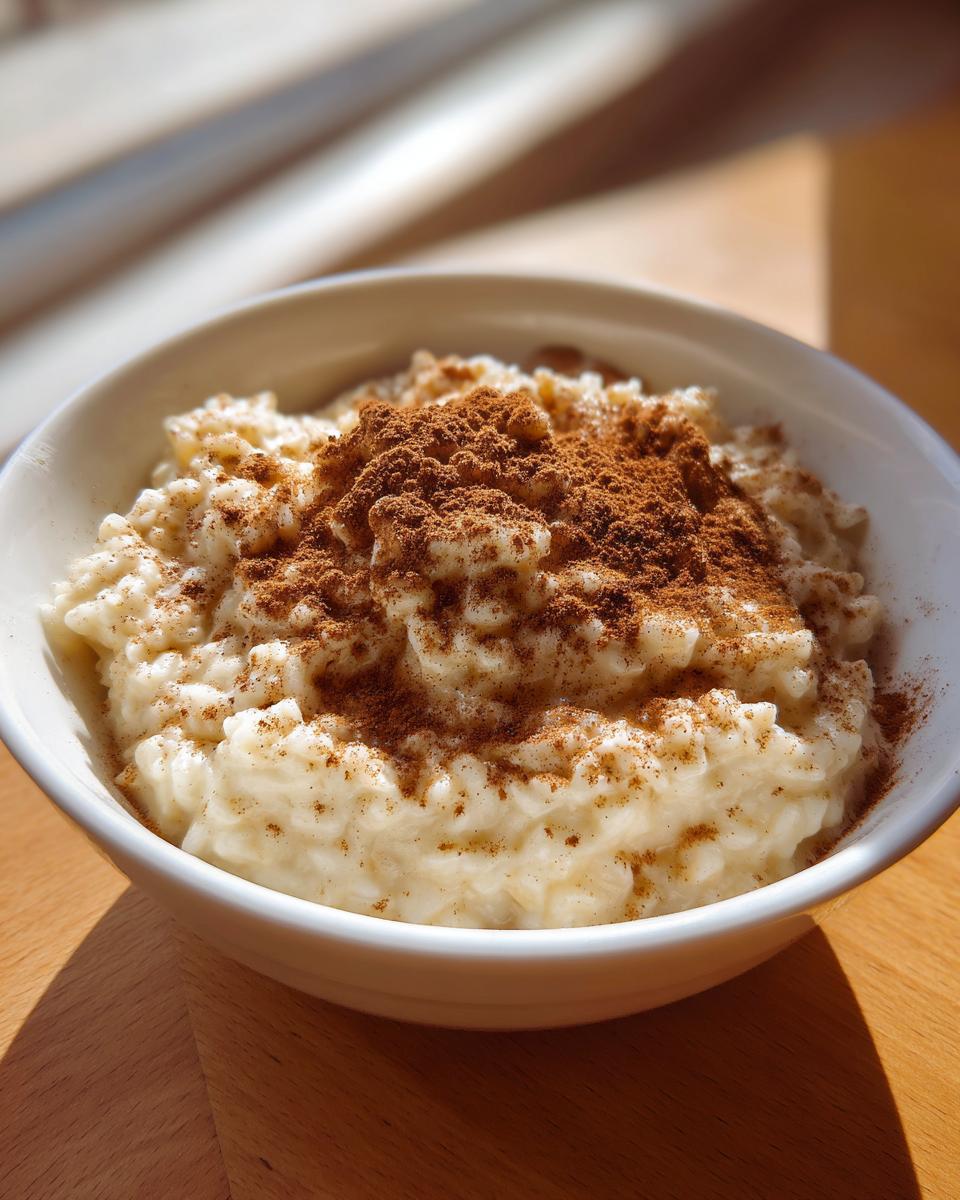
When the rice is totally tender and the mixture is wonderfully thick—you’ll notice it coating the back of your spoon—it’s time to finish it. Take the pan right off the heat! Never add sugar while it’s actively boiling over high heat. Stir in the sugar, vanilla extract, and salt until everything dissolves nicely. If you’re chilling this later, you need to handle the cooling carefully. Transfer it to a bowl, and here’s a pro move I learned: press a sheet of plastic wrap directly onto the surface of the pudding. This stops that weird, thick skin from forming on top! If you’re serving it warm, just let it cool down a bit, and then sprinkle loads of cinnamon right over the top.
Tips for Success with Your Old Fashioned Rice Pudding
You’ve done the hard work, and now we need to make sure your pudding is perfect for how YOU want to eat it! Because this recipe is designed to be a truly rich and creamy classic, it naturally thickens up a ton as it sits, especially in the fridge. Don’t stress out if it looks a little too dense when you check it the next day; that’s precisely why we have a couple of very simple fixes in our back pocket to ensure you get the best rice pudding recipe experience. If you’re looking for popular takes on this classic, I always check out reliable sources like the one that features the best old-fashioned rice pudding.
Adjusting Consistency for Warm Dessert Recipes
If you want to serve it warm—which, let’s be honest, is just heavenly—you might find it too thick right out of the pot after sitting for a bit. If your rice pudding has become a bit too stiff, here’s what you do: just take a splash of extra whole milk or even heavy cream, and stir it right in over low heat for just a minute or two until it loosens up. You just want to stir until it’s velvety again, not bring it back to a boil. This little trick ensures that whether you’re serving it piping hot or cool from the fridge, the texture is exactly what you dreamed of. I always keep a little carton of milk handy just in case!
Serving Suggestions for This Simple Comfort Dessert
Now for the fun part: how to serve up this incredible simple comfort dessert! Honestly, this recipe works perfectly whether you eat it straight from the saucepan or present it beautifully. It’s one of those rare dishes that excels both as a warm dessert recipe and as a chilled treat. It depends entirely on what mood you’re in, or frankly, what the weather is doing!
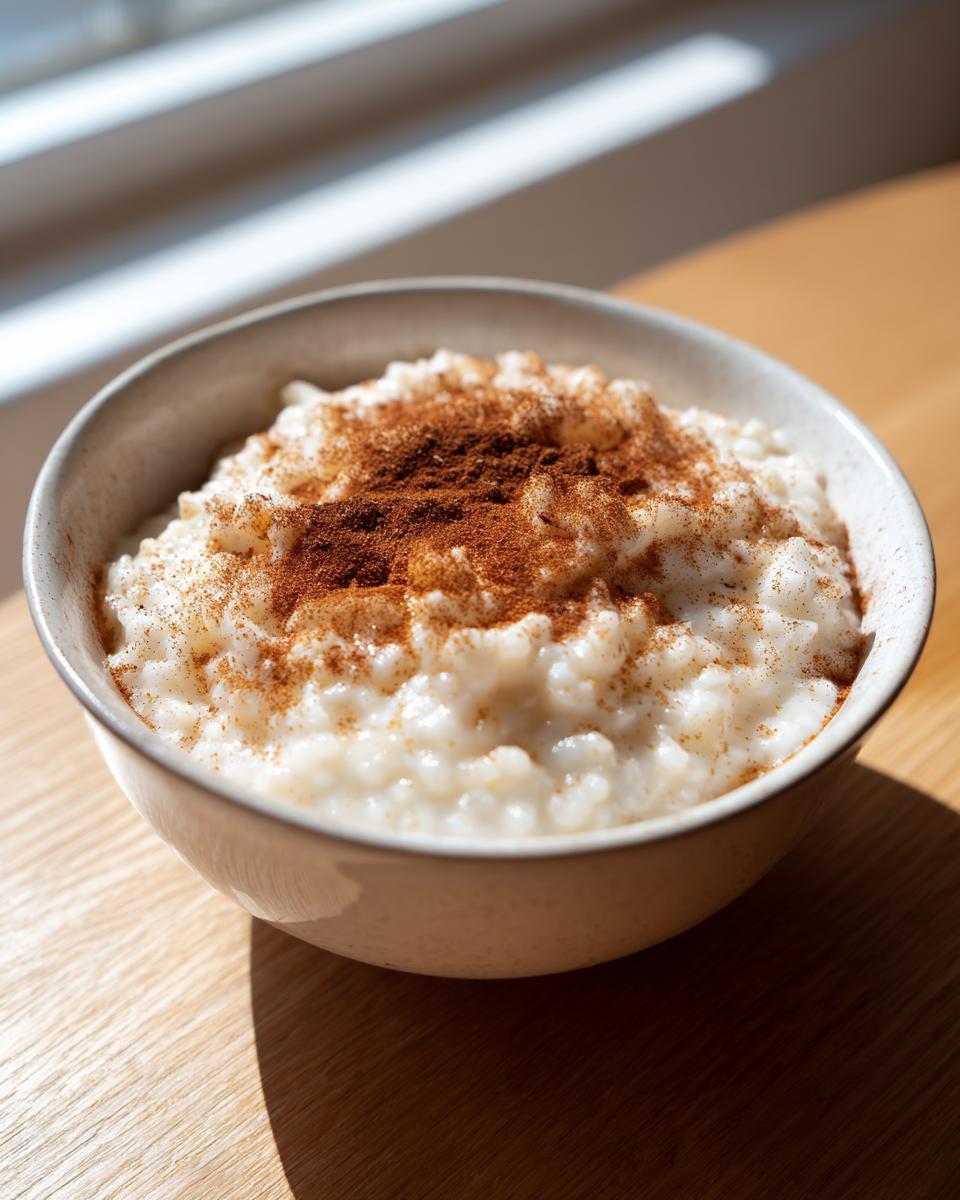
When I serve this warm, usually right after dinner, it is the ultimate cozy hug. I pour it into small, pretty bowls, and I always give it a generous dusting of extra ground cinnamon right before it goes out. That little cloud of warm spice is what elevates it from just sweet rice to something truly special. Don’t be shy with the cinnamon here; it pairs so beautifully with the creamy vanilla base.
If you’re planning for a summer meal or want a refreshing bite after something heavy, chilling it changes the texture completely! It becomes much firmer, almost spoonable like a dense custard. This is where you get to have some fun! While cinnamon is classic, chilled pudding lets you introduce other flavors. Think about topping it with fresh berries—raspberries or sliced strawberries are divine—or maybe a little drizzle of caramelized brown sugar. If you’re feeling extra decadent, a side of warm apple slices spiced with cinnamon pairs wonderfully, similar to how I spice my apple cinnamon muffins! Either way you choose, this dessert always feels like a celebration.
Make Ahead Pudding and Storage Instructions for Your Rice Pudding
One of the main reasons I love developing this classic recipe is that it’s fantastic when made ahead of time! Seriously, this is a dream to have ready for company or just for yourself when the craving strikes later in the week. That’s why this qualifies as a great make ahead pudding option for busy weeks.
You can totally store leftovers right in the refrigerator for up to four days. You shouldn’t have any trouble at all keeping it fresh that long, provided you cover it tightly. Remember that little trick I mentioned earlier about preventing that tough skin from forming? Make sure you press plastic wrap right against the surface of the pudding before sealing the container. Skipping that step means you’ll have to scrape off a thick layer of dry stuff before you can enjoy the creamy center!
Now, let’s revisit the consistency thing, because I know it worries people. As this dessert chills, it firms up significantly—it thickens up a lot! If you pull out a bowl tomorrow and think, “Oh no, it’s too solid,” don’t panic! Just scoop out what you want into a microwave-safe bowl and let it warm up for about 30 seconds, stirring halfway through. Or, if you are serving a big batch, you can gently warm the whole thing on the stove over very low heat. Then, stir in just a splash of cold milk or cream while you stir until it loosens up and gets that beautiful, velvety consistency back again. It tastes just as good, maybe even better, the next day!
Frequently Asked Questions About Creamy Rice Pudding
I get so many fantastic questions about this recipe, and that’s totally normal when you are trying to nail down a beloved classic! Whether you’re wondering about texture or timing, I want to make sure you have all the clarity you need to produce a truly wonderful bowl of comfort. Here are a few things I hear most often when people are making their first batch of this rich, creamy staple.
Can I use leftover cooked rice for this rice pudding?
This is one I get asked a lot! The short answer is yes, you *can* use leftover rice, but you are definitely sacrificing some of that incredible texture we are aiming for. If you use pre-cooked rice, you end up skipping the crucial part where the rice grains release their starch into the milk slowly during that hour-long simmer. That starch release is what transforms the milk into that classic, lush, almost gluey sauce that makes this an old fashioned rice pudding.
If you must use it, you can cut the cooking time down drastically—maybe just 20 minutes for the rice to heat through and absorb some liquid. But if you are looking for the absolute creamiest result, I strongly advise starting with the raw, short-grain rice specified in the recipe. It’s the difference between a good dessert and an amazing sweet treat!
What is the secret to making this an easy stovetop pudding?
It sounds strange to say the secret to making something easy stovetop pudding is patience, but it really is! The real magic that makes this simple is simply keeping the heat low and remembering to stir occasionally. Don’t fuss with it constantly, but don’t walk away for twenty minutes either! The low, slow simmer method is what allows the rice to gently swell and release that starch without scorching the milk on the bottom of the pan.
If you let the heat get too high, you’ll end up with hard, undercooked rice floating in thin milk, or worse, scorched milk at the bottom. By keeping it on a bare simmer—just the occasional slow bubble breaking the surface—you are essentially letting the pot do all the thickening work for you. Honestly, it’s the easiest way to get that rich pudding texture without having to bother with tempering eggs or setting up a water bath. That low-and-slow method is the key to this foolproof recipe.
Estimated Nutritional Information for Classic Homemade Pudding
I always like to give you folks a general idea of what you’re enjoying here, though please remember that I’m not a certified nutritionist! I measure these things out here in my home kitchen, and things like the exact brand of milk or how much sugar you stir in at the end can make a difference. These numbers are based on the exact ratios listed in the recipe, so consider them a very good estimate for this traditional dish.
When you make this rich, creamy treat, here is what one standard cup serving generally looks like:
- Serving Size: 1 cup
- Calories: 350
- Sugar: 30g
- Sodium: 150mg
- Fat: 8g
- Saturated Fat: 4.5g
- Carbohydrates: 60g
- Protein: 10g
Because we rely on whole milk and sugar for that classic flavor and texture, it is definitely a wonderfully decadent dish! You can see the fat content is relatively low because we aren’t relying on heavy cream or lots of extra butter for body—the milk and the rice starch do all the work. Isn’t that neat? Just enjoy it! This is meant to be satisfying comfort food, not something you need to stress over too much!
Share Your Nostalgic Sweet Treat Experience
Oh, I truly hope you loved making this dessert as much as I love sharing it with you! Seriously, seeing your kitchen creations makes my whole week. I want to know every detail about your experience making this nostalgic sweet treat. Did it feel just like the memories you hold? Did the house smell amazing?
Please don’t be shy! If you made this ultra-creamy stovetop pudding, I would be thrilled if you could pop down into the comments and let me know how it went. Did you serve yours warm with a sprinkle of cinnamon, or did you enjoy it chilled the next day? Any little tweaks you made, I want to hear about them! Your feedback helps me keep testing and perfecting these classic recipes for everyone else who visits Kings Cook.
I always love seeing photos! If you snapped a picture of your beautiful, creamy bowl, feel free to tag me on social media—or you can always reach out directly through my contact page. Let’s keep this tradition of amazing, simple comfort food going strong together. Happy cooking, friends!
PrintOld-Fashioned Creamy Rice Pudding: The Ultimate Comfort Dessert

Make the creamiest, old-fashioned rice pudding right on your stovetop. This simple recipe uses basic ingredients to create a rich, nostalgic dessert flavored with vanilla and cinnamon.
- Prep Time: 5 min
- Cook Time: 60 min
- Total Time: 65 min
- Yield: 4 servings 1x
- Category: Dessert
- Method: Stovetop
- Cuisine: American
- Diet: Vegetarian
Ingredients
- 1 cup short-grain white rice (Arborio or medium-grain works best)
- 4 cups whole milk
- 1 cup water
- 1/2 cup granulated sugar
- 1 teaspoon vanilla extract
- 1/4 teaspoon salt
- 1/2 teaspoon ground cinnamon (plus extra for topping)
Instructions
- Combine the rice, whole milk, and water in a heavy-bottomed saucepan.
- Bring the mixture to a gentle simmer over medium heat, stirring often to prevent sticking.
- Once simmering, reduce the heat to low. You want a very low, slow bubble.
- Cook uncovered for 45 to 60 minutes, stirring every 5 to 10 minutes, especially scraping the bottom of the pan. The pudding thickens as the rice absorbs the liquid and releases starch, creating creaminess.
- When the pudding is thick and the rice is tender, remove the pan from the heat.
- Stir in the sugar, vanilla extract, and salt until fully dissolved. The sugar should dissolve quickly in the hot pudding.
- Serve the rice pudding warm, or transfer it to a bowl, press plastic wrap directly onto the surface to prevent a skin from forming, and chill completely for a cold dessert.
- Sprinkle with extra ground cinnamon before serving.
Notes
- For the creamiest texture, do not rinse your rice before cooking. The starch on the grains is necessary for thickening.
- If the pudding becomes too thick while cooling, stir in a splash of extra milk or cream until you reach your desired consistency.
- This recipe is excellent made ahead; it keeps well in the refrigerator for up to four days.
Nutrition
- Serving Size: 1 cup
- Calories: 350
- Sugar: 30
- Sodium: 150
- Fat: 8
- Saturated Fat: 4.5
- Unsaturated Fat: 3.5
- Trans Fat: 0
- Carbohydrates: 60
- Fiber: 1
- Protein: 10
- Cholesterol: 25