

Listen, I’m always on the hunt for that perfect sweet finale to my day, but I just can’t handle the sugar crash or the guilt that comes with traditional ice cream. Seriously, who has the time (or desire!) to churn constantly? That’s why I’m buzzing about this **cottage cheese ice cream** revolution. It’s genuinely changed the game for anyone looking for a seriously high-protein, **healthy frozen dessert** that actually tastes incredible. Trust me when I say this recipe is tested, reliable, and somehow manages to be super creamy despite needing only four ingredients. Yep, four! Whether you’re freezing it the old-fashioned way or popping it into that nifty Ninja Creami, this vanilla base is pure gold.
- Why This Vanilla Cottage Cheese Ice Cream is Your New Favorite Protein Packed Dessert
- Essential Ingredients for Perfect Cottage Cheese Ice Cream
- Step-by-Step Instructions for Easy Homemade Ice Cream
- Flavor Variations for Your Cottage Cheese Ice Cream
- Making the Most of This Healthy Frozen Dessert
- Frequently Asked Questions About Cottage Cheese Ice Cream
- Nutritional Estimates for This Light Dessert Option
- Share Your Cottage Cheese Ice Cream Creations
Why This Vanilla Cottage Cheese Ice Cream is Your New Favorite Protein Packed Dessert
Folks, you need to know why I’m obsessed with this simple formula. It hits every single mark if you’re trying to keep things light but still feel like you’re treating yourself. Forget those chalky protein bars; this is truly a **protein packed dessert** that satisfies that deep, frozen craving.
- Sky-High Protein: We’re talking nearly 20 grams per serving! It keeps you full for ages, which is fantastic.
- Minimal Effort: Seriously, toss it in the blender and walk away. This is the definition of **easy homemade ice cream**.
- Zero Guilt: If you use the right sweetener, this is the ultimate **guilt free ice cream** substitute. It just feels decadent.
If you want more inspiration on how to make these healthy swaps taste amazing, you should check out some of the great ideas over at indulgent guilt-free menus for more ideas!
Achieving the Creamy Cottage Cheese Dessert Texture
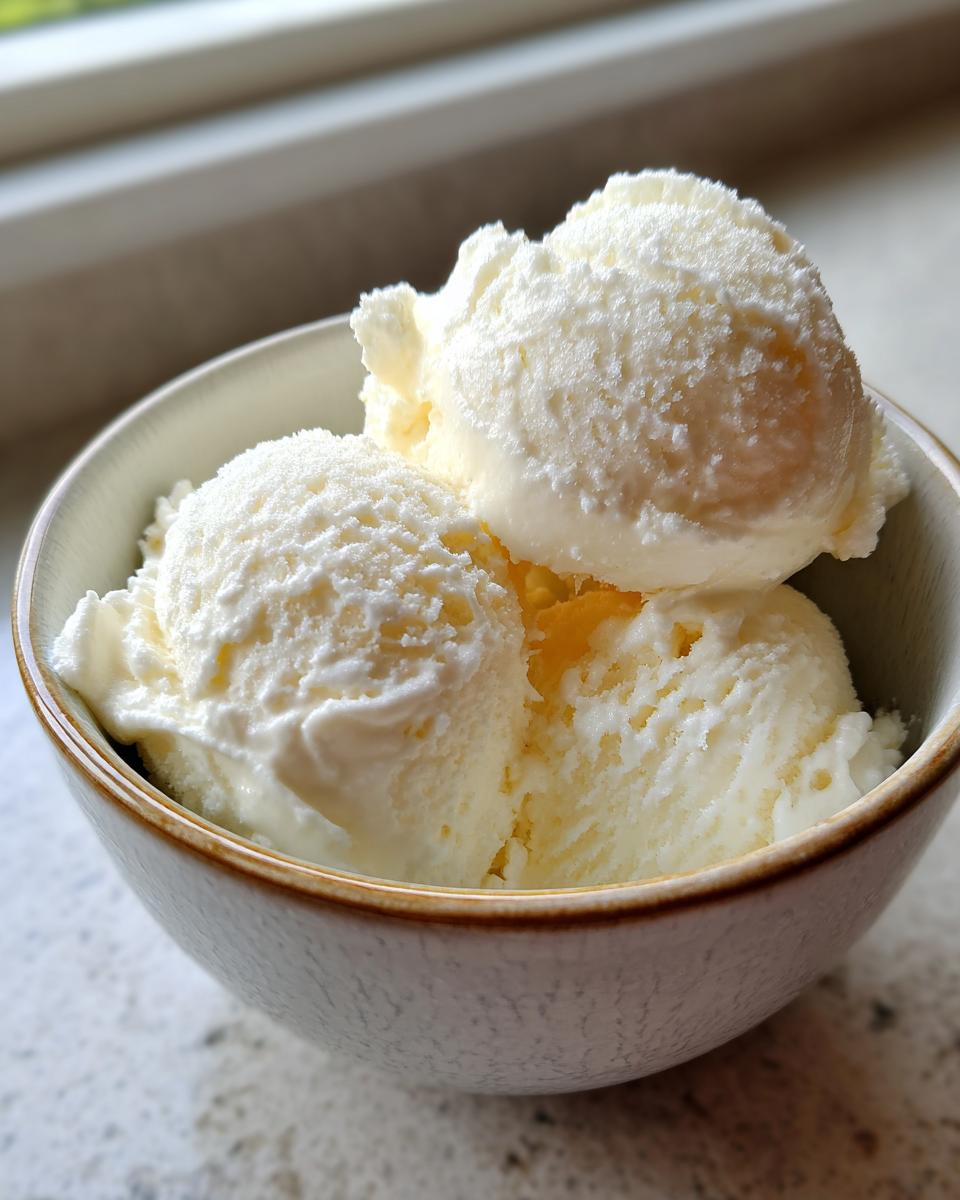
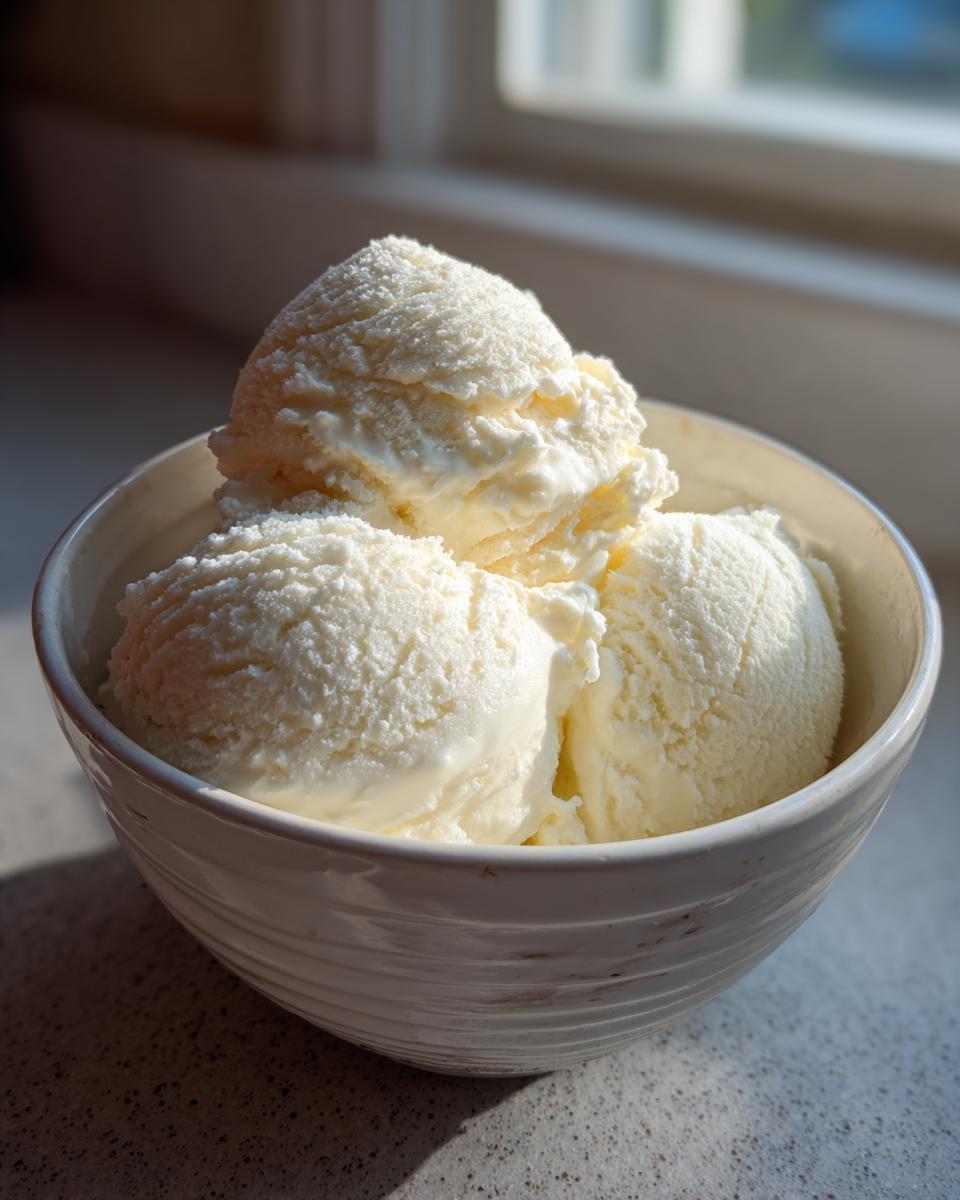
Now, the biggest hang-up people have is thinking cottage cheese means lumps. No! That’s not happening here, I promise. The magic to getting that **creamy cottage cheese dessert** texture lies entirely in the blend. You absolutely must use a high-speed blender or a powerful food processor here. We’re not just mixing; we’re vaporizing those curds until the mixture is silky smooth, almost like a thick yogurt. If you skip the blend, you end up with cottage cheese chunks, and nobody wants that in their vanilla ice cream!
Essential Ingredients for Perfect Cottage Cheese Ice Cream
We are keeping this base recipe so, so simple. Remember, simplicity is key when searching for the best **easy homemade ice cream** that fits your schedule! We only need four things blended together to create the foundation for this amazing, high-protein treat.
- 1 cup low-fat cottage cheese
- 1/4 cup milk (dairy or non-dairy)
- 1 teaspoon vanilla extract
- 2 tablespoons sweetener (I usually grab monk fruit or erythritol!)
That’s it! Four ingredients to change your dessert game. Keep these stocked, and you’re ready for any sudden sweet tooth emergency.
Ingredient Notes and Simple Substitutions
Even with a short list, the quality matters! I always reach for low-fat cottage cheese for my go-to light dessert options because it keeps the healthy profile high, but don’t sweat it if you only have whole milk—it just makes for a richer, heavier texture. If you’re not worried about sugar content, maple syrup is glorious here, but if you need that true low-carb edge, stick to zero-calorie sweeteners like monk fruit.
Now, if you want to flip this into a **chocolate protein ice cream**, just add about one tablespoon of unsweetened cocoa powder when you blend everything up. It’s so easy to customize this base!
Step-by-Step Instructions for Easy Homemade Ice Cream
Okay, let’s make magic happen! This is the fun part, and honestly, it’s quick. First things first: get your cottage cheese, milk, vanilla, and sweetener into your blender or food processor. Make sure you have something ready to check out, like maybe some quick lunch ideas for later, because you won’t be busy for long!
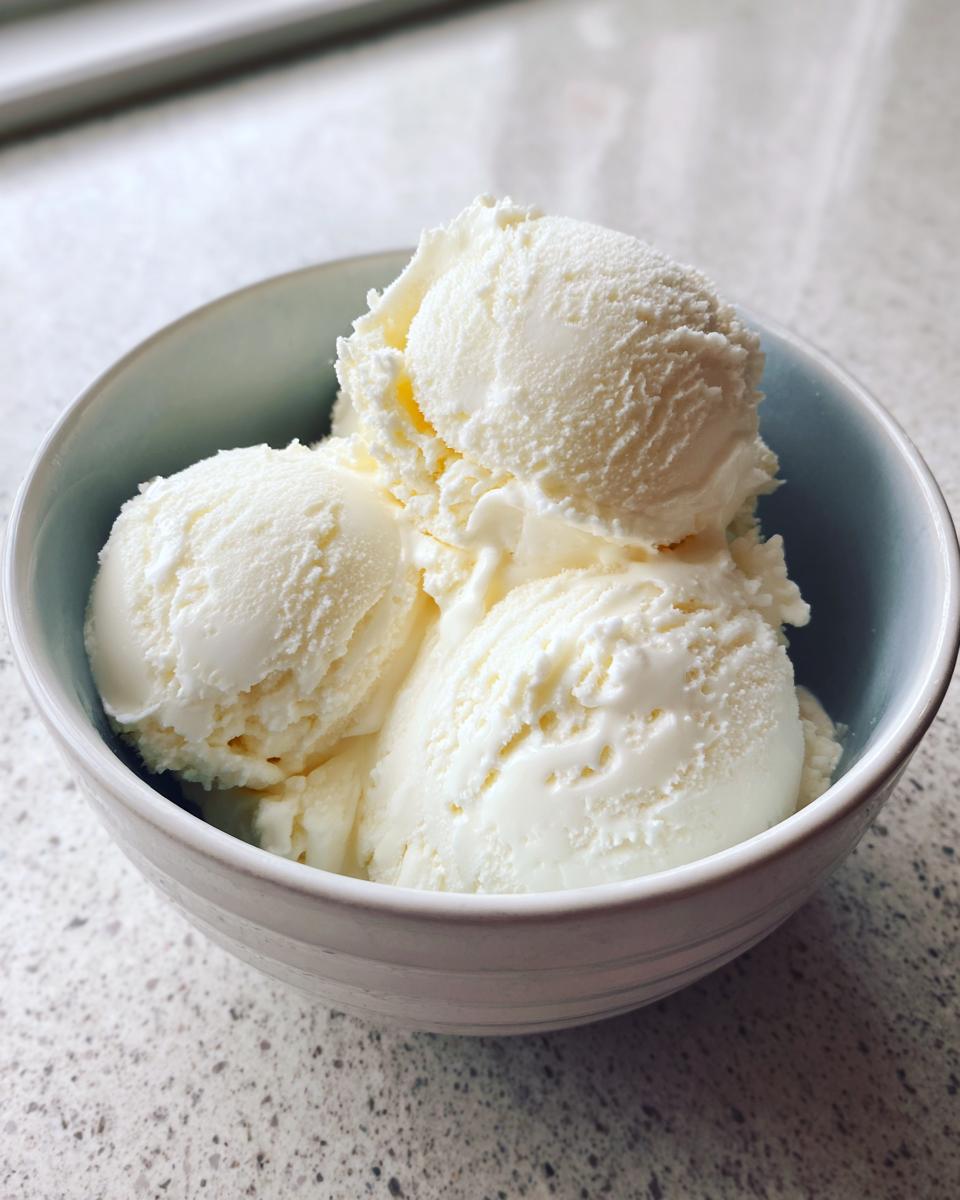
Step one is blending until it’s unbelievably smooth. I mean, no graininess allowed! Scrape down the sides a couple of times until it looks like thick, velvety pudding—that creamy base is everything. Once it’s perfect, pour that mixture into a shallow, freezer-safe container. Cover it tightly, because we don’t want any freezer burn spots messing up our beautiful **cottage cheese ice cream**.
Here’s where you choose your path! If you own a Ninja Creami, you’ll freeze that block solid and then process it according to the machine’s instructions—it gives you that incredible soft-serve vibe, which is amazing for this Ninja Creami cottage cheese treat. If you’re doing the **no churn ice cream recipe** method, just stick it in the deep freeze for about four to six hours until it’s firm enough to scoop.
Tips for Perfect No Churn Ice Cream Recipe Results
If you’re skipping the Creami and going the classic freeze route, pay attention! The only way this really shines is if you manage the ice crystals. Before you pop that covered container in the freezer, I always put a small sheet of plastic wrap directly onto the surface of the ice cream mix before putting on the lid.
Seriously, you press it right down onto the liquid so air can’t sneak in and cause those hard, frosty spots. If you forget this step, don’t worry too much. When you’re ready to serve this **easy homemade ice cream**, just pull the container out about 10 to 15 minutes before you want to eat it. That little softening window makes scooping so much easier!
Flavor Variations for Your Cottage Cheese Ice Cream
A plain vanilla **creamy vanilla ice cream recipe** base is lovely, don’t get me wrong, but this four-ingredient wonder is just begging to be played with! Once you try this, you’ll realize it’s the perfect vehicle for almost any flavor you dream up. Why stick to one when you can have infinite **low carb ice cream alternative** options?
We can easily turn this into something fruity or deeply chocolatey, giving you a real variety of **light dessert options** to rotate through this summer. I highly recommend making a big batch of the vanilla base and prepping a couple of small mix-in blends for the week!
Creating a Strawberry Cottage Cheese Dessert Twist
If you want that bright, summery flavor, you have to try making a **strawberry cottage cheese dessert**. This is where frozen fruit really shines because it helps solidify the ice cream without needing extra blending time!
For this, just take about half a cup of frozen strawberries and blend them right in with the rest of your base ingredients. If the fruit you use is a little on the tart side, which berries sometimes are, don’t hesitate to add an extra teaspoon of your sweetener in there. You want that perfect balance of sweet and tangy, and using frozen fruit makes the texture even thicker faster. You can see a beautiful example of how this works over at creamy strawberry cottage cheese ice cream!
Making Chocolate Protein Ice Cream with Cottage Cheese
For the chocolate lovers out there, making a rich **chocolate protein ice cream** is non-negotiable. Just follow the instructions above, but add about one tablespoon of plain, unsweetened cocoa powder to the blender.
Here’s the trick: cocoa powder can dry things out a little, or sometimes it tastes a bit bitter depending on how dark it is. So, if you notice the mixture looks too thick *before* you freeze it, add just a tiny splash more milk. And please, taste before you freeze! Adding an extra teaspoon of sweetener cuts that bitterness perfectly, ensuring you get a decadent **chocolate protein ice cream** treat instead of something vaguely chocolatey.
Making the Most of This Healthy Frozen Dessert
Okay, you’ve successfully blended and frozen your glorious **cottage cheese ice cream**! Now comes the important part: serving and storage. Nobody wants a rock-hard block of frozen goodness, right? If you used your Ninja Creami, that’s done, and you can dig right in because it’s already perfectly textured. But if you went the **no churn ice cream recipe** route, remember that 10-to-15-minute waiting period I mentioned?
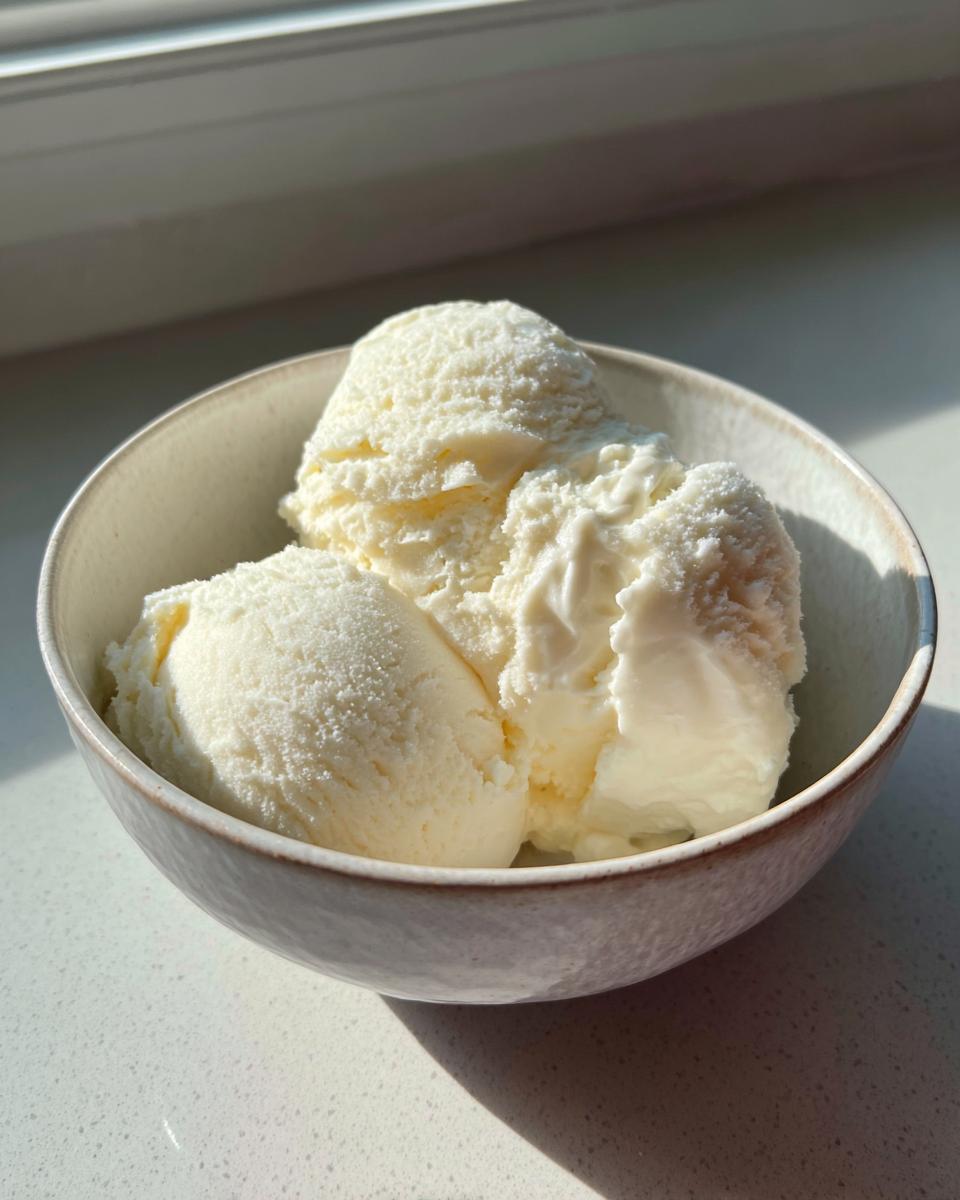
That little bit of time on the counter is your best friend. It lets that **healthy frozen dessert** soften just enough so you get a perfect scoop instead of chipping your teeth. It mimics that soft-serve consistency we’re aiming for!
Storage and Reheating Instructions for Cottage Cheese Ice Cream
If, by some miracle, you have leftovers (which is rare in my house!), storage is key. You absolutely need an airtight container. I reuse those square plastic tubs, but whatever you use, make sure the lid seals tight. That stops that nasty freezer air from getting in and building up those unwelcome ice crystals on top.
If you’ve frozen it completely solid—I mean, totally hard—don’t stress! That’s normal when you are freezing something this low-fat. We don’t ‘reheat’ ice cream, obviously, but you definitely need to let it sit on the counter for about 20 minutes before trying to scoop again. That said, be warned: texture-wise, it might be a *tiny* bit grainier after being frozen solid once versus the first time. But honestly, it still tastes amazing, especially when eaten with a spoon straight from the tub!
If you’re looking for more ways to enjoy amazing desserts, check out my page on the best dessert recipes for more inspiration!
Frequently Asked Questions About Cottage Cheese Ice Cream
I know when you try a new recipe, especially one that feels kind of unusual like using cottage cheese for ice cream, you end up with a whole heap of questions rattling around in your head. I totally get it! I’ve gathered up the most common things people ask me about making this **creamy cottage cheese dessert** base.
Can I use full-fat cottage cheese in this cottage cheese ice cream recipe?
Yes, you absolutely can! If you use full-fat, you’re going to get a richer mouthfeel, which is nice, but sometimes the extra fat content can make it crystalize a tiny bit more when it freezes solid. So, you might find it a little firmer than the low-fat version right out of the deep freeze. But honestly, it still blends up beautifully into a **creamy vanilla ice cream recipe** foundation if you give it that crucial 15 minutes on the counter to soften up a bit. Don’t be shy about using what you have!
Is this recipe suitable for a low carb ice cream alternative?
This is one of my favorite things about this recipe, but it really depends on what you use for sweetening! If you stick to zero-calorie options like monk fruit, erythritol, or even allulose—which I love for baking—then yes, this is a fantastic **low carb ice cream alternative**. However, if you use maple syrup or regular sugar, then the carb count goes right up. So, check your sweetener label if low-carb is your main goal!
How do I ensure my cottage cheese ice cream is smooth and not lumpy?
This question comes up all the time because nobody wants gritty ice cream! The secret—and I’ve mentioned it before because it’s that important for **easy homemade ice cream**—is brute force blending. You are aiming for liquid velvet. Don’t just pulse it! You need to run your high-speed blender on high for a full minute, maybe two, scraping the sides down halfway through, making sure every single speck of cottage cheese is completely obliterated. If you can see tiny white dots when you pour it into the container, blend it longer. It has to be perfectly smooth before it hits the freezer!
Nutritional Estimates for This Light Dessert Option
I know many of you are dedicated to tracking what you eat, and when you’re making a treat that’s so high in protein, knowing the numbers helps! I ran this base vanilla recipe through the system using low-fat cottage cheese and a zero-calorie sweetener for the calculations. This is why I love this recipe as a go-to **light dessert option**; you get so much satisfaction for the macros!
Remember, these are just estimates based on the specific ingredients listed in the recipe—if you swap out the milk for heavy cream or use different sweeteners, those numbers will definitely change. But generally, you’ll see amazing benefits!
Here’s the breakdown for one serving (which is typically 1/2 cup):
- Serving Size: 1/2 cup
- Calories: 150
- Protein: 18g (Yes, eighteen grams! That’s huge for ice cream!)
- Sugar: 5g
- Fat: 3g
- Carbohydrates: 10g
See? That protein count is wild! It’s definitely more of a **protein packed dessert** than a traditional snack. This transparency is important to me—you should always know exactly what you’re putting into your body when you’re trying to eat healthier.
Share Your Cottage Cheese Ice Cream Creations
Whew! We’ve blended, we’ve frozen, and hopefully, you’re even digging into a scoop right now! When I develop a recipe like this **cottage cheese ice cream**—something that feels a little unusual but ends up being so rewarding—I absolutely thrive on hearing what you think.
Seriously, hearing from you guys makes all the testing worth it! Did you stick to simple vanilla, or did you get adventurous?
I’d love it if you took just a quick second after you’ve enjoyed this amazing **healthy frozen dessert** to come back here and leave a little rating. Five stars if it satisfied your sweet tooth healthy, three if you had a little texture issue, or whatever feels right!
Also, tell me about your flavor experiments! What did you mix into the base?
- Did you manage to make a cool **strawberry cottage cheese dessert** version?
- Did the **chocolate protein ice cream** turn out rich enough for you?
- Are you finding new ways to enjoy this as a go-to **cottage cheese snack idea**?
Don’t be shy about sending photos, either! You can always send me a quick message or just drop your thoughts right down in the comments below. I read every single one, and your feedback actually helps me figure out what to test for next! If you have any burning questions after reading everything, you can always reach out directly through my contact page!
Happy scooping, everyone!
PrintSimple Vanilla Cottage Cheese Ice Cream (High Protein)

Make a creamy, high-protein frozen dessert using only four simple ingredients. This recipe yields a satisfying, guilt-free ice cream alternative that you can prepare easily at home.
- Prep Time: 5 min
- Cook Time: 0 min
- Total Time: 4 hr 5 min
- Yield: 2 servings 1x
- Category: Dessert
- Method: No Churn/Freezing
- Cuisine: American
- Diet: Low Fat
Ingredients
- 1 cup low-fat cottage cheese
- 1/4 cup milk (dairy or non-dairy)
- 1 teaspoon vanilla extract
- 2 tablespoons sweetener (e.g., monk fruit, erythritol, or maple syrup)
Instructions
- Place the cottage cheese, milk, vanilla extract, and sweetener into a high-speed blender or food processor.
- Blend the mixture until it becomes completely smooth and creamy. Scrape down the sides as needed to incorporate all ingredients.
- Pour the smooth mixture into a freezer-safe, shallow container. Cover the container tightly.
- Freeze for at least 4 to 6 hours, or until firm.
- If using a Ninja Creami, process the frozen block according to the machine’s instructions for ice cream.
- If not using a Creami, let the container sit at room temperature for 10 to 15 minutes before scooping to soften slightly.
- Serve immediately as a healthy frozen dessert.
Notes
- For a richer flavor, use whole milk cottage cheese or add 1/2 teaspoon of almond extract with the vanilla.
- To make strawberry cottage cheese ice cream, add 1/2 cup of frozen strawberries before blending.
- If you prefer a sweeter result, increase the sweetener amount to taste before freezing.
- This recipe works well as a base for chocolate protein ice cream; add 1 tablespoon of unsweetened cocoa powder during blending.
Nutrition
- Serving Size: 1/2 cup
- Calories: 150
- Sugar: 5
- Sodium: 350
- Fat: 3
- Saturated Fat: 1.5
- Unsaturated Fat: 1.5
- Trans Fat: 0
- Carbohydrates: 10
- Fiber: 0
- Protein: 18
- Cholesterol: 10