
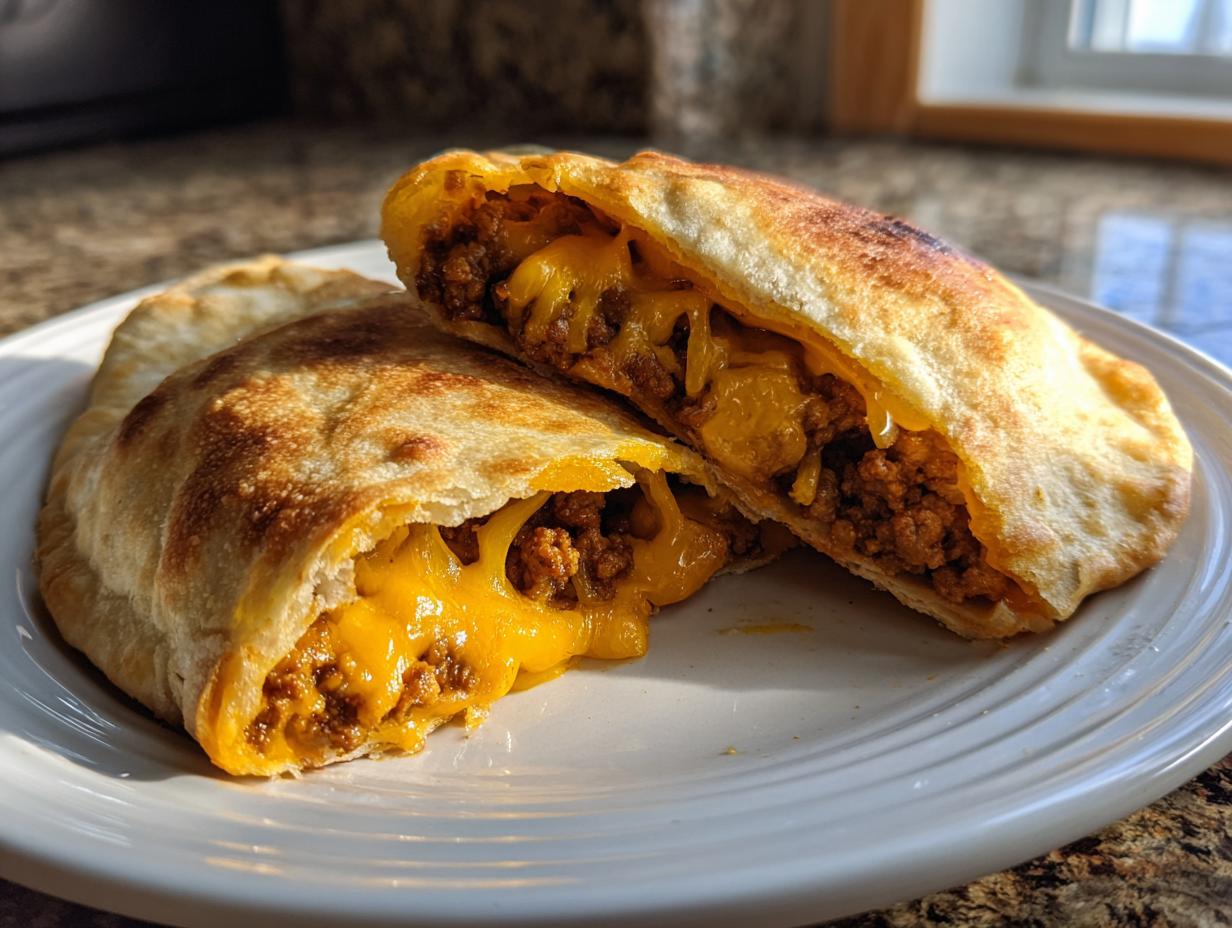
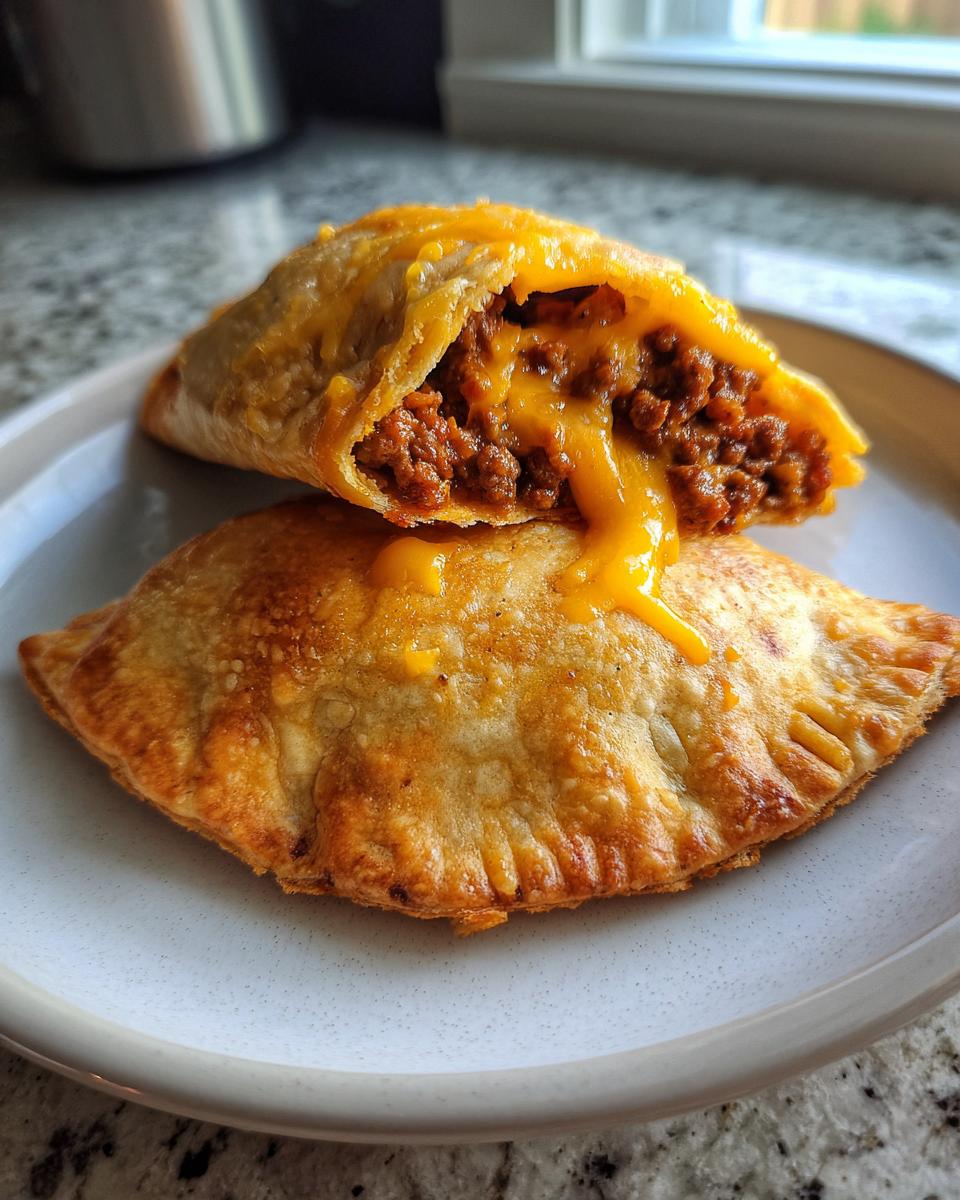
Oh, I know that feeling! It’s 5:30 PM, you’re tired, and the thought of making something that leads to a mountain of serving dishes feels impossible. If you’re staring down a pile of tortillas and thinking, “I need flavor without the fuss,” then I have the perfect solution for you: these cheesy pocket tacos. Forget messy toppings and leaky shells! We are taking all the goodness of taco night—the spiced ground beef, the melty cheese, the satisfying crunch—and wrapping it up into one reliable, handheld package. Trust me when I say I’ve tested this recipe until the tortilla was perfectly golden, so you know it works every single time. If you are looking for more quick solutions, check out my favorite weeknight dinner recipes!
- Why These Loaded Cheesy Pocket Tacos Are Your New Weeknight Taco Dinner Favorite
- Gathering Ingredients for Perfect Cheesy Pocket Tacos
- Step-by-Step Instructions for Crispy Taco Pockets
- Baking for Golden Perfection: Achieving Crispy Taco Pockets
- Tips for Success When Making Cheesy Pocket Tacos
- Serving Suggestions for Your Handheld Taco Meals
- Storage and Reheating Instructions for Cheesy Dinner Ideas
- Frequently Asked Questions About Cheesy Pocket Tacos
- Nutritional Snapshot of These Easy Taco Pockets
- Share Your Taco Night Game-Changer Experience
Why These Loaded Cheesy Pocket Tacos Are Your New Weeknight Taco Dinner Favorite
Honestly, if you’re tired of the usual taco mess, these Loaded Cheesy Pocket Tacos are about to become your essential Weeknight Taco Dinner go-to. I made sure these were reliable, which means minimal cleanup and maximum payoff. You get that amazing, satisfying feeling you want from Comfort Food Tacos, but contained!
Here is why I know you’ll love ditching your old routine for these pockets:
- They have super quick prep time—we’re talking under 20 minutes active time.
- The handheld nature means practically zero mess; everything stays tucked inside.
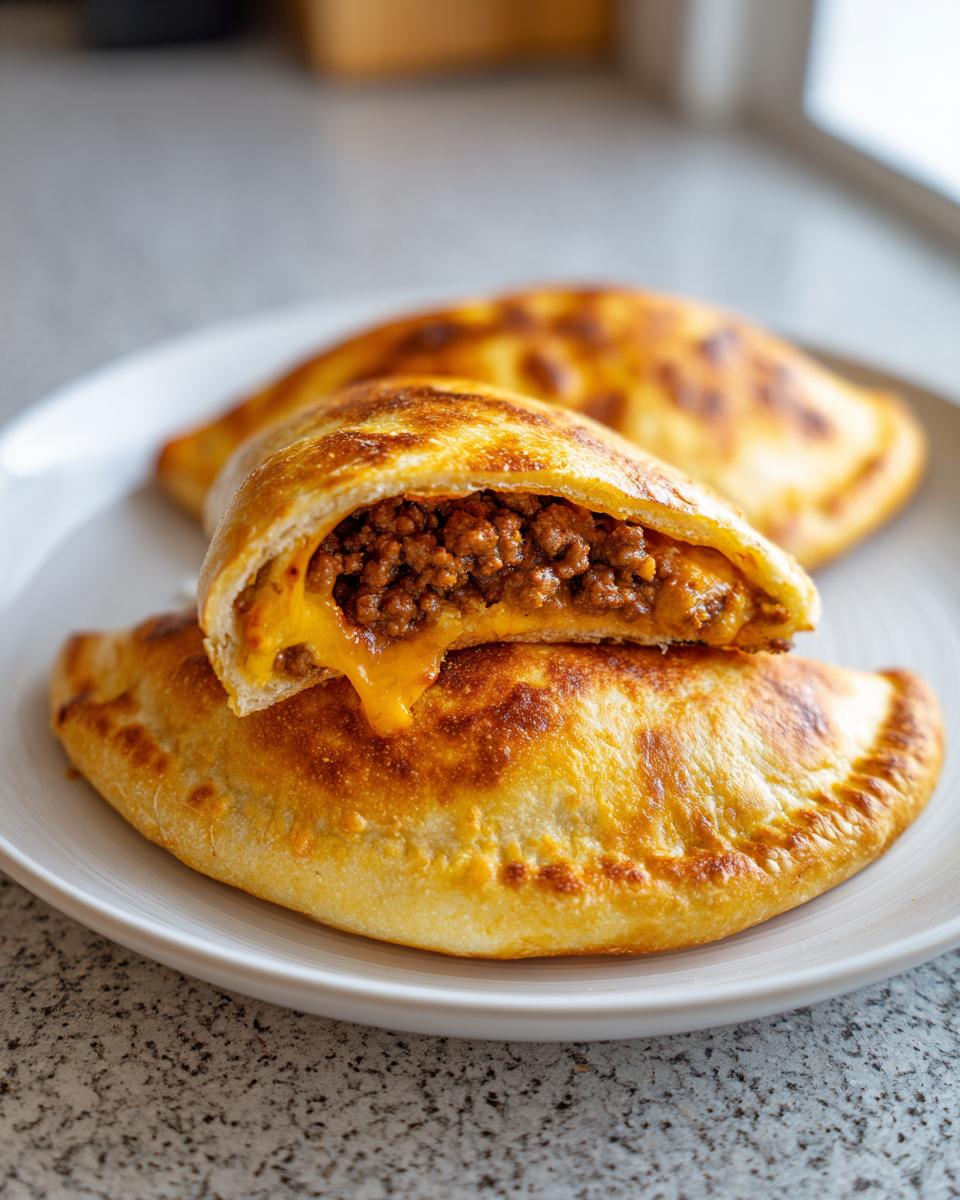
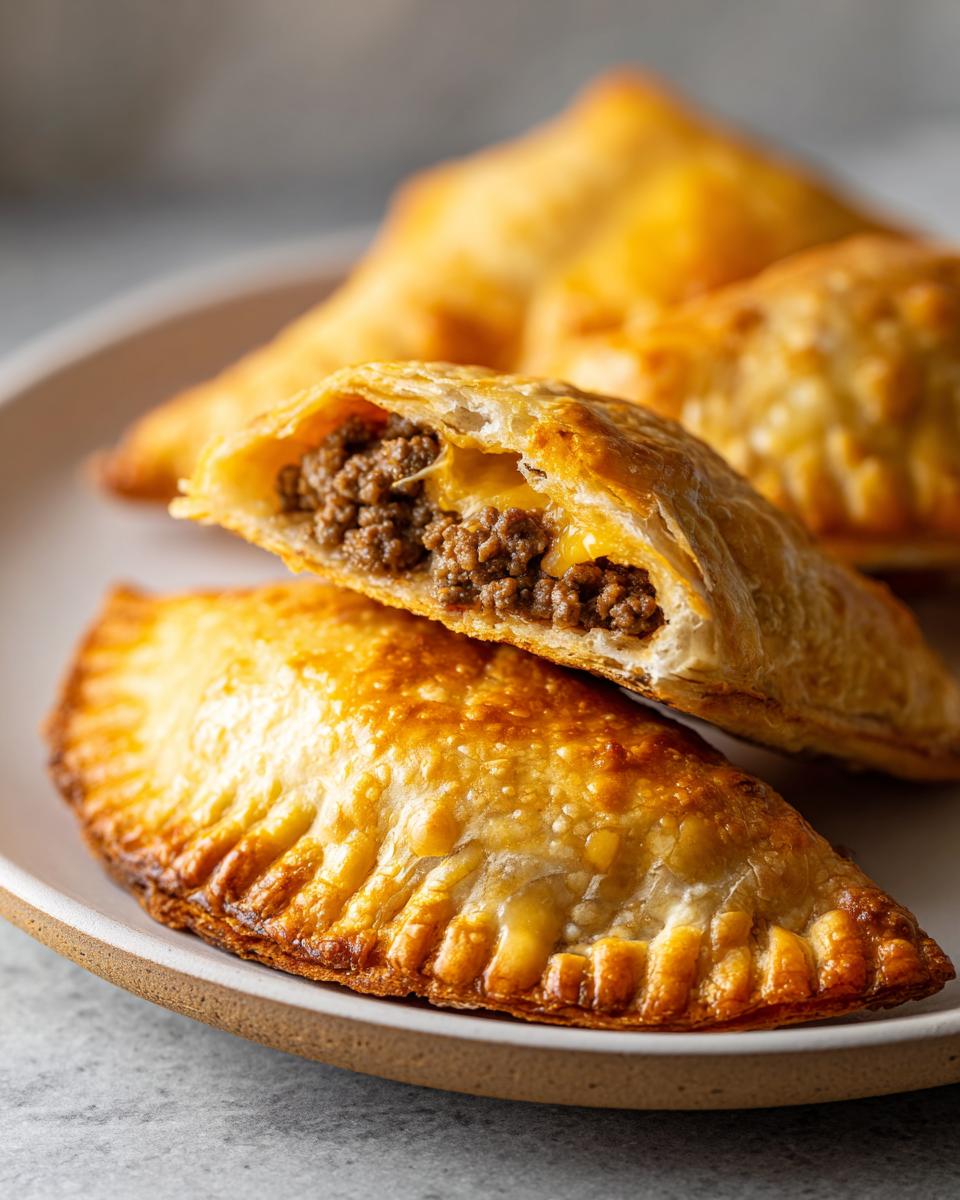
- That wonderful crispy taco pockets exterior that we all crave when baked just right.
- It’s a flavor profile everyone in the family automatically loves, guaranteed!
Gathering Ingredients for Perfect Cheesy Pocket Tacos
Getting ready for these Cheesy Pocket Tacos Recipe is so simple, which is another reason they are perfect for busy evenings. You’ll need standard stuff, but I want you to focus on getting that cream cheese truly softened—it makes all the difference when mixing! We aren’t using anything fancy here, just good quality ingredients that blend together seamlessly. Remember, the star is that creamy, savory interior that gets all golden and melted.
Ingredient Notes and Substitutions for Cheesy Pocket Tacos
Let’s talk about the filling components for a minute. We are using one pound of ground beef, but please hear me out—if you aren’t feeling beef tonight, ground turkey or even shredded cooked chicken works beautifully here. Just make sure whatever meat you use is well-drained of excess grease before you mix in the seasoning!
The most important part of the interior flavor, besides the taco seasoning, is that cream cheese mixed with salsa. If you happen to run out of cream cheese, don’t panic! I found a great trick: whip up 1/2 cup of sour cream with about two tablespoons of mayonnaise. It gives you that essential creamy binder texture, though I really love the slight tang the actual cream cheese adds to these Stuffed Tortilla Recipe pockets.
Step-by-Step Instructions for Crispy Taco Pockets
Alright, let’s get cooking! Before we do anything else, I want you to get your oven preheated to 400 degrees Fahrenheit. That hot start is key to getting those perfect Taco Pockets with Ground Beef to crisp up nicely. We aren’t just making tacos here; we are crafting the ultimate Baked Taco Pockets, and it starts with a hot sheet pan! We’ll prep the filling first, then dip into assembly.
Preparing the Filling for Your Cheesy Pocket Tacos
First up is the ground beef. Get a tablespoon of olive oil hot in your skillet over medium-high heat. Brown that pound of beef, and I mean really brown it, breaking it up so it’s nice and crumbly. Now, this is important: drain off every bit of extra grease. Nobody wants a soggy pocket from too much oil!
Once it’s drained, stir in your taco seasoning and the water. Let that simmer down for about five minutes until most of that liquid evaporates. When it’s nice and thick, pull the skillet right off the heat. We want it slightly cooled before we mix in our creamy element, or things can get a little strange texture-wise.
Assembling and Sealing the Stuffed Tortilla Recipe
While the meat cools slightly, grab your softened cream cheese/salsa mix and spread a generous layer of it evenly over just *half* of each tortilla. Don’t go too close to the edges, or you’ll have cheese ooze everywhere!
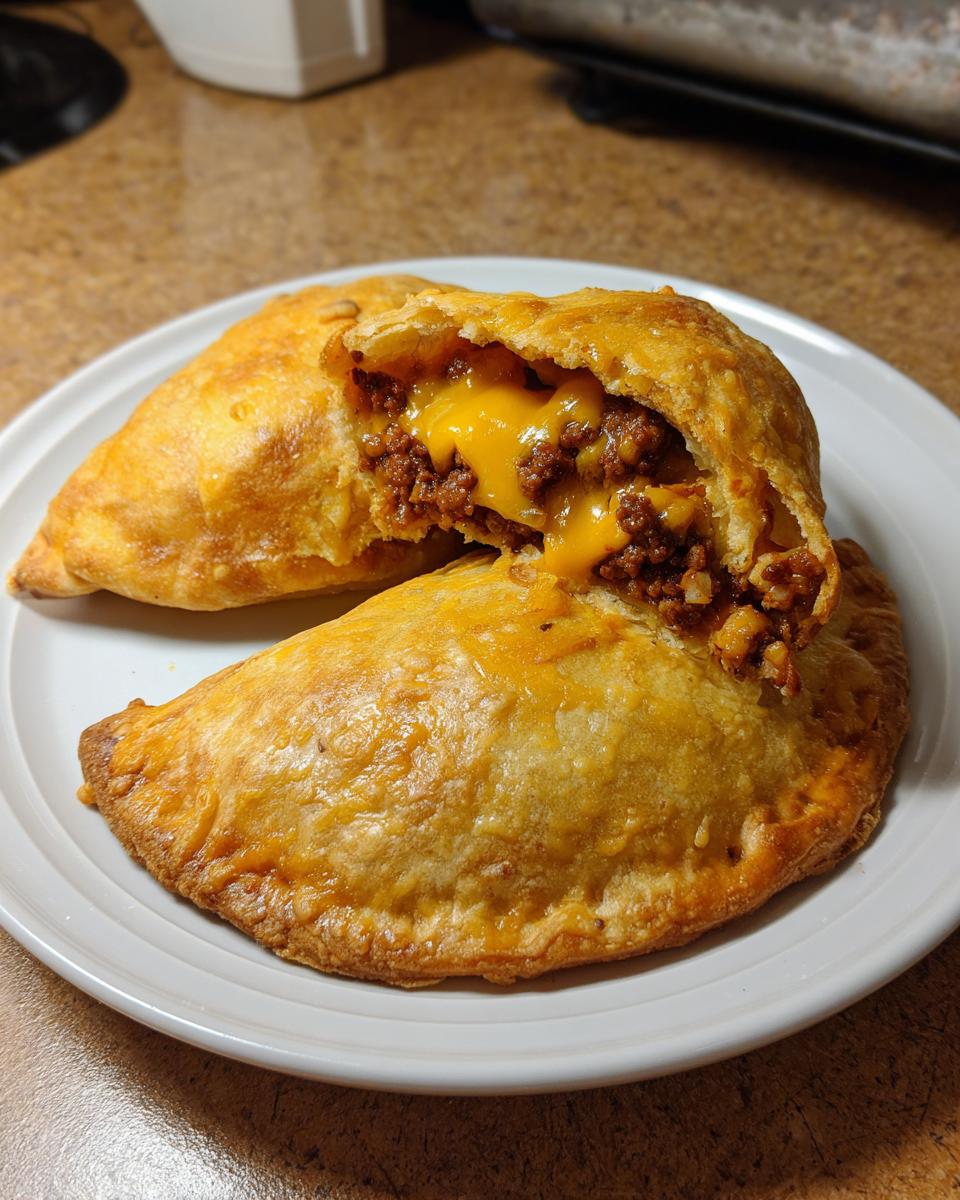
Next, spoon about a quarter cup of that seasoned beef mixture right on top of the cream cheese layer. Then, sprinkle on the Monterey Jack cheese. Now, fold that tortilla over gently to make your pocket. You need to use your fingers or a fork to press those edges together really well. I usually give the tops a little brush with water or melted butter—this helps them turn that beautiful golden brown color when they bake.
Baking for Golden Perfection: Achieving Crispy Taco Pockets
Now for the moment of truth! We need to hit that sweet spot where the filling is piping hot and the tortilla turns into those glorious Crispy Taco Pockets we dream about. Put those sealed pockets seam-side down on your greased baking sheet after brushing them. They go into that 400-degree oven for about 12 to 15 minutes. Keep an eye on them!
When they look golden brown, pull them out. Here’s the final cheesy flourish: sprinkle the remaining cheddar cheese over the top of each one! Pop them back in for just two or three quick minutes until that cheddar is bubbly and absolutely melted. Perfection!
If you’re in a huge rush, let me tell you my secret for extra crispiness—the air fryer! You can bake these pockets at 375 degrees Fahrenheit for just 6 to 8 minutes, making sure you flip them halfway through for even browning. Either way, they come out fantastic for your Quick Family Dinner!
Tips for Success When Making Cheesy Pocket Tacos
I love sharing these little tricks that just take something good and make it truly great. Since these Cheesy Pocket Tacos rely on everything sealing up right, a couple of small steps make a huge difference in the final result. These tips are what keep my pockets from exploding or leaking when they bake, so pay attention!
Here are my must-do tips for making sure your Easy Taco Pockets win the night:
- Make sure your cream cheese is truly room temperature, bordering on soft. If it’s cold, it won’t incorporate smoothly with the salsa, resulting in lumps instead of that lovely creamy base.
- Use the biggest flour tortillas you can find—the burrito size, definitely! Smaller tortillas just don’t have enough flap room for folding securely around a generous amount of filling.
- The filling cannot be runny. If your ground beef mixture has too much liquid when you add the seasoning/water, give it an extra minute or two off the heat to evaporate before you try to stuff it. Wet fillings equal broken pockets. I learned that the hard way!
- When sealing those edges, press firmly, but don’t smash the tortilla flat. You want a good, tight seal to keep the cheese in, but keep some of the puffy integrity for that great baked texture later on.
If you handle the filling moisture correctly and use those large tortillas, you’re halfway to the best Easy Beef Dinner Recipes success. For nights when you need reliable main courses, always remember these details. You can find more ideas for quick weeknights over on my page of easy beef dinner recipes!
Serving Suggestions for Your Handheld Taco Meals
Okay, now that you have these beautiful, golden, cheesy pocket tacos fresh out of the oven, we have to talk about toppings! This is where people often make a rookie mistake with Handheld Taco Meals—they overload them with wet salads and things cause an immediate structural collapse. We worked so hard to get that crispy exterior, we don’t want to ruin it!
The secret here is to keep the toppings on the side or strategically placed so they add flavor without adding too much moisture. Think of these like little gifts waiting to be unwrapped, not sloppy burdens.
Here are my favorite, fuss-free ways to jazz these up for a great Supper Ideas With Tortillas night:
- Sour Cream or Greek Yogurt: A dollop right on top when serving is perfect. It adds that required creamy coolness without soaking into the shell underneath.
- Shredded Lettuce (Dry): If you use lettuce, you absolutely must spin it completely dry in a salad spinner or pat it aggressively with paper towels. A little crunch is good; wet lettuce is the enemy!
- Fresh Herbs: A sprinkle of chopped cilantro or even green onions adds such a bright, fresh flavor that cuts through the richness of the cheese and beef.
- Salsa or Guacamole: Always serve these on the side for dipping! Dipping ensures you control the moisture level totally separately from the shell itself.
When you serve them hot and crispy alongside a small bowl of toppings, everyone can customize their Comfort Food Tacos exactly how they like without compromising the integrity of the pocket itself. Happy dipping!
Storage and Reheating Instructions for Cheesy Dinner Ideas
I always make a few extra of these Cheesy Pocket Tacos because, honestly, they are almost better the next day for lunch! But you have to store them correctly, or you lose that perfect crispness we worked so hard to achieve in the oven.
For storage, let any leftovers cool down completely first. Then, wrap each pocket tightly in plastic wrap—I often do a double wrap—and stick them into an airtight container. They’ll keep nicely in the fridge for up to three days. This ensures they don’t absorb any weird fridge smells and stay fresh for your next quick meal. If you’re planning ahead, these also freeze really well!
When it comes to reheating these tasty Cheesy Dinner Ideas, the microwave is fast, but it is the enemy of crispiness. If you use the microwave, they’ll be soft and maybe a little chewy. That’s fine if you’re in a huge rush, but you only need about 30 to 45 seconds until they are warm through.
If you want to bring back that beautiful golden exterior, you absolutely must use dry heat. Pop them straight from the fridge (no need to unwrap them if they are wrapped tightly) onto a baking sheet at 350 degrees Fahrenheit for about 8 to 10 minutes. The oven brings back the crunch beautifully. If you have an air fryer, that works great too—just 4 minutes at 360 should do the trick and restore that satisfying snap! You can find more reliable ways to use up dinner leftovers on my page of Cheesy Dinner Ideas!
Frequently Asked Questions About Cheesy Pocket Tacos
I get so many great questions about optimizing these Cheesy Pocket Tacos Recipe, and I love knowing you’re already planning how to fit them into your schedule! Since these are so popular for Game Day Taco Snacks on Fridays, people always ask about prep time and cheese specifics. Here are the answers to the most common things I hear in the comments!
Can I prep these Loaded Pocket Tacos ahead of time?
Yes, absolutely! This is one of the best things about these Easy Taco Pockets. You can assemble the entire pocket—beef, cheese, everything—and wrap each one tightly in plastic wrap. Keep them in the fridge for up to 24 hours before you plan to bake them. Just add an extra minute or two to the baking time since they are starting chilled.
What is the absolute best cheese combination besides Cheddar and Jack?
Great question! Since we already have that creamy element from the cream cheese, you can really go bold with the shredded cheeses. I highly recommend trying Pepper Jack if you like a little heat—it pairs wonderfully with the taco seasoning. Alternatively, a nice sharp Mexican Blend often has Cotija or Asadero, which melt beautifully and add a deeper flavor than just basic blends. These adjustments make them true Creamy Cheese Tacos!
Do I have to use beef? Can I swap it for something vegetarian?
You never have to stick to one meat with my recipes! If you’re looking for a vegetarian option for these Stuffed Tortilla Recipe pockets, my go-to swap is black beans or refried beans mixed with diced sautéed vegetables like mushrooms, onions, and peppers. If you use beans, make sure you drain them extremely well and maybe even pan-fry them briefly to evaporate excess liquid. You want that substantial texture, not slop inside your tortilla!
Is there a specific type of tortilla best for these Handheld Taco Meals?
Definitely! I use standard 10-inch flour tortillas, often labeled as ‘burrito size.’ They give you the necessary extra surface area to fold over and securely crimp the edges without tearing. If you use smaller tacos shells, you’ll struggle to fit enough filling, and that usually leads to leaking. For the best results, check out the tips on getting an amazing crispy finish like the one shared by fellow home cooks here.
How can I sneak in some veggies without them tasting like vegetables?
I totally get this, especially when trying to please reluctant eaters! For these Ground Beef Pockets, the best way to hide extra nutrients is by finely grating zucchini or carrots (yes, more carrots!) and mixing them directly into the ground beef while you are browning it. Since they cook down so much and get mixed with the strong taco seasoning, the flavor disappears, but you get the nutritional boost and extra moisture!
I hope answering these helps you get set up for an easy snack or dinner soon! If you’ve tried them, don’t forget to leave a rating below!
Nutritional Snapshot of These Easy Taco Pockets
I always get asked about the ‘how much’ when people are trying to fit family favorites into their meal plans. While I focus mostly on flavor and fun in my kitchen, I know nutrition matters! Based on the ingredients list for these Easy Taco Pockets (one pocket serving, yields 8), here is a general idea of what you’re looking at.
Keep in mind, though, that these numbers are just estimates, right? If you use leaner beef or swap out some cheese for vegetables, your totals will change slightly. It all depends on the brands you choose, but this gives you a good baseline for these Comfort Food Tacos.
- Serving Size: 1 pocket
- Calories: 380
- Fat: 20g
- Saturated Fat: 10g
- Protein: 22g
- Carbohydrates: 28g
- Fiber: 2g
- Sodium: 550mg
Overall, for a satisfying, cheesy, and totally handheld meal, I think 380 calories is a fantastic deal for these Cheesy Tortilla Pockets! I hope this helps you plan your menu this week!
Share Your Taco Night Game-Changer Experience
Well, friend, that’s the whole journey into making truly amazing Loaded Cheesy Pocket Tacos! Honestly, watching those golden pockets come out of the oven always makes me so happy, and I deeply hope they bring that same sense of accomplishment to your kitchen.
I put my best tips into this recipe just for you, and now I truly want to hear all about it! Did these become your new favorite Taco Night Game-Changer, just like they are for my family?
Don’t be shy! I encourage you to do three things once you’ve made them:
- Please come back here and leave a rating! Give these pockets five stars if they earned them—it helps other cooks find reliable recipes like this one.
- Jump down into the comments section below and tell me what variation you tried. Did you use chicken? Did you add chipotle powder to the beef? I love seeing how you make the recipe your own.
- If you snapped a picture of your perfectly baked, golden pockets, share it on social media! Tag me so I can cheer you on! You can find more great ideas I share over on my Taco Night Game-Changer page.
Thank you so much for cooking with me today. I’m already excited about what delicious, easy meal we tackle next time together. Happy cooking, and enjoy every last cheesy bite!
PrintLoaded Baked Cheesy Ground Beef Pocket Tacos

Make these Loaded Baked Cheesy Pocket Tacos for a satisfying, handheld weeknight dinner. Seasoned ground beef and a creamy cheese blend bake inside tortillas until golden and crisp.
- Prep Time: 15 min
- Cook Time: 20 min
- Total Time: 35 min
- Yield: 8 servings 1x
- Category: Dinner
- Method: Baking
- Cuisine: Mexican-Inspired
- Diet: Vegetarian
Ingredients
- 1 tablespoon olive oil
- 1 pound ground beef
- 1 packet (1 ounce) taco seasoning mix
- 1/2 cup water
- 4 ounces cream cheese, softened
- 1/2 cup salsa
- 1 cup shredded cheddar cheese, divided
- 8 medium flour tortillas (burrito size)
- 1/2 cup shredded Monterey Jack cheese
Instructions
- Preheat your oven to 400 degrees Fahrenheit. Lightly grease a baking sheet.
- Heat the olive oil in a large skillet over medium-high heat. Add the ground beef and cook until browned, breaking it up as it cooks. Drain off any excess grease.
- Stir in the taco seasoning mix and water. Bring to a simmer and cook for 5 minutes, or until the liquid has mostly evaporated. Remove from heat.
- In a small bowl, mix the softened cream cheese, salsa, and 1/2 cup of the cheddar cheese until smooth and combined.
- Spread the cream cheese mixture evenly over one half of each flour tortilla.
- Spoon about 1/4 cup of the seasoned ground beef mixture over the cream cheese layer on each tortilla.
- Sprinkle the Monterey Jack cheese over the beef filling. Fold the tortilla in half to create a pocket shape. Press the edges gently to seal.
- Place the folded pockets seam-side down on the prepared baking sheet. Brush the tops lightly with water or melted butter for better browning.
- Bake for 12 to 15 minutes, or until the tortillas are golden brown and crisp.
- Remove from the oven, sprinkle the remaining 1/2 cup of cheddar cheese over the tops, and return to the oven for 2 to 3 minutes, just until the cheese melts.
- Serve immediately with your favorite taco toppings.
Notes
- For extra crispiness, you can air fry these pockets at 375 degrees Fahrenheit for 6 to 8 minutes, flipping halfway through.
- You can substitute the ground beef with ground turkey or shredded cooked chicken for variety.
- If you do not have cream cheese, use 1/2 cup of sour cream mixed with 2 tablespoons of mayonnaise for a creamy binder.
Nutrition
- Serving Size: 1 pocket
- Calories: 380
- Sugar: 3
- Sodium: 550
- Fat: 20
- Saturated Fat: 10
- Unsaturated Fat: 10
- Trans Fat: 0.5
- Carbohydrates: 28
- Fiber: 2
- Protein: 22
- Cholesterol: 65