
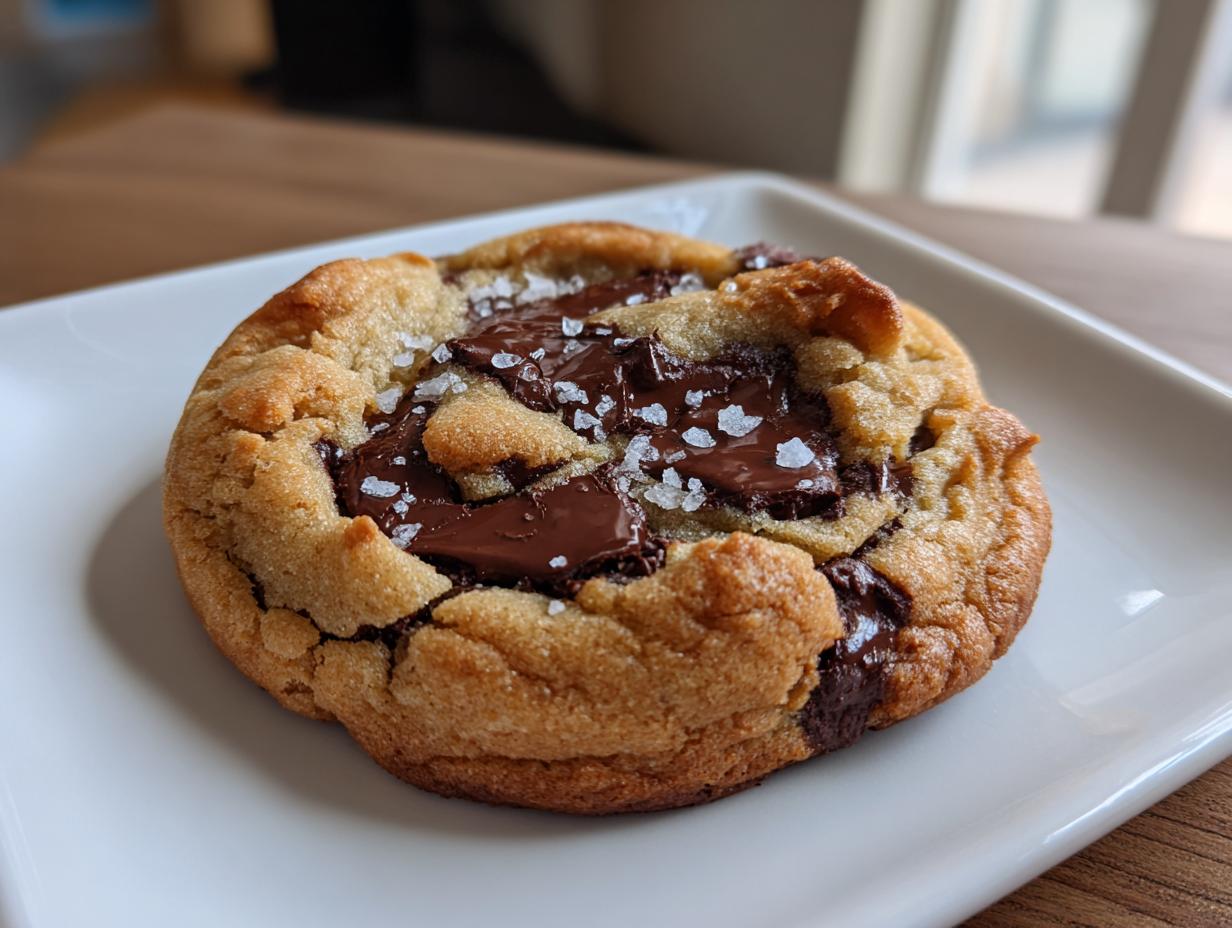
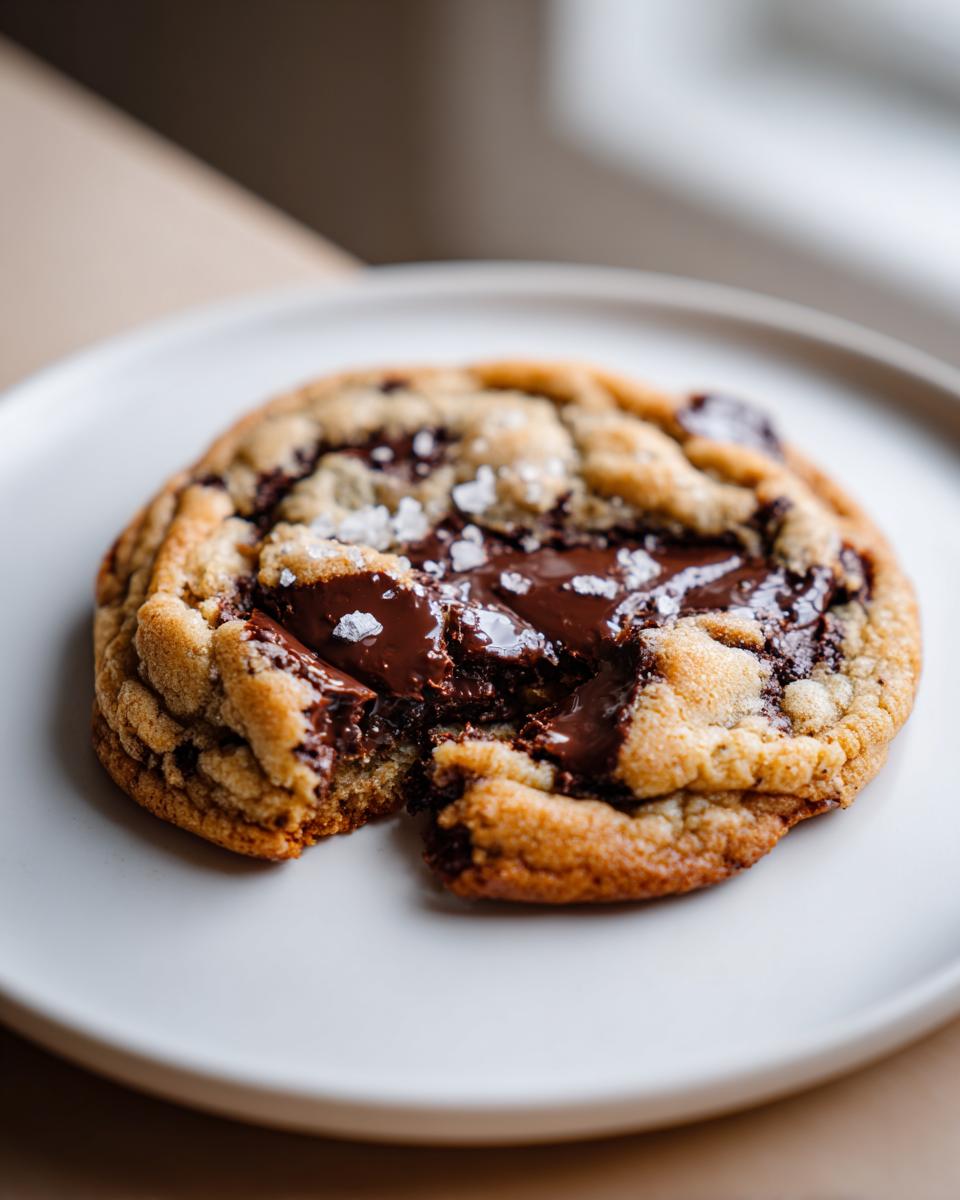
Listen, we all love a classic chocolate chip cookie, right? It’s comfort food 101! But sometimes, you just need to make that comfort next-level gourmet. That’s exactly why I am obsessed with these **brown butter chocolate chip cookies**. Seriously, just the idea of turning regular butter into something nutty and rich with that amazing toffee flavor changes everything.
I’ve spent *way* too much time in my kitchen perfecting this. You know me—if it’s going on Kings Cook, it has to be absolutely reliable. This isn’t just any recipe; my team and I rigorously tested every measurement to make sure these **brown butter chocolate chip cookies** deliver that unbelievable depth of flavor and the perfect texture every single time. Trust me, this is the ultimate version you’ve been searching for!
- Why This is the Ultimate brown butter chocolate chip cookies Recipe (E-E-A-T Focus)
- Gathering Ingredients for Your brown butter chocolate chip cookies
- Mastering How to Brown Butter for Cookies
- Step-by-Step Instructions for brown butter chocolate chip cookies
- Baking Tips for Perfect brown butter chocolate chip cookies
- Storage and Making Ahead brown butter chocolate chip cookies
- Frequently Asked Questions About brown butter chocolate chip cookies
- Serving Suggestions for Your Gourmet Chocolate Chip Cookies
- Nutritional Estimates for brown butter chocolate chip cookies
- Share Your brown butter chocolate chip cookies Creations
Why This is the Ultimate brown butter chocolate chip cookies Recipe (E-E-A-T Focus)
Okay, so why should you trust *my* brown butter chocolate chip cookies recipe when there are a million out there? Because I’m Kate, and I don’t put anything on this site that I haven’t made until it’s absolutely foolproof! We tested these until we nailed the balance of nutty flavor and that dreamy texture.
Here’s the short list on why these are the best you’ll ever eat:
- The flavor is out of this world thanks to that rich, toffee note from the browned butter.
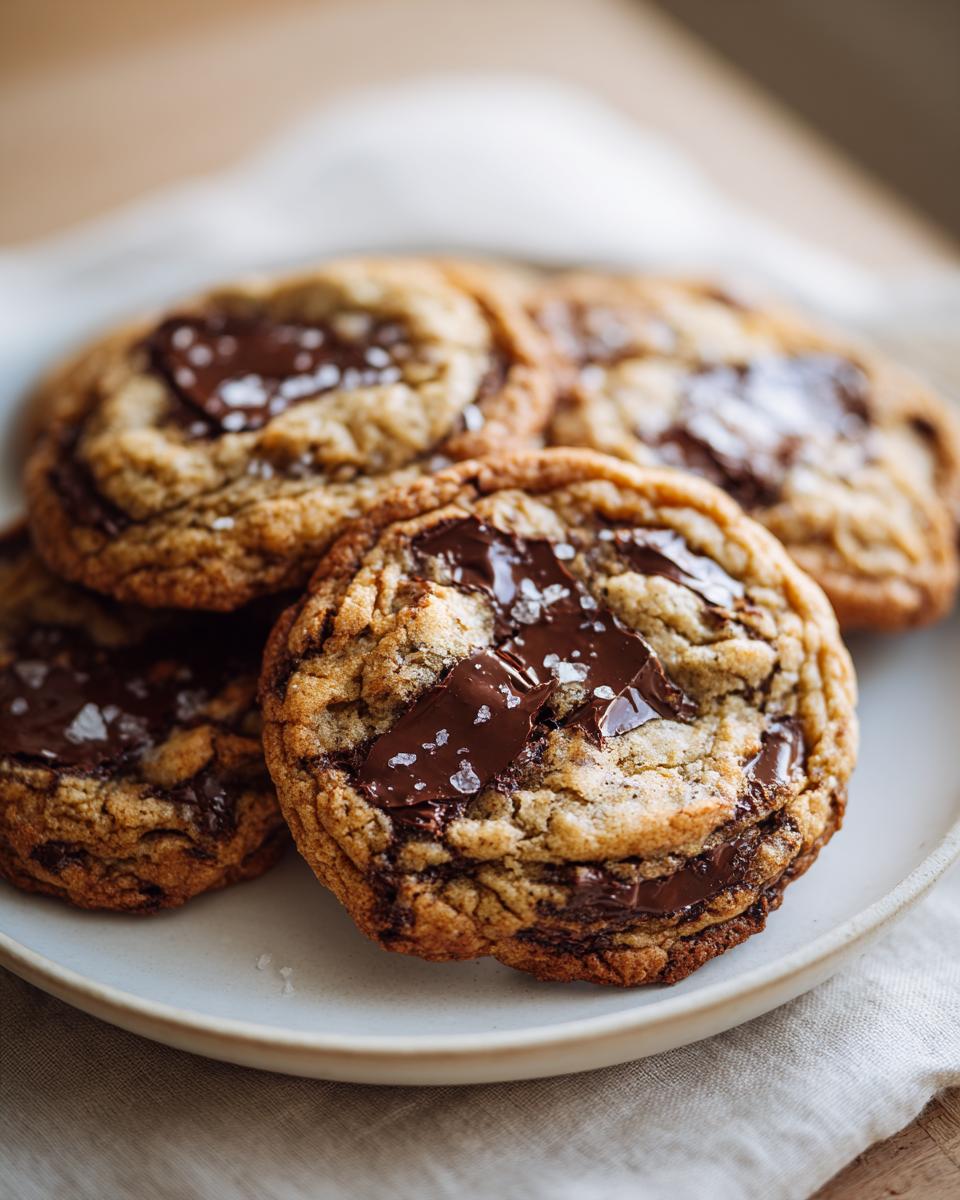
- They bake up with those gorgeous golden edges every time.
- We spent ages getting the ratios just right to avoid flat, greasy cookies.
If you want the best result, you have to follow the steps, especially the chilling part we talk about later. If you trust my testing, you’ll love the results! You can see how much other people are raving about leveling up standard cookies right here.
Achieving That Perfect Chewy Chocolate Chip Cookies Texture
Texture is everything, isn’t it? Nobody wants a hockey puck cookie! We aren’t just aiming for soft; we want that specific contrast: crisp edges that shatter slightly, giving way to a gorgeously soft, almost gooey center. It all comes down to the sugars we chose—lots of brown sugar for moisture and that molasses chew—and, you guessed it, chilling the dough.
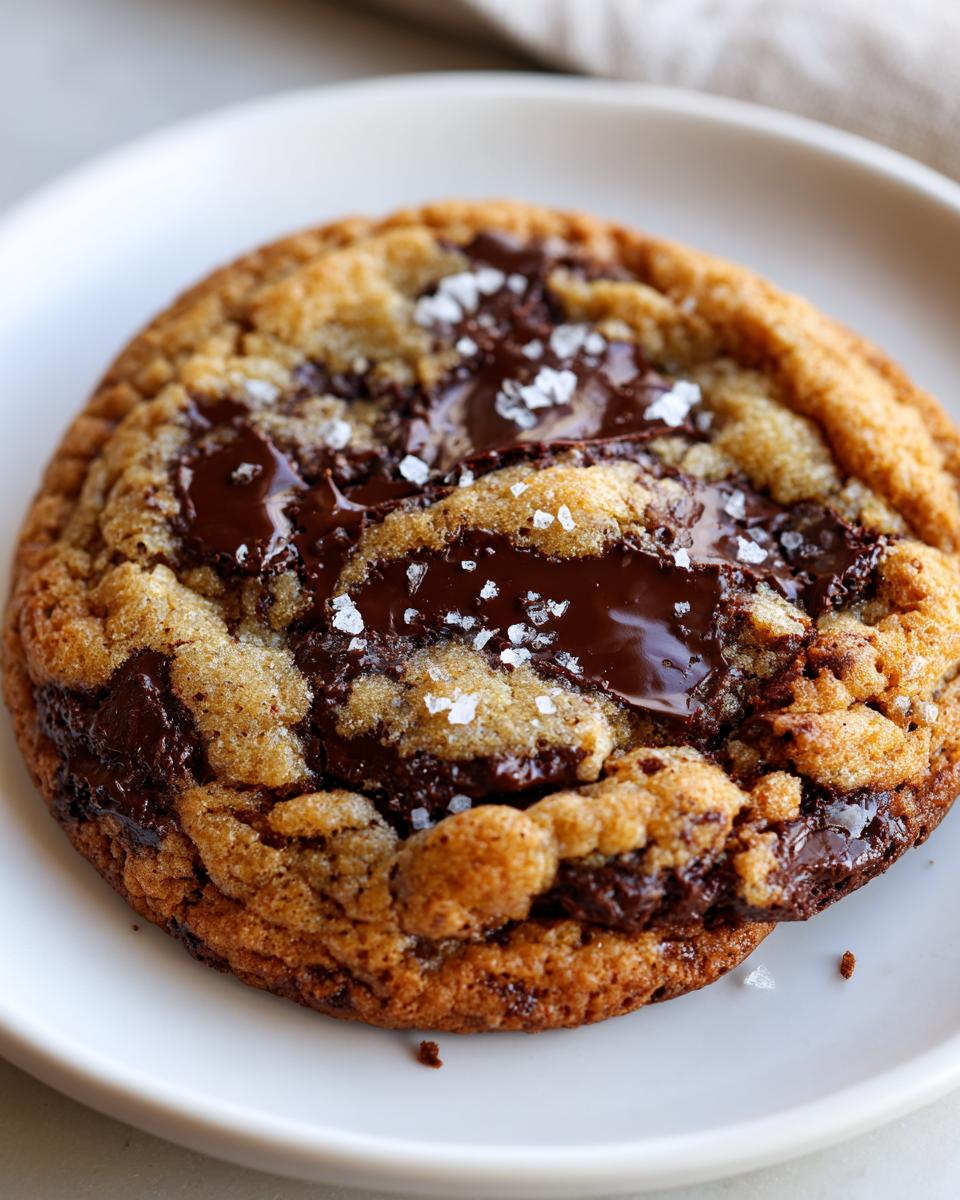
The combination of the sugar ratio and the cooled brown butter helps firm up the structure while baking. This means the edges set quickly, but the middle stays slightly underbaked when you pull them out. That slight underbake is your secret weapon for that ultimate chewiness later on!
Gathering Ingredients for Your brown butter chocolate chip cookies
Okay, time to pull out your mixing bowls! Since this recipe relies heavily on that signature toffee taste, just like my grandma always insisted on real butter, we need to be precise here. Don’t just eyeball the amounts—I learned that lesson the hard way when my cookies spread into one giant sheet!
Here’s the list of exactly what worked perfectly in my rigorous testing:
- One cup of unsalted butter (we’ll brown this later, watch this space!).
- One cup of light brown sugar, and make sure it’s really packed down in the cup!
- Half a cup of regular white granulated sugar.
- Two large eggs, and they absolutely must be at room temperature—this helps them mix in evenly.
- A full tablespoon of good, pure vanilla extract.
- Two and a quarter cups of all-purpose flour.
- Properly measured baking soda and kosher salt for balance.
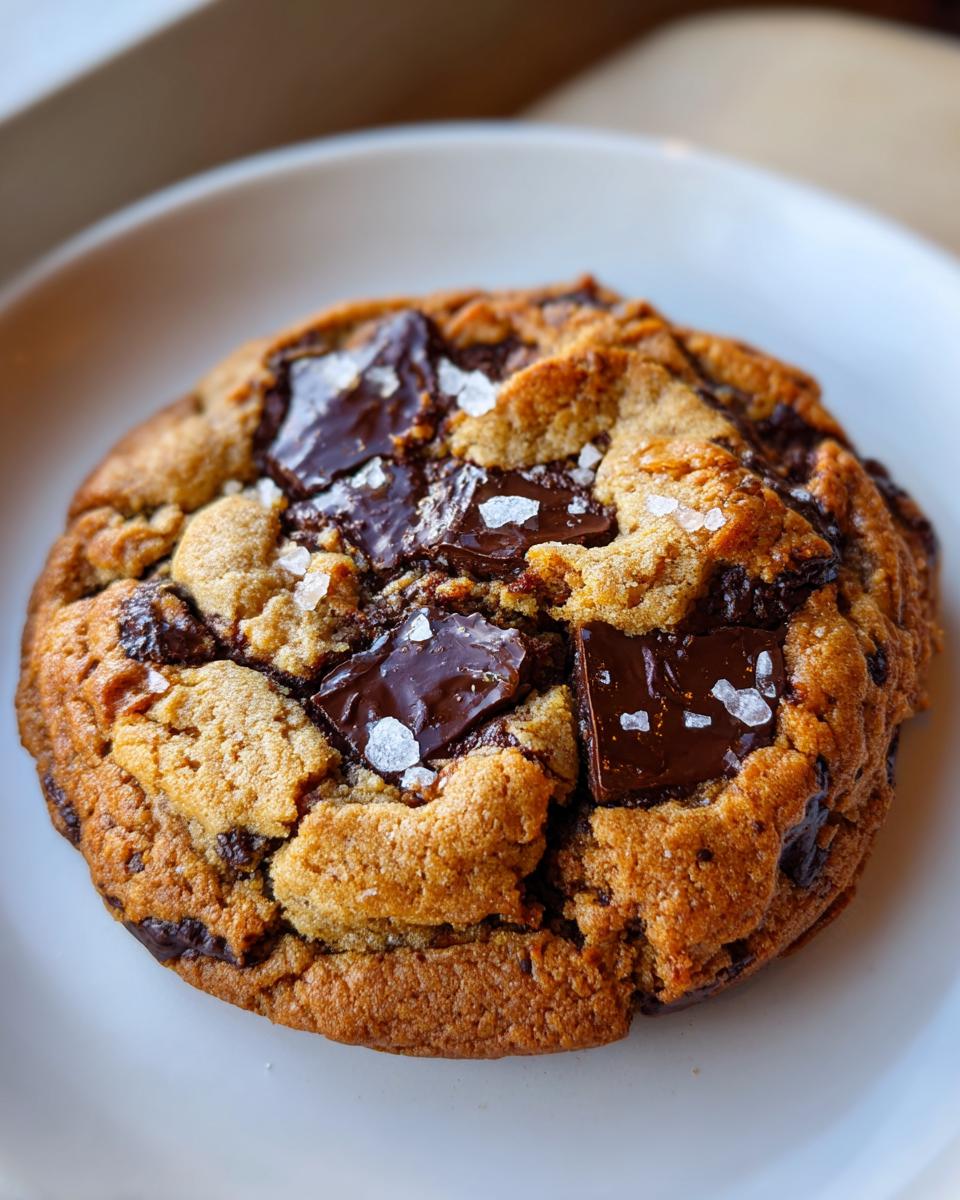
- A generous cup and a half of chocolate chips, or even better, chunks!
- And finally, flaky sea salt for that amazing pop on top when they come out hot.
Ingredient Notes and Smart Substitutions
Let’s talk details for a moment. When it comes to the chocolate, trust me on this: use high-quality chocolate *chunks* if you can find them. Chocolate chips have stabilizers that keep them looking like chips, even when hot. Chunks melt into those beautiful, gooey puddles we want in the center of our gourmet chocolate chip cookies.
Also, those eggs? They have to be room temperature. If they are cold, they shock the beautiful, cooled brown butter mixture, and your dough can curdle or separate. A cold egg equals a sad, dense cookie, and we are not having that here!
Mastering How to Brown Butter for Cookies
Okay, guys, this step is the *secret weapon*. Browning the butter—creating those nutty, toffee-flavored bits—is what takes these from a standard cookie craving to a truly gourmet experience. It smells incredible while it’s happening, like the best dessert shop you’ve ever walked into!
Here is my routine for nailing it perfectly every time. Grab a light-colored saucepan; you need to see those milk solids change color! Start with the full cup of butter over medium heat. It’ll melt, then it’ll foam up like crazy—that’s the water cooking off. Keep swirling it gently, don’t stop stirring!
You need to watch those little brown specks at the bottom. When the smell shifts from just ‘buttery’ to deeply nutty, and those specks turn from white to golden amber, pull it off the heat *immediately*. I will never forget the time I was on the phone chatting, looked back, and those amber bits had instantly turned dark brown and smelled like smoke! Oops! It happens so fast, so you have to be present.
As soon as it smells perfect, pour it right into a clean, heatproof bowl. Pouring it stops the residual heat from burning those beautiful bits you just created. Let that gorgeous, nutty butter cool for about fifteen minutes before you move on to mixing your sugars. Perfection takes presence!
For more tips on getting that deep flavor, I always check this guide for brown butter magic, but honestly, watching it helps you understand the rhythm.
Step-by-Step Instructions for brown butter chocolate chip cookies
Alright, now that we have our fragrant, golden-brown butter waiting (remember, cooled for about 15 minutes!) we jump straight into mixing. We want those sugars and that rich butter to combine beautifully.
First, grab your cooled brown butter, the packed brown sugar, and the granulated sugar. Whisk them together until they look really happy and combined. Then, one by one, you’re beating in those room-temperature eggs, making sure each one is fully incorporated before adding the next. Don’t forget that splash of vanilla extract—it really rounds out that toffee flavor!
In a separate bowl—and this is important for even mixing—whisk together your flour, baking soda, and salt. Now, we add this dry mixture to the wet ingredients gradually. I usually do it in three additions, mixing on low speed just until you see the flour disappear. Stop mixing the *second* it’s combined!
Gently fold in all those chocolate chips or chunks. You can check out some of my favorite chocolate combinations for this classic recipe roundup. Once combined, it’s time to cover the dough and make sure it rests. This next step is where magic happens, but I’ll tell you all about it separately!
Once chilled, just preheat your oven to 375°F and scoop out rounded tablespoons onto a parchment-lined sheet. You’ll bake them until those edges look golden, but the middles look just a tiny bit soft—that’s the key to that gooey goodness!
The Non-Negotiable Step: Chilling Your brown butter chocolate chip cookies Dough
Hear me out on this one: you *must* chill this dough. I know, I know, you want to eat them right now, but patience is your secret ingredient here! If you skip this, your brown butter chocolate chip cookies will spread too thin into greasy puddles, and we lose that beautiful height and chewy center.
I insist on a minimum of two hours in the fridge. Why? Because that resting time allows the flour to fully hydrate, which locks in moisture, and it lets all those deep, nutty flavors from the brown butter really sink into the dough. Honestly, if you have the time, chilling for 24 hours or even 72 hours makes them even better! You get superior texture and deeper flavor complexity. It truly transforms these from great to the best chocolate chip cookie recipe you’ll ever find.
Baking Tips for Perfect brown butter chocolate chip cookies
This is the moment of truth, isn’t it? We want those picture-perfect cookies, golden on the outside and perfectly soft inside. Since we chilled the dough, our baking is super predictable. Preheat your oven faithfully to 375°F. Don’t trust an oven that hasn’t preheated fully; cold spots are the enemy of the perfect bake!
When you put the dough balls in, keep that 2-inch spacing we talked about. They will spread a little, but not too much because of the chilling. You’re looking for the edges to turn a solid golden brown. Seriously, watch them closely around the 10-minute mark. The centers should still look a bit puffy and maybe even a little pale or slightly underbaked when you pull them out. They will keep cooking on the hot sheets!
As soon as they come out, grab that flaky sea salt—you need sea salt to cut through all that richness! Sprinkle it right on top immediately. If you wait even three minutes, the salt won’t stick properly. If you want to learn some great visual cues, check out what they suggest over here! After five minutes on the pan, move them to a wire rack. That little bit of carry-over baking sets the center just right for that chewy texture!
Storage and Making Ahead brown butter chocolate chip cookies
One of the best things about having the best chocolate chip cookie recipe is knowing you can bake them weeks later when a craving hits! I love making a huge batch of dough because these brown butter chocolate chip cookies stay fantastic for days, but storing the *dough* is my real trick for weeknight treats.
For the actual baked cookies, pop them into a good airtight container once they are completely cool—and I mean totally cool, or you risk condensation making them soggy. They stay wonderfully soft and chewy at room temperature for about four days. If you want to keep them longer, like for gifting, you can freeze the baked cookies between sheets of parchment paper in a freezer bag. They thaw out perfectly!
But listen, the real key to always having a fresh, warm cookie ready is freezing the dough balls instead of baking everything at once. I scoop out the dough balls, place them on a sheet, and freeze them solid—pop this sheet into your freezer for about an hour. Once they’re hard pucks, transfer them into a freezer-safe bag. You can actually bake frozen cookie dough straight from the freezer! Just add an extra two or three minutes to your baking time, and you’re good to go!
Frequently Asked Questions About brown butter chocolate chip cookies
I know you’ve got questions! When you make something as special as brown butter chocolate chip cookies, you want every detail perfect. Here are the things I always get asked about in my DMs!
Can I use melted butter instead of browning the butter for these cookies?
Yes, you *can* certainly use plain melted butter, but why would you want to skip the best part? Browning the butter is what infuses this recipe with that deep, rich, almost caramel or toffee flavor that makes these nutty butter cookies so special. If you use regular melted butter, you’ll just end up with a good, standard chocolate chip cookie, not the gourmet version we are aiming for here!
How do I get my brown butter chocolate chip cookies to be perfectly chewy?
This is my favorite question because it has two easy answers! First, you absolutely must chill that dough—seriously, let it rest in the fridge for at least two hours. Second, remember what I said about the oven? Pull them out when the centers still look a little soft. They firm up on the hot pan, setting that perfect combination of crispy edges and a soft center. Don’t ever bake them until they look totally firm!
If you’re looking for other proven cookie tricks, I break down some great tips over at my peanut butter cookie recipe post too!
Serving Suggestions for Your Gourmet Chocolate Chip Cookies
Now that you’ve mastered the brown butter chocolate chip cookies, the only thing left is deciding how to enjoy them—which is almost the hardest part!
These cookies are definitely special enough for gifting. Wrap a stack up nicely with some twine or pop them in cute little cellophane bags tied with a ribbon. Everyone loves receiving something that tastes this gourmet, remember? They are perfect for bake sales or cheering up a friend!
But truthfully? My favorite way is simple comfort. These rich, nutty cookies beg to be paired with something cold. A tall glass of ice-cold milk is the classic pairing for a reason! If you’re having them after dinner, they are incredible sandwiched around a scoop of vanilla bean ice cream for the best homemade ice cream sandwich ever.
They are also incredible with a strong cup of coffee. The bitterness of the coffee really cuts through the richness of the brown butter and the sweetness of the chocolate. Honestly, any time is a good time for these ultimate chocolate chip cookies!
Nutritional Estimates for brown butter chocolate chip cookies
I always include this section just because I know some of you are tracking things, and it’s good to have a baseline when you’re making something this decadent! Remember, these are just estimates based on the ingredients listed. If you swap out semi-sweet for dark chocolate or use organic milk in your glass of milk alongside them, those numbers are going to wiggle a little bit!
I ran these numbers through my usual calculator, and for one cookie (that’s one generous rounded tablespoon scoop), here’s what you’re looking at:
- Calories: Around 220
- Fat: About 13g (That’s where the brown butter richness hangs out!)
- Carbohydrates: Roughly 25g
- Protein: About 2g
- Sugar: Approximately 18g
So yes, these are definitely a treat, but oh my goodness, every single one of those 220 calories is worth it because of that incredible toffee flavor. Don’t stress about the numbers too much, though. These are for enjoying and sharing!
Share Your brown butter chocolate chip cookies Creations
Wow, that’s it! You’ve made what I truly believe are the most flavorful, complex, and chewy brown butter chocolate chip cookies you can get outside of a fancy bakery. I am so excited for you to try these!
Now, I need your feedback! Once you’ve cooled them down (if you can wait that long!), come right back here and leave a star rating for the recipe. Ratings really help other bakers know this recipe is tried-and-true. While you’re down there, let me know what chocolate you used—was it semi-sweet chips, dark chunks, or maybe a mix? I always love hearing what your family prefers.
If you snap a picture, please tag me! Seeing your gorgeous, golden-edged treats sharing the rich, nutty flavor we worked so hard to achieve makes my entire day. You can find me over on my About Page if you want links to follow along on social media too. Let’s build this community of confident home bakers together!
PrintUltimate Chewy Brown Butter Chocolate Chip Cookies with Sea Salt
Make gourmet chocolate chip cookies at home using browned butter for a deep, nutty, toffee flavor. These cookies are soft and chewy in the center with slightly crisp edges.
- Prep Time: 20 min
- Cook Time: 12 min
- Total Time: 2 hours 32 min
- Yield: About 2 dozen cookies 1x
- Category: Dessert
- Method: Baking
- Cuisine: American
- Diet: Vegetarian
Ingredients
- 1 cup (226g) unsalted butter
- 1 cup (200g) packed light brown sugar
- 1/2 cup (100g) granulated sugar
- 2 large eggs, room temperature
- 1 tablespoon pure vanilla extract
- 2 1/4 cups (270g) all-purpose flour
- 1 teaspoon baking soda
- 1 teaspoon kosher salt
- 1 1/2 cups (255g) semi-sweet chocolate chips or chunks
- Flaky sea salt, for sprinkling
Instructions
- Place the butter in a light-colored saucepan over medium heat. Cook, swirling often, until the butter melts, foams, and then brown bits form at the bottom and the butter smells nutty. This takes about 5 to 8 minutes. Immediately pour the brown butter into a heatproof bowl to stop cooking. Let it cool for 15 minutes.
- In a large bowl, whisk together the cooled brown butter, brown sugar, and granulated sugar until well combined.
- Beat in the eggs one at a time, mixing well after each addition. Stir in the vanilla extract.
- In a separate medium bowl, whisk together the flour, baking soda, and kosher salt.
- Gradually add the dry ingredients to the wet ingredients, mixing on low speed until just combined. Do not overmix.
- Fold in the chocolate chips or chunks.
- Cover the dough and chill in the refrigerator for at least 2 hours, or up to 72 hours, for best texture.
- Preheat your oven to 375 degrees Fahrenheit (190 degrees Celsius). Line baking sheets with parchment paper.
- Scoop rounded tablespoons of dough onto the prepared sheets, leaving 2 inches between cookies.
- Bake for 10 to 12 minutes, or until the edges are golden brown but the centers still look slightly underbaked.
- Remove from the oven and immediately sprinkle the tops of the cookies with flaky sea salt.
- Let the cookies cool on the baking sheet for 5 minutes before transferring them to a wire rack to cool completely.
Notes
- To brown butter, watch the milk solids carefully; they turn from white to golden brown to dark brown quickly. Stop cooking when they reach a deep amber color.
- Chilling the dough is important for developing the deep flavor and preventing the cookies from spreading too much during baking.
- Use high-quality chocolate chunks instead of chips for a more gourmet, melty texture.
Nutrition
- Serving Size: 1 cookie
- Calories: 220
- Sugar: 18g
- Sodium: 150mg
- Fat: 13g
- Saturated Fat: 8g
- Unsaturated Fat: 5g
- Trans Fat: 0g
- Carbohydrates: 25g
- Fiber: 1g
- Protein: 2g
- Cholesterol: 45mg