
Are you ever staring down a mountain of dishes or dreading turning on the oven in July, but still desperately need a truly show-stopping dessert? I totally get it! That’s why I am so excited to share what might be the absolute best **biscoff cheesecake** you’ll ever make. This isn’t some finicky baked masterpiece; this is my Ultimate No-Bake version, and trust me, it delivers on that decadent, creamy texture everyone craves. Every KIngs Cook recipe has to pass my reliability test, and this one sets the standard for easy, impressive treats that always work, even when you’re low on time!
- Why This No-Bake Biscoff Cheesecake is Your New Favorite Dessert
- Gathering Ingredients for Your Biscoff Cheesecake Recipe
- Step-by-Step Instructions for the Perfect Biscoff Cheesecake
- Tips for the Best Biscoff Cheesecake Results
- Variations on the Classic Biscoff Cheesecake
- Serving Suggestions for Your Decadent Dessert
- Storage and Reheating Instructions for Biscoff Cheesecake
- Frequently Asked Questions About Biscoff Cheesecake
- Estimated Nutritional Data for Your Indulgent Treat
Why This No-Bake Biscoff Cheesecake is Your New Favorite Dessert
I know you’re going to fall head-over-heels for this recipe because it solves so many dessert dilemmas! It’s the perfect combination of pure indulgence and kitchen simplicity. Seriously, this is the ultimate Make Ahead Dessert.
- It gives you that rich, decadent flavor everyone loves.
- It results in the most beautifully **Creamy Cheesecake** texture imaginable.
- It’s ready for parties with zero last-minute stress!
Zero Oven Time: The Ultimate No-Bake Biscoff Cheesecake
My favorite part? We skip turning on the oven completely! This is truly one of those fantastic No Oven Desserts. If you need an Easy Cheesecake Idea for a spontaneous get-together, this is it. It’s the definition of a stress-free win without sacrificing that show-stopping factor.
Velvety Cheesecake Filling and Spiced Cookie Crust
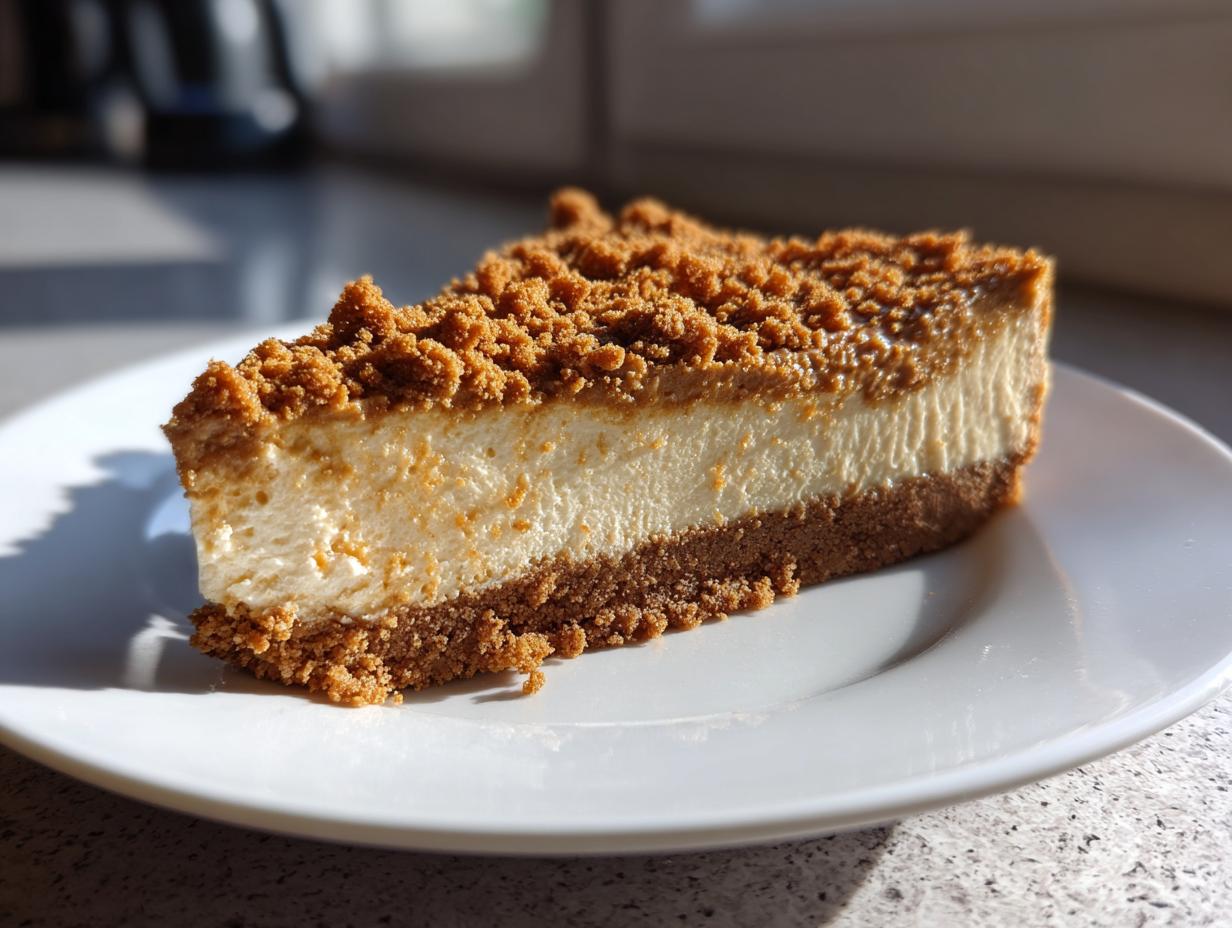
When you take that first bite, you’ll understand the hype. We achieve a truly **Velvety Cheesecake Filling** that melts in your mouth. That gorgeous, spiced crust made from Biscoff cookies just perfectly anchors all that rich, sweet flavor. It’s sophisticated comfort food, plain and simple.
Gathering Ingredients for Your Biscoff Cheesecake Recipe
Okay, since this is a no-bake treat, the quality of what goes in really matters! I promise you don’t need to hunt down anything specialized; you can grab everything at your regular grocery store or warehouse club. Having everything measured out before you start the mixing is key here, especially since we’re moving fast once we get going. You deserve that velvety, rich texture!
Ingredients for the Spiced Cookie Crust
This crust comes together in literally sixty seconds, so make sure your cookies are ready to go!
- 1 1/2 cups finely crushed Biscoff cookies (that’s about 25 cookies, crushed right up!)
- 6 tablespoons unsalted butter, melted and cooled just slightly
Ingredients for the Creamy Cheesecake Filling
Precision is important here, especially with temperatures—remember, softened cream cheese and ice-cold heavy cream!
- 16 ounces cream cheese, softened completely to room temperature
- 1 cup powdered sugar (don’t use granulated here!), sifted if it’s clumpy
- 1 teaspoon vanilla extract
- 1 cup heavy whipping cream, straight from the fridge and very cold
- 1 cup Biscoff cookie butter, gently warmed up so it’s super pourable
- 1/4 cup reserved Biscoff cookie butter, melted for drizzling
- 1/4 cup reserved crushed Biscoff cookies just for sprinkling on top
Step-by-Step Instructions for the Perfect Biscoff Cheesecake
This is where the magic happens! While this is technically a no-bake recipe, we still need a bit of structure and patience for that beautiful result. Remember, as I always say around here, following the steps precisely is how we guarantee a winner from our best dessert recipes list every single time!
Preparing the Biscoff Cheesecake Crust Base
First things first, let’s lock in that crunchy base. Mix your crushed Biscoff cookies and melted butter together until it looks like damp sand. Don’t forget that tip from the notes: use a little parchment paper on the bottom of your springform pan—it’s a lifesaver later! Press that mixture firmly and evenly into the bottom. I use the flat bottom of a measuring cup to really pack it down. Pop that pan into the freezer right away while you tackle the filling.
Creating the Velvety Cheesecake Filling
In a big bowl, beat your room-temperature cream cheese until it’s completely smooth—no lumps allowed! Mix in your powdered sugar and vanilla really briefly, just until they disappear. Now, the critical step for that airy, **Creamy Cheesecake** texture: whip your cold heavy cream separately until stiff peaks form. Seriously, you want peaks that stand straight up! Gently fold the whipped cream into the cream cheese mixture. Finally, gently fold in that warmed cup of cookie butter. Stop mixing the second it looks uniform; overmixing kills the lightness!
Assembling and Chilling Your Biscoff Cheesecake
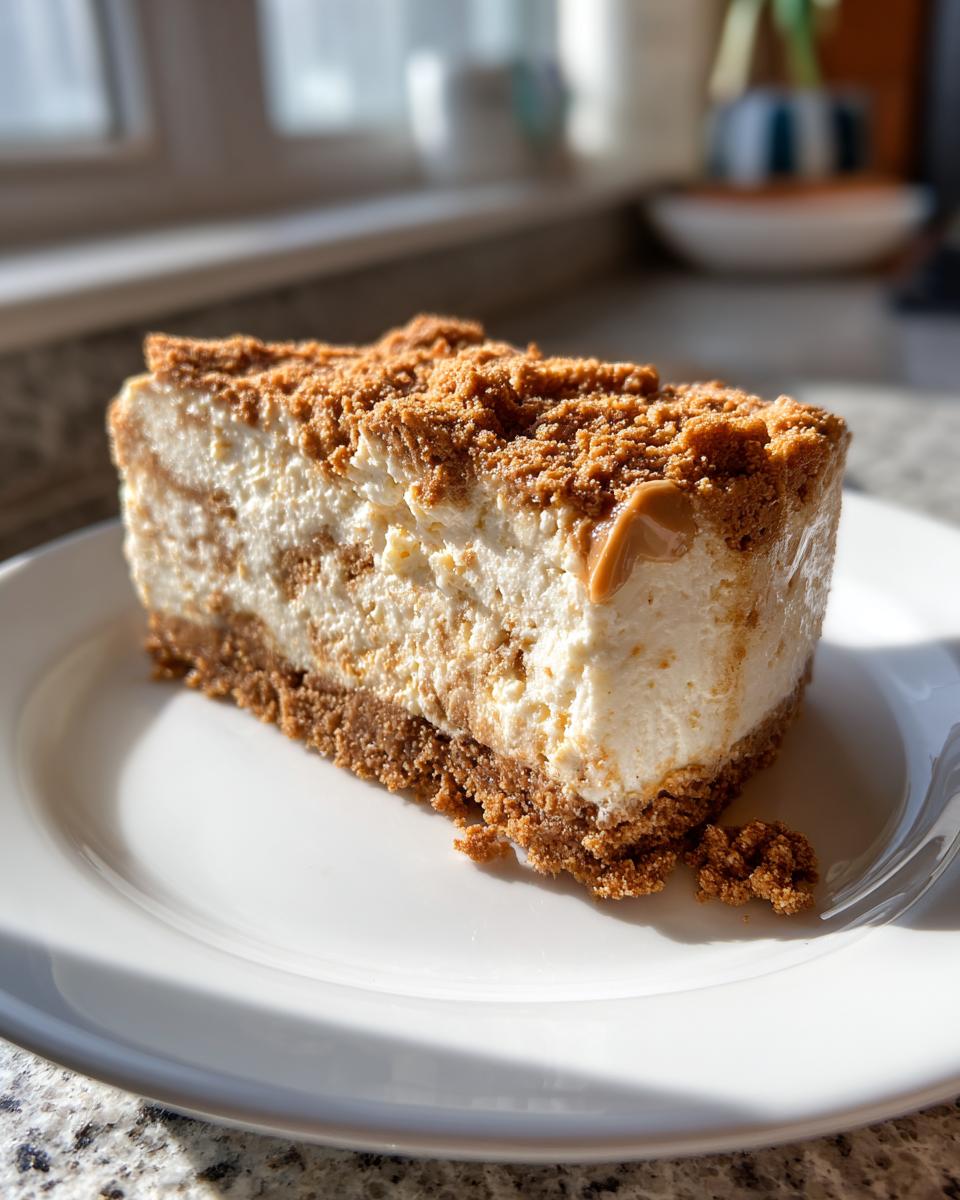
Pour that luxurious filling right over your frozen crust and smooth the top gently. Now, take that reserved 1/4 cup of melted cookie butter and drizzle it artfully across the surface. Take a toothpick or a skewer and swirl it around for that gorgeous marble effect. This is vital folks: Cover it gently and stick it back in the fridge for a minimum of six hours. Honestly, overnight is always better! That chilling time is what transforms this from a soft mixture into a firm, perfect **No Bake Cheesecake** slice.
Tips for the Best Biscoff Cheesecake Results
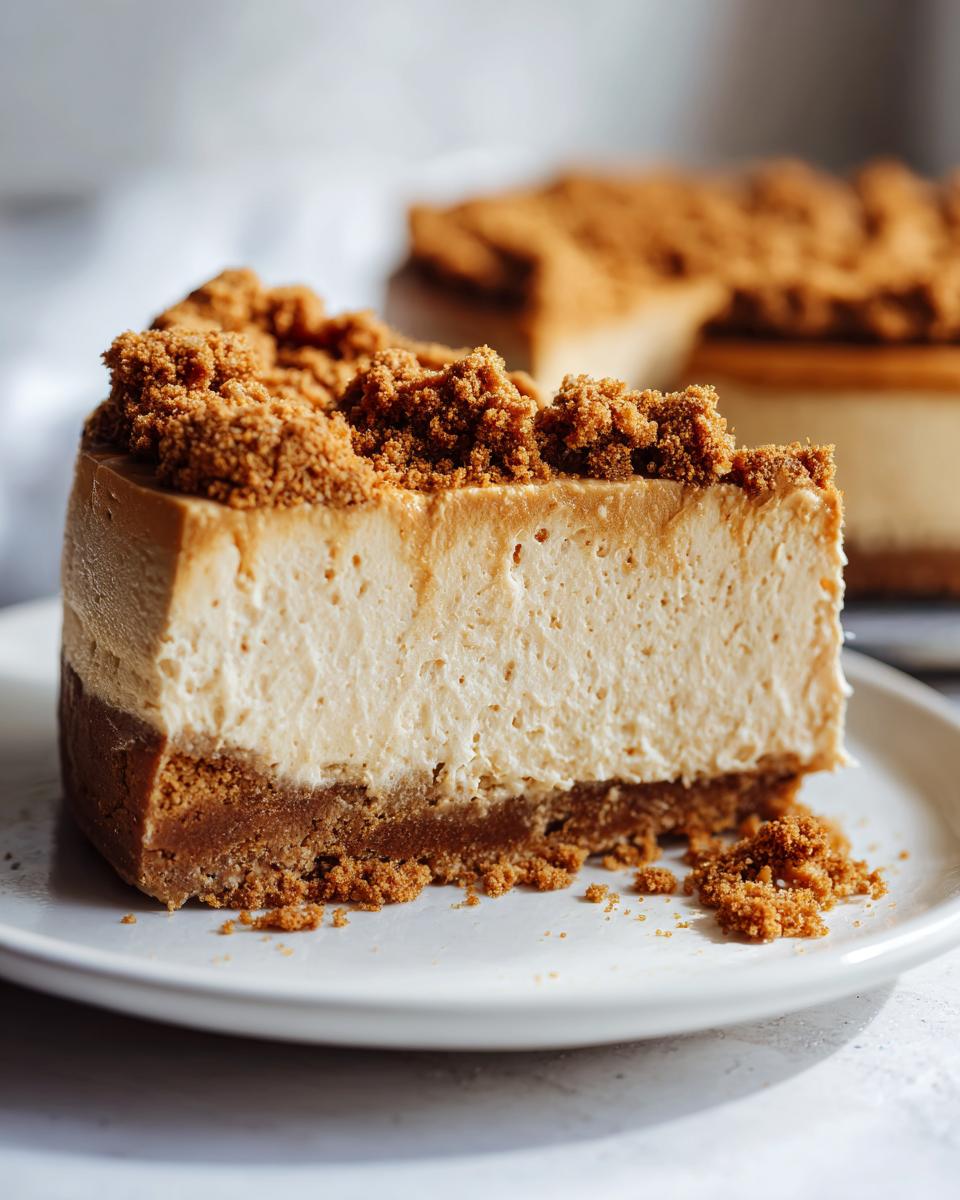
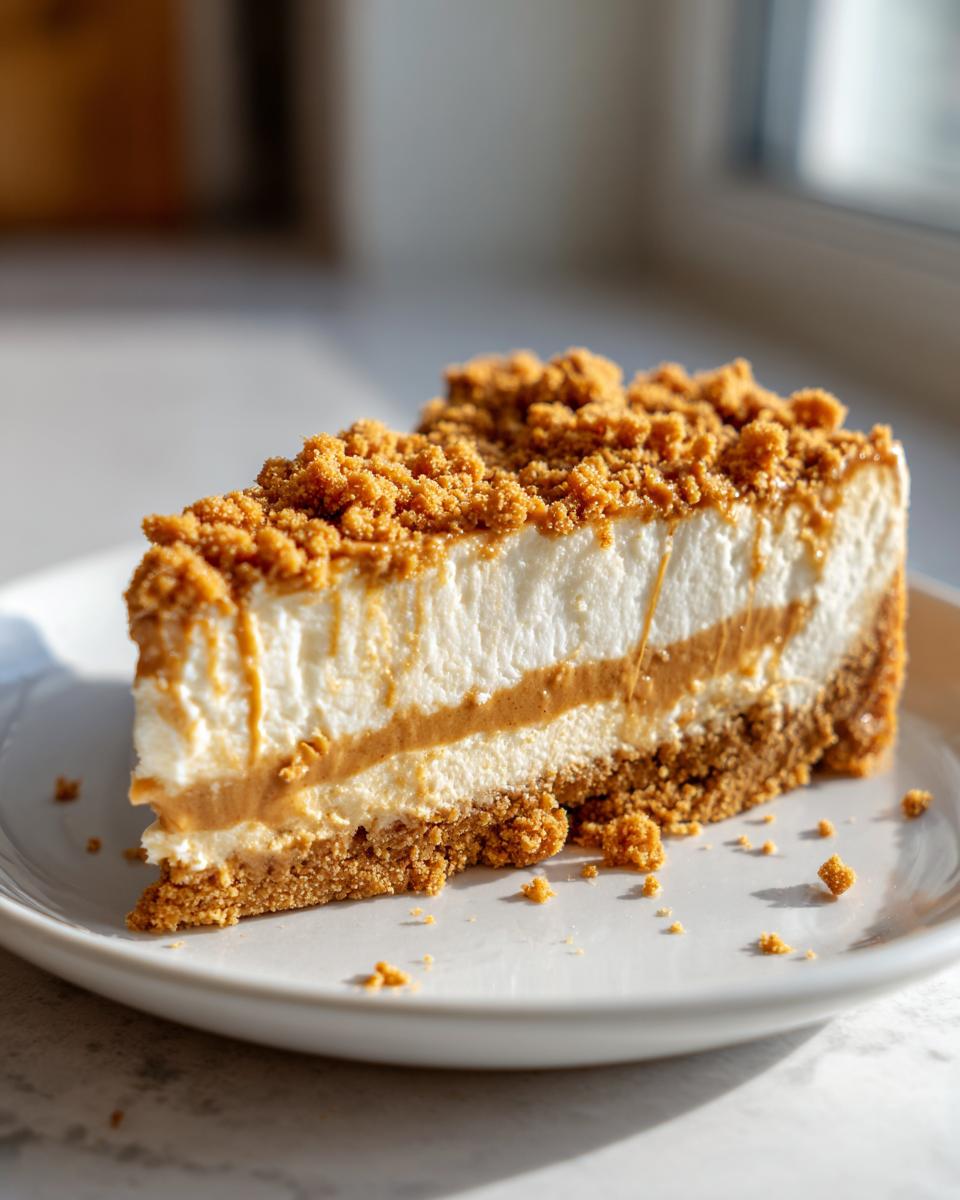
Listen, I want your **Biscoff cheesecake** to look like the photo every single time, and that means paying attention to a couple of little details that make a huge difference! Since we aren’t baking, temperature and how we handle our main ingredients are what give us that beautiful, structured finish. Follow these little pro-tips, and you’ll have a truly fail-proof dessert on your hands.
Handling Cookie Butter for Smooth Biscoff Cheesecake
If you try to fold cold or too-stiff cookie butter into your cream cheese and whipped cream mixture, you’re going to get little hardened flecks throughout your filling. Nobody wants that! That’s why I mention warming it just a touch. You only need about 15 or 20 seconds in the microwave. You don’t want it hot, just soft enough so it flows easily and blends seamlessly into the filling. This simple step ensures you get that gorgeous, uniform color throughout your **Cookie Butter Cheesecake**.
Achieving a Perfect No-Fail Cheesecake Structure
For any **No Fail Cheesecake**, you absolutely must respect the two main dairy components. Your cream cheese needs to be perfectly softened—I mean, really soft—so you can beat all the lumps out early. Then, your heavy whipping cream needs to be ice cold so it whips up into stiff peaks fast. When you fold that light, airy whipped cream into the denser base, you create the structure that lets this thing set up firm in the fridge without needing an oven. Don’t rush the whipping steps; they are non-negotiable for that perfect set!
Variations on the Classic Biscoff Cheesecake
Even though this recipe is already simple and fabulous, I love mixing things up, especially when I’m making desserts for parties. It’s so easy to scale this up or down depending on what kind of crowd I’m serving. Sometimes, a full 9-inch cheesecake is just too much for a small gathering, right? You might also want to check out the ideas over at that no-bake guide if you’re looking for even more inspiration!
Making Mini Biscoff Cheesecake Bites
If you want to turn this into an absolutely adorable dessert, try making mini cheesecakes! You can use a standard muffin tin lined with paper liners. Because the crust layer is thinner and the overall volume is smaller, you actually cut down on the chilling time a bit. They will set up perfectly after only about four hours in the fridge, which means you can make these the same day you plan to serve them. This is one of my favorite Easy Cheesecake Ideas for parties! They look so elegant when you drizzle them with that extra melted Biscoff spread.
Serving Suggestions for Your Decadent Dessert
This **Biscoff Cheesecake** is rich enough to stand on its own, but when you’re serving it up for a party or a big family meal, a little pairing goes a long way. Since Biscoff has those lovely warm spice notes, anything coffee-related works beautifully. I often serve a small slice alongside a strong, black coffee or maybe even whip up one of my simple espresso martinis from the cocktail recipes page.
If you need something simpler, just a light dusting of high-quality cocoa powder or a scattering of toasted pecans on the plate adds visual appeal without competing with that amazing cookie butter flavor. It feels instantly elevated!
Storage and Reheating Instructions for Biscoff Cheesecake
Since we designed this to be the perfect **Make Ahead Dessert**, storage is super straightforward, which is another reason I love the no-bake route! You definitely won’t be reheating this slice, though—it needs to stay cold to keep its beautiful structure. When you wrap it up properly, it lasts like a dream.
For the best results, always keep your **Biscoff Cheesecake** covered tightly in the refrigerator. I usually use plastic wrap, making sure it doesn’t touch the surface if I haven’t fully decorated it yet. It keeps beautifully for about four days this way. If you need to store it longer, you can absolutely freeze it! Wrap the entire cheesecake (or slices!) securely in a layer of plastic wrap, followed by a layer of aluminum foil. It freezes perfectly for up to six weeks, and you just thaw it slowly in the fridge overnight when you’re ready to serve again.
Frequently Asked Questions About Biscoff Cheesecake
I get so many questions about this **Biscoff Cheesecake Recipe**, which tells me you all love it as much as my family does! Since this is a chilled, **No Bake Cheesecake**, a few things are different from your standard baked dessert. Here are the things I hear most often from readers who are making this **Simple Cheesecake** for the first time.
Can I use a different brand of cookie butter in this Biscoff Cheesecake Recipe?
That is a totally fair question! You certainly can grab a store-brand cookie butter if that’s what you have on hand, and it will still taste great. But if you really want that iconic, specific flavor that makes this dessert famous, I highly recommend sticking to the original Lotus Biscoff spread. It has a unique spice blend that really sings in the filling. Always check the ingredients, though, if you have allergies!
How long does this No Bake Cheesecake last in the fridge?
Because we used so much rich cream cheese and heavy cream, this stays wonderfully fresh! If you store it covered tightly—and I mean *tightly*—in the refrigerator, it’s still fantastic for about four to five days. That makes it the absolute best choice for holiday prep when you need a spectacular make-ahead dessert!
What is the difference between this and a baked cheesecake?
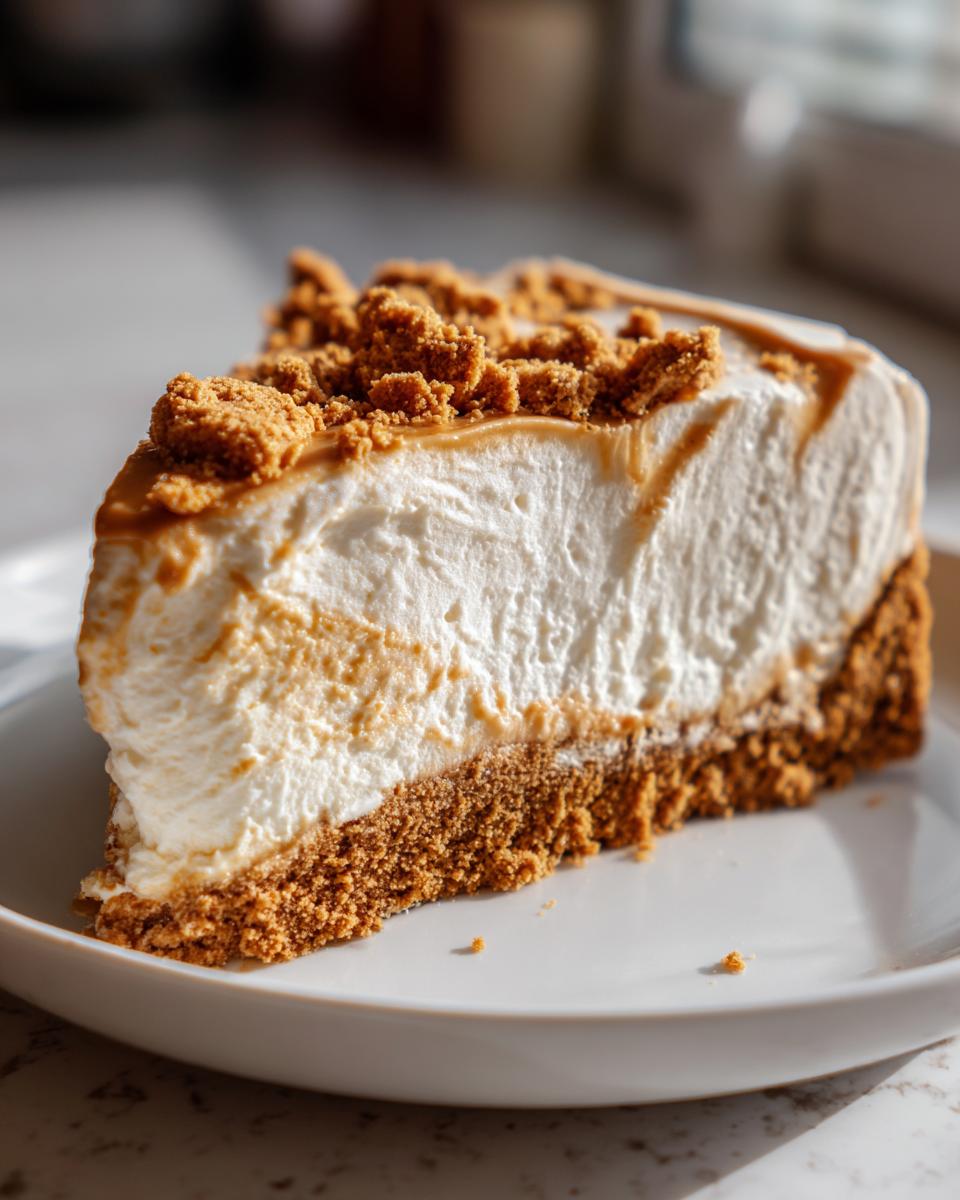
The texture is the big giveaway! A baked cheesecake usually sets up very dense and is slightly more tangy because of how the eggs cook. Since this is a **Creamy Cheesecake** that relies on whipped cream and chilling, the filling is much lighter, airier, and smoother—almost like a silky mousse once it sets up. You get that wonderful indulgence without the heavy, dense feel of a traditional baked version.
Estimated Nutritional Data for Your Indulgent Treat
Now, I know this is an **Indulgent Treat** and not exactly a kale smoothie, so let’s look at the numbers. Remember, since this is a very rich, decadent dessert, the calorie count reflects that satisfying richness. These numbers are just my best estimates based on the standard ingredients I use, so actual results might vary slightly depending on the brand of cookie butter or cream cheese you buy!
- Serving Size: 1 slice
- Calories: 450
- Total Fat: 30g
- Carbohydrates: 40g
- Protein: 5g
- Sugar: 35g
Enjoy every single bite! That’s what making a stunning **Biscoff Cheesecake** is all about—indulgence without regret!
PrintUltimate No-Bake Biscoff Cheesecake

Make this creamy, decadent No-Bake Biscoff Cheesecake. It features a spiced cookie crust and a rich filling made with Lotus Biscoff cookie butter, perfect for an easy, make-ahead dessert.
- Prep Time: 20 min
- Cook Time: 0 min
- Total Time: 6 hr 20 min
- Yield: 10 servings 1x
- Category: Dessert
- Method: No-Bake
- Cuisine: American
- Diet: Vegetarian
Ingredients
- 1 1/2 cups crushed Biscoff cookies (about 25 cookies)
- 6 tablespoons unsalted butter, melted
- 16 ounces cream cheese, softened
- 1 cup powdered sugar
- 1 teaspoon vanilla extract
- 1 cup heavy whipping cream, cold
- 1 cup Biscoff cookie butter, slightly warmed
- 1/4 cup Biscoff cookie butter, melted for drizzling
- 1/4 cup crushed Biscoff cookies for topping
Instructions
- Prepare the crust: Combine the crushed Biscoff cookies and melted butter in a bowl. Press the mixture firmly into the bottom of a 9-inch springform pan. Place the crust in the freezer while you prepare the filling.
- Make the filling base: In a large bowl, beat the softened cream cheese with an electric mixer until smooth. Add the powdered sugar and vanilla extract, mixing until just combined.
- Whip the cream: In a separate, clean bowl, whip the cold heavy whipping cream until stiff peaks form. Gently fold the whipped cream into the cream cheese mixture until no streaks remain.
- Incorporate cookie butter: Gently fold in the 1 cup of slightly warmed Biscoff cookie butter until the filling is uniform in color and texture. Do not overmix.
- Assemble the cheesecake: Pour the filling over the chilled crust and spread it evenly. Drizzle the 1/4 cup of melted Biscoff cookie butter over the top. Use a knife or skewer to gently swirl the drizzle into the filling for a decorative effect.
- Chill: Cover the pan loosely with plastic wrap and refrigerate for at least 6 hours, or preferably overnight, until the cheesecake is firm.
- Serve: Before serving, carefully remove the sides of the springform pan. Top with the remaining 1/4 cup of crushed Biscoff cookies. Slice and serve cold.
Notes
- For the easiest crust removal, line the bottom of the springform pan with parchment paper before adding the crust mixture.
- If your Biscoff cookie butter is too stiff, microwave it for 15-20 seconds to make it easier to mix into the filling.
- This dessert is ideal for making one day ahead of time, as chilling time is essential for structure.
Nutrition
- Serving Size: 1 slice
- Calories: 450
- Sugar: 35g
- Sodium: 250mg
- Fat: 30g
- Saturated Fat: 18g
- Unsaturated Fat: 12g
- Trans Fat: 0.5g
- Carbohydrates: 40g
- Fiber: 1g
- Protein: 5g
- Cholesterol: 95mg