
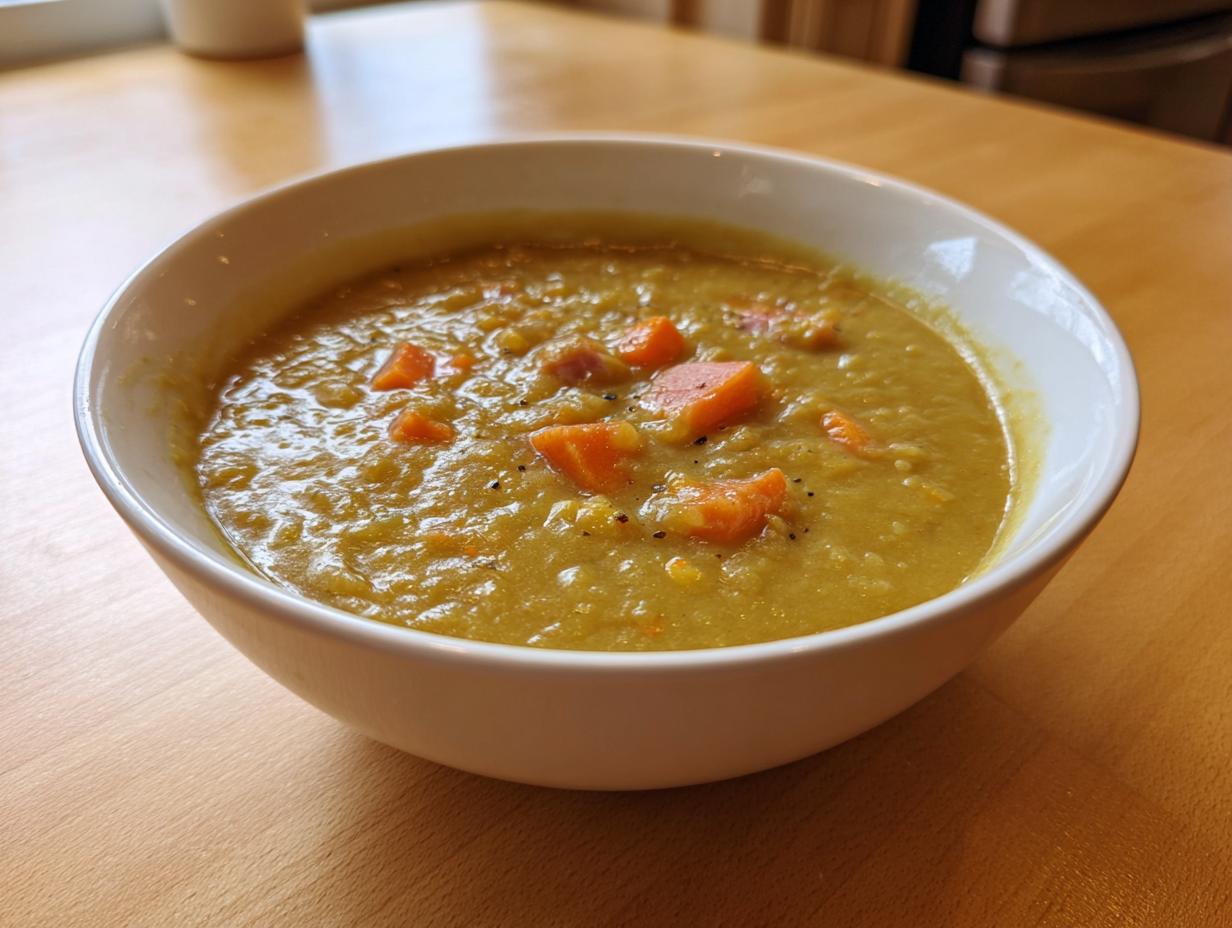
Welcome back to the kitchen, friends! If the weather outside is turning crisp, or maybe you just need a giant, cozy hug in a bowl, there is one thing that always solves the problem: an amazing batch of **pea soup**. But not just any soup—we’re tackling the absolute king of comforting meals: the Best Hearty Split Pea Soup with Ham Bone.
I’ve spent years perfecting this recipe, testing timing and ratios to make sure it’s rock solid, just like my Midwestern grandma taught me about reliability in cooking. This isn’t some fussy, complicated dish. This is classic American home cooking, tested and tweaked until it delivers that deep, satisfying, savory flavor every single time. Trust me, this recipe *works*.
- Why This Split Pea Soup Recipe is Your New Comfort Food Champion
- Essential Ingredients for the Best Pea Soup with Ham Bone
- Step-by-Step Instructions for Homemade Pea Soup
- Quick Dinner Soups: Instant Pot and Slow Cooker Split Pea Soup
- Tips for Success Making Old Fashioned Pea Soup
- Serving Suggestions for Your Hearty Soup Ideas
- Storage and Reheating Best Practices for Pea Soup
- Frequently Asked Questions About Split Pea Soup Recipe
- Nutritional Data for This Hearty Pea Soup
Why This Split Pea Soup Recipe is Your New Comfort Food Champion
When you’re looking for the best Comfort Food Recipes, you want something that doesn’t mess around. This recipe falls squarely into the **Hearty Soup Ideas** category. I guarantee reliability because I’ve made this soup dozens of times, ensuring it never disappoints.

- It’s deeply flavorful thanks to that smoky ham bone.
- It’s genuinely simple—a true one-pot meal that cleans up easily.
- The resulting texture is exactly what you want in a classic soup.
Achieving that Perfect Thick and Creamy Soup Texture
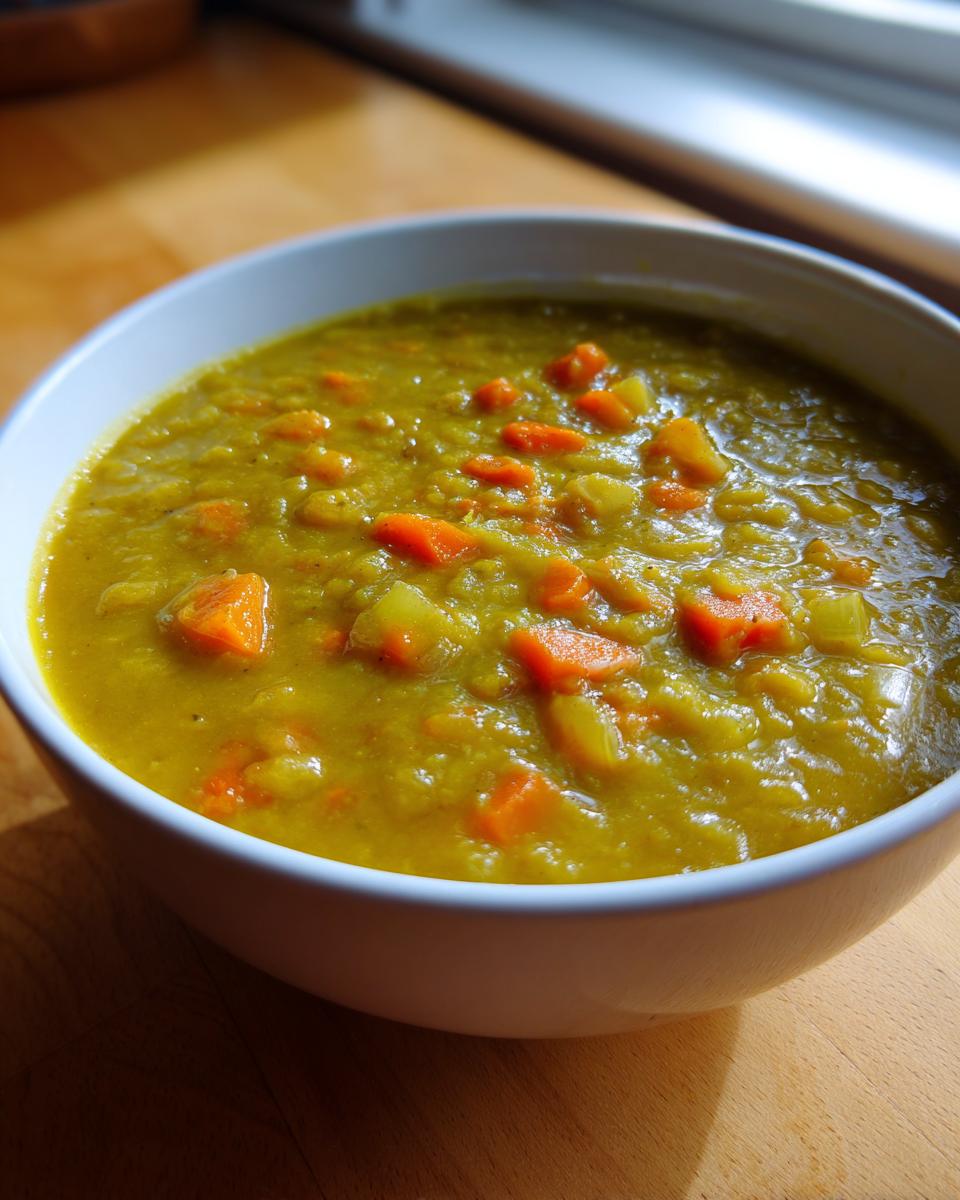
The secret to that luxurious mouthfeel is the split pea itself! They break down beautifully over a slow simmer, turning the liquid into silk. Don’t worry if yours looks a little thin initially; give it time. If you’re absolutely impatient (and who isn’t sometimes?), I do have a little trick later on using an immersion blender to guarantee that **Thick and Creamy Soup** finish.
Essential Ingredients for the Best Pea Soup with Ham Bone
Look, if you use subpar ingredients, you’re going to get a subpar soup, plain and simple. I stand by my list below because every single item plays a role in achieving that perfect, old-fashioned savory depth. I’ve kept this list focused on what you need, and nothing you don’t. Feel free to grab your mixing bowls! Here is what we are using for our fantastic pea soup base:
- 1 pound dried green split peas, rinsed
- 8 cups water or low-sodium chicken/vegetable broth
- 1 large smoked ham bone (about 1 to 1.5 pounds)
- 1 tablespoon olive oil
- 1 large yellow onion, chopped
- 2 carrots, peeled and diced
- 2 celery stalks, diced
- 2 cloves garlic, minced
- 1 teaspoon dried thyme
- 1 bay leaf
- 1/2 teaspoon black pepper
- 1/4 teaspoon salt (adjust after removing ham bone)
- Optional: 1 cup diced smoked ham (if not using a ham bone)
Ingredient Notes and Substitutions for Your Pea Soup
Before you dash off to the store, let’s talk about two critical things that make or break this soup: the ham bone and the salt.
First, the ham bone. This is where you get all that wonderful, slow-cooked, smoky flavor. You can usually grab one for cheap (or free!) from your butcher if you ask nicely after buying a holiday ham. If you can’t find one, that’s okay! You can absolutely still make a delicious pea soup vegetarian style by following the note in the recipe card: skip the bone and use vegetable broth, but you *must* add 1/2 teaspoon of smoked paprika or a few drops of liquid smoke to mimic that savory depth. Don’t skip that smokiness!
Second, salt. The ham bone releases a ton of salt into the soup as it simmers. That’s why I list 1/4 teaspoon of salt initially, but I want you to hold off on adding any more until the bone is removed at the end. You cannot over-salt this soup easily, but you definitely can ruin it by adding too much salt too soon. Trust your taste buds at the finish line!
Step-by-Step Instructions for Homemade Pea Soup
Now for the fun part! Cooking this soup involves a couple of simple stages, but the timing is important for making sure those peas turn into that creamy dream texture we talked about. I want you to think of this as mostly hands-off simmering time—perfect for doing dishes or maybe starting a batch of Shepherd’s Pie for later in the week! We’re building layers of flavor here, so try not to rush past the veggies. Follow these steps exactly for the best pea soup result.
Preparing the Peas and Initial Simmer
First things first: always rinse your dried split peas! Just run them under cold water in a colander until the water runs clear. You’re looking to wash off any dust or little bits of debris they might have picked up. Once they are clean, plop them right into your largest stockpot. Add your 8 cups of water or broth and drop in that glorious ham bone. Turn the heat up high and bring everything to a rolling boil. Once it’s bubbling hard, reduce that heat way down to a gentle simmer, partially cover it, and just let it hang out for about an hour. Don’t forget to stir it every so often!
Building Flavor with the Mirepoix for Your Pea Soup
While those peas are softening up, we’re making our flavor base, which is called a mirepoix—just a fancy French term for onions, carrots, and celery cooked together. Grab a separate skillet and heat that olive oil over medium heat. Toss in your chopped onion, carrots, and celery. You’re cooking these until they’re soft and sweet, usually about 7 to 10 minutes. Don’t let them brown! Just soften them nicely. When they smell a little sweeter, throw in your minced garlic and dried thyme for about 60 seconds until they smell fragrant. Then, dump that whole vegetable/garlic mixture right into the stockpot with your simmering peas. Toss in the bay leaf and pepper, too! This step really punches up the flavor in your pea soup.
Final Simmer and Finishing Touches
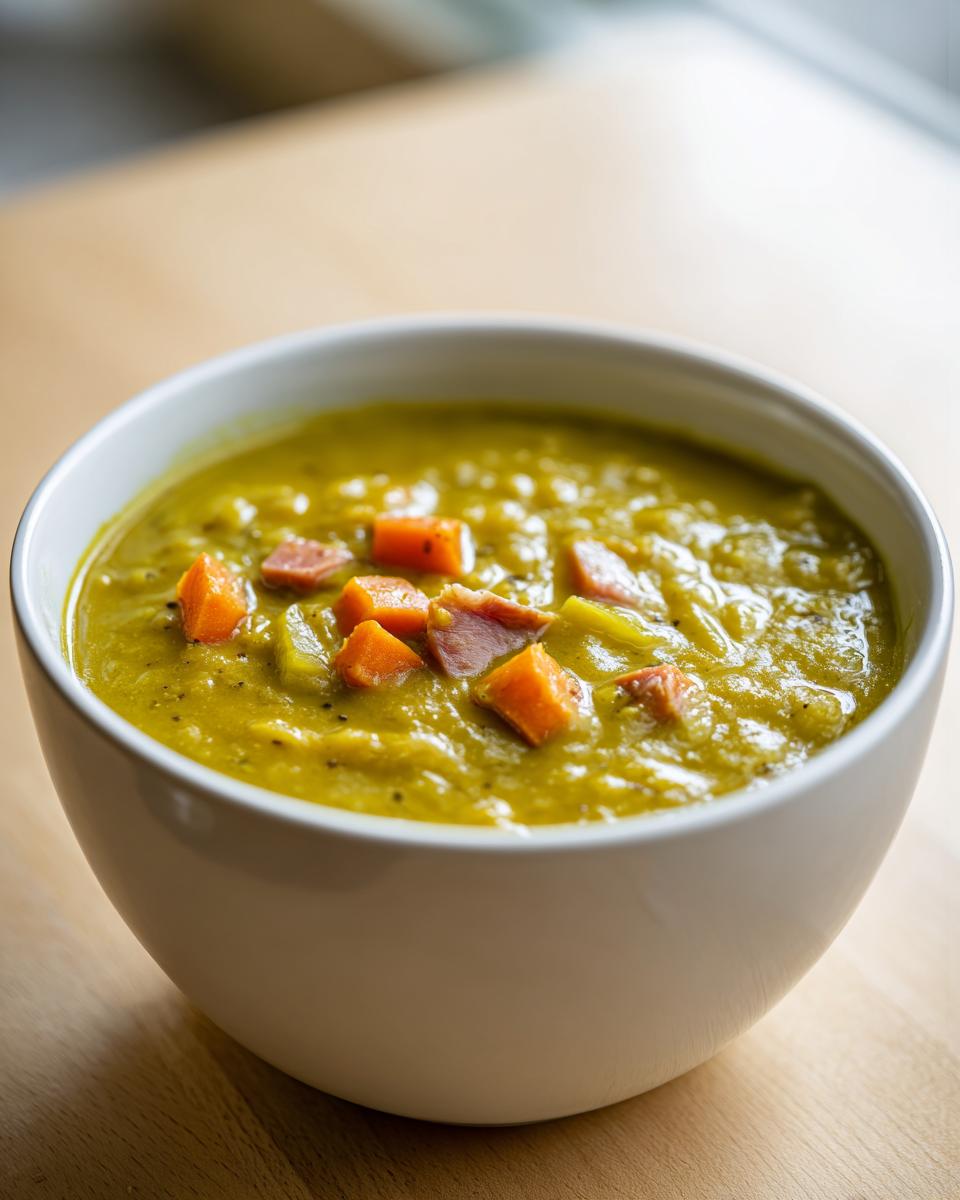
Okay, we’re in the home stretch now. Let the soup keep simmering, partially covered, for another 45 minutes to an hour. Keep your eye on it during this time, though! Those peas are going to start breaking down, and they love to stick to the bottom of the pot if you’re not careful. Stir often! When the peas are completely tender and the whole thing has thickened up nicely, it’s time to pull out that ham bone and the bay leaf. Shred all that tasty meat off the bone and return that goodness to the pot. Now is the critical testing phase: taste for salt! Because of the ham, you might not need much, if any. This final seasoning ensures your pea soup is absolutely perfect before serving.

Quick Dinner Soups: Instant Pot and Slow Cooker Split Pea Soup
I know, I know. Sometimes you need this incredibly comforting, hearty Slow Cooker Split Pea Soup flavor, but you don’t have two hours to stand over the stove. That’s totally fine! We live busy lives, and thankfully, modern tools make achieving that classic, deep flavor much faster. If you’re running short on time, leaning into **Instant Pot Soup Recipes** is a game-changer for this classic **pea soup**.
For the Instant Pot, you have to be a little mindful of the pressure release. The general rule for dried beans and peas is to cook on High Pressure for about 15 minutes, but the magic part is waiting for the pressure to release naturally for 15 minutes afterward! This extended soak time lets the peas relax and finish breaking down properly without blowing the lid off your pot. It’s the closest you’ll get to the slow-simmered taste in under an hour.
If you have *all* day but zero attention span, the slow cooker works brilliantly too. Just throw everything—yes, even the carrots and onions, though you can sauté them if you want extra flavor—into the basin, set it to low for about 6 to 8 hours, and forget about it until dinner time. It’s the definition of a set-it-and-forget-it meal. If you want the detailed timings for the IP, I’ve listed the exact settings over here, focusing on building your Instant Pot Soup Recipes knowledge base!
Tips for Success Making Old Fashioned Pea Soup
Making **Old Fashioned Pea Soup** is incredibly rewarding, but I’ve learned a few tricks over the years to prevent those disappointing moments—like soup that sticks to the bottom or ends up too thin. Building deep flavor is what separates good soup from great soup, and that’s where our shared experience comes in handy!
The number one thing people worry about is sticking. Because split peas dissolve and get thick, they can scorch quickly on the bottom of the Dutch oven if you aren’t paying attention after the vegetables go in. My best tip here is to stir almost constantly during that last hour of simmering. Don’t just swirl the top! Use a wooden spoon and scrape the bottom to make sure nothing is grabbing hold back there. If you’re making a huge batch, consider the slow cooker method I mentioned earlier, as it prevents this issue entirely.
When we talk about **Pea Soup Flavors**, we are talking about balance. If you’re following the recipe with the ham bone, the flavor profile leans savory and smoky. If you went vegetarian, you must lean into that smoky note with the paprika or liquid smoke I suggested. Don’t skimp there! That flavor depth is what makes people think you spent all day making it, even if you used the Instant Pot.
Another frequent question is about consistency. Remember, this **pea soup** is supposed to be thick! If, after removing the bone, you still feel it’s too wet for your liking, don’t panic—you have two simple fixes. One: let it simmer uncovered for another 15 minutes to allow some excess moisture to evaporate off. Two: if you want that perfect, smooth restaurant-quality texture, take out the bay leaf and carefully blend about a cup or two of the soup using an immersion blender, then stir it back in. That starch from the blended peas thickens everything up beautifully. For more inspiration on building classic, deep flavors, check out my tips for Meatloaf Recipe—simplicity leading to satisfaction is key in both!
If you want to see how other cooks are achieving amazing results with this cozy dish, I highly recommend checking out the methods shared by others; it’s always fun to see different takes on classic Split Pea Soup!
Serving Suggestions for Your Hearty Soup Ideas
Once you have that big, steaming pot of rich split pea soup ready, the next question is always: “What do I serve with it?” That’s the fun part of making a substantial soup because it truly anchors the meal. Because the soup itself is so creamy and hearty, we want things on the side that provide a nice textural contrast—something crunchy or acidic to cut through the richness.
For me, this soup screams for bread. You need something substantial to scoop up every last bit from the bowl. Forget flimsy dinner rolls; we’re talking crusty bread! My absolute favorite pairing, especially when I’m feeling ambitious, is a slice of my homemade Focaccia Bread Recipe. The olive oil and salty sea salt topping is incredible dipped into the thick base.
If you are aiming for a lighter meal, maybe something for a bright **Filling Lunch Idea** instead of a heavy dinner, you need a counterpoint. A simple side salad works wonders. I’m talking very simple—maybe some mixed greens tossed with a bright, acidic vinaigrette (lemon, Dijon, olive oil). The sharpness from the dressing cleanses the palate perfectly between spoonfuls of that smoky soup.
This whole setup—the soup and the simple side—is the definition of **Simple Comfort Food**. It’s easy enough for a busy weeknight but feels deeply satisfying and nourishing, which is exactly what I aim for here at Kings Cook!
Storage and Reheating Best Practices for Pea Soup
One of the hidden joys of making a big pot of this **pea soup**? The leftovers! Honestly, I often think it tastes even better the next day once all those savory flavors have had a chance to really marry together overnight. This soup is wonderfully sturdy for storage, but you need to know one crucial thing about what happens when it cools down.
When you refrigerate this soup, it is going to turn into a literal brick. Seriously! Don’t panic when you open the container and it looks less like soup and more like something you’d scoop onto a cracker. That’s just the magic of the split peas working—they absorb all the liquid as they set up into a fantastic, thick paste. It’s not ruined at all; it just needs a little wake-up call!
When reheating, always plan to add extra liquid. Whether you are using the microwave or warming it gently on the stovetop, start by stirring in a good splash of water or broth—maybe a half-cup to start. Stir constantly as it heats up, adding more liquid bit by bit until you reach that perfect, creamy, slurpable consistency you loved straight off the stove. You want it hot, but don’t let it boil aggressively when you add the extra liquid; keep it at a gentle simmer until it’s smooth again.
For freezing, this soup is a champion. Let your leftovers cool completely, then transfer them into heavy-duty freezer bags or airtight, freezer-safe containers. Make sure you leave about an inch of space at the top if you are using containers, because liquids expand when they freeze! In the freezer, this soup keeps beautifully for about three months. When you thaw it (slowly in the fridge overnight is best), remember that same rule applies: it’s going to be very, very thick, so have that extra broth handy when you reheat it!
Frequently Asked Questions About Split Pea Soup Recipe
I know you all put a lot of love into making this **pea soup**, and sometimes little questions pop up once you’re in the middle of cooking, or even the next day when you’re staring at leftovers! That’s totally normal, and I want you to feel 100% confident in this reliable recipe. Here are the most common things I hear from fellow home cooks about getting that perfect, hearty bowl every time.
Can I make this pea soup vegetarian?
Absolutely, yes! I made sure to include instructions for a fantastic Vegetarian Split Pea Soup right in the recipe notes because not everyone has a ham bone handy, or maybe you just prefer a meatless dish. If you skip the bone and use vegetable broth, the secret weapon is adding a little something smoky back in. I highly recommend tossing in about 1/2 teaspoon of smoked paprika or a few drops of liquid smoke when you add your herbs. That small addition mimics the deep, savory flavor the ham bone provides, so you still get that comforting, rich taste!
How long does it take for the peas to fully break down?
This is where patience pays off, my friends! If you are using the stovetop method we detailed, you’re looking at a total simmer time of about 1 hour 45 minutes to 2 hours for the peas to completely dissolve into that creamy base. Don’t be tempted to crank the heat up high just to speed things along; that risks scorching the bottom before the peas soften completely. If you want the Best Ever Pea Soup result, that long, slow simmer is non-negotiable on the stove! It allows the starch to release perfectly.
If you’re using the Instant Pot, of course, that time drops significantly, but even then, you really need that 15-minute Natural Pressure Release. If you rush it, the peas can sometimes stay a bit too firm.
Also, if you’re looking for other tried-and-true recipes that use that slow-cooking magic, check out my comfort classic, the Chicken Noodle Soup Recipe—it needs time, but it’s worth it every time!
If you’re ever wondering about tips for vegetarian options, or just how to get the best texture, I loved reading up on this article from Eat With Vera; they have some great insights on making sure your soup lands just right!
Nutritional Data for This Hearty Pea Soup
Alright, let’s talk fuel! I always say that comfort food should still feel good for you, and that’s why I was so happy when I broke down the numbers for this particular **pea soup** recipe. It’s packed with fiber and protein, making it incredibly filling—think seriously satisfying lunch material!
Keep in mind that since this recipe is so adaptable—you might use a saltier ham bone, or you might go vegetarian with extra veggies—these numbers are just my best estimates based on the stovetop version utilizing a standard ham bone. As always with homemade recipes, think of this as your general guideline for a serving size of about 1.5 cups.
- Serving Size: 1.5 cups
- Calories: 350
- Fat: 8g (Saturated Fat: 3g)
- Carbohydrates: 55g
- Fiber: 18g
- Protein: 25g
- Sodium: 650mg (This can vary hugely based on your ham bone!)
- Sugar: 6g
- Cholesterol: 30mg
See that fiber count? That’s what gives you lasting energy and keeps you feeling full until dinner. It’s a powerhouse of nutrition that still tastes like a warm hug! If you’re looking for other filling, nutrient-dense options, you should definitely explore my Healthy Vegetable Soup archives next.
PrintThe Best Hearty Split Pea Soup with Ham Bone
This recipe delivers a thick, creamy, and deeply comforting split pea soup. You will use a ham bone for rich flavor, but I also include instructions for a simple vegetarian version.
- Prep Time: 15 min
- Cook Time: 1 hour 45 min
- Total Time: 2 hours 0 min
- Yield: 6 servings 1x
- Category: Dinner
- Method: Stovetop
- Cuisine: American
- Diet: Low Fat
Ingredients
- 1 pound dried green split peas, rinsed
- 8 cups water or low-sodium chicken/vegetable broth
- 1 large smoked ham bone (about 1 to 1.5 pounds)
- 1 tablespoon olive oil
- 1 large yellow onion, chopped
- 2 carrots, peeled and diced
- 2 celery stalks, diced
- 2 cloves garlic, minced
- 1 teaspoon dried thyme
- 1 bay leaf
- 1/2 teaspoon black pepper
- 1/4 teaspoon salt (adjust after removing ham bone)
- Optional: 1 cup diced smoked ham (if not using a ham bone)
Instructions
- Rinse the split peas under cold water until the water runs clear. Discard any small stones or debris.
- In a large stockpot or Dutch oven, combine the rinsed split peas, broth or water, and the ham bone. Bring the mixture to a boil over high heat.
- Once boiling, reduce the heat to low, cover the pot partially, and let it simmer for 1 hour, stirring occasionally.
- While the peas simmer, prepare the mirepoix. Heat the olive oil in a separate skillet over medium heat. Add the chopped onion, carrots, and celery. Cook until the vegetables soften, about 7 to 10 minutes.
- Add the minced garlic and dried thyme to the skillet and cook for 1 minute more until fragrant.
- Add the cooked vegetables, bay leaf, and pepper to the stockpot. Stir well.
- Continue to simmer, partially covered, for another 45 minutes to 1 hour, or until the peas are very tender and have broken down, creating a thick consistency. Stir frequently during this last hour to prevent sticking.
- Remove the ham bone and bay leaf. Shred any meat from the bone and return the shredded ham to the pot (if using a ham bone). Discard the bone.
- Taste the soup. Add salt as needed, remembering that the ham bone adds saltiness. If you prefer a creamier texture, you can use an immersion blender to briefly pulse the soup a few times, or carefully transfer small batches to a regular blender.
- Serve hot. This is a filling lunch idea perfect with crusty bread.
Notes
- For a vegetarian split pea soup, omit the ham bone and use 8 cups of vegetable broth. Add 1 teaspoon of liquid smoke or 1/2 teaspoon of smoked paprika when adding the herbs for a savory depth.
- If you are using the Instant Pot, combine all ingredients (except salt) in the pot. Cook on High Pressure for 15 minutes, followed by a Natural Pressure Release for 15 minutes, then quick release any remaining pressure.
- This soup thickens significantly as it cools. If you plan to freeze leftovers, add a little extra water or broth when reheating.
Nutrition
- Serving Size: 1.5 cups
- Calories: 350
- Sugar: 6
- Sodium: 650
- Fat: 8
- Saturated Fat: 3
- Unsaturated Fat: 5
- Trans Fat: 0
- Carbohydrates: 55
- Fiber: 18
- Protein: 25
- Cholesterol: 30