
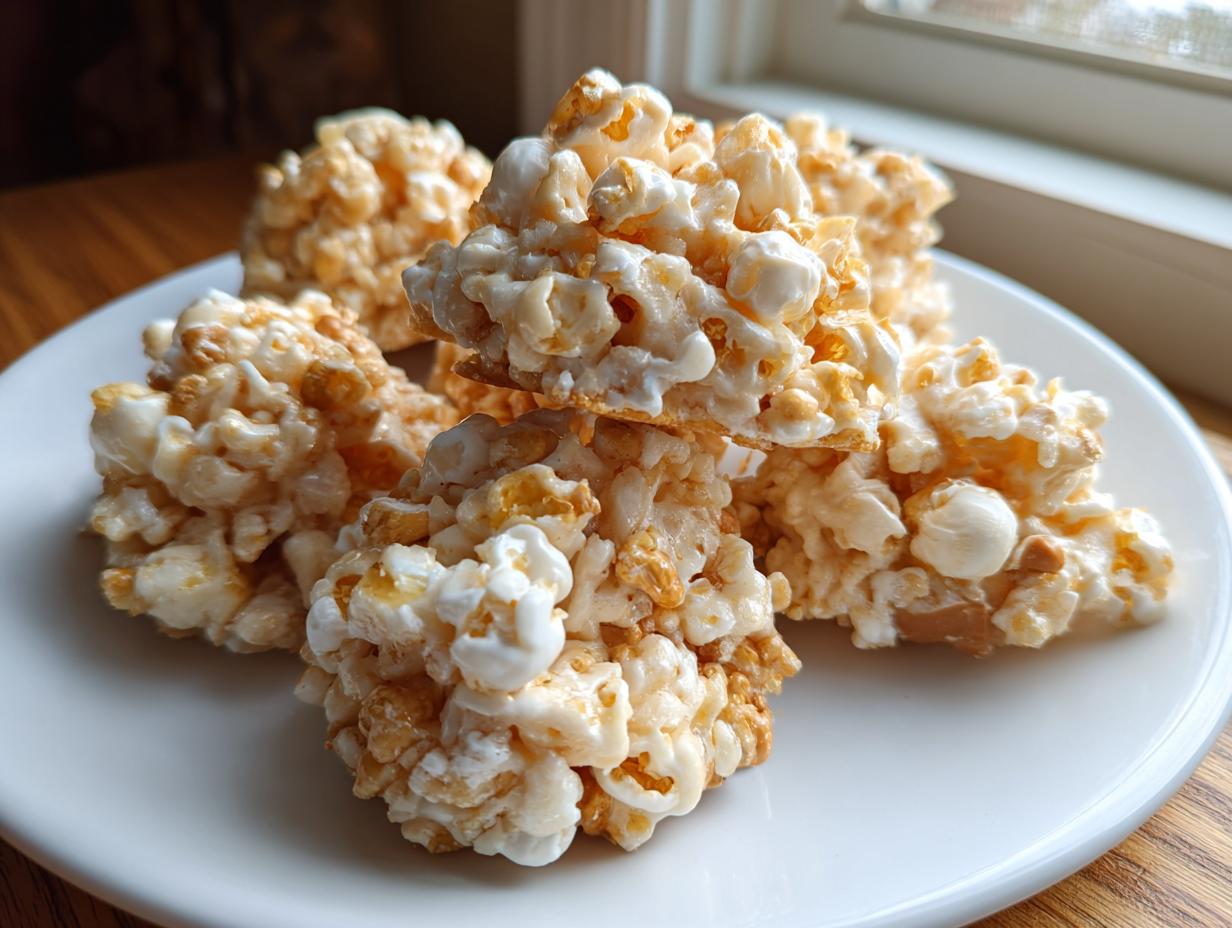
Are you staring into your pantry, starving for something sweet, but the thought of turning on the oven makes you sigh? I totally get it! When those quick cravings hit, we need solutions, not projects. That’s why I’m absolutely bursting to share my go-to recipe for avalanche cookies. Seriously, these are the ultimate sweet, crunchy, no-bake treats ever invented. You only need four staple ingredients to make a huge batch, and you can be setting them out to cool in about fifteen minutes flat. Trust me, because I tested this recipe every which way to make sure the melted chocolate doesn’t scorch, which is why you get perfect results every single time! If you love fast solutions, you should also check out my whole collection of best dessert recipes.
- Why You Will Master These Easy No-Bake Avalanche Cookies
- Essential Ingredients for Classic Avalanche Cookies
- Step-by-Step Instructions for Perfect No Bake Avalanche Cookies
- Tips for Success Making Your Avalanche Cookies
- Storage and Make Ahead Tips for Avalanche Cookies
- Creative Variations on Classic Avalanche Cookies
- Serving Suggestions for These No Bake Candy Clusters
- Frequently Asked Questions About Avalanche Cookies
- Nutritional Estimates for Avalanche Cookies
Why You Will Master These Easy No-Bake Avalanche Cookies
I know you’re busy, and I promise you, these little candy clusters are designed for real life. They are ridiculously easy, and they hit every single texture note you could want in a quick treat. You won’t even need fancy measuring cups for half of it!
- The Ultimate Time-Saver: We’re talking under 15 minutes of active work here. These are perfect for when you realize you need a last-minute gift or dessert for a potluck tonight. Check out my guide for more quick treats!
- Zero Oven Required: That’s right, no oven drama! This makes them fantastic on hot days or when your oven is tied up with dinner. We rely on setting time rather than baking time.
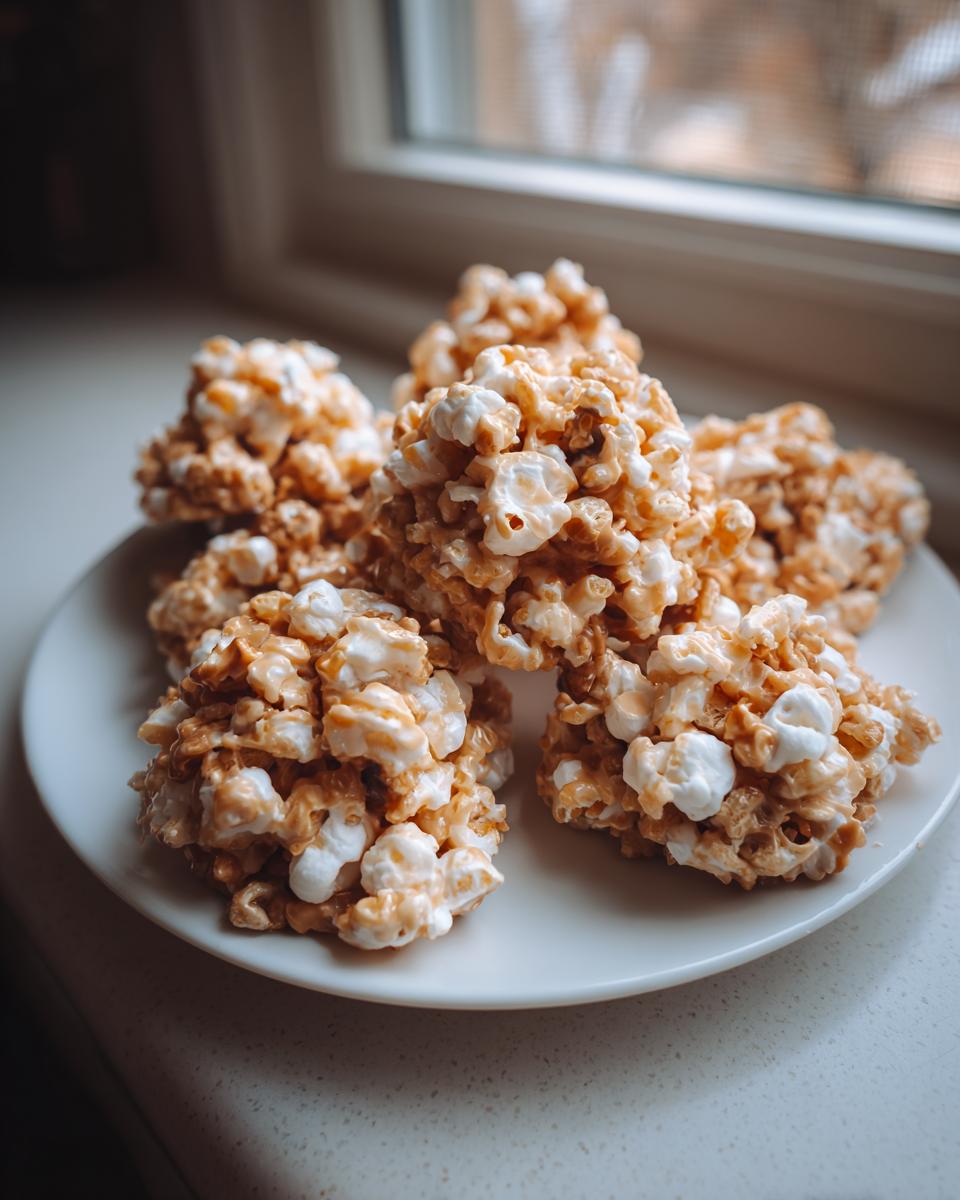
- Crowd-Pleaser Guarantee: Seriously, who doesn’t love white chocolate, peanut butter, and crunch all rolled into one bite? From kids to coworkers, these disappear instantly.
- Beginner-Proof Texture: These are almost impossible to mess up. The melted chocolate acts as the glue, holding the crunchy and chewy bits together perfectly. If you’re looking for more simple fixes, look here for my full list of easy dessert recipes.
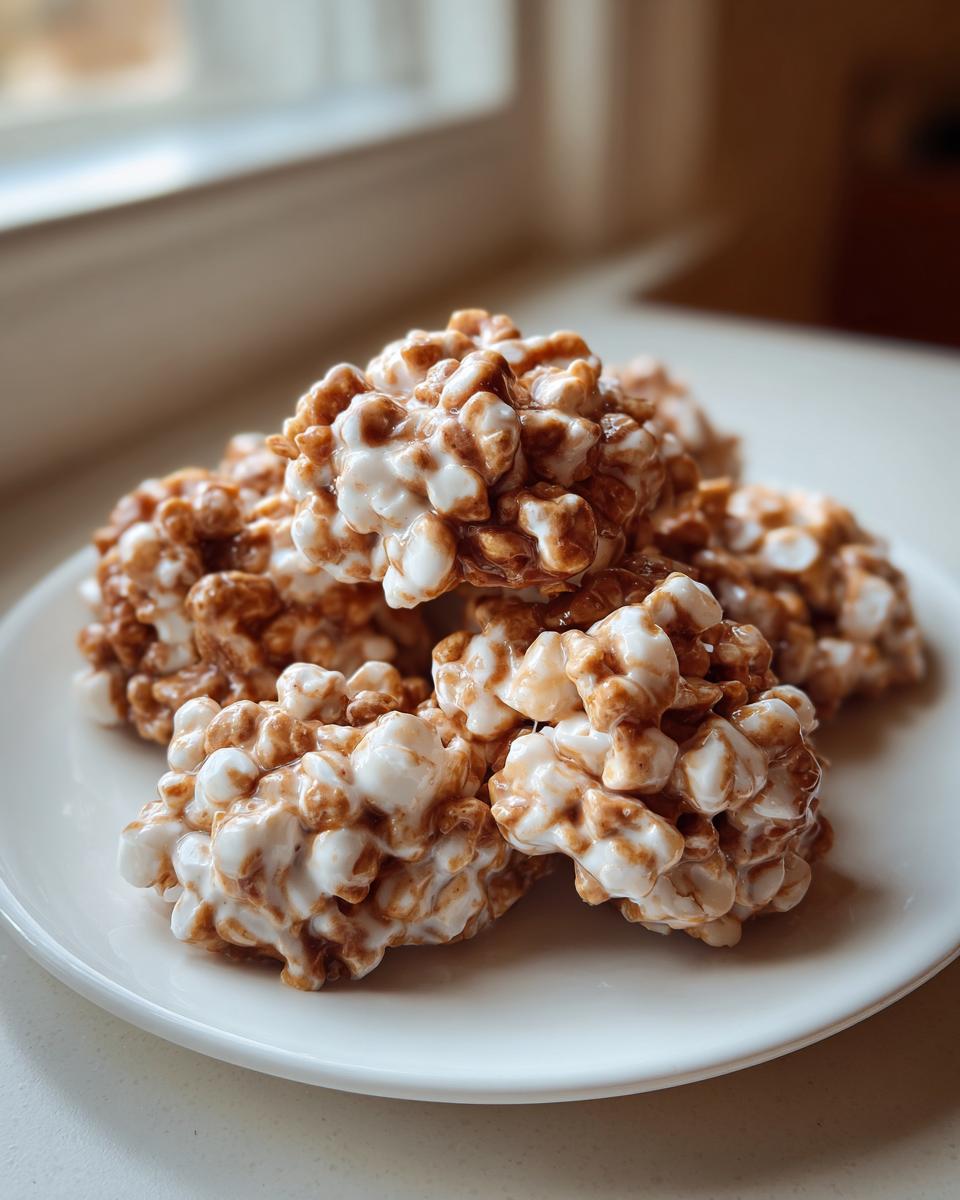
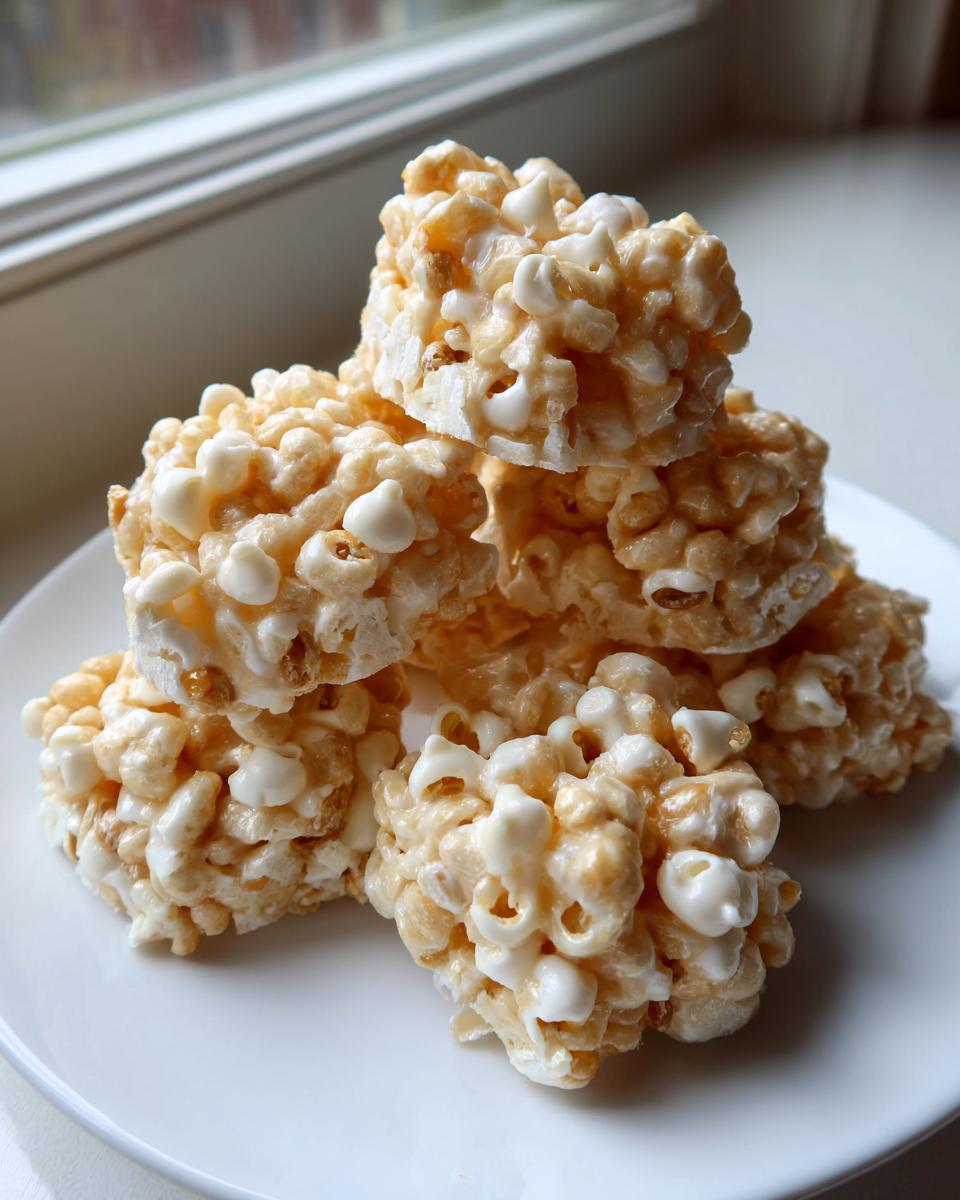
- Perfect for Gifting: Because they look so fun and irregular—like little snow peaks—they look homemade and adorable stacked up in clear cellophane bags with a ribbon.
- Simple Ingredient List: You likely have three of the four main ingredients sitting in your pantry right now! No obscure trips to specialty stores needed here, ever.
Essential Ingredients for Classic Avalanche Cookies
When making these, precision with the main components is key because we aren’t baking anything—the melt consistency is everything! Don’t worry about scrambling to find too many things; this is where the magic of a small ingredient list really shines. Everything you need should be easy to find at your regular grocery store. For the very best flavor and texture, make sure you grab exactly what I list below. If you’re focused on easy shopping, you might like checking out my ideas for simple ingredient recipes!
Ingredient Notes and Substitutions for Your Avalanche Cookies
So, let’s talk specifics about these four main players. For the peanut butter, I default to creamy! It melts down smoother and gives you that classic, velvety coating for the candy. If you want to use crunchy, go for it, but just know your final cookie won’t be quite as smooth around the edges. When it comes to melting, use white chocolate chips—they generally melt better in the microwave than blocks or wafers do. However, if you want to mix things up, don’t be shy about swapping out half the white chocolate for milk chocolate chips. It still sets beautifully and creates a richer peanut butter candy cluster!
Step-by-Step Instructions for Perfect No Bake Avalanche Cookies
Okay, grab your mixing bowl! This is where the magic happens, and since these amazing avalanche cookies are on the counter, we honestly need to move fast! Remember, these are part of my make ahead desserts collection because they set up so quickly. You can have these ready for snacking in under fifteen minutes total, which is incredible for such a satisfying sweet, crunchy snack.
Melting the Base: White Chocolate and Peanut Butter
First things first: Line a baking sheet with parchment paper. Don’t skip this, or you’ll spend ages trying to pry these sweet clusters off the pan later! Now, put your white chocolate and your peanut butter together in a big microwave-safe bowl. You need to microwave this mixture in short bursts—thirty seconds at a time usually does it. But here’s the critical part, the trick I learned the hard way: Stir it thoroughly after every blast! White chocolate scorches in seconds, and stirring distributes the heat evenly so you get that perfectly smooth, glossy base for coating everything else.
Combining Cereal and Marshmallows into Avalanche Cookies
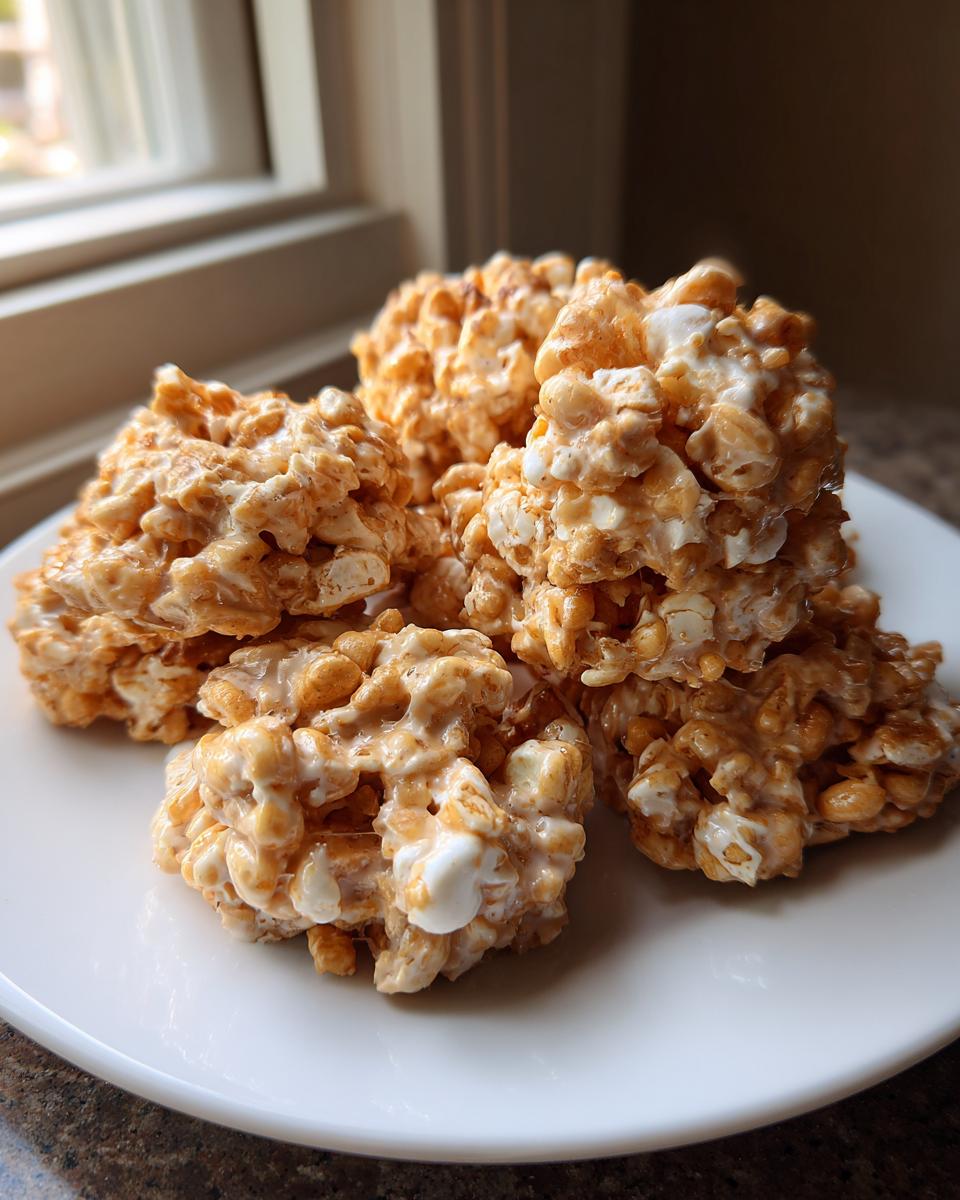
Once that mixture is silky smooth—no lumps allowed—you have to move quickly! Pour in all of your crispy rice cereal and those mini marshmallows right away. Grab a sturdy spatula and fold everything together as fast as you can. You want every single piece coated in that peanut butter and white chocolate mixture before it starts grabbing onto the bowl. Don’t overmix, though; you just want everything evenly incorporated. If you work slowly here, it will start to look stiff and impossible to stir!
Setting and Cooling Your Quick Treats
Once everything is coated, drop spoonfuls—or use a cookie scoop if you want them uniform—right onto that prepared sheet. They don’t need to be perfect circles; they’re avalanche cookies, after all! Let them sit on the counter for about half an hour until they firm up. If you’re in a real rush, you can pop them into the fridge for closer to fifteen minutes, and they’ll turn into perfect, firm little no bake cookies.
Tips for Success Making Your Avalanche Cookies
Making these is mostly about speed, but a few little tricks will ensure you get that perfect crunchy, chewy texture we’re aiming for in these cookie bar recipes. For perfect little mounds, use a standard tablespoon measure or a small cookie scoop. This keeps them uniform in size so they all chill down at the same rate. And don’t mess around with parchment paper; it’s your best friend here!
If you plan to press them down slightly to make them flatter “cookies” rather than tall clusters, use the bottom of a small oiled glass. Just dip the glass in a tiny bit of neutral oil, and gently flatten the top of each mound before they set. That keeps the peanut butter mixture from sticking to you! This guarantees you get the ultimate sweet crunchy snacks without a sticky mess.
Storage and Make Ahead Tips for Avalanche Cookies
Since these are no-bake and rely on the chocolate setting up, they are absolute stars if you need to get things done early! These totally count as reliable make ahead desserts. Just make sure you keep them away from heat! Store your finished avalanche cookies in a single layer in an airtight container at cool room temperature. If your kitchen is warm, though, pop them in the fridge. They’ll last beautifully for about four or five days. Just try not to stack them too high, or they might stick together a tiny bit!
Creative Variations on Classic Avalanche Cookies
While the four-ingredient base for our classic avalanche cookies is honestly perfection, that doesn’t mean we have to stop having fun with them! Sometimes you need a little something extra, especially if you’re making a big batch for gifting or a holiday party. My notes suggest a few easy ways to shake things up without turning this into a complicated bake. I just love seeing how everyone customizes their clusters!
If you want to lean into the salty-sweet craze, toss in about a cup of crushed pretzels when you mix in the cereal. The saltiness is just divine against that white chocolate and peanut butter. You can also ditch some of the white chocolate chips and use milk chocolate chips or even semi-sweet chips if pure sweetness isn’t your thing. These small additions keep the spirit of the quick, no-bake treat alive while offering something slightly different. I have a few other fun ideas over in my guide to chocolate chip cookie recipes that might inspire your next mix-in!
Serving Suggestions for These No Bake Candy Clusters
It feels almost criminal to end up with leftovers of these tasty no bake candy clusters because they disappear so fast! But if you somehow manage to have any left, they are absolute stars for potlucks and bake sales. They look great piled high on a platter next to something acidic like lemon bars. I love having a couple alongside a strong cup of coffee in the afternoon, too. They make for fantastic neighbor gifts for quick thank yous or just to brighten someone’s day. If you need inspiration for other easy snacks to bring along, take a peek at my thoughts on appetizers and snacks!
Frequently Asked Questions About Avalanche Cookies
It’s totally normal to have a few questions when you’re trying out a new no-bake recipe, especially since we are melting chocolate here! I’ve answered the most common things folks ask me about making these quick treats so you can feel totally confident. If you’re looking for more failsafe tips, make sure you look through my whole guide on no bake cookies.
Can I use crunchy peanut butter in my avalanche cookies?
Yes, absolutely you can! If you’re a fan of texture, crunchy peanut butter will work just fine in this recipe. Just know that since we aren’t baking them, the crunchy nuts won’t soften much. Creamy peanut butter melts down much smoother and gives you that classic, super velvety coating that makes the cookies look like they’re covered in fresh snow. So, while crunchy works, creamy gives you that signature creamy texture!
What is the best way to store these easy dessert recipes?
Since these are fantastic easy dessert recipes that don’t go in the oven, keeping them fresh is simple. Store them in a single layer, or with parchment paper between the layers, inside an airtight container. You can keep them right on the counter if your house stays relatively cool. Honestly, they are best eaten within the first three or four days for the crunchiest cereal texture, though they usually last fine for a week if you keep them slightly chilled.
Why did my white chocolate mixture seize up?
Oh, that’s the WORST, isn’t it? White chocolate is super dramatic! Even one tiny drop of water or excess steam will make it seize up instantly and turn into a grainy, clumpy mess. If this happens, don’t panic immediately. You can sometimes save it by stirring in just half a teaspoon of neutral oil or shortening; sometimes that fat content smooths it out again. But if it looks really bad, the quickest fix is to toss most of it and start over with fresh chips, being extra careful to keep all moisture away from that bowl!
Nutritional Estimates for Avalanche Cookies
I always want to give you the full picture here at Kings Cook. While these avalanche cookies are totally quick and fun, they are definitely on the sweeter side, thanks to all that white chocolate goodness! Please remember that these numbers are estimates, calculated based on the standard ingredients listed in the recipe (and trusting that you don’t sneak in extra peanut butter chips, you rascal!). These are calculated per cookie serving size.
- Serving Size: 1 cookie
- Calories: 210
- Sugar: 18g
- Sodium: 110mg
- Fat: 12g
- Saturated Fat: 5g
- Unsaturated Fat: 7g
- Trans Fat: 0g
- Carbohydrates: 24g
- Fiber: 1g
- Protein: 4g
- Cholesterol: 5mg
If you’re curious about the science behind keeping food balanced, you can always read a bit more about my approach over on my About Page. Knowing what goes into your treats is half the battle!
PrintEasy No-Bake Avalanche Cookies (4 Ingredient Recipe)

Make these irresistible Avalanche Cookies for a quick, crowd-pleasing no-bake treat perfect for gifting or sharing. These simple candy clusters come together in under 15 minutes.
- Prep Time: 10 min
- Cook Time: 5 min
- Total Time: 15 min
- Yield: About 20 cookies 1x
- Category: Dessert
- Method: No Bake
- Cuisine: American
- Diet: Vegetarian
Ingredients
- 12 ounces white chocolate chips
- 1 cup creamy peanut butter
- 6 cups crispy rice cereal
- 2 cups mini marshmallows
Instructions
- Line a baking sheet with parchment paper. Set aside.
- Place the white chocolate chips and peanut butter in a large, microwave-safe bowl.
- Microwave in 30-second intervals, stirring well after each interval, until the mixture is completely smooth and melted. This usually takes 60 to 90 seconds total.
- Quickly stir in the crispy rice cereal and mini marshmallows until everything is evenly coated with the melted chocolate mixture. Work fast, as the mixture will start to set.
- Drop spoonfuls of the mixture onto the prepared baking sheet. You can shape them into rough mounds or drop them as clusters.
- Allow the cookies to set completely at room temperature for about 30 minutes, or place them in the refrigerator for 15 minutes to speed up the process.
- Serve these easy dessert recipes once firm. Store leftovers in an airtight container.
Notes
- For a richer flavor, you can substitute half of the white chocolate chips with milk chocolate chips or semi-sweet chocolate chips.
- If you want a variation, add 1 cup of crushed pretzels or peanut butter chips along with the cereal and marshmallows.
- This recipe is excellent for make ahead desserts since it requires no oven baking.
Nutrition
- Serving Size: 1 cookie
- Calories: 210
- Sugar: 18
- Sodium: 110
- Fat: 12
- Saturated Fat: 5
- Unsaturated Fat: 7
- Trans Fat: 0
- Carbohydrates: 24
- Fiber: 1
- Protein: 4
- Cholesterol: 5