
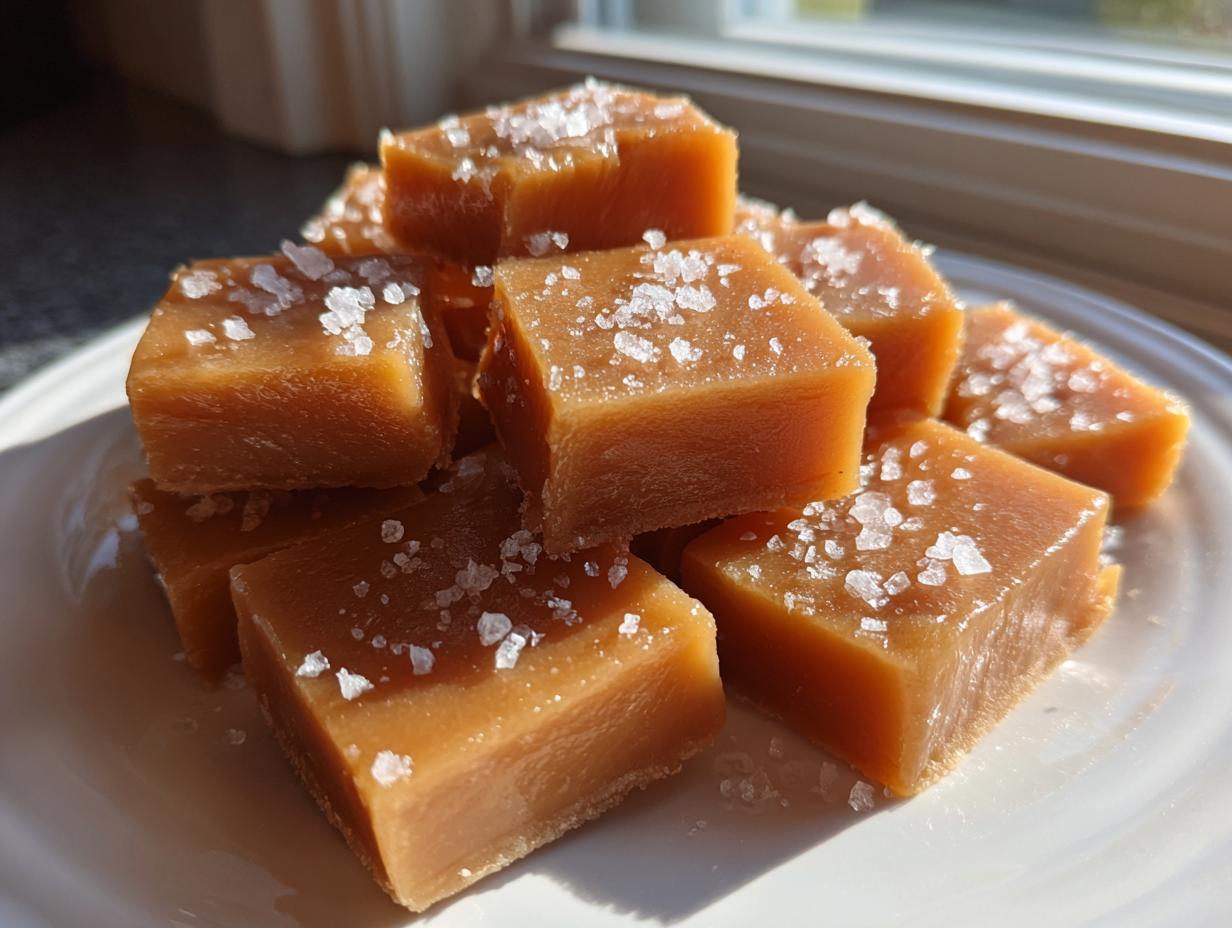
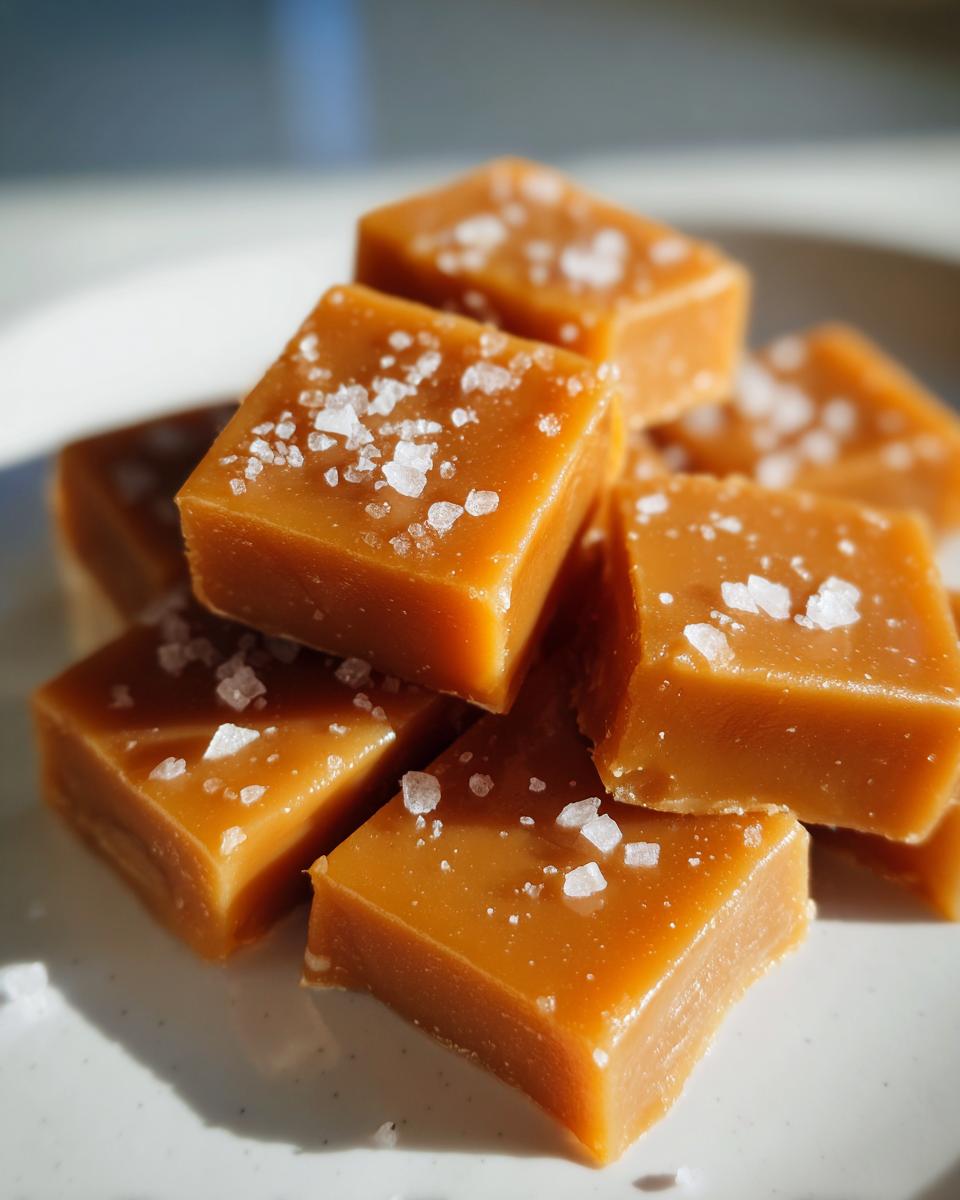
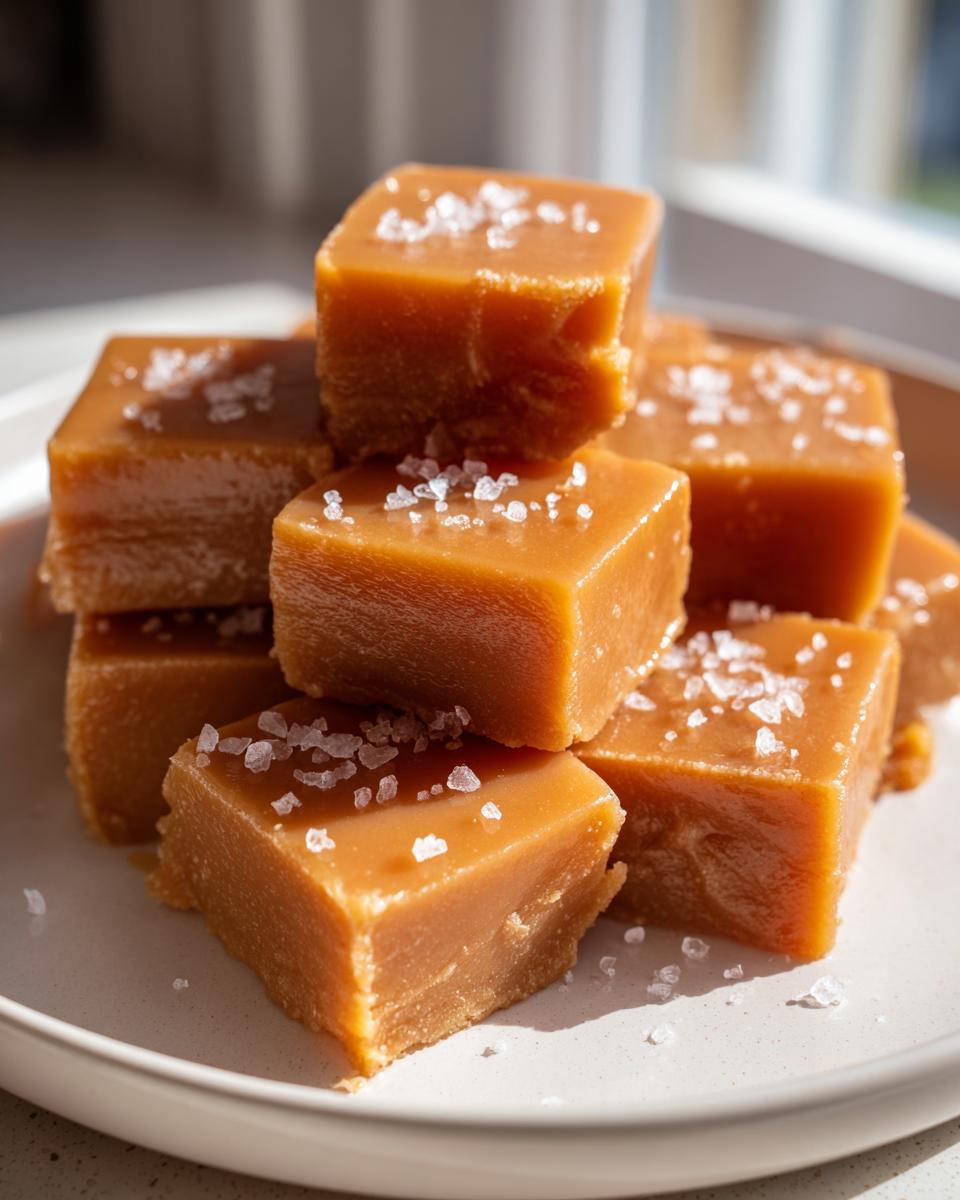
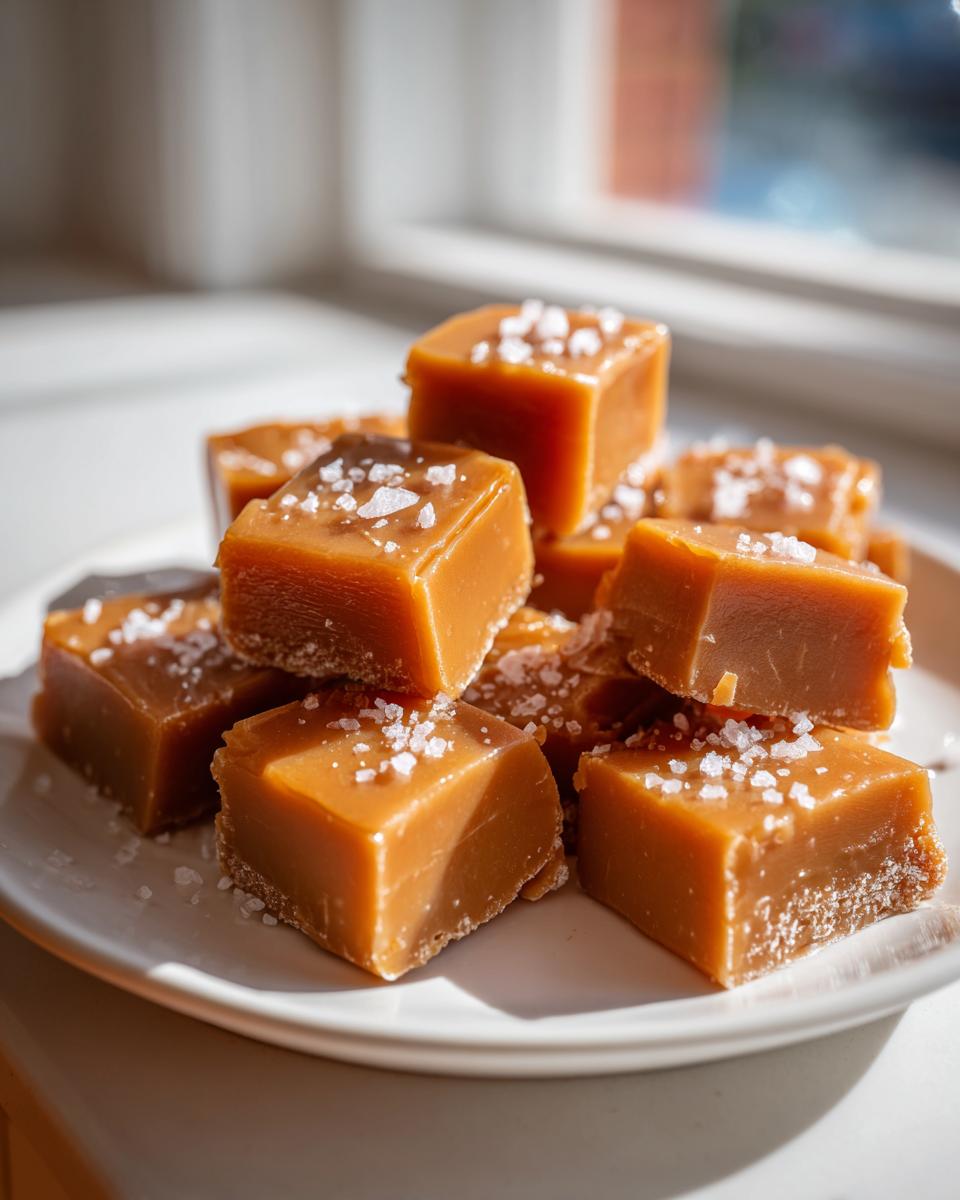
Oh, if you think making candy is too complicated or requires a fine culinary degree, I promise you, you’ve never tried my recipe for homemade caramels! When you pull that first piece—perfectly soft, wonderfully chewy, and sprinkled with sea salt—out of the wax paper, you’ll feel like a total kitchen rockstar. Seriously, these are my Best Soft, Chewy Sea Salt Caramels because they are totally beginner friendly, and they have that incredible, melt-in-your-mouth quality we all look for.
I spent years trying every trick to get that perfect texture, just like my grandma did when she perfected her holiday fudge. She always said the secret to the best treats wasn’t shortcuts, but patience and great butter. These delicious caramels follow her philosophy—a little bit of time on the stovetop, and you get a luxurious confection that tastes miles better than anything store-bought. Trust me, these buttery sweet treats are about to become your new obsession!
- Why This is the Best Recipe for Homemade Caramels (E-E-A-T Focus)
- Gathering Ingredients for Your Chewy Caramels Recipe
- Essential Equipment for Caramel Candy Making
- Step-by-Step Instructions for Soft Homemade Caramels
- Tips for Perfect Sea Salt Caramels Every Time
- Variations for Your Homemade Caramels
- Storage and Gifting Homemade Candy Gifts
- Frequently Asked Questions About Making Caramels
- Nutritional Estimate for These Buttery Sweet Treats
Why This is the Best Recipe for Homemade Caramels (E-E-A-T Focus)
I know you see quick recipes everywhere—like the microwave ones that take six minutes—but I have to be honest: those methods just don’t deliver the deep flavor and perfectly soft texture of a classic stovetop batch. This recipe, focusing on caramels, relies on the old-fashioned way because it works every single time. It’s all about control! I also use the same dedication to quality ingredients here that I use when making my layered phyllo pastries, like my recipe for baklava.
We build flavor slowly, which is why I’m so passionate about this method. It’s reliable, and when you follow the temperature guide, you guarantee those amazing results that make people ask, “Did you buy these?”
Achieving Perfect Soft Caramels Texture
The absolute secret weapon here is that candy thermometer. You simply cannot guess this part! We are aiming perfectly for 245 degrees Fahrenheit, which is the soft-ball stage. It sounds scientific, I know, but hitting that number is what guarantees your candy is wonderfully chewy and not hard like a jawbreaker. If you cook it even a few degrees hotter, you switch textures completely!
Buttery Sweet Treats Flavor Profile
You can’t skimp on the fats if you want truly decadent flavor. I insist on using high-quality, sweet, unsalted butter, cut into cubes before we even start heating things up. That rich foundation, combined with pure vanilla extract, is what takes these from being just sweet candy to truly gourmet caramels. It smells incredible while it cooks, trust me.
Gathering Ingredients for Your Chewy Caramels Recipe
Okay, let’s talk about what you need to pull off these amazing caramels! Since they are so simple, every ingredient really shines through, so make sure your butter is top-notch. You need just a handful of pantry staples, but measure them out precisely; candy making hates improvisation! You’ll want to have your granulated sugar, which is your base sweetness, and then don’t forget the brown sugar for that deeper molasses note. Heavy cream and corn syrup are essential for binding and that beautiful pull. I lay everything out right next to the stove before I even turn on the burner!
Essential Equipment for Caramel Candy Making
You don’t need a whole candy kitchen setup for these, I promise! If you’ve successfully made fudge before, you probably have most of this tucked away. A reliable, heavy-bottomed saucepan is non-negotiable. Why heavy-bottomed? Because it distributes heat evenly, making sure those sugars don’t scorch on the bottom while you’re waiting for that perfect temperature—nobody wants burnt sugar spots! You can check out my tips for fudge brownies, where the pan choice is just as important.
The second biggest non-negotiable tool is, of course, that candy thermometer. I know some people try to wing it, but for these soft caramels, we need accuracy. You need one that clips right onto the side of the pot so you can easily track the temperature without having to dip it in and burn your fingers! Lastly, you’ll need an 8×8 inch baking pan, and make sure you have parchment paper ready. Lining that pan correctly is half the battle to getting those beautiful squares out cleanly!
Step-by-Step Instructions for Soft Homemade Caramels
Alright, this is where the magic happens! Don’t let the stovetop cooking intimidate you; it’s just about sticking to the plan. We are making rich, melt-in-your-mouth caramels here, so patience is key, especially when that thermometer starts creeping up. Remember, candy making is about precision, which is why I always double-check everything before I turn the heat on.
Preparing the Pan and Initial Mixture for Caramels
First things first, get your 8×8 pan ready. Lightly grease it, then line it with parchment paper, making sure you leave an overhang. This overhang is your lifeline later when you need to lift the whole block out! Now, grab your heavy-bottomed pot and toss in the sugars, corn syrup, and heavy cream. You need to stir this mixture constantly over medium heat until you can no longer feel any grit—that means the sugar has completely dissolved. If you skip this stirring part, you might get crunchy crystals later, and we certainly don’t want that!
The Critical Cooking Stage: Reaching Soft-Ball Temperature
Once everything is dissolved, attach that candy thermometer securely! Make sure the tip is sitting comfortably in the mixture without touching the bottom of the pan. Now, here is the big rule: stop stirring! Let it bubble away until it hits exactly 245 degrees Fahrenheit. This stage takes about 15 to 20 minutes, so just hang out, watch it climb, and maybe bake a quick batch of my chocolate chip cookies while you wait. Seriously, fight the urge to stir; touching it can cause crystallization!
Finishing and Cutting Your Soft Caramels
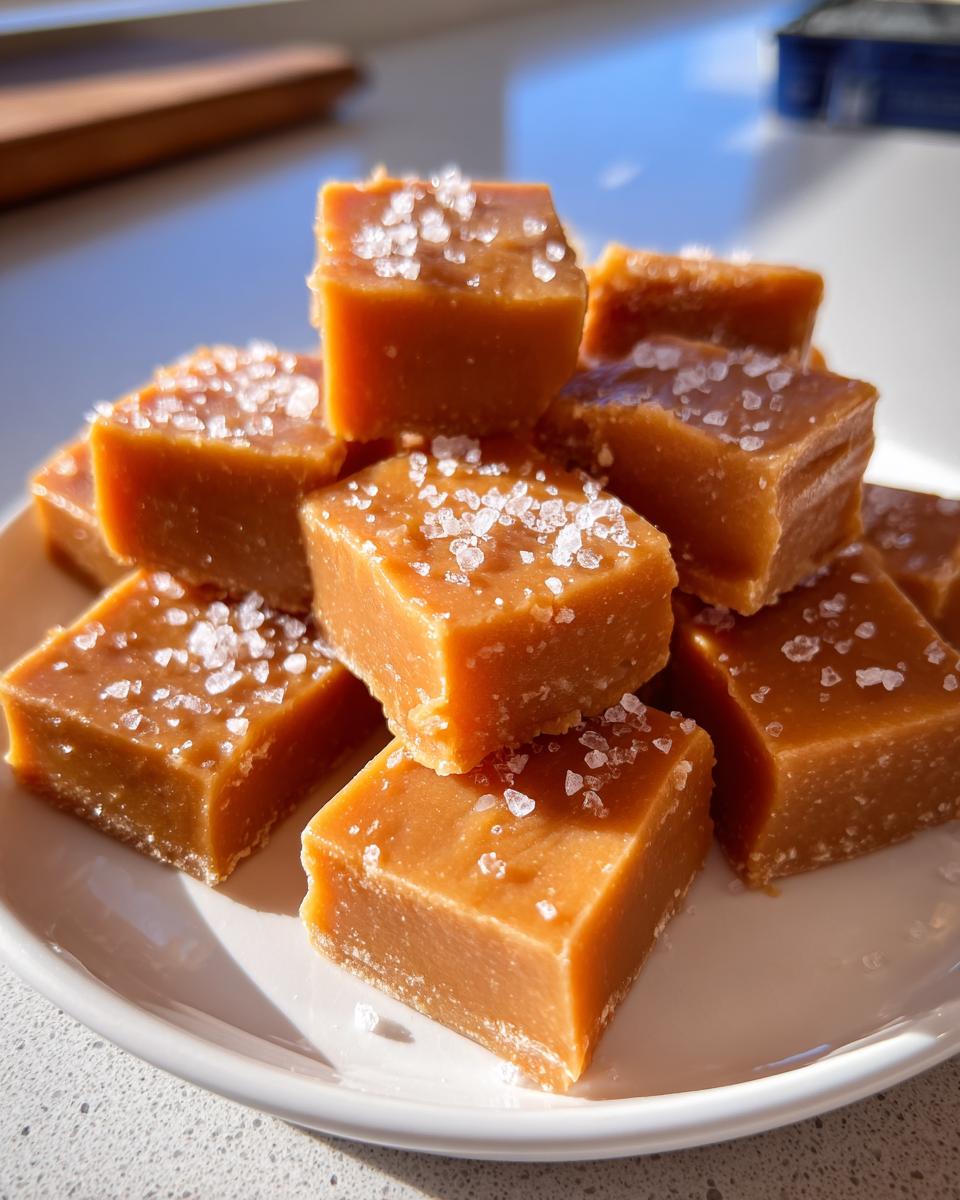
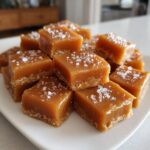
When that 245°F hits, pull the pot *off* the heat immediately. Now you can stir again! Carefully whisk in your butter pieces until they are fully melted—it will bubble up, so stand back a bit. Then add your vanilla and salt. Pour everything into that prepped pan and promise me you won’t scrape the sides of the pot; all the good stuff is clinging there! You must let this cool, totally undisturbed, for at least three hours. Once it’s firm, use the parchment overhang to lift the block out. Cut it into squares, and sprinkle on that flaky sea salt right away. If you want the best guidance on finishing these treats, take a peek at this fantastic guide on perfect sea salt caramels I love to reference!
Tips for Perfect Sea Salt Caramels Every Time
Even with a reliable recipe, sometimes little things can throw off your batch of caramels. My biggest piece of advice, which I learned through painful trial and error, is paying attention to that thermometer when it’s climbing past 240°F. That small window between 245°F (chewy) and 250°F (firm chew) is tiny!
If you overshoot the temperature, you’ll end up with harder candy, so take the heat off right at 245°F if you want that melt-in-your-mouth texture. Also, I can’t stress this enough: use the best vanilla extract you can find. Since there are so few ingredients, that vanilla really comes through strong! For more flavor wisdom, I always check out sites like Inspired Taste if I need a second opinion on my ratios.
When you’re ready for simple baked goods afterwards, my recipe for vanilla cupcakes is just as precise and surprisingly easy!
Variations for Your Homemade Caramels
Now that you’ve mastered the basic, perfectly soft batch of caramels—the foundation for all spectacular candy—it’s time to start playing! Honestly, once you nail the creamy, buttery base, adapting it is half the fun. You don’t have to rely on just the sea salt topping; you can introduce new layers of flavor that make these holiday candy recipes feel extra special or gourmet.
My favorite way to experiment when the weather starts cooling down is by leaning into warmer, deeper flavors. If you are looking for something a little different than the standard vanilla, I have a couple of easy swaps that I know you’ll love. These ideas work perfectly as homemade candy gifts because they feel customized!
If you’re a fan of that rich, woodsy sweetness that maple brings, you absolutely have to try making Maple Caramels. You can substitute about half of the light corn syrup in the recipe with pure maple syrup. Just remember that maple syrup can sometimes cook a little differently, so keep a close eye on your thermometer and make sure you hit that sweet spot at 245°F for the right chewiness!
Another simple tweak is focusing more on the Vanilla Caramels angle. If you are using high-quality vanilla extract, why not amp it up a little? Try beating in an extra half teaspoon of vanilla extract right at the very end when you add the first half teaspoon. That extra punch of pure flavor really makes these Buttery Sweet Treats sing, especially if you’re just enjoying them plain without the sea salt topping.
If you want to see another delicious way maple plays with butter and sweetness, check out my recipe for maple cookies with brown butter icing. It uses similar flavor profiles!
Storage and Gifting Homemade Candy Gifts
The hardest part about making these glorious, melt-in-your-mouth caramels is waiting for them to cool so you can cut them! But once you do, you need to wrap them right away if you want them to last. Because these are so wonderfully soft and buttery, they really don’t like to be left out unwrapped. They’ll start weeping or sticking together in the humidity, and that would be a total tragedy after all that hard work!
My go-to wrapping material is simple wax paper or small squares of cellophane. You just cut your squares about 4×4 inches, place one perfectly chewy caramel in the center, and twist the paper tightly around it like a little candy jewel. This keeps them fresh and prevents them from adhering to each other. Also, wrap them right after you cut them; waiting too long means the salt might draw moisture out, making them sticky.
When it comes to storage, keep them in an airtight container in a cool, dry place. I know they are tempting, but don’t put them in the fridge! The cold tends to make them too firm, and you lose that perfect softness we worked so hard to achieve. They hold up beautifully at cool room temperature for a couple of weeks, making them ideal for adding to your holiday candy recipes centerpiece or gifting to neighbors.
If you are bringing them to a gathering or gifting them, I love popping them into cute little tins along with some of my apple cinnamon muffins for a nice mix of sweet and baked goods. Everyone just loves getting treats made from scratch!
Frequently Asked Questions About Making Caramels
I totally get it; candy making can bring up a ton of questions, especially when you are aiming for that perfect batch of caramels that melts right in your mouth! Don’t stress if this is your first time dealing with boiled sugar. I’ve gathered the most common things people ask me about after they’ve tried this recipe, so we can tackle those little hiccups together.
Can I use a microwave for this Quick Caramel Recipe?
That’s a fair question, especially when you see those super fast recipes popping up! Yes, microwave caramels exist, and they are certainly quick. But honestly, if you want that deep, luxurious, buttery flavor that defines the best homemade caramels, the slow stovetop method is worth the extra time. Microwaving tends to cook unevenly, and you miss out on that beautiful slight caramelization that builds flavor over those 15-20 minutes on the burner. If you’re curious about the speed, you can look up methods like the 6 minute microwave caramels, but I always steer people toward the foolproof stovetop method for texture!
My caramels are too hard. What went wrong?
Ugh, that’s the worst feeling when you bite down and it’s closer to a toffee than a soft chew! This almost always means your sugar mixture cooked a little too long or too hot. For perfectly soft caramels, we absolutely need to pull the heat when the thermometer hits 245°F (the soft-ball stage). If you let it climb even to 255°F or higher, you’ve essentially made hard candy because too much moisture evaporated. Next time, pull it off the heat the *second* it registers 245°F!
How do I keep my caramels from sticking together when wrapped?
This is all about cooling and wrapping materials! You need two things: patience and the right paper. First, make sure those caramels are completely, 100% cool and firm—like, rock solid—before you even think about cutting them. Once they are cut, immediately wrap each piece. Use either genuine wax paper or unwaxed cellophane; avoid wax paper where the seams touch, as the sugar can sometimes melt slightly when handled. Keeping them individually wrapped in an airtight container prevents them from having a dance party and sticking together in one giant mass!
Once you’ve mastered these, you’ll be ready to dive into baking! If you need a sweet, non-candy follow-up, my recipe for easy pumpkin bread is always a huge hit!
Nutritional Estimate for These Buttery Sweet Treats
Okay, let’s talk about the nutrition for these incredible, melt-in-your-mouth creations. Since these are rich, homemade candies made with real butter and sugar, they certainly aren’t the lowest-calorie treat on the block, but that’s okay! That’s why we save them for special times.
Please remember that all the numbers I’m sharing are just estimates based on the ingredient list in the recipe above. If you use a specific brand of corn syrup or butter, your numbers might be slightly different, so take these as a guiding framework rather than gospel. I always use these charts when I’m working on my recipes, like my moist banana bread, just to give people a general idea of what they’re enjoying.
Based on making about 64 pieces from the full batch, here is what you can generally expect for a single serving:
- Serving Size: 1 piece
- Calories: 105
- Fat: 3.5g (including 2.2g Saturated Fat)
- Carbohydrates: 18g (with 18g of that being sugar—yum!)
- Protein: 0.5g
- Sodium: 35mg
See? That rich, buttery flavor comes with the territory! Knowing the details helps you enjoy these decadent treats completely guilt-free, knowing you made them perfectly from scratch. That’s the joy of baking at home!
PrintThe Best Soft, Chewy Sea Salt Caramels (Beginner Friendly)
Make melt-in-your-mouth soft caramels at home using this simple, reliable recipe. These buttery treats are perfect for gifting or enjoying as a sweet snack.
- Prep Time: 15 min
- Cook Time: 25 min
- Total Time: 3 hr 40 min
- Yield: About 64 pieces 1x
- Category: Dessert
- Method: Stovetop Cooking
- Cuisine: American
- Diet: Vegetarian
Ingredients
- 1 cup granulated sugar
- 1 cup light corn syrup
- 1 cup heavy cream
- 1 cup packed light brown sugar
- 1 cup unsalted butter, cut into pieces
- 1 teaspoon pure vanilla extract
- 1/2 teaspoon salt, plus extra for sprinkling
Instructions
- Lightly grease an 8×8 inch baking pan and line it with parchment paper, leaving an overhang on two sides for easy removal. Set aside.
- In a heavy-bottomed saucepan, combine the granulated sugar, corn syrup, heavy cream, and brown sugar.
- Place the saucepan over medium heat. Stir constantly until the sugar and brown sugar dissolve completely. Do not let the mixture boil before the sugar dissolves.
- Attach a candy thermometer to the side of the pan, making sure the tip is submerged but not touching the bottom.
- Stop stirring once the mixture begins to boil. Cook the mixture without stirring until it reaches 245 degrees Fahrenheit (soft-ball stage). This usually takes about 15 to 20 minutes.
- Remove the pan from the heat. Carefully stir in the butter until it melts completely. The mixture will bubble vigorously.
- Stir in the vanilla extract and 1/2 teaspoon of salt.
- Pour the hot caramel mixture into the prepared baking pan. Do not scrape the sides of the pan.
- Let the caramel cool completely at room temperature for at least 3 hours, or until firm.
- Once firm, use the parchment paper overhang to lift the block of caramel out of the pan.
- Cut the caramel block into 1-inch squares using a sharp, oiled knife.
- Sprinkle the tops of the cut caramels with a pinch of flaky sea salt immediately after cutting.
- Wrap individual caramels in wax paper or cellophane for storage or gifting.
Notes
- For the chewiest texture, cook the mixture precisely to 245 degrees Fahrenheit. If you cook it hotter, the caramels will be firmer.
- If you want a quick method, you can try the microwave caramel recipe, but this classic method yields the best buttery flavor and texture.
- Use high-quality butter for the best flavor in these buttery sweet treats.
Nutrition
- Serving Size: 1 piece
- Calories: 105
- Sugar: 18
- Sodium: 35
- Fat: 3.5
- Saturated Fat: 2.2
- Unsaturated Fat: 1.3
- Trans Fat: 0.1
- Carbohydrates: 18
- Fiber: 0
- Protein: 0.5
- Cholesterol: 10