
I totally get it. You scroll through Instagram, you see this perfectly luxurious, creamy dessert, and you think, “That looks amazing, but it probably has a million ingredients and requires me to babysit an ice cream maker for three hours.” Nope, not today! If you’re craving something incredibly sweet, totally **guilt-free**, and packed with protein—but you want it done yesterday—I have the answer.
This 4-ingredient **protein ice cream** recipe is my absolute answer for those times you need a quick, **macro friendly dessert**. Seriously, no bananas required, and you absolutely do not need that expensive churning machine. We are keeping this reliable, simple, and focused on texture. Trust me when I say Kate’s Kitchen—which is basically my kitchen—delivers desserts that actually work.
- Why This 4-Ingredient Protein Ice Cream is Your New Favorite Guilt Free Frozen Treat
- Gathering Ingredients for Your No Churn Protein Ice Cream Recipe
- Step-by-Step Instructions for Making Protein Ice Cream
- Tips for the Best Protein Ice Cream Texture
- Flavor Variations for Your High Protein Dessert Ideas
- Serving and Storing Your Homemade Protein Ice Cream
- Frequently Asked Questions About Making Protein Ice Cream
- Estimated Nutritional Snapshot for This Easy Protein Dessert
- Share Your Success with This Protein Ice Cream Recipe
Why This 4-Ingredient Protein Ice Cream is Your New Favorite Guilt Free Frozen Treat
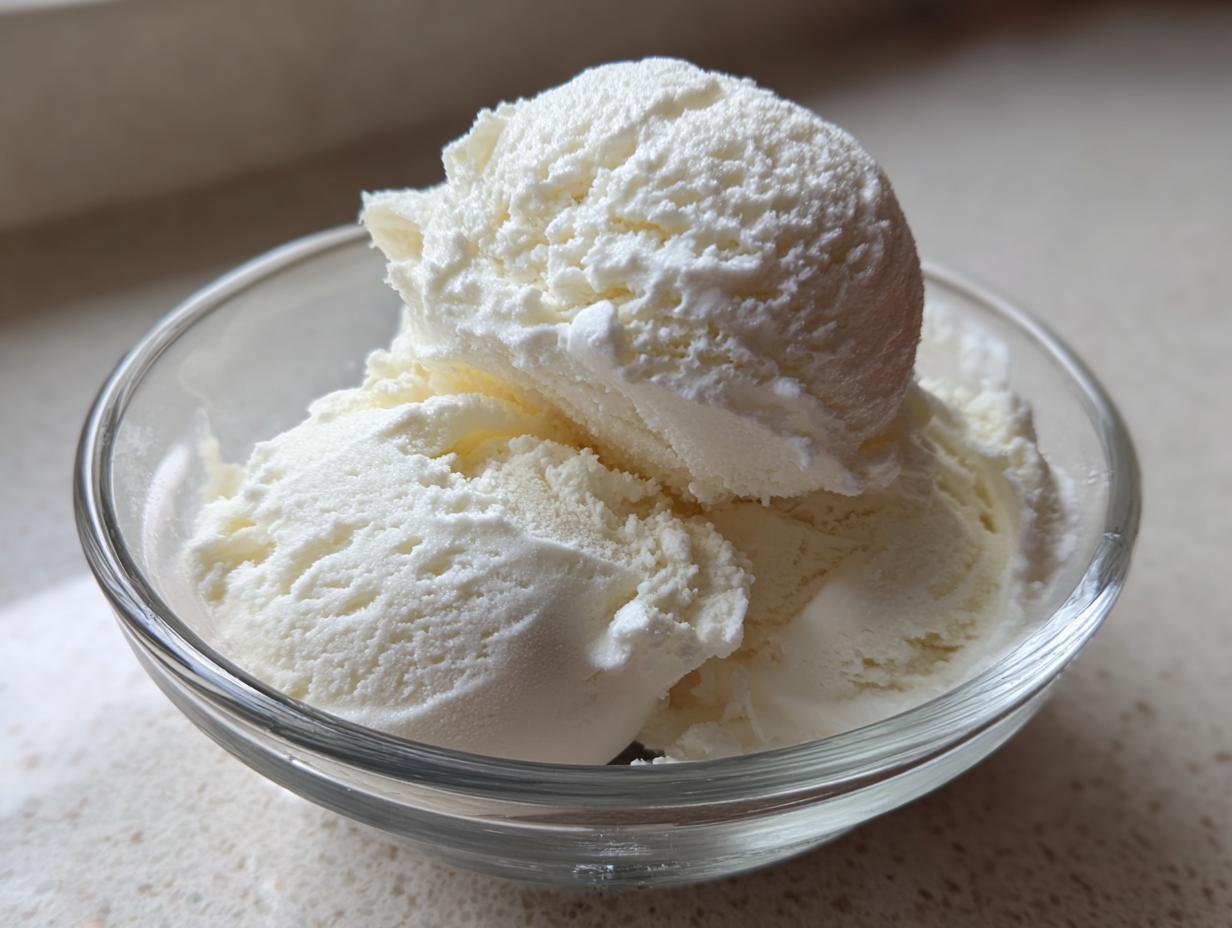
This is the dessert you serve when you want something that tastes indulgent but keeps your macros perfectly balanced! This recipe nails that creamy, scoopable texture we all miss from traditional ice cream without any of the downside.
Here’s why this **protein ice cream** has become a staple for me and so many people who follow a specific fitness plan:
- It’s truly **macro friendly desserts** heaven—minimal fat and sugar but sky-high protein.
- You get amazing **guilt free frozen treats** that satisfy those evening dessert cravings instantly.
- It’s adaptable based on the protein powder you use, offering serious flexibility.
The Secret to Creamy Healthy Ice Cream Without Churning
The real trick here is ditching the high-fat cream and relying on the powder itself combined with just enough liquid to create a thick slurry. Because we aren’t adding any heavy stabilizers or bananas, the protein powder, when blended intensely, traps air and freezes solid but smooth. It’s honestly the easiest **easy protein dessert** you’ll ever make! You just need patience while it freezes, but the prep work is minimal, which I love.
Gathering Ingredients for Your No Churn Protein Ice Cream Recipe
Okay, let’s talk what you need to grab from the pantry for this amazing **no churn protein ice cream recipe**. It’s shockingly simple—just four core things! But I have to stress something vital here: the quality of your protein powder really matters for this base recipe. Since we aren’t using stabilizers or bananas, a chalky powder will give you a chalky outcome. You want something that dissolves cleanly into your **protein ice cream**.
Here is what you need for two satisfying scoops:
- 1 cup unsweetened almond milk (or whatever milk you prefer in your **healthy homemade ice cream**)
- 1 scoop vanilla or chocolate protein powder (whey or casein works well!)
- 1/2 cup zero-calorie sweetener (I usually go for a monk fruit blend)
- 1 teaspoon vanilla extract
If you want to check out some other tricks on making healthy frozen treats without the churn, I loved reading this article on making great workout flavors. Check out these no-churn options!
Ingredient Notes and Sugar Free Protein Ice Cream Substitutions
To make this truly a **sugar free protein ice cream**, stick to zero-calorie sweeteners like erythritol or high-quality stevia blends. They won’t mess with the texture like sugar alcohols can sometimes do.
For texture, remember those notes I showed you earlier? If you need this even thicker, try swapping about a quarter cup of that almond milk for 1/4 cup of plain Greek yogurt or cottage cheese. It blends right in, adds a creaminess boost, and that’s a fantastic little trick if you’re looking for a **cottage cheese ice cream substitute** that tastes way better than you’d expect!
Step-by-Step Instructions for Making Protein Ice Cream
Getting this **protein ice cream** into the freezer for the magic to happen is super fast, I promise! We are relying on a good blend here, so make sure your blender is ready. There’s no oven time—just freezer time! This is where your **healthy homemade ice cream** starts to take shape before it gets rock solid.
Here’s the quick rundown:
- First, grab your blender or immersion stick and toss in the almond milk, your protein powder, the sweetener, and that vanilla extract.
- You need to blend this until it’s perfectly smooth. I mean *really* smooth—no clumps of powder hiding!
- Pour that liquid right into a freezer-safe loaf pan. Cover it up tight.
- Pop it in the freezer for at least 4 hours to set up properly.
It’s that simple! Just remember to check it around the 4-hour mark. For more tips on fast, simple desserts, check out this great guide on making 4-ingredient versions.
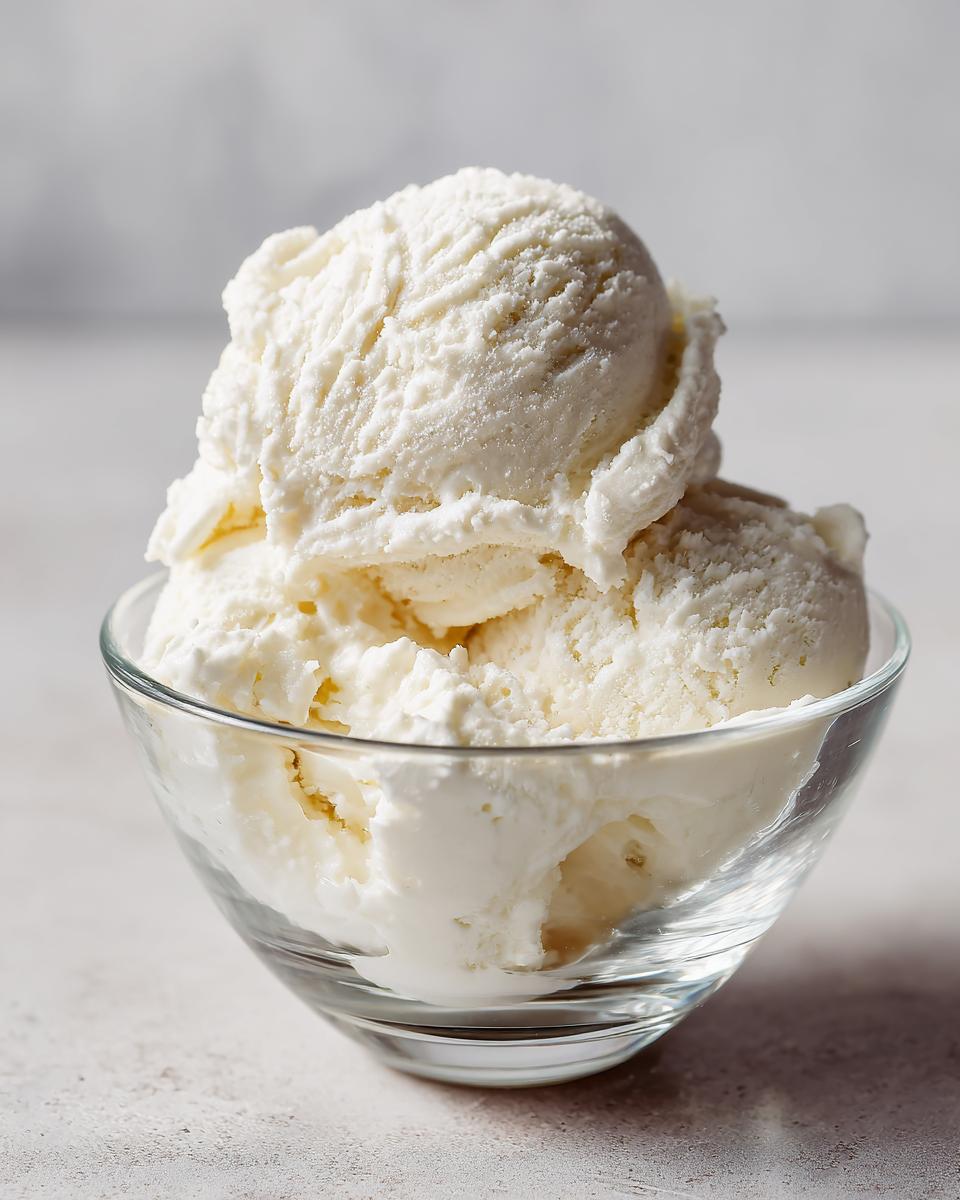
Achieving the Perfect Vanilla Protein Ice Cream Base
Step one, the blending, is where you build your **vanilla protein ice cream base** structure. Don’t rush that blending phase! If you stop too soon, those tiny bits of unmixed powder turn into icy, grainy spots later. I always blend mine on high for a full minute, making sure to scrape down the sides halfway through if I’m using a standard blender. This whips just a little bit of air in, which helps prevent it from freezing into a brick. When you take it out later (Step 4), remember it needs about 10 to 15 minutes on the counter to soften up perfectly before you can scoop it!

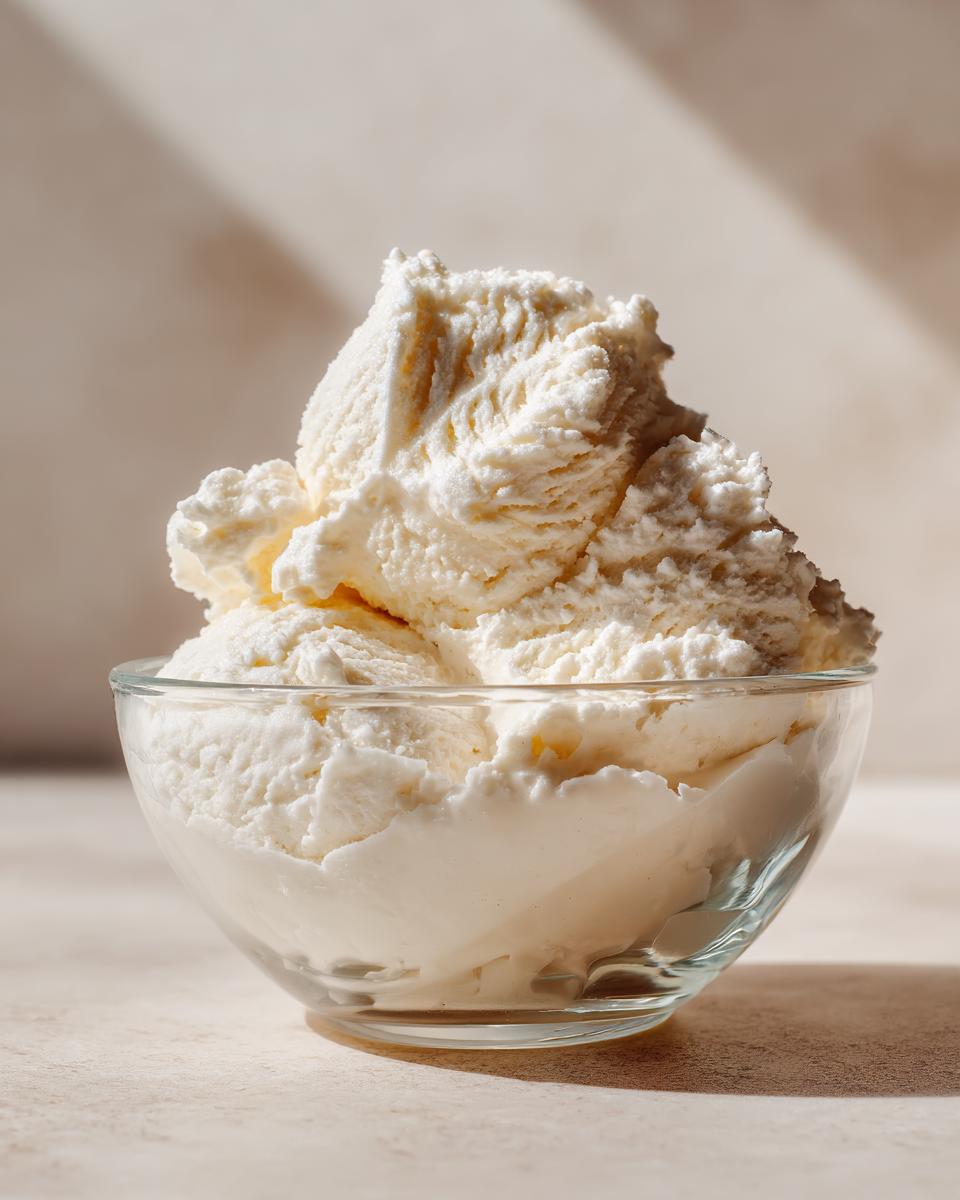
Tips for the Best Protein Ice Cream Texture
Listen, the number one issue people have with **protein ice cream** is accidentally making a protein-flavored popsicle instead of a creamy scoop. If yours freezes rock hard, that usually means you used too little liquid or too much protein powder. Take it out of the freezer about 15 minutes before you plan to eat it to let it soften up! That counter time is essential for your **guilt free frozen treats**.
If you find yourself making this **easy protein dessert** every week, you might decide an appliance upgrade is in order! While this recipe doesn’t need one, using this exact base in a machine like the Ninja Creami can give you unbelievable results. You just follow those initial steps and then run it on the ‘Light Ice Cream’ setting. Check out some great Creami bases here if you go that route.
To easily change up the **best protein ice cream flavors**, try blending in some sugar-free chocolate chips toward the end of Step 1, or stirring in a teaspoon of instant coffee powder for a quick mocha boost. Those little final touches really separate a simple recipe from a showstopper. Even better, check out these advanced flavor ideas from The Protein Chef! See how they make their creamy versions.
Flavor Variations for Your High Protein Dessert Ideas
Now that we have the best texture locked down for our **protein ice cream**, it’s time to talk flavor! The **vanilla protein ice cream base** is fantastic on its own, but sometimes you need a little something extra special for your **high protein dessert ideas**. I personally experimented with using a half scoop of vanilla and half scoop of salted caramel flavoring last Tuesday—it was incredible!
If you’re looking for a rich experience, making a **chocolate protein frozen dessert** is super easy. Just swap your vanilla powder for chocolate powder and add one packed tablespoon of unsweetened cocoa powder into the blender during Step 1. That cocoa really deepens the color and cuts the sweetness perfectly. For the latest scoop on flavor combos, I always jump over to see what treats others are whipping up. Check out these great flavor ideas!
For a serious coffee kick, try mixing in half a teaspoon of fine espresso powder—it tastes exactly like an iced mocha! If you want to see one of my favorite chocolate recipes in detail, this one looks amazing: See the chocolate version here.
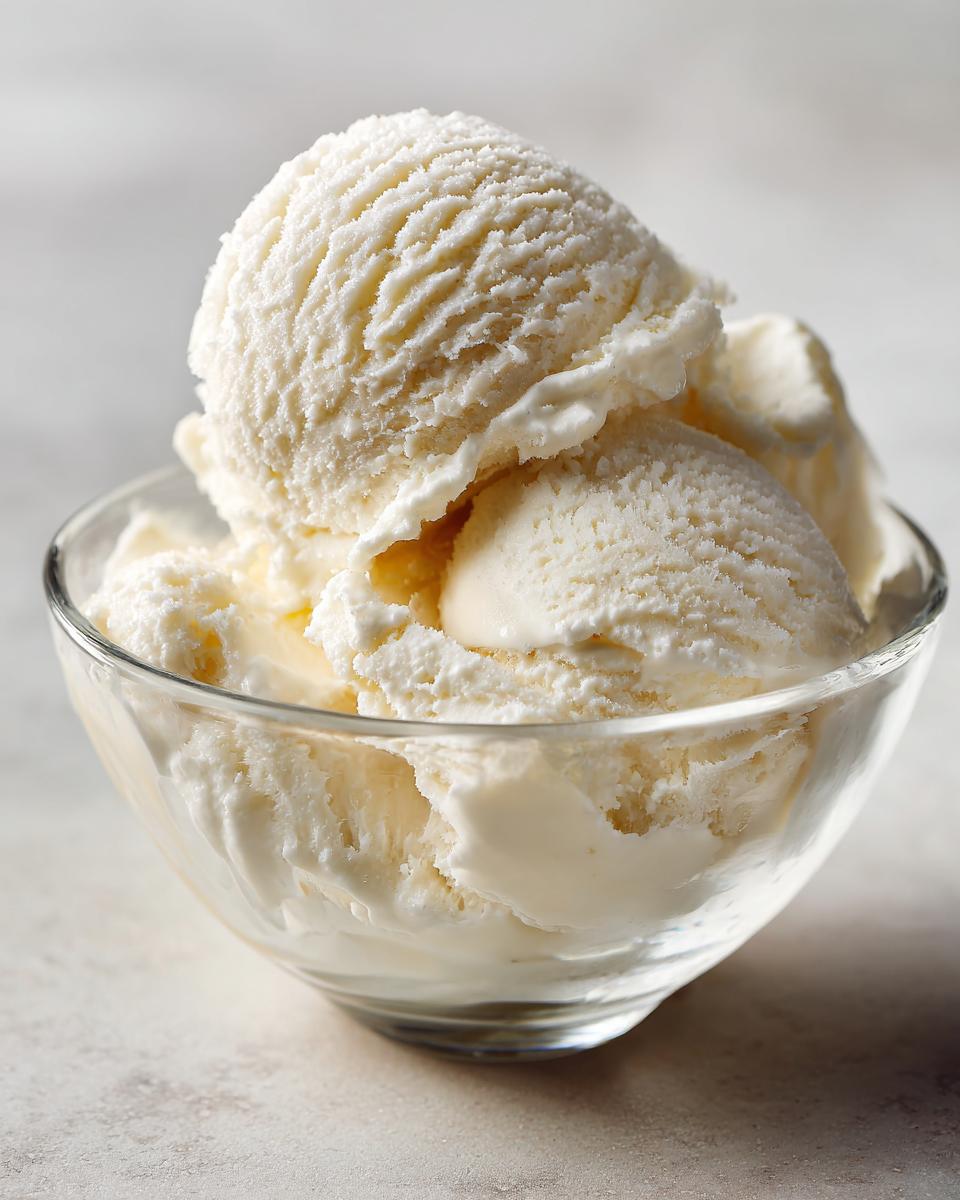
Serving and Storing Your Homemade Protein Ice Cream
This **protein ice cream** is best enjoyed fresh, but you can definitely keep leftovers! The most important thing for storage is keeping the air out. I always use a shallow, freezer-safe loaf pan and press a sheet of plastic wrap directly onto the surface of the **low calorie ice cream** before I seal the lid. This stops those annoying ice crystals from forming on top.
Since we aren’t using heavy stabilizers, remember that it will freeze quite firm. Don’t panic! Just pull it out 10 to 15 minutes before you plan to scoop. That little bit of counter time makes all the difference between a lovely dessert and a workout for your scooper!
Frequently Asked Questions About Making Protein Ice Cream
I always get asked the same things when people first try this super **easy protein dessert**, so let’s tackle those questions head-on! Getting the texture right on your first try is important, and knowing the flexibility of the ingredients helps a ton.
Can I use Casein Protein for this Protein Ice Cream?
Oh, absolutely! Casein is actually fantastic here, especially if you love a super thick, almost spoonable ice cream right out of the freezer. Whey protein tends to freeze a little bit softer, but casein absorbs more liquid, creating a wonderfully dense texture in this **protein ice cream**. If you use casein, you might need an extra splash of almond milk during blending so it doesn’t freeze too stiffly!
How does this compare to Ninja Creami High Protein Recipes?
That’s a great question. This recipe is specifically designed to be foolproof for those of us who don’t own a Creami—or maybe you just don’t want to wash another part! It achieves that **creamy healthy ice cream** texture just by freezing and softening. If you have a Creami, you can definitely use this base recipe! You would freeze it solid, and then run it on the ‘Lite Ice Cream’ setting. It’s a great multipurpose base! For more ideas on how the Creami recipes work, take a peek here: See how this simple base adapts.
Estimated Nutritional Snapshot for This Easy Protein Dessert
Okay, so we all want to know what we’re working with, right? Because this is a fantastic **easy protein dessert**, the numbers are really good. Keep in mind that since we are using different protein powders and milks, these values are just an estimate per serving based on the standard four ingredients.
Roughly, here is what you’re looking at for half the batch:
- Calories: Around 150
- Protein: A whopping 25g!
- Fat: Just 3g
- Carbohydrates: About 8g
That makes this perfect for those **macro friendly desserts** we are always searching for. Always double-check the label on your specific protein powder to get the most accurate count!
Share Your Success with This Protein Ice Cream Recipe
That’s it! You’ve made incredibly **creamy healthy ice cream** with just a few simple steps. I truly hope this amazing **protein ice cream** hits that sweet spot for you, whether it’s a post-workout reward or just a little weeknight indulgence. I’m always so excited to hear about your kitchen wins!
Please, don’t be shy! Come back here and leave me a rating below, or drop a comment telling me which flavor variation you tried first. Did you stick to vanilla or did you go rogue with chocolate? I love seeing your photos! If you want to know more about my philosophy on making simple food feel special, head over to my About Page. Happy scooping, friends!
Print4-Ingredient No-Churn High-Protein Ice Cream (No Banana, No Ice Cream Maker)
You can make creamy, high-protein ice cream without an ice cream maker or bananas. This simple recipe uses four ingredients for a guilt-free frozen treat perfect for a post-workout sweet treat.
- Prep Time: 5 min
- Cook Time: 0 min
- Total Time: 4 hr 5 min
- Yield: 2 servings 1x
- Category: Dessert
- Method: No-Churn Freezing
- Cuisine: American
- Diet: Low Fat
Ingredients
- 1 cup unsweetened almond milk (or preferred milk)
- 1 scoop vanilla or chocolate protein powder (whey or casein works well)
- 1/2 cup zero-calorie sweetener (like erythritol or monk fruit blend)
- 1 teaspoon vanilla extract
Instructions
- Combine the almond milk, protein powder, zero-calorie sweetener, and vanilla extract in a blender or use an immersion blender. Blend until the mixture is completely smooth and slightly frothy.
- Pour the mixture into a freezer-safe container, such as a loaf pan or a shallow plastic container. Cover the container tightly with a lid or plastic wrap.
- Place the container in the freezer for 4 to 6 hours.
- After 4 hours, check the texture. If it is too hard, let it sit on the counter for 10 to 15 minutes to soften slightly before scooping.
- For the creamiest texture, you can use a Ninja Creami machine on the ‘Lite Ice Cream’ setting after the initial freeze, or simply let it soften before serving.
Notes
- For a chocolate flavor, use chocolate protein powder and add 1 tablespoon of unsweetened cocoa powder.
- If you prefer a thicker base, substitute half of the almond milk with 1/4 cup of plain Greek yogurt or cottage cheese (blend thoroughly).
- This recipe is naturally low in sugar, making it a macro friendly dessert option.
- If you use a Ninja Creami, you may need to add a splash of liquid after the first spin to achieve the desired consistency.
Nutrition
- Serving Size: 1/2 of recipe
- Calories: 150
- Sugar: 2
- Sodium: 250
- Fat: 3
- Saturated Fat: 0.5
- Unsaturated Fat: 2.5
- Trans Fat: 0
- Carbohydrates: 8
- Fiber: 2
- Protein: 25
- Cholesterol: 15