
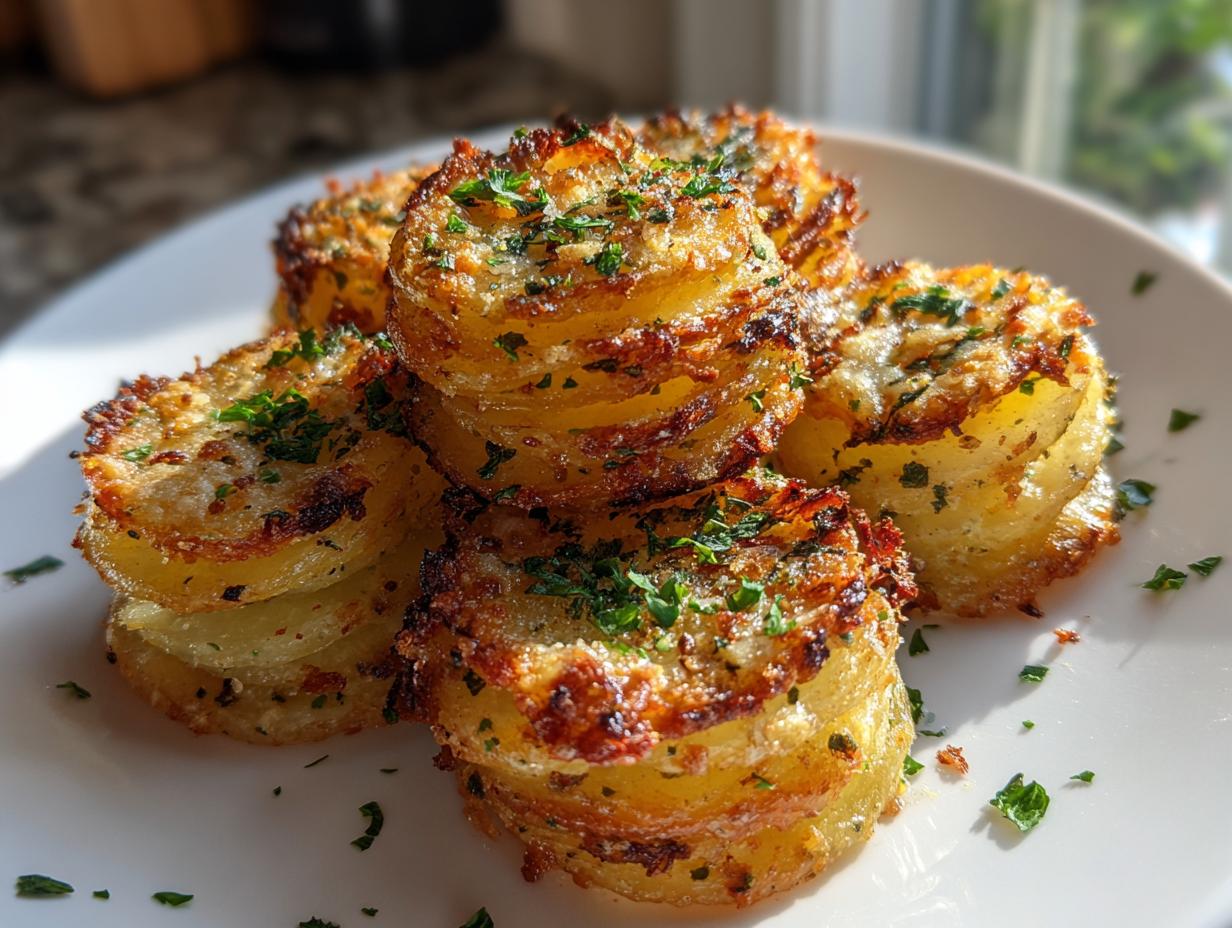
Stop serving the same boring baked potatoes when you have company coming over! If you truly want to impress people without spending all day over the stove, you need these Crispy Parmesan Garlic Potato Stacks. Wow, are they easy—you just use a standard muffin tin, which honestly changed everything for me. Getting those perfect little towers requires a bit of layering finesse; I spent a few weekends perfecting how many slices fit just right so they get totally crisp on the outside but stay tender inside. Trust me, mastering these quick muffin tin potato stacks will make you look like a total kitchen rockstar!
- Why You Will Love These Crispy Parmesan Potato Stacks
- Essential Ingredients for Perfect Potato Stacks
- Step-by-Step Instructions for Garlic Butter Potato Stacks
- Tips for Achieving Restaurant Style Potato Stacks
- Making Elegant Potato Sides for Holidays and Gatherings
- Storage and Reheating Instructions for Leftover Potato Stacks
- Common Questions About Making Parmesan Potato Stacks
- Estimated Nutrition Facts for Potato Stacks
- Share Your Golden Crispy Potato Stacks Experience
Why You Will Love These Crispy Parmesan Potato Stacks
I honestly don’t know why I didn’t think of baking potatoes like this sooner! Once you see how gorgeous these turn out in the little muffin cups, you’ll never go back to a simple baked potato again. They just *look* fancy, but the secret is how easy they actually are to put together. They’re one of the best side dishes for any big meal, and you can find more great ideas over at delicious side dishes.
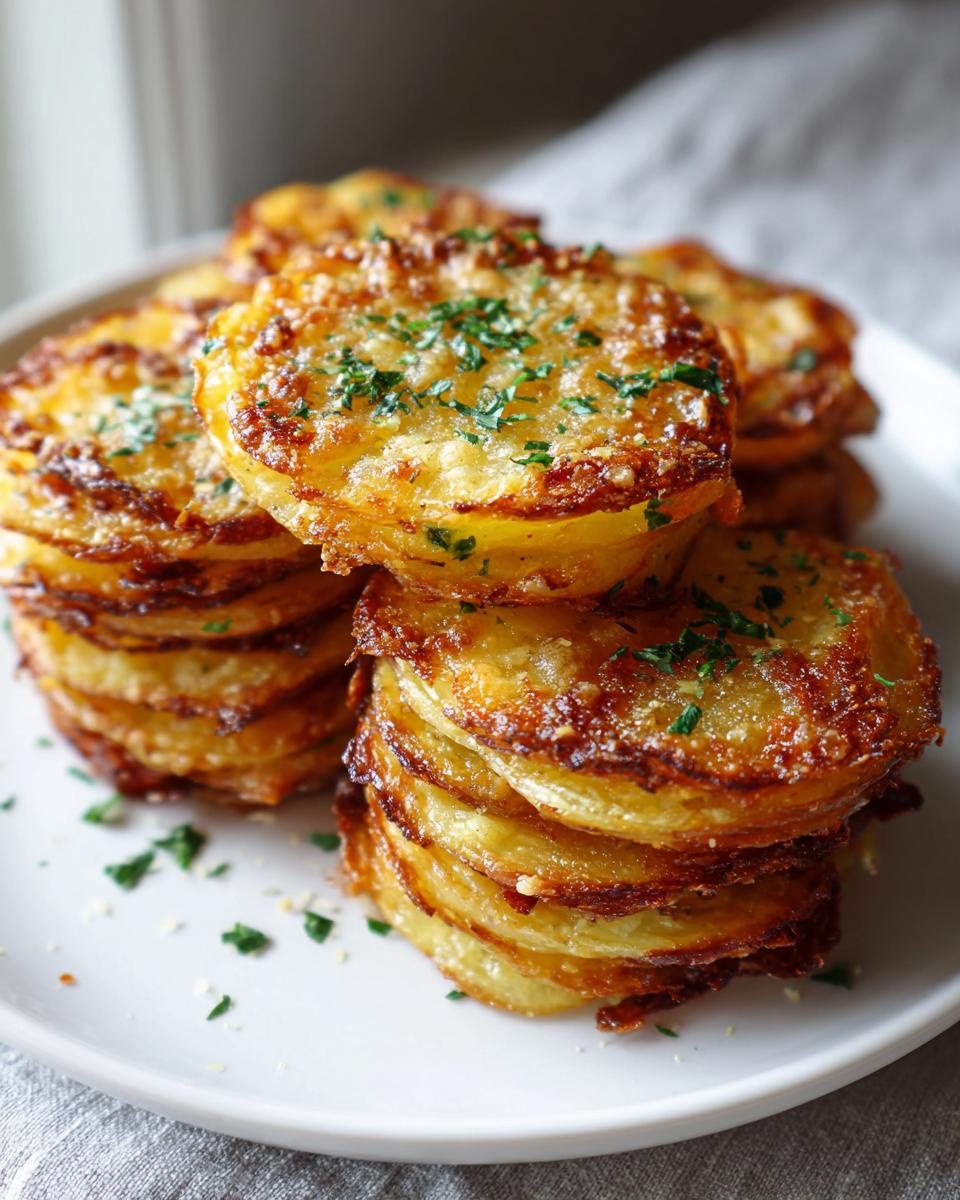
- Crazy Crispy Edges: This is the main event! Because we stack them vertically, the edges get golden brown and practically shatter when you bite into them.
- Super Tender Centers: Even with all that crispiness on the outside, the inside layers steam perfectly, staying soft and buttery.
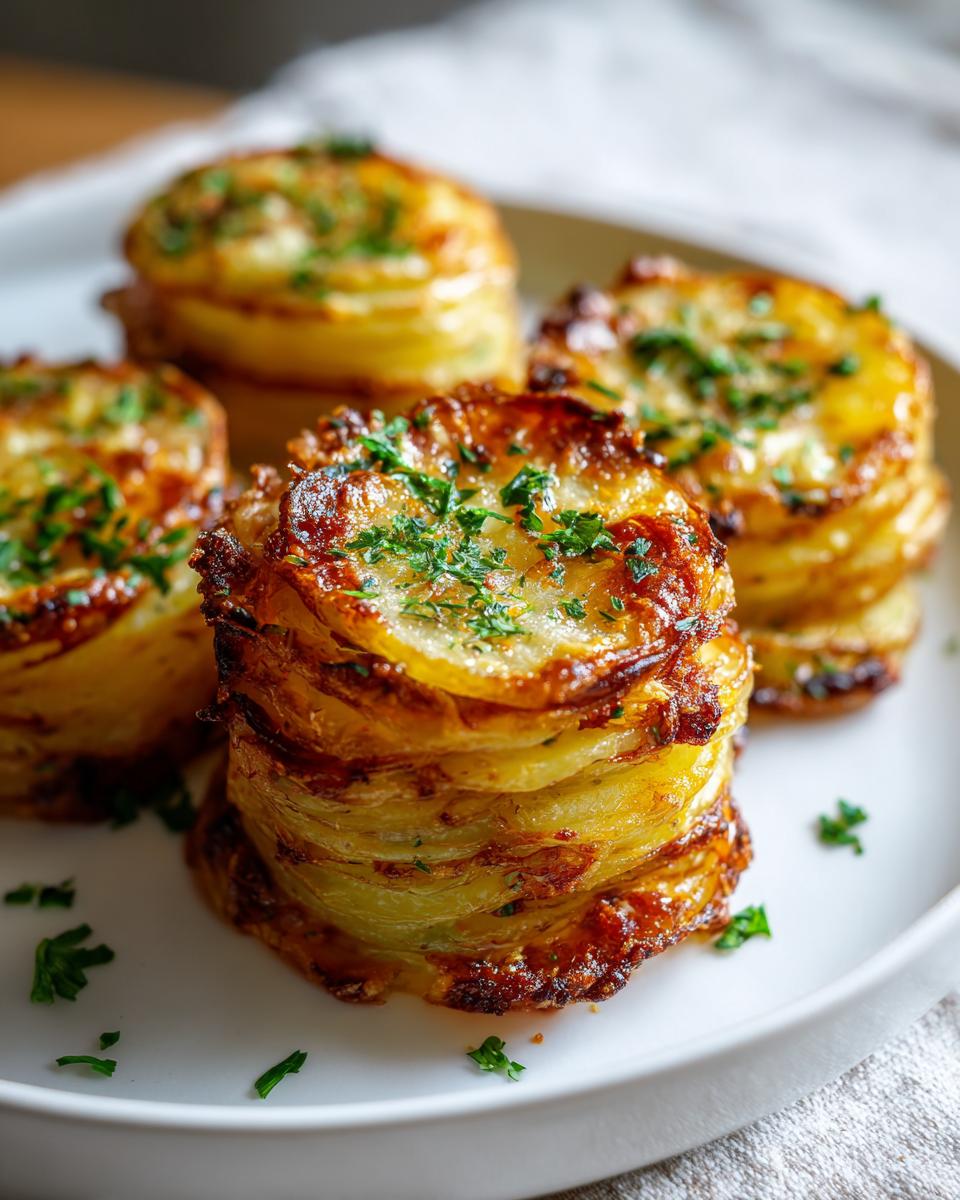
- Elegant Presentation: They stand up on their own, looking totally gourmet. They’re perfect for holidays or when you have guests coming over who expect something special.
- Quick and Simple Prep: Honestly, the prep is just slicing and tossing! You don’t need any complicated steps or fancy kitchen gadgets, just a little patience while layering.
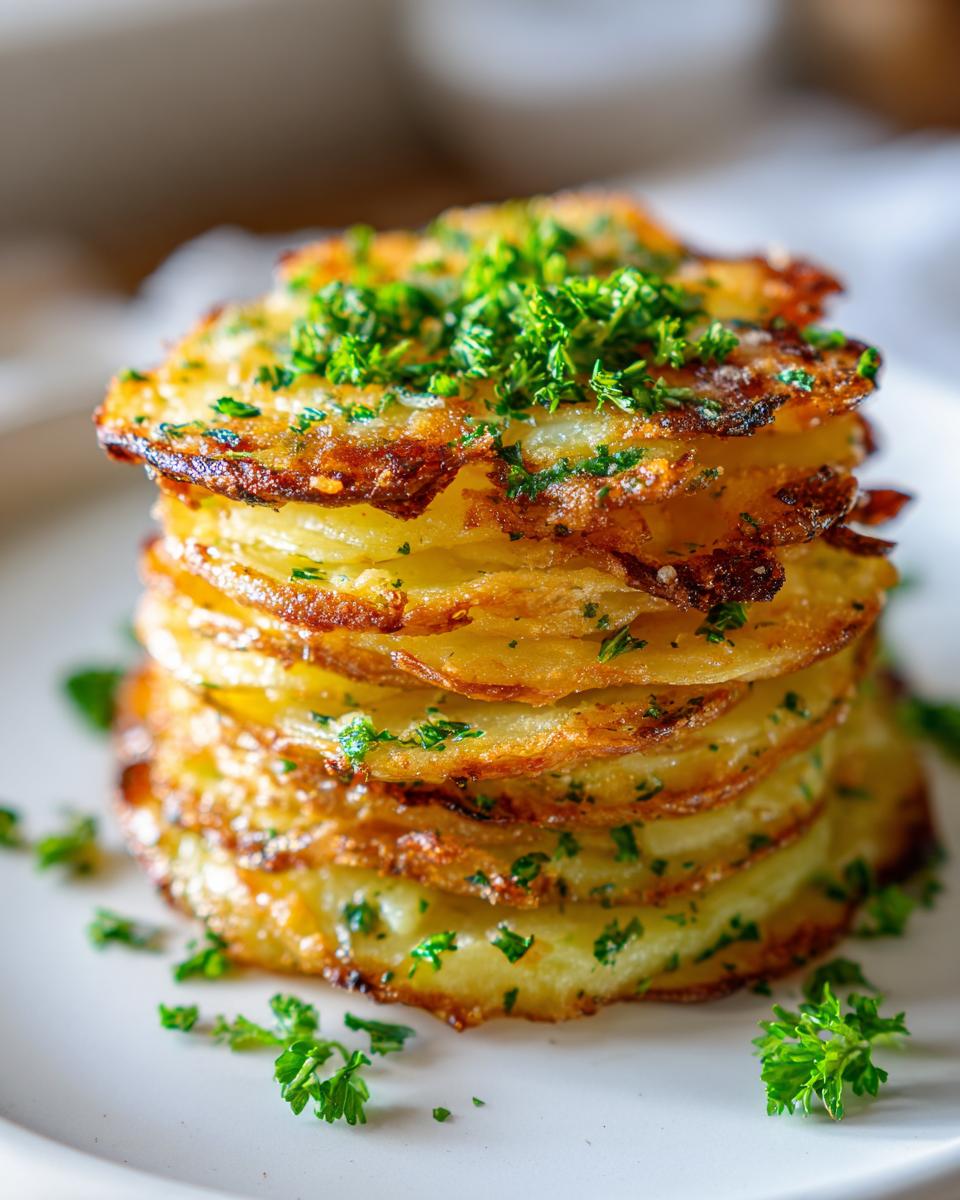
- Flavor Bomb of Garlic and Cheese: That garlic butter and Parmesan coating seeps down through every layer, making every bite savory and addictive.
- Perfect Portion Sizes: Since they bake individually in the tin, serving is a breeze. No messy slicing required—just pop one out!
Essential Ingredients for Perfect Potato Stacks
Okay, for the best ultimate experience, we have to talk about what goes into these beautiful mounds. Ingredients matter here, especially since we are trying to achieve that perfect texture. Don’t even think about just grabbing any old potato from the bottom of the pantry!
- 4 tablespoons unsalted butter, melted
- 5 pounds Yukon Gold potatoes, peeled and sliced 1/8-inch thick
- 3 tablespoons grated Parmesan cheese (the real stuff, please!)
- 2 teaspoons garlic powder
- 1 teaspoon onion powder
- 1 teaspoon dried thyme or mixed herbs
- 1 teaspoon salt
- 1 teaspoon ground white pepper
- 2 tablespoons fresh parsley, chopped (for garnish)
Trust me on the potatoes here—Yukon Golds are my absolute favorite for these stacks. They have the perfect amount of starch and moisture. Russets are too crumbly, and red potatoes sometimes stay a little too waxy. Stick with Yukon Gold for that beautiful balance!
Choosing and Prepping Your Thinly Sliced Potatoes
The success of our potato stacks hinges entirely on how thin we slice these guys. You need consistency, or else some slice edges will burn while the centers are still raw rock potatoes! I can’t stress this enough: if you have a mandoline slicer, use it! Dialing it in to exactly 1/8-inch uniform thickness ensures every single layer cooks evenly, giving you those gorgeous, defined layers we are looking for. Don’t try to rush hand-slicing if you are new to this; uniformity is key!
Step-by-Step Instructions for Garlic Butter Potato Stacks
Alright, time to get messy! This is where the magic happens for our incredible Garlic Butter Potato Stacks. Preheat that oven to 400°F right away, and make sure you’ve got your muffin tin well-greased—we don’t want any sticking drama later when they are beautiful and golden brown!
Preparing the Flavorful Garlic Butter Coating
First thing is whipping up our flavor base. Melt that butter until it’s smooth and runny. Then, toss in all your seasonings: the garlic powder, onion powder, thyme, salt, and pepper. Whisk that up! You need to taste it (go ahead, lick the spoon!) to make sure it’s punchy enough. Now, here’s the critical part: pour this mixture over all your beautiful, thinly sliced potatoes and use your hands to toss them gently but thoroughly. Seriously, you MUST coat every single slice, or the texture won’t be right!
Assembling Your Individual Potato Stacks in the Muffin Tin
Now we build! Take about five to seven slices of those coated potatoes and stand them up vertically inside each little muffin cup. You’re aiming for a tight little row that looks like a stack of paper leaning in together. Gently press them down so they sit nicely. Don’t pack them too hard, or they won’t cook through! Once they are standing proud, take your grated Parmesan and sprinkle about half a teaspoon over the top of each one. These individual potato stacks are almost ready for the oven!
If you want more specific tips on using herbs with buttery potatoes, check out this great guide on garlic herb roasted potatoes.
Baking for Golden Crispy Potato Stacks
Pop that tin into the hot oven and set a timer for 35 minutes. You’re looking for the edges to be deeply golden brown—like, almost dark brown—and you want a fork to slide right into the center potato slice without any struggle. If they look pale after 35 minutes, give them another 5 to 10 minutes. Patience here guarantees you get those unbelievably crispy potato stacks!
Tips for Achieving Restaurant Style Potato Stacks
Getting that professional, ‘restaurant style potatoes’ look isn’t just luck; it’s about sneaking in a few extra steps that professionals use. First, I’m going to harp on the mandoline slicer again—it’s non-negotiable if you want uniform thickness. Seriously, those extra few seconds saved by not hand-slicing are worth it when you see the consistent crispiness!
Now, here’s my favorite trick for getting those deep golden, almost crackling edges: once the stacks are mostly done, around the 30-minute mark, carefully pull them out. Give the exposed tops one last little brush with any leftover melted butter you might have hiding around. Then, crank your oven up to 425°F for the last 5 minutes. But watch them like a hawk! That quick blast of high heat locks in the crispiness without burning the Parmesan. If you need a great foundation recipe, check out this amazing guide on easy parmesan potato stacks recipe perfect baked side.
Oh, and if you find they are sticking when you try to lift them out—don’t panic! Let them sit in the hot tin for five minutes after they come out of the oven before moving them. That little bit of residual heat helps them release cleanly.
Making Elegant Potato Sides for Holidays and Gatherings
Serving these stacks for holidays or dinner parties feels like cheating because they look like they took hours of complicated stacking and layering, but really, they are so simple! Presentation is everything when you’re aiming for those elegant potato sides that people take pictures of before they even eat them.
The key to serving them nicely is making absolutely sure they are set before you try to pull them out. If you rush this, they tend to collapse, and suddenly your vertical tower looks like a sad little pancake. Remember what I said earlier? Let them rest in that hot muffin tin for about five minutes after they come out of the oven. That lets them firm up just enough to hold their shape when transferred.
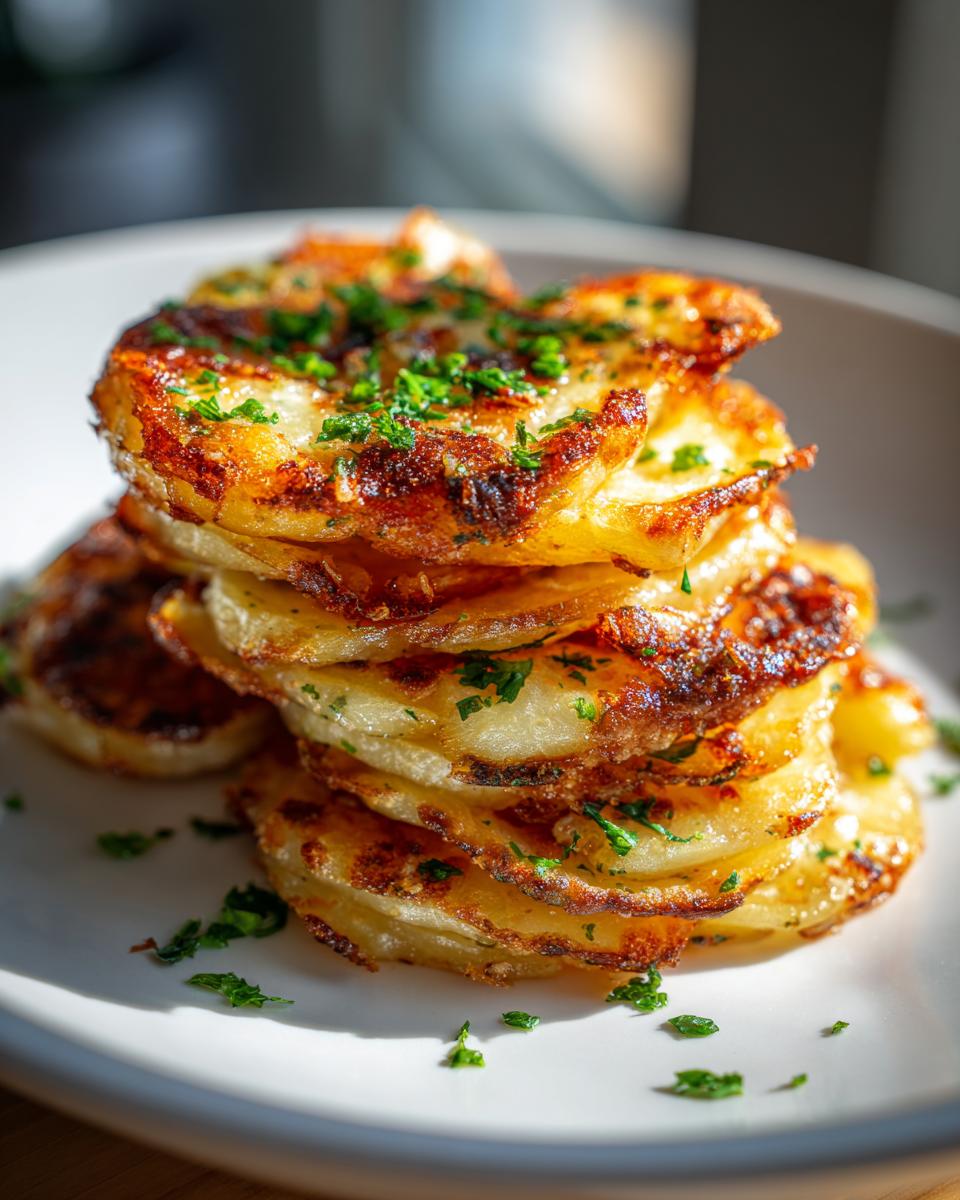
When you’re plating up, I like to serve them on a simple white platter. They look so pretty standing tall! A final scattering of that fresh parsley adds a necessary pop of green against the golden-brown crust. If you’re making these for Christmas or Thanksgiving, they make a fantastic alternative to heavy mashed potatoes—check out these mini potato parmesan stacks for little appetizer versions!
Because they are individual servings, they are the ultimate holiday potato side. You don’t worry about cutting a clean slice or making sure everyone gets the perfectly crispy edge—everyone gets their own little work of art!
Storage and Reheating Instructions for Leftover Potato Stacks
Now, I hope you don’t have too many leftovers because these are honestly better eaten fresh when they are piping hot and that Parmesan is perfectly crunchy. But let’s be real, sometimes you make too much, or maybe you’re meal prepping for the week!
If you do have any of these glorious potato stacks left over, you need to store them correctly so they don’t turn into soggy little sponges overnight. Pop them into an airtight container. Don’t be tempted to stack them up tightly if they are still warm—let them cool completely on a rack first. Condensation is your number one enemy when trying to save crispy things!
The Best Way to Warm Them Up
Listen to me: do NOT put these in the microwave. I repeat, NO MICROWAVE! Microwaving them just steams all the beautiful crispness right out of the layers, and you’ll end up with sad, limp potato discs. That is a tragedy we must avoid at all costs.
If you want that glorious golden crunch back, you have three options. The absolute best is the air fryer—set it around 350°F for about 5 to 7 minutes, and they come out nearly perfect! If you don’t have one, the conventional oven is the next best bet. Lay them out on a baking sheet (don’t overlap them!) and bake again at about 375°F for about 10 minutes until they feel heated through and the edges are crisping up again.
How Long Do They Last in the Fridge?
Because these stacks are loaded up with butter and cheese, they are best eaten within two to three days. After that, they start to lose that structural integrity and just taste heavier. Honestly, try to eat them the next day if you can, maybe for a quick lunch while they are still a little bit warm. They are just not built for long-term storage like, say, a casserole! But hey, if you need some ideas for quick meals later, I have a whole section on weeknight dinner recipes!
Common Questions About Making Parmesan Potato Stacks
I absolutely get it—when you find a recipe that looks this exciting, you start wondering about substitutions right away! The Parmesan Potato Stacks are fairly reliable, but people always have questions about customizing them. I’ve gathered the most frequent ones I get asked about, so let’s clear up any confusion before you start slicing!
Can I use different kinds of potatoes besides Yukon Gold?
You can, but you might change the result a bit! Yukon Golds are perfect because they have a great balance—waxy enough to hold their shape when sliced thin, but starchy enough to get fluffy inside when baked. Russets have too much starch, so they can sometimes crumble apart while you’re trying to build the stack, which leads to sadness. Red potatoes work okay, but they tend to stay firmer and less fluffy. Honestly, if you want those tender layers, stick to the Golds!
Can I make these ahead of time?
This is tough because they are *so* much better right out of the oven! You really don’t want to assemble them much ahead of time because as the butter/seasoning sits on the raw potato, it starts to draw out moisture, making your slices soggy before they even hit the heat. If you absolutely must prep early, slice your potatoes but keep them submerged in cold, salted water in the fridge. Dry them *extremely* well right before tossing them in the butter mixture. For serving ahead, follow my reheating instructions—they actually come back really well if you use an oven or air fryer!
What if I don’t have a muffin tin for making potato stacks?
Oh, no muffin tin? No problem! These stacks look beautiful because they are individual portions, but you can absolutely bake them flat instead. Just place the butter-coated, layered potatoes directly onto a parchment-lined baking sheet. You’ll need to press them down gently into little loose piles—maybe about 2 inches wide. You’ll need to drop that baking time down a bit, probably closer to 30 minutes, and watch them closely to make sure the edges crisp up nicely. They won’t stand as tall, but the flavor will be there!
Do I really need to use a mandoline slicer?
Look, I’m trying to preach ease here because I want you to be successful! But yes, the mandoline is truly the MVP for any recipe calling for thinly sliced potatoes. 1/8-inch is a specific thickness that standard knife skills rarely achieve consistently, especially when dealing with 5 pounds of potatoes. If you skip the mandoline, you risk burnt edges and raw centers. If you don’t have one, maybe try using the slicing attachment on a food processor, but I really suggest investing in one if you plan on making these often. For more easy, great weekday meals, pop over and check out my tips for weeknight dinner recipes!
Estimated Nutrition Facts for Potato Stacks
Now, I’m no registered dietitian, so please take these numbers with a grain of salt—literally! These figures are just my best guess based on standard USDA data for the specific ingredients we used in these amazing potato stacks. They are great, but the final count depends on how much butter decides to soak in, right?
Here is a quick rundown on what you can generally expect per individual potato stack (Yield is 12):
- Serving Size: 1 stack
- Calories: 180
- Fat: 10g
- Saturated Fat: 6g
- Carbohydrates: 20g
- Protein: 4g
- Sodium: 250mg (This can easily go up if you add extra salt to the butter!)
Remember, since these are baked individually, it’s super easy to count servings! Just make sure you check your ingredients. If you use a lot more Parmesan cheese than I did, your fat and sodium counts will definitely creep up. Enjoy responsibly!
Share Your Golden Crispy Potato Stacks Experience
I genuinely hope you try making these! Seriously, the joy I get from seeing your gorgeous photos of these crispy stacks popping out of the oven is unmatched. I’ve poured all my best tips into this guide to help you nail that perfect, restaurant-style crunch right in your own kitchen.
Rate This Recipe
If you made these Garlic Butter Potato Stacks and they turned out as amazing as I promised, please take a second and give the recipe a star rating at the top of the page! It helps other cooks know they can trust this method. I’m talking about those beautiful, golden, savory little towers—did they impress your family?
Leave a Comment Below
Did you use a different herb? Did you try the high-heat blast trick for extra crispiness? Or maybe you struggled with removing them from the tin? Don’t keep those results to yourself! Drop all your questions, successes, and little tweaks in the comments below. I read every single one and I absolutely love hearing about how my favorite recipes are working in your kitchens.
If you’re looking for other impressive bites that are guaranteed to disappear fast at your next gathering, you should totally check out my list of great appetizers and snacks. Happy baking, and I can’t wait to see your perfect potato stacks!
PrintThe Ultimate Crispy Parmesan Garlic Potato Stacks (Muffin Tin Method)

Make impressive, restaurant-style potato stacks that are crispy on the edges and tender inside. This simple muffin tin recipe uses Parmesan cheese, garlic butter, and herbs for a gourmet side dish.
- Prep Time: 20 min
- Cook Time: 45 min
- Total Time: 65 min
- Yield: 12 stacks 1x
- Category: Side Dish
- Method: Baking
- Cuisine: American
- Diet: Vegetarian
Ingredients
- 4 tablespoons unsalted butter, melted
- 5 pounds Yukon Gold potatoes, peeled and sliced 1/8-inch thick
- 3 tablespoons grated Parmesan cheese
- 2 teaspoons garlic powder
- 1 teaspoon onion powder
- 1 teaspoon dried thyme or mixed herbs
- 1 teaspoon salt
- 1 teaspoon ground white pepper
- 2 tablespoons fresh parsley, chopped (for garnish)
Instructions
- Preheat your oven to 400 degrees Fahrenheit (200 degrees Celsius). Lightly grease a standard 12-cup muffin tin.
- In a small bowl, combine the melted butter, garlic powder, onion powder, thyme, salt, and white pepper. Mix well.
- Take the thinly sliced potatoes and place them in a large bowl. Pour the garlic butter mixture over the potatoes and toss gently until every slice is coated.
- Take about 5 to 7 potato slices and layer them vertically inside each muffin cup, overlapping them slightly to form a stack. Press the layers down gently.
- Sprinkle about 1/2 teaspoon of Parmesan cheese over the top of each stack.
- Bake for 35 to 45 minutes, or until the edges of the potatoes are golden brown and crispy, and the centers are tender when pierced with a fork.
- Carefully remove the stacks from the muffin tin using a small offset spatula or butter knife.
- Garnish the tops with fresh chopped parsley before serving immediately.
Notes
- Use a mandoline slicer to achieve uniform 1/8-inch slices for even cooking and the best texture.
- If the stacks stick, let them cool in the tin for 5 minutes before attempting to remove them.
- For extra crispiness, you can brush the tops with a little extra melted butter halfway through baking.
Nutrition
- Serving Size: 1 stack
- Calories: 180
- Sugar: 1
- Sodium: 250
- Fat: 10
- Saturated Fat: 6
- Unsaturated Fat: 4
- Trans Fat: 0
- Carbohydrates: 20
- Fiber: 2
- Protein: 4
- Cholesterol: 25