
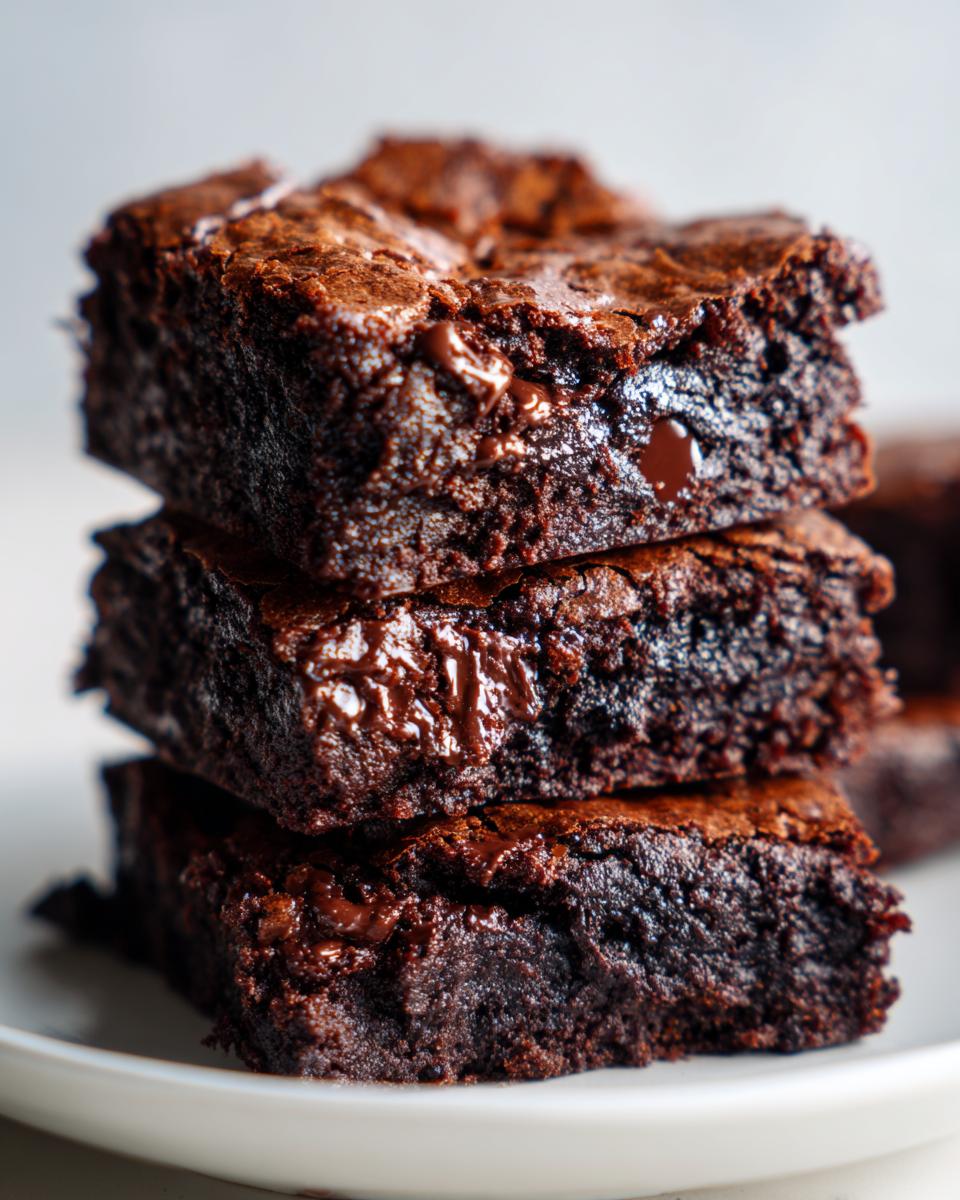
Have you ever stared longingly at bakery display cases, certain you’ll never manage that perfect, almost impossible, chocolate dream at home? Well, stop right there! I’m here to tell you we are absolutely getting those bakery-quality desserts right here in your kitchen. This recipe is the one. I’ve tested and re-tested batches of these Ultimate Fudgy Brownies until I achieved that signature shiny, crackly top every single time. Seriously, reliable results are my guarantee here at Kings Cook. You are going to want to save this recipe for the absolute best homemade brownies you will ever make.
- Why This Ultimate Fudgy Brownies Recipe Is Your New Favorite
- Ingredients for the Best Brownie Recipe Ever
- Easy One Bowl Brownies Preparation Steps
- Baking Dessert Bars: Timing for Gooey Chocolate Bars
- Cooling and Cutting Perfect Homemade Brownies from Scratch
- Gourmet Brownie Ideas: Variations on Classic Brownies
- Storage and Reheating Rich Cocoa Brownies
- Frequently Asked Questions About Fudgy Brownies Recipe
- Share Your Ultimate Chocolate Fix
Why This Ultimate Fudgy Brownies Recipe Is Your New Favorite
I get it, there are a million brownie recipes out there. But I promise you, this one cuts through the noise! We focus on three things that everyone wants but few recipes actually deliver. They are reliable, they are fast, and when you follow my exact steps, they are glorious. Check out why these will become your go-to chocolate bar for sharing—or keeping all to yourself!
Achieving the Perfect Fudgy Brownies Texture
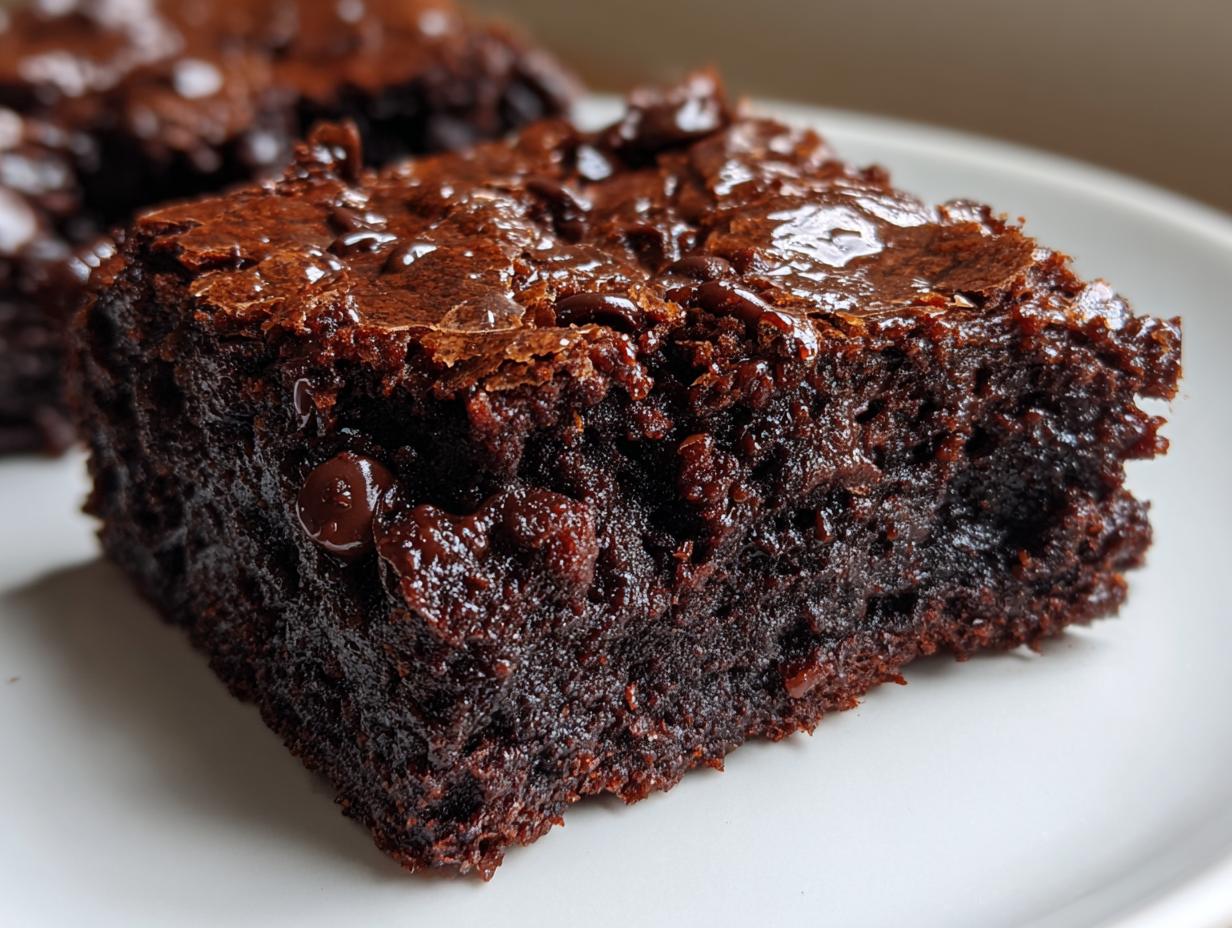
If you are tired of slightly dry, cakey squares, this is the recipe for you. We intentionally keep the flour lower than a traditional cake recipe. This high-fat ratio—butter and chocolate goodness!—gives us those unbelievably thick, fudgy bars that basically melt in your mouth. It’s pure indulgence, and it’s why we make these brownies all the time.
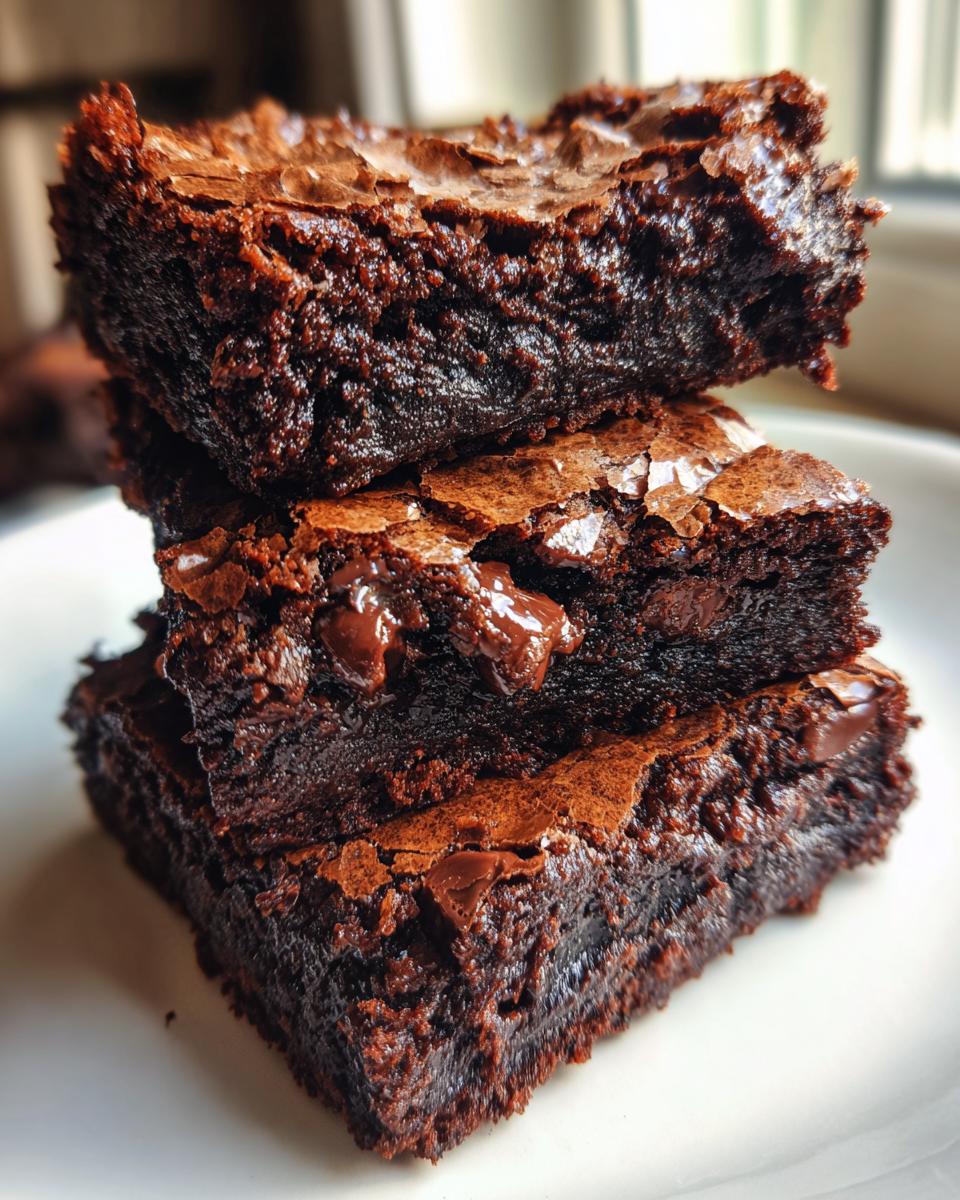
The Secret to Brownies with Shiny Top and Crackly Top Baking
This is the part that makes people think they need a professional bakery! That thin, papery layer on top? It comes from the vigorous whisking of the eggs and sugars early on. Don’t rush that step; you aren’t just mixing, you are creating the structure for that gorgeous, satisfying crackle on your brownies with shiny top. It totally elevates a simple chocolate dessert bar, trust me.
Ingredients for the Best Brownie Recipe Ever
Okay, so we are skipping the box mix, which means we need great ingredients because these brownies are all about that deep chocolate flavor. This list is short and sweet, which is part of why this is the Best Brownie Recipe Ever. My testing showed that quality really matters here, especially with the cocoa!
- 1 cup (2 sticks) unsalted butter, plus more for greasing
- 1 1/4 cups granulated sugar
- 1 cup packed light brown sugar
- 4 large eggs
- 1 tablespoon vanilla extract
- 3/4 cup unsweetened cocoa powder
- 1/2 cup all-purpose flour
- 1 teaspoon salt
- 1/2 teaspoon baking powder
- 1 cup semi-sweet chocolate chips
I know some of you are looking for that extra depth, especially if you’ve seen recipes using browned butter. You absolutely can do that here! If you want to take these brownies up a serious notch, just brown your butter first. It adds this incredible nutty background flavor that is divine.
Ingredient Notes and Substitutions for Your Brownies
Since we aren’t adding a ton of extras, we need the core ingredients to shine, right? Please use a good quality, unsweetened cocoa powder—the Dutch-processed kind usually gives a darker color and smoother taste, which is what we want for that deep chocolate flavor.
Now, I’ve had a few friends ask about making these gluten-free, and guess what? We can! Just swap out the all-purpose flour for a good 1:1 gluten-free baking blend. Make sure the blend already contains Xanthan gum, otherwise, you might want to add just a tiny pinch. It works like a charm; you still get that thick, satisfying texture.
Also, feel free to swap out those semi-sweet chips for dark chocolate if you prefer something less sweet, or even toss in some chopped nuts like pecans for crunch. But honestly? These brownies are perfect as written if you want that pure chocolate experience!
Easy One Bowl Brownies Preparation Steps
Honestly, the best part about this recipe, besides the amazing outcome, is how simple the process is. We call them one-bowl wonders for a reason! You’re mostly using just one saucepan or bowl for the wet ingredients, which means cleanup is a breeze. We start by treating that butter right, which sets us up for success later on. If you grab your parchment paper and line that 9×9 pan (leaving those handy overhang flaps), you’re already ahead of the game. Ready to see how easy these homemade brownies are to whip up?
Mixing Wet Ingredients for Fudgy Brownies
First, melt that butter gently over low heat—don’t let it snap, just melt! Once it’s liquid, take it off the heat immediately. Now for the magic: quickly whisk in both sugars until they look totally incorporated. This is key for that shiny top later! Next, throw in your eggs, one at a time, whisking aggressively after each one. You want it smooth and glossy here; this step helps dissolve the sugar coating the fats, which is what creates that beautiful surface texture for your fudgy brownies.
Combining Dry Ingredients and Folding in Chocolate Chips
Once the wet mixture is looking fantastic, gently whisk your dry components—cocoa, flour, salt, baking powder—in a separate bowl first. Then, we add those dry ingredients right into the wet stuff. Here is where you need to be gentle! Mix *just* until you see no more streaks of white flour. Seriously, stop mixing immediately once they disappear. Overmixing develops gluten, and we want the opposite for chewy brownies, not cake! Finally, gently fold in those chocolate chips. Don’t beat them in; we just want them nestled evenly throughout the batter.
Baking Dessert Bars: Timing for Gooey Chocolate Bars
Okay, we are so close to Chocolate Bar heaven, but don’t you dare walk away from the oven now! This is where most people accidentally turn their beautiful fudgy batter into something that acts more like a dry cake, which we absolutely can’t have. For these baking dessert bars, the timing is everything. You want to preheat to 350°F (175°C) and plan on checking them around the 30-minute mark. Start checking at 30 minutes, but don’t be surprised if they need a few more minutes!
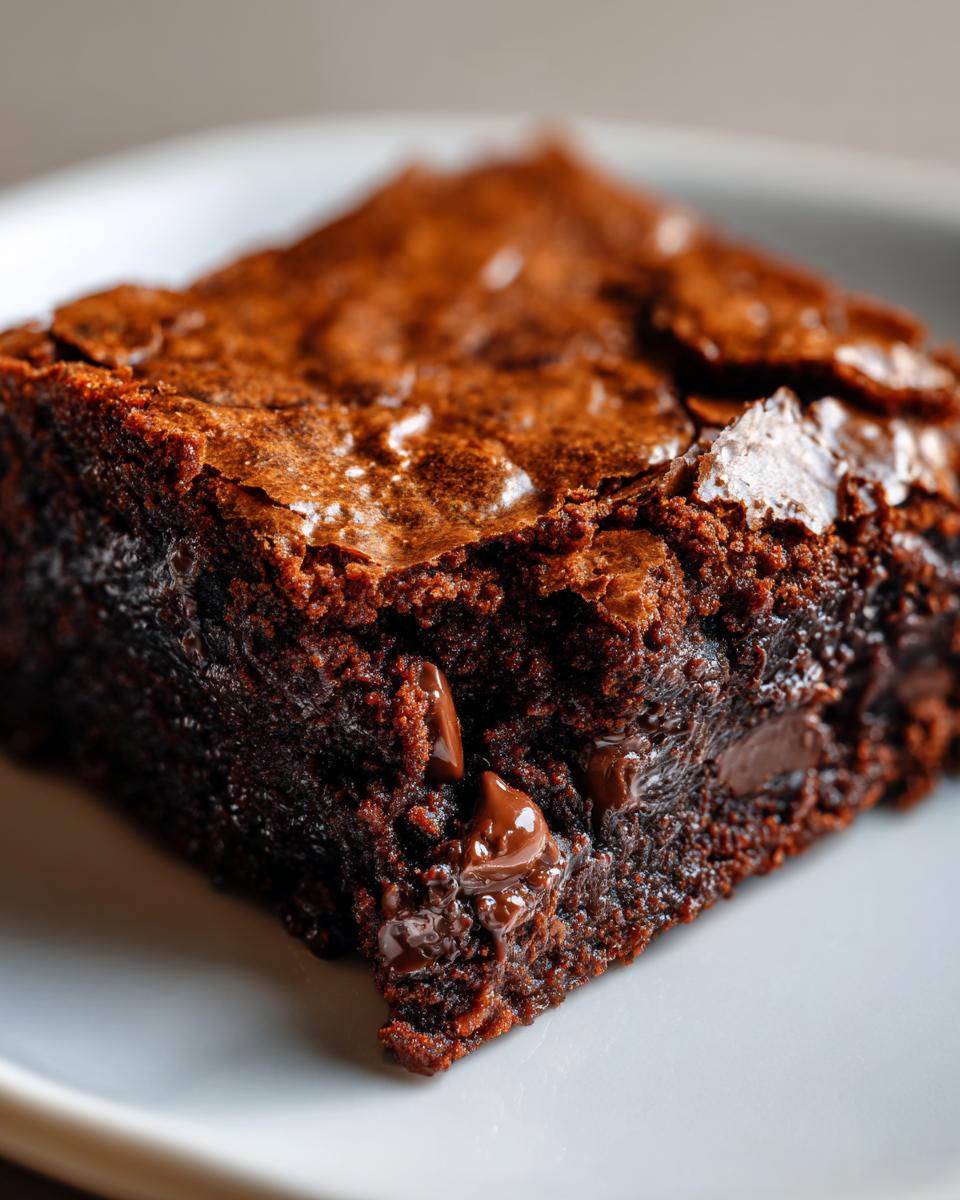
When you test them, you need to forget what you do for regular cakes. If a toothpick comes out perfectly clean, STOP! That means they are already overdone and will be cakey later. We are aiming for that ultra-rich, gooey chocolate bars texture, remember?
Here’s my specific test for ultra-fudgy results: Poke the center gently with a toothpick or a paring knife. If it comes out with wet batter stuck to it, give it three more minutes. If it comes out with moist, fudgy crumbs clinging to it—even if they look a little shiny—pull them out right away! The residual heat will continue to bake them perfectly as they cool down. That perfect, slightly underbaked center is the secret to the fudgiest brownies ever.
Cooling and Cutting Perfect Homemade Brownies from Scratch
I know, I know. You just pulled these magnificent brownies out of the oven, they smell like pure heaven, and you want to dive right in with a fork. Hold that thought! This step is just as important as making the batter, and rushing it is the number one way to destroy that perfect fudgy texture we worked so hard for.
If you try to cut these while they are even slightly warm, they will turn into a complete, gooey, chocolatey mess—and not the good kind of mess! You need them to set up properly so you can get those clean, bakery-worthy slices. My absolute essential tool for this? That parchment paper overhang we made earlier. That’s your handle!
Once the pan is completely cool to the touch—and I mean cool, not just warm—gently grab those parchment flaps sticking out on either side. Lift the entire block of cooled Homemade Brownies from Scratch right out of the pan and place it on your cutting board. This keeps the sides beautiful and intact!
The waiting game is tough, but trust me: let them sit on the counter for at least two hours, or stick them in the fridge for one hour if you absolutely can’t wait. Cold brownies cut into the cleanest squares. When you finally slice into them, you will have beautiful, perfect brownies every single time. It’s worth the patience, I promise!
Gourmet Brownie Ideas: Variations on Classic Brownies
Once you nail the base recipe, which you totally will because this one is foolproof, it’s exhilarating to start experimenting! The beauty of starting with such a rich, fudgy foundation means you can easily turn these into truly gourmet brownie ideas right in your normal kitchen. Forget stepping out; you’re making bakery style brownies at home that taste even better!
Here are a few of my favorite ways to dress these up when I’m feeling fancy or need to impress someone:
- Cream Cheese Swirl: This is a classic for a reason! Soften about 4 ounces of cream cheese and mix it with a tablespoon of sugar and a splash of vanilla. Plop dollops over the batter before baking, then use a knife to gently swirl it in. It bakes up beautifully tangy and creamy against the dark chocolate. You can find great tips on the technique here if you want a visual guide!
- Turtle Style: Oh my goodness. Right before baking, drizzle some thick, gooey caramel sauce haphazardly over the top of the batter. Once it bakes, sprinkle toasted pecans over the hot brownies right out of the oven so they stick! The combination of salty nuts, sweet caramel, and that deep chocolate flavor is just stunning.
- Espresso Kick: If you love that sophisticated, darker chocolate flavor, this one is super easy. Next time you’re melting your butter, stir in one teaspoon of instant espresso powder until it dissolves completely. It won’t make them taste like coffee, but it really boosts the chocolate intensity, making them taste richer and deeper.
Storage and Reheating Rich Cocoa Brownies
Even though these Rich Cocoa Brownies are so good you’ll probably eat them all in one sitting, sometimes you need to save some for later, right? Don’t worry! They store beautifully, and I have a couple of tricks up my sleeve to make sure they taste just as amazing on Day Three as they did fresh out of the oven.
For keeping them fresh, the key is keeping the air out. Once they are completely cooled—and I mean absolutely cold, otherwise you risk condensation making them gummy inside the container—just pop them into an airtight container. I prefer keeping mine right on the counter at room temperature, not in the fridge. The humidity in the fridge can sometimes make them a touch dry or hard, and we are striving for fudgy, not hockey pucks!
How Long Do Brownies Last?
Stored properly in that airtight container on the counter, these brownies should stay perfectly fudgy for about four to five days. If you’re making them for a party way in advance, you can actually freeze them! Just wrap individual squares tightly in plastic wrap, then slip them into a zip-top bag. They freeze like a dream for up to three months.
Gently Reheating to Restore Gooey Perfection
If you are bringing them back from the fridge or freezer, or if they just sat out too long and firmed up a little, you need to warm them gently. You don’t want to zap the edges! I find the microwave works best for a single square if you need it gooey fast.
Put just one square on a plate and hit it for about 10 to 15 seconds on 50% power. This careful warming just softens the chocolate chips inside and loosens up that fudgy texture. If you are reheating a bigger slab, just wrap that piece loosely in foil and pop it into a 300°F oven for about five minutes. By the time you pull them out, they will be warm, soft, and tasting like you just baked them fresh!
Frequently Asked Questions About Fudgy Brownies Recipe
Whenever I share this recipe, I get the same few fantastic questions! It’s totally normal when dealing with something as near and dear to people’s hearts as the perfect batch of Fudgy Brownies Recipe. Folks always want assurance about texture or that shiny top. Here are the most common things I get asked about achieving your Ultimate Chocolate Fix!
Can I turn these fudgy brownies into chewy brownies by baking longer?
Oh, I wish it worked that way, but unfortunately, no! This is such a common trap people fall into. If you bake these fudgy brownies longer hoping to make them chewier, you are actually going to bake out all the moisture. That extra time in the oven turns them dry and cakey super fast. The fudgy texture is actually set during the cooling process, not while they are hot in the oven. Pull them out when that toothpick has moist crumbs attached, and let the residual heat work its magic!
How long do I need to cool these brownies before cutting?
This is tough because they smell heavenly when they come out, but you must, must, MUST let them cool completely. I’m talking at least two hours at room temperature, truly. If you try to cut them sooner, they will just smear everywhere, and you’ll lose that beautiful thick, fudgy structural integrity we are aiming for. If you can manage it—and honestly, this is my secret for the cleanest squares possible for sharing—stick them in the fridge for about an hour after they’ve cooled down a bit. Cold gooey chocolate bars cut like a dream!
What if my brownies do not develop a shiny top?
Don’t panic if your first batch comes out matte; it’s usually a quick fix next time! The shiny layer is created when the sugar fully dissolves and rises to the surface during baking, forming that meringue-like crust. This means you likely didn’t whisk the sugar into the melted butter and eggs long enough at the beginning. You need that mixture to be pale and thick before you add any dry stuff. Also, opening the oven door too early during the first 20 minutes can cause a sudden temperature drop that ruins the top’s structure. Be patient and whisk well!
Share Your Ultimate Chocolate Fix
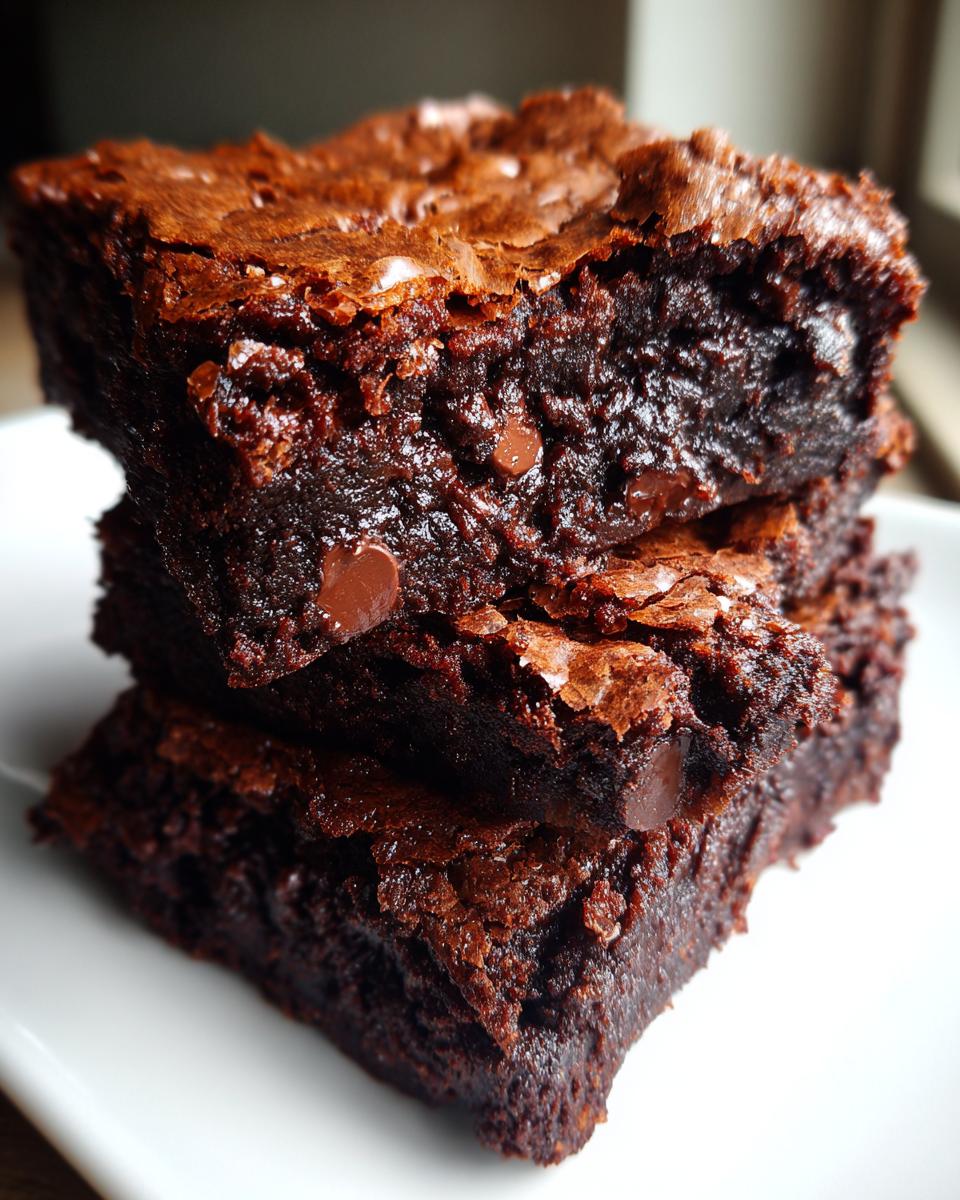
Whew! Now you have every single secret I’ve uncovered to make what I truly believe are the best brownies ever. They are fudgy, they are thick, and yes, they have that glossy, crackly top we all dream about. But honestly, all the testing and tasting in the world means nothing if you don’t get to bake something delicious for yourself!
I really hope you give these Ultimate Fudgy Brownies a try this week. When you do, pop back down to the comments section and let me know how they turned out! Don’t be shy—tell me what you thought of that texture, or if you tried adding any fun mix-ins like sea salt or caramel. Seeing your successes is what this whole Kings Cook journey is about! And if you want to learn more about why I obsess over these reliable recipes, you can always check out my About Page!
Happy baking, and enjoy every single, gooey, chocolatey square!
PrintUltimate Fudgy Brownies with Shiny Crackly Tops
Make the best homemade brownies with this easy, one-bowl recipe that delivers a rich, fudgy texture and the sought-after shiny, crackly top.
- Prep Time: 15 min
- Cook Time: 35 min
- Total Time: 50 min
- Yield: 16 brownies 1x
- Category: Dessert Bars
- Method: Baking
- Cuisine: American
- Diet: Vegetarian
Ingredients
- 1 cup (2 sticks) unsalted butter, plus more for greasing
- 1 1/4 cups granulated sugar
- 1 cup packed light brown sugar
- 4 large eggs
- 1 tablespoon vanilla extract
- 3/4 cup unsweetened cocoa powder
- 1/2 cup all-purpose flour
- 1 teaspoon salt
- 1/2 teaspoon baking powder
- 1 cup semi-sweet chocolate chips
Instructions
- Preheat your oven to 350°F (175°C). Grease and line a 9×9 inch baking pan with parchment paper, leaving an overhang on two sides for easy removal.
- In a medium saucepan over low heat, melt the butter. Remove from heat once fully melted.
- Whisk the granulated sugar and brown sugar into the melted butter until combined.
- Whisk in the eggs one at a time, mixing well after each addition. Stir in the vanilla extract.
- In a separate bowl, whisk together the cocoa powder, flour, salt, and baking powder.
- Gradually add the dry ingredients to the wet ingredients, mixing only until just combined. Do not overmix.
- Gently fold in the chocolate chips.
- Pour the batter into the prepared baking pan and spread evenly.
- Bake for 30 to 35 minutes. The edges should look set, and a toothpick inserted near the center should come out with moist, fudgy crumbs attached, not wet batter.
- Let the brownies cool completely in the pan on a wire rack before lifting them out using the parchment paper overhang.
- Cut into squares and serve.
Notes
- For the best shiny top, do not overbake the brownies. The fudgy texture relies on slightly underbaking.
- Allow the brownies to cool completely before cutting for clean slices.
- For an extra rich flavor, substitute 1/4 cup of the butter with browned butter.
Nutrition
- Serving Size: 1 square
- Calories: 280
- Sugar: 30
- Sodium: 150
- Fat: 17
- Saturated Fat: 10
- Unsaturated Fat: 7
- Trans Fat: 0
- Carbohydrates: 32
- Fiber: 2
- Protein: 4
- Cholesterol: 75